19.02.28
Windows 10
I found 11 bugs and issues with v19.02.28. The links are for clips I made demonstrating the issue I’m reporting.
1 - The tab for Presets in Filters is not very responsive when it’s being clicked on. Sometimes when you click on it the tab behaves like it’s being clicked but the tab doesn’t open so it has to be clicked on more than once: https://images2.imgbox.com/ac/5b/VvWkWDr7_o.gif
You can see it after I choose the “Slide In From Bottom” preset. Each time after that when click on the tab you see it indent like it’s being clicked on but it doesn’t open.
2 - Choose a Preset on a filter. Now choose another filter and come back to the first filter that has the preset chosen. The tab does not display anymore the preset that was chosen: https://images2.imgbox.com/61/3c/y2it8al2_o.gif
You can see bug #1 in action again right before I go to chose the 2nd filter as you can see the Preset tab with the “Slow Zoom In” Preset displayed indent as I try to click to add a new filter.
3 - Bring a clip with audio to the timeline on a video track. Then bring the audio from that clip down to an audio track by one of the following ways: 1) Dragging it down to the audio track 2) Copying and pasting it to the audio 3) Or if it’s a video clip detaching the audio.
Split the audio track. Pick the clip on the left. Right click to pick “Merge With Next Clip”. Instead of merging the audio tracks, it deletes the 2nd half: https://images2.imgbox.com/43/f7/qyz1okYO_o.gif
4 - Shotcut miscalculates when a clip is moved up and down the different tracks while the timeline is zoomed out. It’ll show frame numbers as if it’s being moved when that’s not actually happening. This does not happen when the timeline is zoomed in. In this clip, first I show it zoomed in where it correctly indicates no movement to the left or right. Then I zoom out and move it up and down where it incorrectly says that the clip was moved around some frames: https://images2.imgbox.com/62/2c/ixZ9LokJ_o.gif
5 - Pick a filter with Simple Keyframes. Take the left handle and drag it all the way to the right as far as it will go. Now move the arrow buttons in the Keyframes menu to the right. The playhead in Simple Keyframes will move but the playhead in the timeline window will not move. This does not happen with the right handle: https://images2.imgbox.com/0d/d5/D5ujLekD_o.gif
6 - Pick the Mask From File Filter. Animate a wipe using Simple Keyframes that goes from 0 to 100%. Go to the timeline and place the playhead right in middle of that animation. Now go to corner of the clip to activate the Fade filter and drag it up to where the playhead is. Let go then pick the handle again and drag it back to deactivate the Fade filter. Now the animation in Simple Keyframes is interrupted and won’t go to 100%: https://images2.imgbox.com/3b/33/StU9R2MF_o.gif
7 - Pick the Mask From File Filter. Input some Threshold values into Advanced Keyframes. Now pick any other filter. Then switch back to the Mask From File Filter and go to Threshold to change it. The Advanced Keyframes will be completely erased. In this clip, I show that even a change of 0.01% was enough to erase the Advanced Keyframes: https://images2.imgbox.com/85/2e/ZckdsfDt_o.gif
8 - The values in the Shake presets in the Size and Position filter go haywire when you hit the default button: https://images2.imgbox.com/41/a7/Zr0qhMLu_o.gif
You can see bug #1 in action again after I pick the Scale preset and I try to hit the default button the first time. You see the Preset tab indent but nothing actually happens.
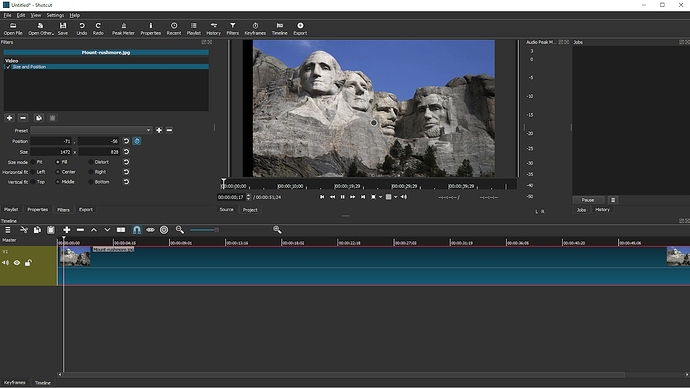
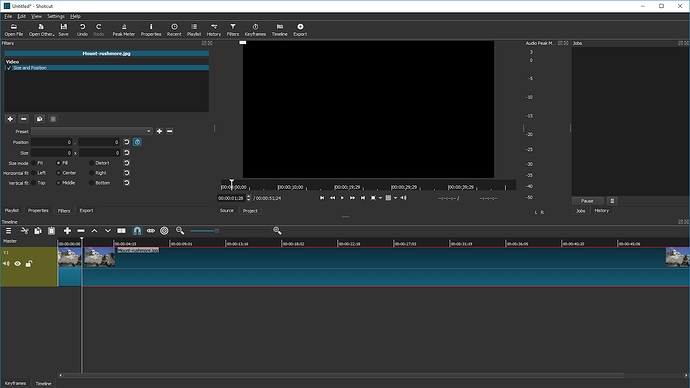
9 - Apply one of the Shake presets to a clip. Split the clip. The Shake filter that gets repeated on the 2nd clip is screwed up. The box selection is thrown all the way to the top left corner.
Update: After checking this again it turns out that this bug is not limited to the Shake preset. It actually occurs when any animation in Size And Position is done with Advanced Keyframes and then the clip is split.
Before split:
After split:
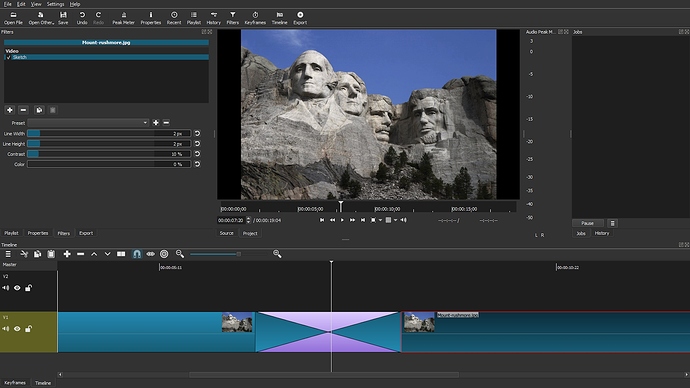
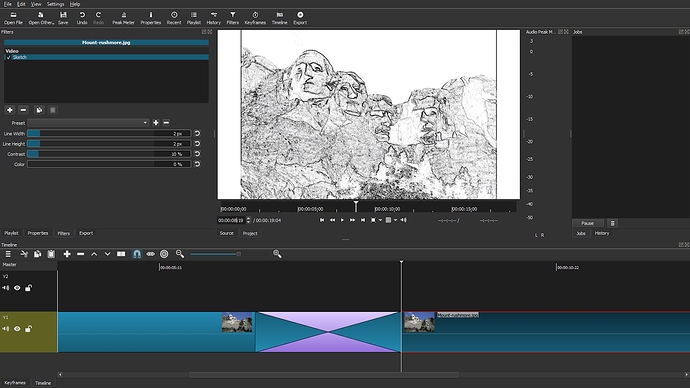
10 - Set two separate clips against each other. On the 2nd clip, apply the Sketch filter. Then grab the start of that clip and stretch it over to the left (don’t pick up the clip and drag it) so that it overlaps to create a transition with the 1st clip. Even though a transition clip is created, no transition will play out.
The playhead in the middle of the transition clip and no transition animation is seen:
The playhead at the end of the transition clip and the 2nd clip is seen with the Sketch filter:
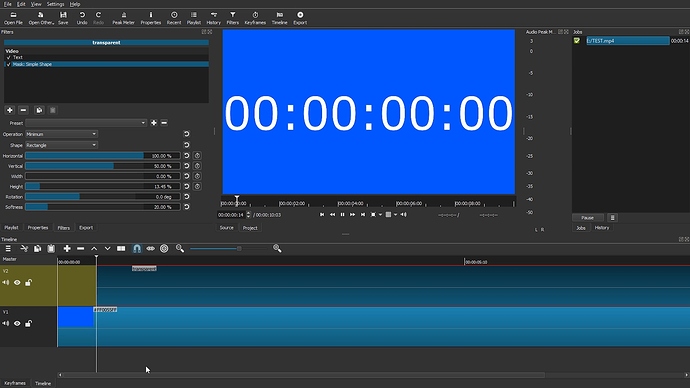
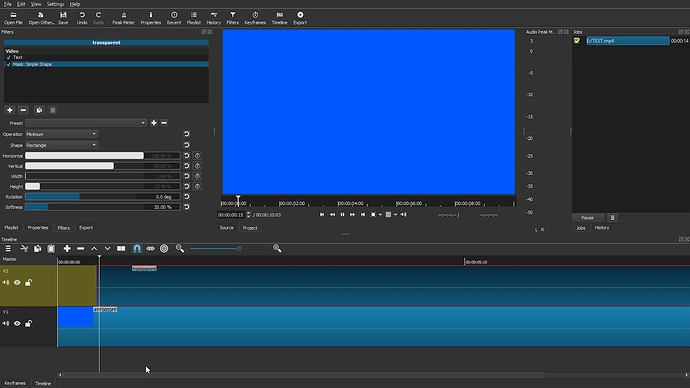
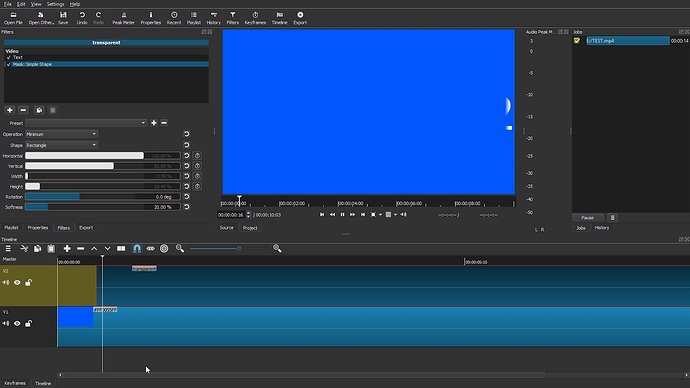
11 - With certain settings the Mask Simple Shape will show in playback for the first frame the entire image that you are intending to apply Mask effects to. I’ve experienced this several times but it was difficult to replicate but I tried it here. You can see the values I put it in these pictures and what I used was a transparent clip and a color clip.
1st frame with Mask Simple Shape filter shows the whole text even though it’s not meant to show:
2nd frame now shows the text completely masked out:
3rd frame shows the mask effect in motion:
4th frame shows the mask effect completed:
