The original mlt project file. The one that says “backup” at the end is the one with the proxy files in case you want to go back and edit again.
Hello DRM. Thank you for responding.
I still don’t understand which file is the modified .mlt though.
I explained in detail every step I took so that someone could tell me point blank which file I am supposed to use.
I end up assuming the modified mlt file I was to use is the “Proxy Test File 2 (11 clips).mlt”, (NOT the BACKUP), so I double clicked on this file.
This is what I saw upon opening.
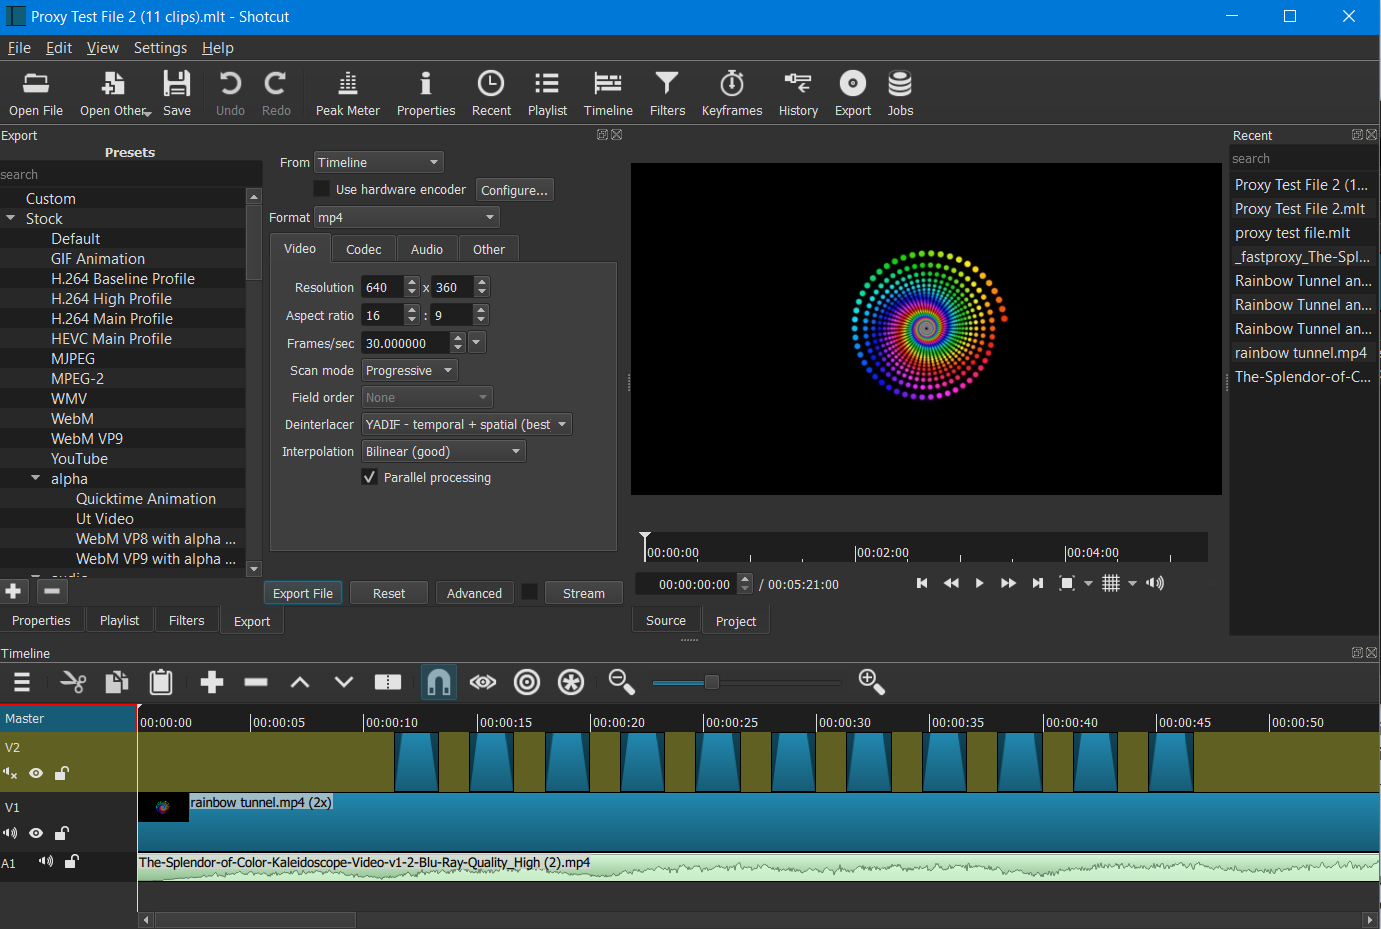
The resolution of this file is still showing as the low proxy version. I did not change any of this information because I was under the impression that when I clicked export and saved this file it would automatically save in high resolution.
It DID NOT.
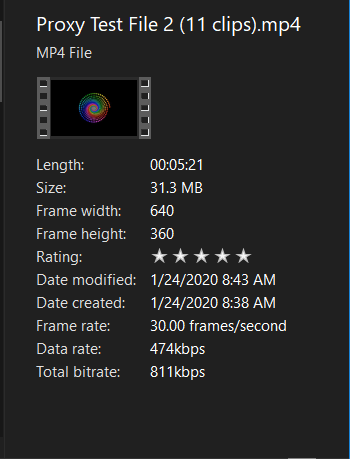
I do not understand why my file did not export as a high quality file. It exported with the resolution of the low quality proxy files.
I tried to be really specific in my question and provide every step I made. It is apparent I took a wrong turn somewhere.
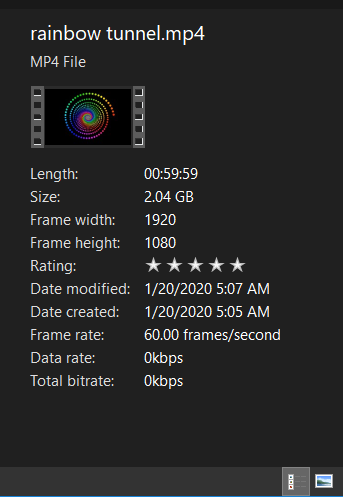
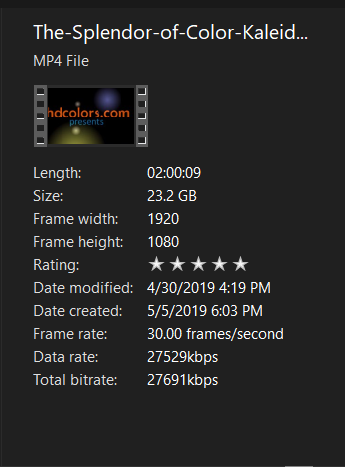
The resolution of the original files (which I made proxies of) were as follows:
The resolution of my final video was this:
Can you help me figure this out? Or @KKnBB? Please.
Thank you. I appreciate the help.
Slightly off topic, how did you generate that rainbow tunnel?
As DRM said, the original mlt project file. Don’t use the backup .mlt
1.) Select the video folder
2.) Select proxy resolution then create the proxy files.
3.) Use those proxy files in your video
4.) Open Shotcut (custome video mode), do edits then close it.
5.) Update the .mlt file.
6.) Open Shotcut (use your original .mlt) and Export
I didn’t use the backup .mlt file. Did you bother to read my entire post? I know it was long, but I tried to provide all the steps I took in hopes someone could tell me where I took a wrong turn.
I DID NOT use the backup .mlt file. I selected the mlt file which contained the edits done with the proxies. But exporting this file did not give me back the high resolution of the original files.
I still don’t know what I am doing wrong.
I didn’t read it in all honesty, I just posted the steps to achieve what you need.
Edit:
Did you set a custom video mode when you first started shotcut and saved the .mlt project?
These are the exact step I performed.
1.) I created a folder called KKnBB Proxy Video Maker Files.
2.) I copied two long high quality videos into the folder.
3.) Then I opened the Shotcut Proxy Creation Tool and clicked on the “Pick Video Folder” button. I selected the KKnBB Proxy Video Make Files folder that I created.
4.) I kept the radio button next to “360p Butter Smooth” selected.
5.) I then clicked “Batch Create Proxy Videos” to run the process and waited until completed.
6.) I then opened up Shotcut.
7.) In the New Project I changed the video mode "HD 1080p 30 fps.
8.) I then dragged in my newly create proxy files, did my edits, then saved my project. Then I completely closed Shotcut.
9.) Then I reopened the Shotcut Proxy Creation Tool and clicked the “Replace Proxy_videos w/Original_videos in .mlt” button.
10.) I selected my project mlt file. NOT THE BACKUP. Then clicked on the "Replace Proxy_videos w/ Original_videos in .mlt button.
11. Upon that process completing I opened Shotcut, selected the .mlt file again and hit export.
Resulting video was in low quality.
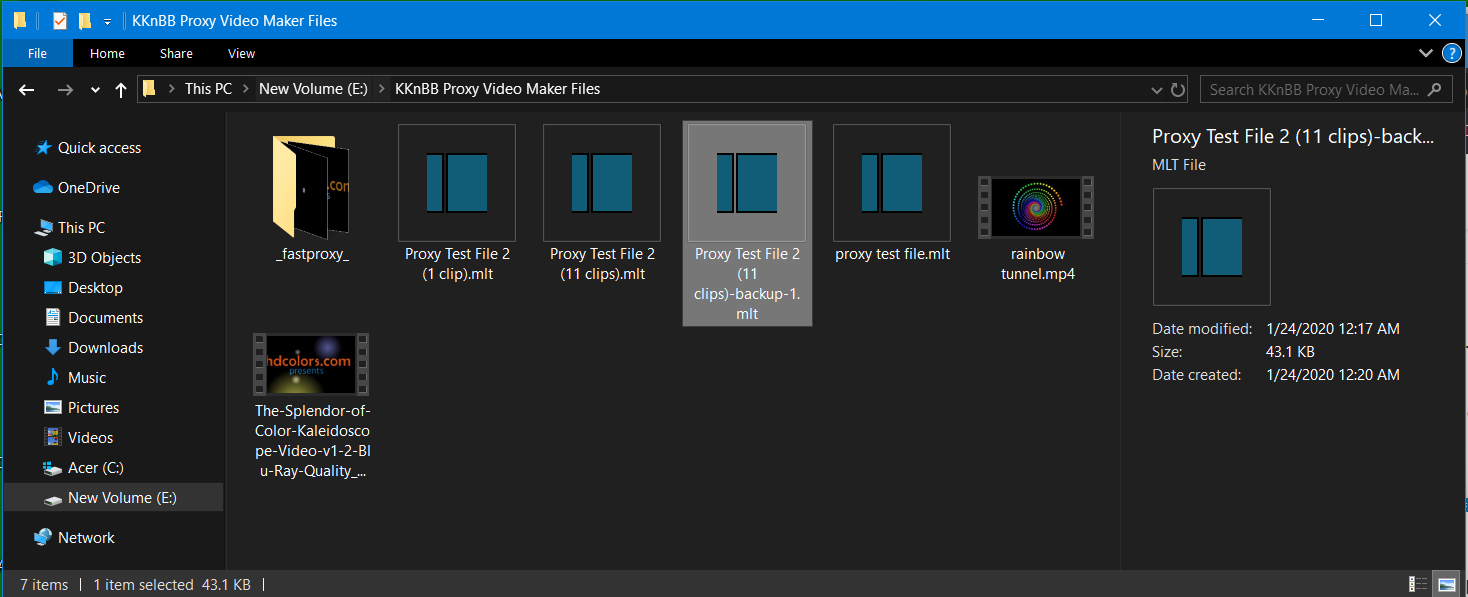
I DID NOT MOVE anything. I was working with two folders. The folder I created to house my original high quality videos and the fastproxy folder created by the Proxy Tool which houses the proxy files.
Do I need to move my mlt file into the fastproxy folder so all the files are together?
Please see pic below to see my file setup.
I didn’t. I got it off of youtube.
Based on your pictures, yes.
The only way this could’ve happened is that you had the video mode set to Automatic when you first started the project instead of setting the video mode to the HD resolution and fps you want the project to be. When it’s set to Automatic it will take on the resolution of whatever the proxy files will be when you bring them in. If you set the video mode to HD then regardless of you bringing in the proxy files Shotcut will have the video resolution be in HD.
Do a test where you change the the video mode at Settings instead at the New Project screen and see if the result is any different.
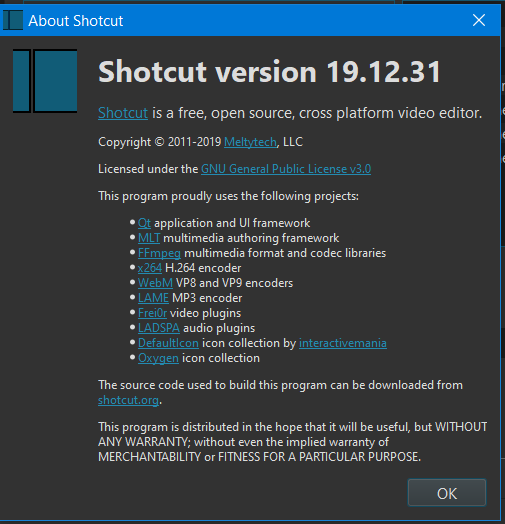
What version number of Shotcut are you using?
I did change the video mode per a previous discussion I had with kknbb. The post is on this page somewhere. At any rate, I manually selected HD 1080p 30 fps at the beginning of my project prior to dragging and dropping in the proxy files.
This is the version of Shotcut I am using:
Somehow I missed a line in your post.
I will do as you suggested and do a test by changing the video mode at Settings instead in the New Project window.
Also do I need to move my original .mlt file into the proxy file? Or do I leave it where is, in the KKnBB Proxy Video Maker Files folder I created?
I have to run out right now, but I will do this test and will report back with my results.
Thank you for offering this suggestion.
Leave it where it is.
Post your modified mlt here and let me have a look please.
I scrapped my first test file and created another one from scratch.
Prior to selecting my proxy files for editing, I changed the video mode in “Settings” instead of in the “New Project” screen.
I was able to export a high quality file after all was said and done.
Not sure why selecting the video mode in the “New Project” screen didn’t work for me.
Are they not the same thing?
Did you make sure to press “Start” in that New Project start menu after choosing the video mode?
I think you selected a video mode but then you click on an existing project. (the existing project override your selection)
I don’t recall pressing the “Start” button. I think I just changed the video mode and then jumped right into editing my proxy files. Next time I do a project I will test this out.
Thank you posing such good questions. I only started using Shotcut last week so I am still learning.
I did not click on an existing project. All projects were started from scratch.
That’s why it didn’t work. By you not pressing the “Start” button, nothing that you set in “New Project” will take effect.
I’m glad I could help. ![]()
Thanks for your reply, my doubt has been cleaned finally! 9appsapk.vin vidmateapp.vin
Regards,