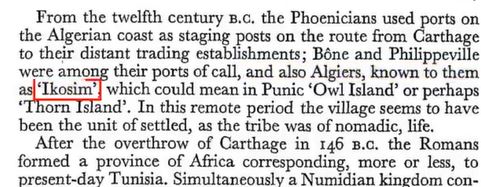
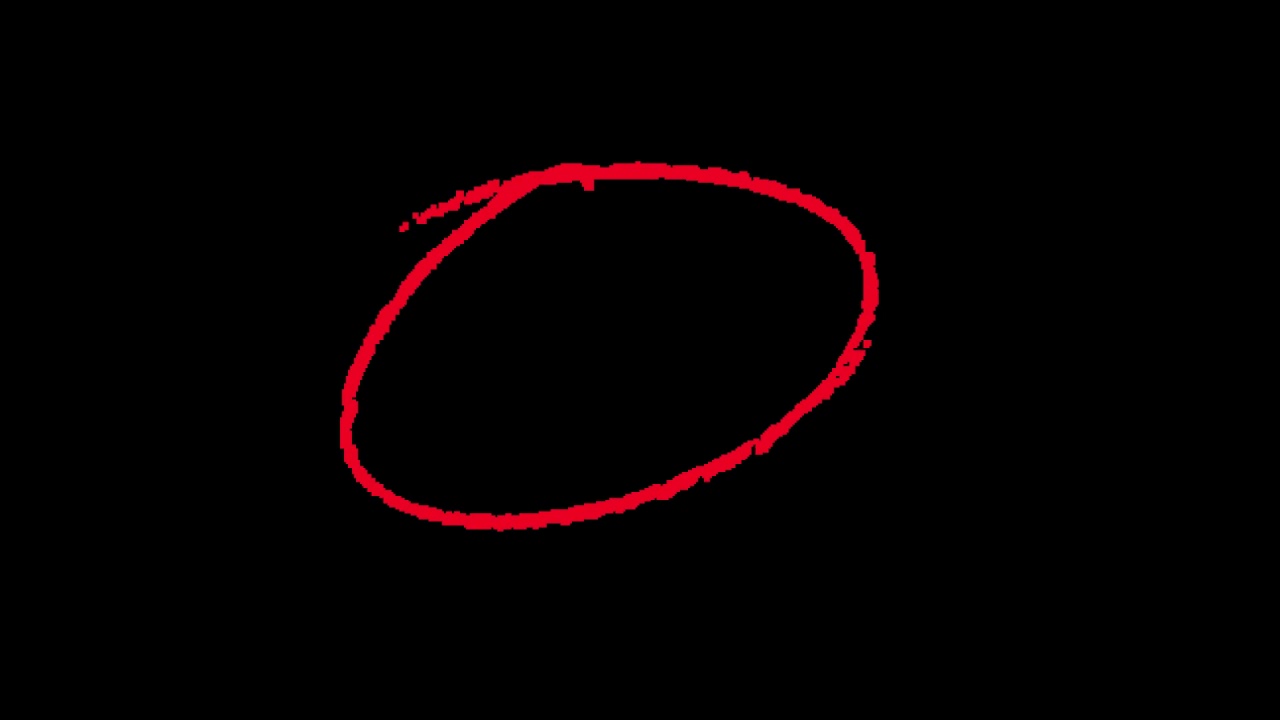
Thought I’d share this animated handwritten pencil circle I made. Great for highlighting text or objects in tutorial videos etc.
Would be better as a download rather than YouTube video. Yes, I know there are downloaders, and I also know about
As a download, it could be a VP9 with alpha transparent background. You can even upload here if it is small enough.
Good idea, thanks. It’s only 100Mb so I’ll upload it here soon. I didn’t know about VP9 files and that they had transparency, I only knew about .movs. Will look into it!
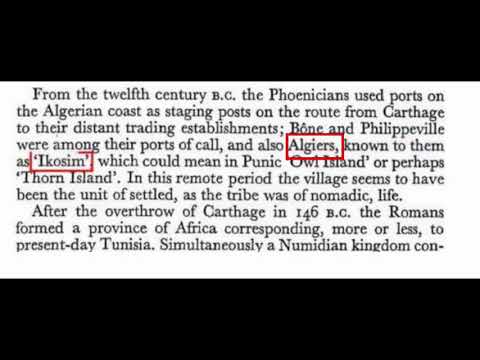
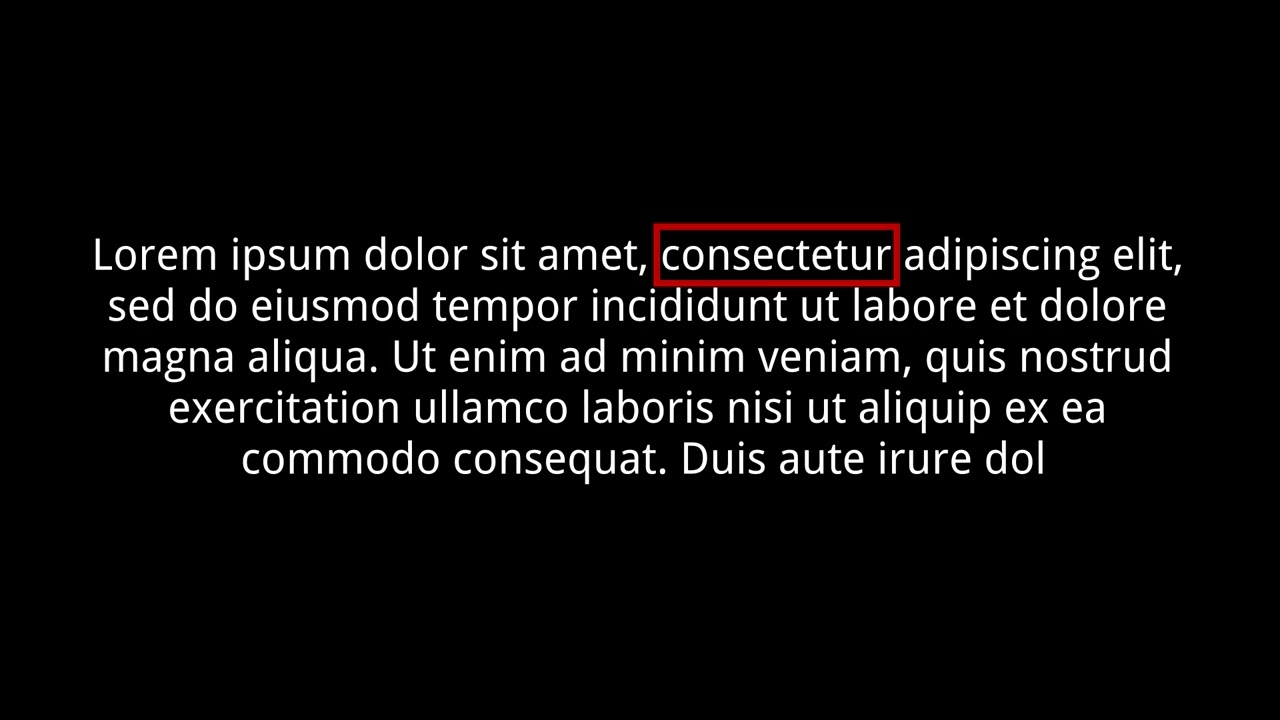
Thanks, it does cover some of the question but I still dont know how to highlight a text (for example one full line and half of next line) and also how to highlight a text with a rectangle that’s drawn slowly around the text as shown in the picture below

Hi @nurub - welcome. Adding a revealing box around a word is a little tricky but I made this 5-minute tutorial showing how I did it. I didn’t have time to add a commentary and it’s a bit rough and ready, but I hope you can pick up the basics of what I did.
It’s best viewed a full screen size so you can see the detail.
@jonray Thanks a lot. This is what I was looking for. I really appreciate your prompt reply. You should list the video in your channel and may be add audio and some more explanation. I searched for this and didn’t find it, so you’ll have many views. I will subscribe in it for sure. Thanks again
Mes compliments @jonray j’ai été impressionné par la façon de réaliser l’animation du rectangle.
Je dois dire que la technique employée de le faire pivoter puis d’appliquer une transition “horloge” il fallait y penser !
Bravo. 
My compliments @jonray, I was impressed by the way you made the animation of the rectangle.
I must say that the technique used to rotate it and then apply a “clock” transition was something to think about!
Well done. 
Hi @jonray;
Great job and I’m with @Namna on the clock transition. Very interesting approach and something I would never have considered!
I’ve always used the size, position & rotate filter for this type of thing but your method may (or may not) be somewhat simpler—when multiple boxes are being used anyway—since you can drag and drop the position of the rectangle before applying the clock transition, whereas the SPR method requires more maths.
Here is the mlt, which can be opened directly in Shotcut.
BoxReveal.mlt (23.3 KB)
Thanks @nurub - glad it helped! Yes, one day I should record a commentary and set it for public viewing … and thanks for your YT subsription!
Thanks @namna - actually I think the idea was suggested in a (fairly) recent thread. Could have been @musicalbox who mentioned it but I’m not sure.
Thank you!
Indeed. Very tricky to get the numbers right! (In fact there’s a slight error in your MLT example - the left position figure for the first keyframe of the top line (clip on V2) should be 980, not 970) … ![]()
Anyway yes it involves 8 sets of 4 figures (start and end keyframes for each clip). Some of course which are duplicated but it’s still fiddly.
The advantage though is that the red lines are very clear with no colour bleed due to the chroma-key filter.
So after thinking about this for a while - and remembering @MusicalBox’s animated text banner preset - I decided it must be possible to apply all filters to a single color element and make it moveable on the screen, instead of having to redo every darned size, position, & rotate (SPR) filter!
This is still a little rough around the edges (a WIP), and I need to tweak some of the masks since they currently affect the key framing speed, but here is a working version.
This uses a single SPR to set the size of the box around the targeted text, then a mask is used to create the border by hiding the inner box. Then a single mask is applied to each visible line. And finally an SPR filter is used for the overall screen boundary and is for screen positioning.
In my example, the second box is simply a copy of the first and then the last SPR filter is used to drag the element around the screen AND resize it. However, when making the box smaller (since it uses distort you can make it narrower or wider or taller independently) sometimes the top SPR filter needs tweaked to stop some clipping on the left and right lines. No biggie, and it takes about 10 seconds to adjust the position and/or size settings by a few pixels, but I’d like to be able to get that sorted if possible.
Please feel free to chime in if anyone has a solution or can improve on this, but I will continue to see if I can get it right without needing to adjust for resizing.
And here is the mlt and mp4.
BoxReveal_ReusableMaskVersion.mlt (18.0 KB)
Hey @jonray,
I just completed a version of this using masks that can be copied and moved around the screen to highlight various words. However, I noticed the first box is actually not quite correct (the right vertical line is a touch narrow), so I need to fix that mask. But otherwise, it seems to work OK. I’ll do a quick screen recording for those with less time to demonstrate it, but if you see something wrong or any improvement let me know.
Yes, when I was working on it I noticed that but I thought I corrected by allowing for the width and position of the joining vertical line and it wasn’t visible. I guess not!
Using masks with percentage values, @PoisonedSlice - that’s a genius idea! Great idea. Looking forward to seeing the finished article…
Yes it is! Another @MusicalBox idea I believe, and if I am misattributing that then I apologise to the original concept creator.
Getting percentage masks to align perfectly with other fixed pixel values is also tricky, but once it’s done then the rest is cake (I think!).
Je suis hors sujet, mais comme @nurub demande comment mettre en surbrillance une partie d’un texte, il existe une solution bien plus rapide et moins compliquée pour attirer l’attention du lecteur.
Un clip couleur sur la piste supérieure (ici vert à 50%)
Appliquez un filtre “Recadrer: Rectangle” avec 2 images clés
I’m off topic, but as @nurub asks how to highlight a part of a text, there is a much faster and less complicated solution to draw the reader’s attention.
A color clip on the above track (here green at 50%)
Apply a “Crop: Rectangle” filter with 2 keyframes
Sure, but they also asked:
Since that can be a PITA, I think it’s why @jonray - given he likes a challenge - focused on that aspect.
UPDATE:
So after a little tweaking I think it is acceptable in the current format for most use cases. There is still the necessity to very slightly tweak the top SPR filter when resizing sometimes, and I can’t seem to get around that. However, I did discover that if I set up all the filters on a smaller box, it scales up much better and is easy to adjust without weird results (the vertical lines end up wider but are easily clipped in the top SPR filter and there is no odd behaviour, which I experienced when sizing down a larger box).
Also, be aware, the interpolation choice that is enabled in the settings menu should match the export option, or you don’t get exactly what the preview shows, at least I didn’t (even with no proxy and no scaling). I’m pretty sure most of my issues here are due to the mask percentages, but this is about as close as I can get it, and I did use a green color block to view all the masks and position them.
Duplicate the first box then move by dragging the bottom SPR filter and resizing to the length of the word. Then tidy up by adjusting the top SPR filter (position and size) if necessary. See my mlt for examples of this.
If pixel perfect precision with super sharp lines is a requirement then maybe it’s back to all SPR filters. I suspect someone more advanced can do better than this, since I’m really still a beginner, closing in on intermediate.
BoxReveal_ReusableSmallMasks.mlt (23.6 KB)
Wow, this looks great, @PoisonedSlice - I will do some testing hopefully later today when I can grab some time. Thank you!
In the meantime I was thinking yesterday in a slightly different direction - how to do it using the SPR filter method but making it easier to input the values, and also generate values for boxes of different sizes, and different border thicknesses. I have a plan for a semi-automatic way of doing this, but restricted time, so watch this space … I’ll post as soon as I can…
Thanks! And before you point it out the “dol” box is clipped slightly and the top SPR should really be:
Position: 966, 377 Size: 208 x 93
Sounds like you have a plan, and now I’m also curious. In terms of automation that really is the best solution. Here is a stripped down mlt with two starter boxes (one green with thin lines, one red with thicker lines). The only drawback I see is that altering box sizes changes line speed. But that should at least get the job done in the meantime.
BoxReveal_ReusableSmallMasksTemplate.mlt (14.4 KB)
Good to hear from you again, @jonray. You’re videos were something special in the day. I hope you’re back from your sabbatical and the journey has been fruitful.
Stephen :o)


