How to create your own LUT using GIMP

Hi all, i’m sure there’s a proper way to do this but if this mini tutorial can give a quick fix then go for it. Get G’mic for GIMP to make it work.

  1. Extract a frame of a clip from Shotcut (File > Export Frame).

  2. Open the extracted image using GIMP.

  3. Do all the adjustment in New Visible Layer.

  4. Fire up G’mic and go to CLUT from Before and After Layer.

  5. Select as Output Mode as .CUBE

  6. Set the output Folder.

  7. Load the newly created LUT to Shotcut.


    LUT in action.
    P5tbR2WfSg
    Hope this can save you some time and create your own look.
    Hint: You can copy the colour grading from any film that you like. :innocent:

7 Likes

Nice way to do it!
I didn’t about this thing from many months.

Hope this benificial to you.

1 Like

Yes it is! in fact I am going to use this way for color grading in my next video.

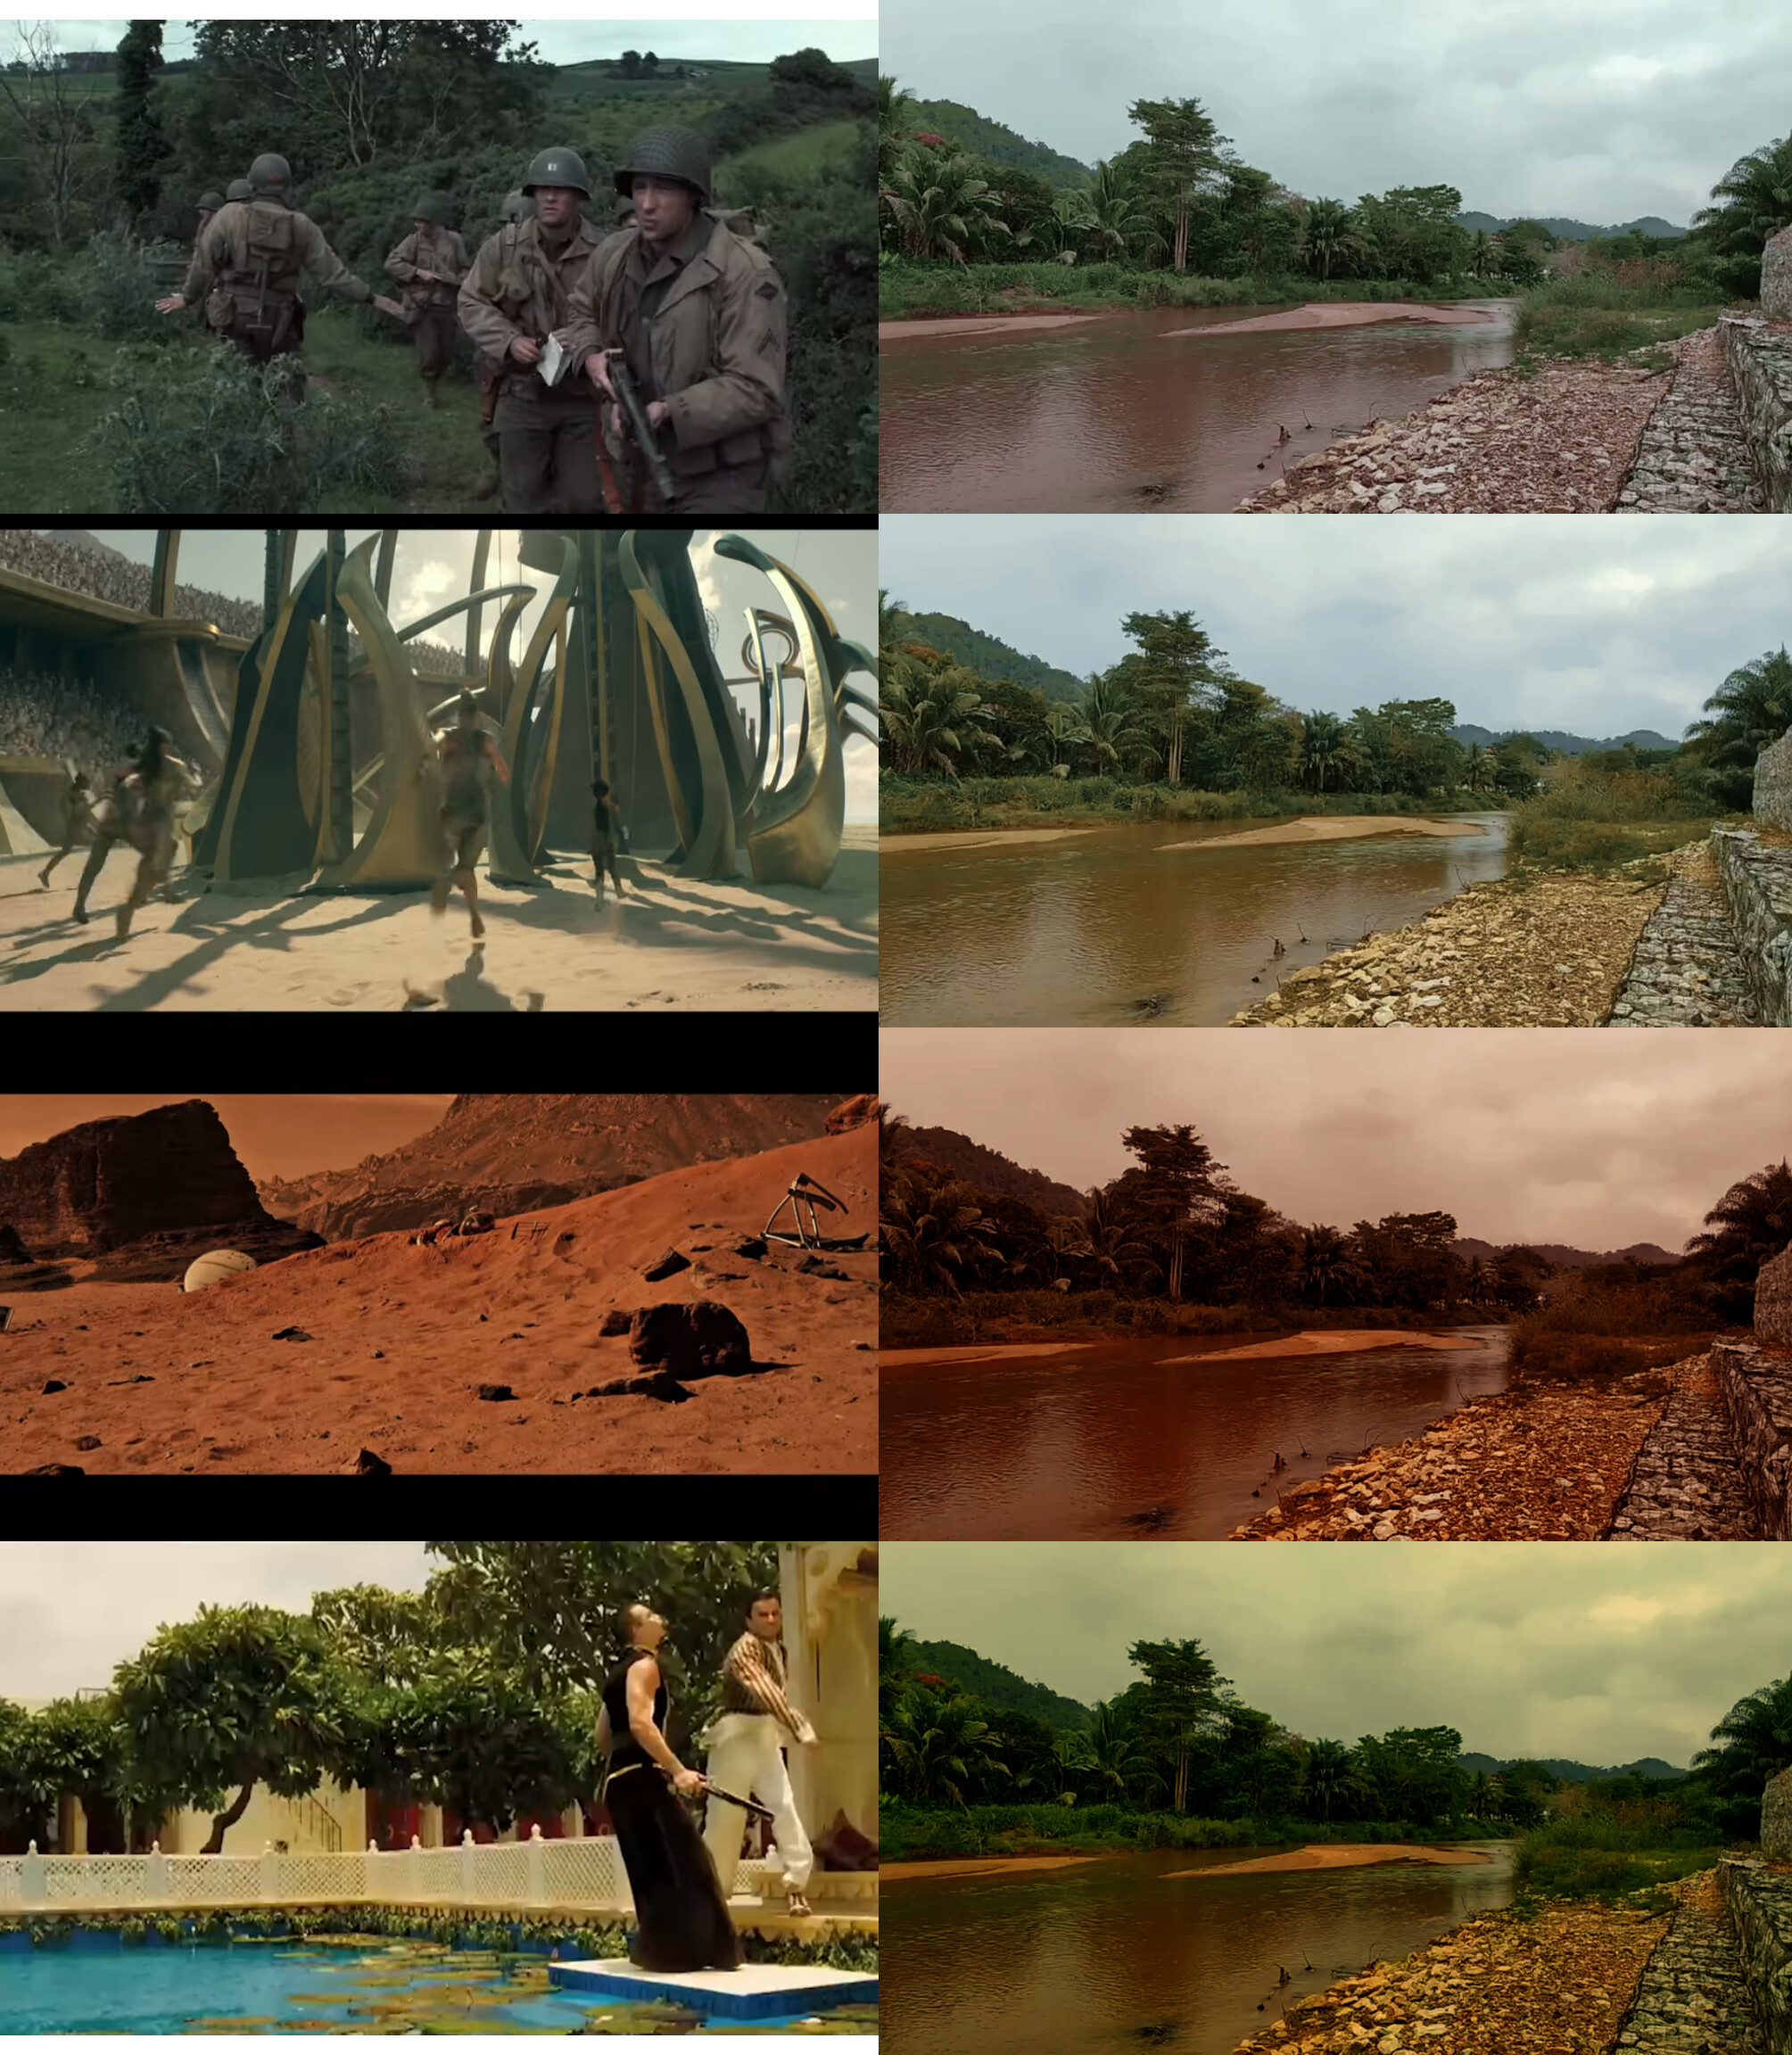
Below are samples of film that i used in GIMP. I;m sure with minor tweaks, users can recreate or mimic the colour grading from films. Since Shotcut doesn’t support Colour Matching, this trick might be an alternative. This also can reduce the steps in Shotcut to tone down LUT made for other video editor ( not naming it but you know).


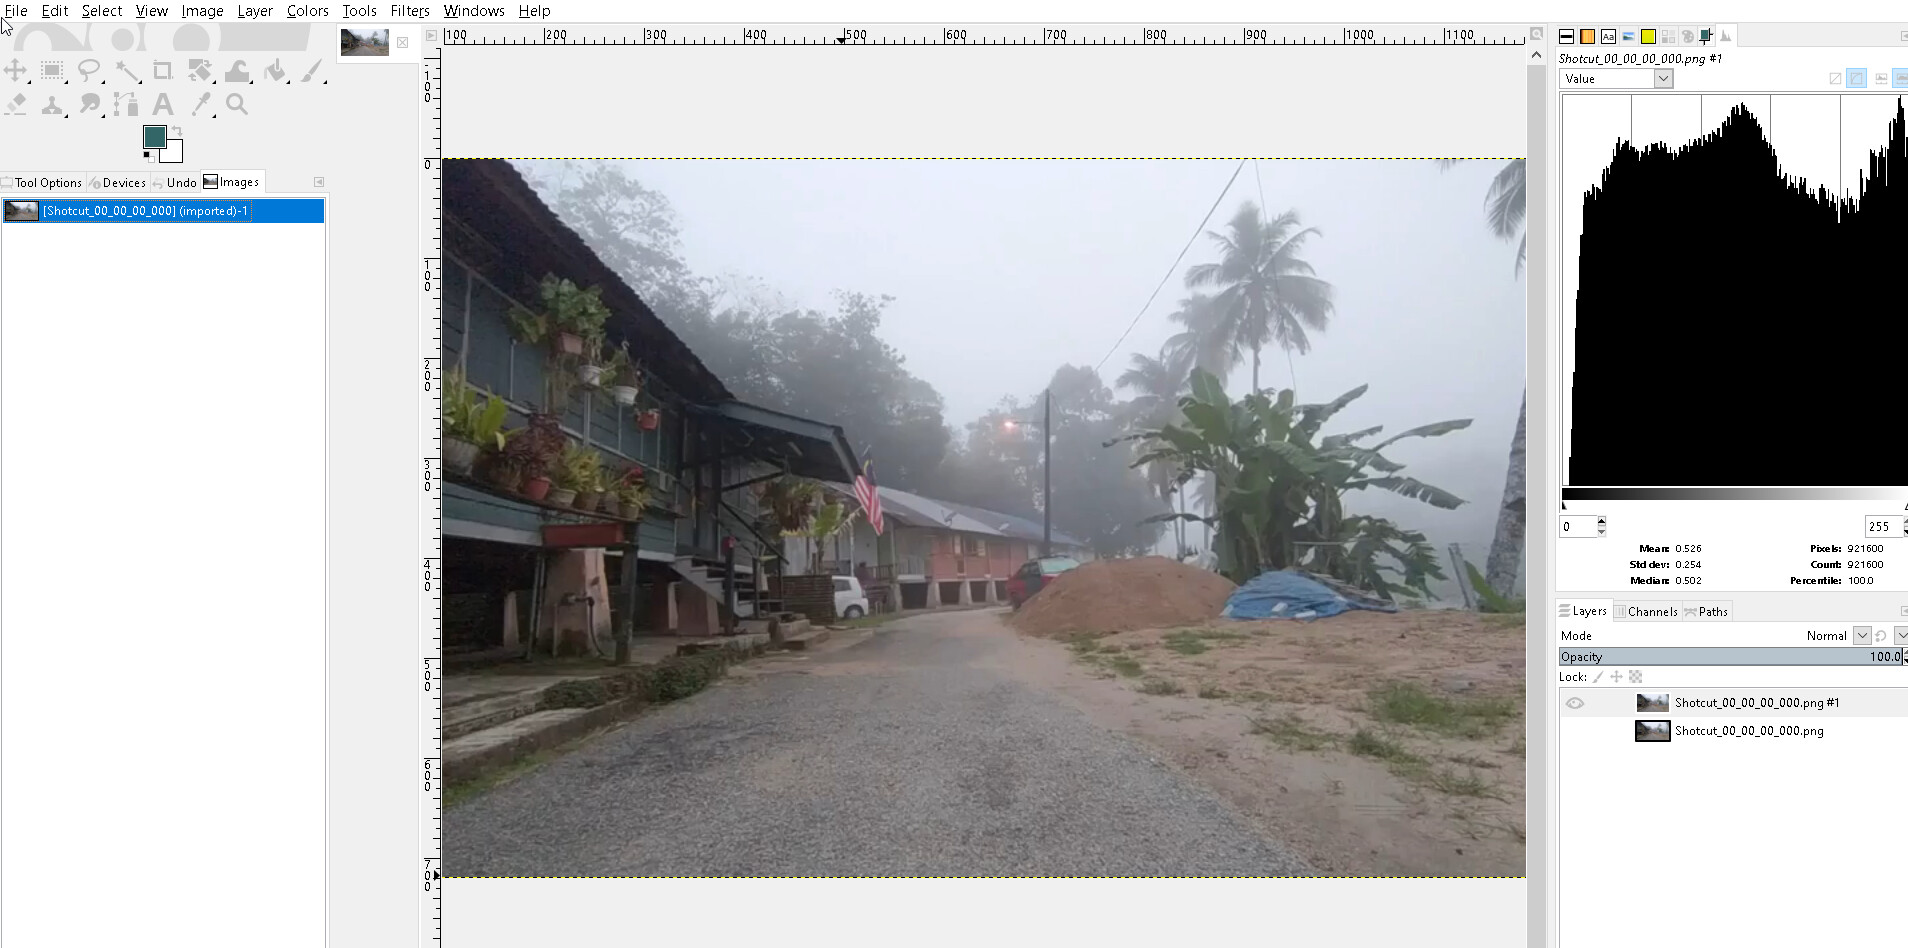
In GIMP you can isolate portion of an image (e.g face for the skin tone) using mask channel. Save it to LUT and throw it in Shotcut and watch the magic (ok, maybe not 100% accurate) in front of you! Go crazy with it…happy LUTing (if that’s a even a word)

1 Like

I think, I somewhere saw that Gmic supports shotcut, I think so, Really don’t know it was shotcut or kdenlive, because both were written in mlt.

KDENlive

1 Like

Ok, now it’s clear which software is wearing the hat. I hope there would be a framework for shotcut later to support external plugins.

This sounds fantastic but I can’t get it to work.

Please explain this step:

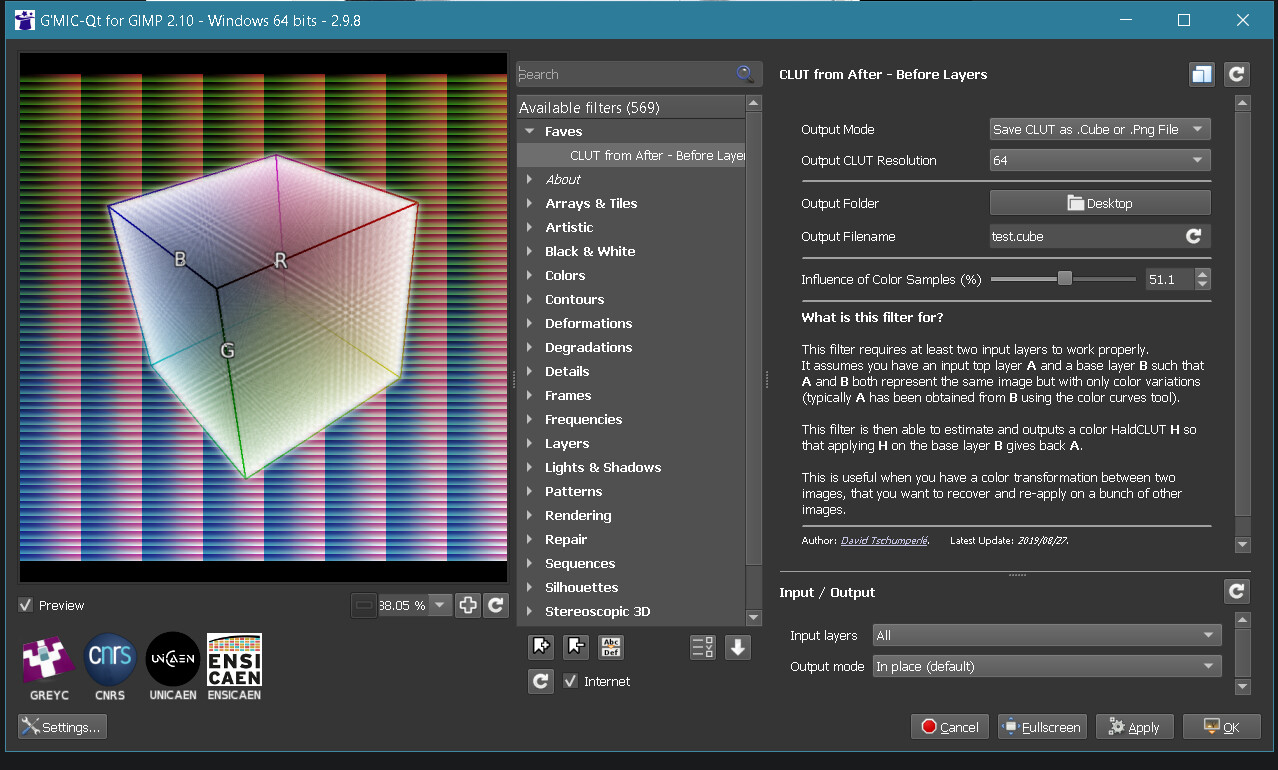
I’m testing it by just trying to copy the color grading of a screenshot so what adjustments do I need to make? When I pick the CLUT filter a note on the left says I need two input layers. So what is it exactly that I need to do? I tried to just copy the same image twice so I have two layers of the same image but I still get the message on the left about needing two layers.

Hi @DRM ,
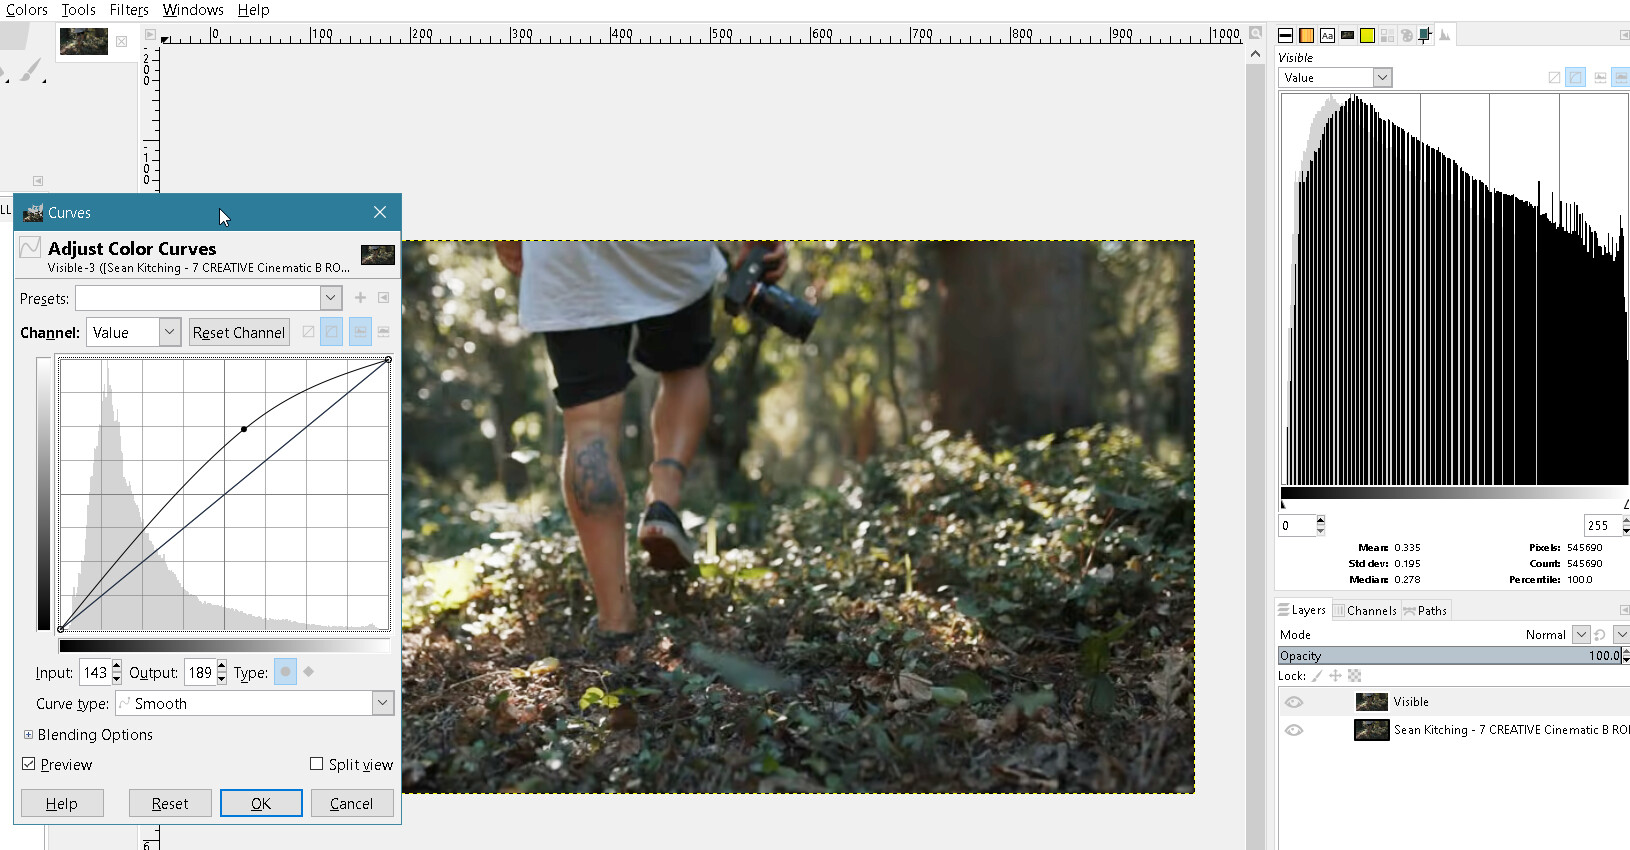
The adjusment is where you edit the colour, contrast etc in GIMP. For example, you can use the Colour curve for adjusting the curve. Don’t add drop down shadow, noise reduction, sharpening etc! That will spit out error and skew all the colour. Any video editor cannot read those filter, so be careful.

Have you made the visible layer? If not just right click at the image and add it first. Do all the adjustment within this layer only.

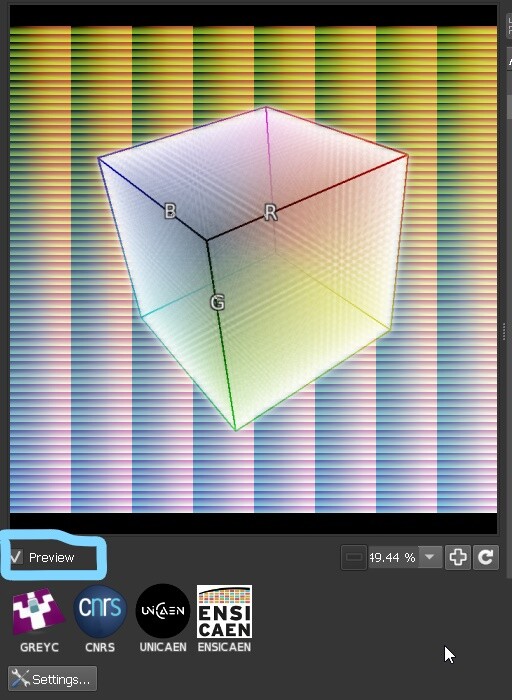
In G’mic just click the “preview” until you got the box. Sometimes you need to unthick and thick the preview several times. Don’t know why. That will ignore the two input process. Hope this helps.

In Shotcut set your white balance, exposure etc first and only add the LUT at the very end of your filter. The stack order is important sometimes.

Your post made me get “Nice Share” Badge, and that is because I shared your post on another discourse forum, and then 25 people’s clicked it, now more people are aware that G’mic could also create luts.

cool. hope others can benefit from it.

No problem. Glad to help.

1 Like

This topic was automatically closed after 90 days. New replies are no longer allowed.