Mine are pretty poor, too… ![]()
![]()

Mine are pretty poor, too… ![]()
![]()
Ok, time’s up.
Here’s the method I used:
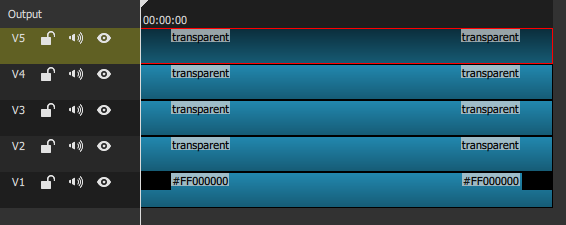
V1
Black clip, no filter
V2, V3, V4, V5
Transparent clips with the Text: Simple filter and the 360: Equirectangular to Stereographic filter.
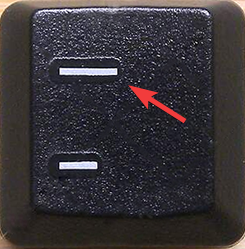
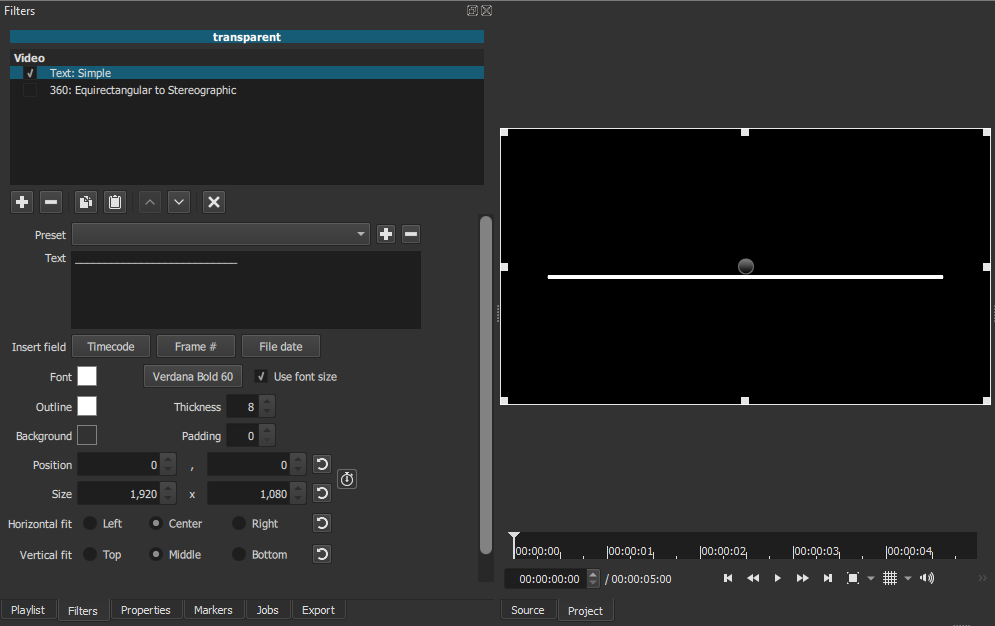
Each circle starts with a line created with the Text: Simple filter and the underscore character.
Font and Outline color = White.
Changing the Outline Thickness value sets the thickness of each line. More thickness to the small circles, less to the next one and so on.
The advantage of creating the lines with the Text filter is that it allows to create dotted lines.
You just need to put a space between each underscore character.
Then a 360: Equirectangular to Stereographic filter is applied to give the line the circle shape.
The Yaw parameter sets the orientation of each circle
The FOV parameter sets the size of each circle
The Roll filter is used (with keyframes) to animate the rotation of each circle.
When done with all circles, Export the animation
Create a new project, put a background clip on V1 and import the animation clip on V2
Apply a Chroma Key: Simple filter to remove the black background
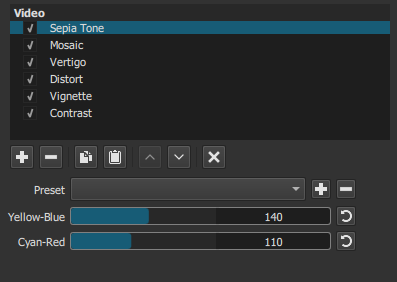
Apply a Color Grading filter and adjust the Highlights parameter to change the color of the circles.
You can also apply a Alpha Channel: Adjust (Shrink Soft mode) if you see black residues around the lines.
Je me trompe peut-être, mais si quelqu’un utilise un filtre Blend Mode pour retirer le fond noir, il est impossible de changer les cercles blancs en cercles totalement noirs.
De plus Blend mode rend les cercles semi-transparents lorsque qu’on change le blanc pour n’importe-qu’elle autre couleur.
I may be wrong, but if someone uses a Blend Mode filter to remove the black background, it is impossible to change the white circles into completely black circles.
Also Blend mode makes the circles semi-transparent when changing the white to any other color.
Truly excellent and quite brilliant. Create the line with a text filter - genius!
But what about your nice rounded edges, or did I miss how you did those? ![]()
They just happen. I didn’t do anything special to create them. Maybe caused by the Text outline?
Cool.
Thanks you all for your participation. That was fun and you all did great!
Now I’m really curious to see what methods you all used.
I saw very interesting variations on the challenge requirements.
I’m also very curious to know how @dimadjdocent created his fuzzy background (post #15)
Wow, advanced stuff! Bravo.
How do I circle:
How I made a musical circle:
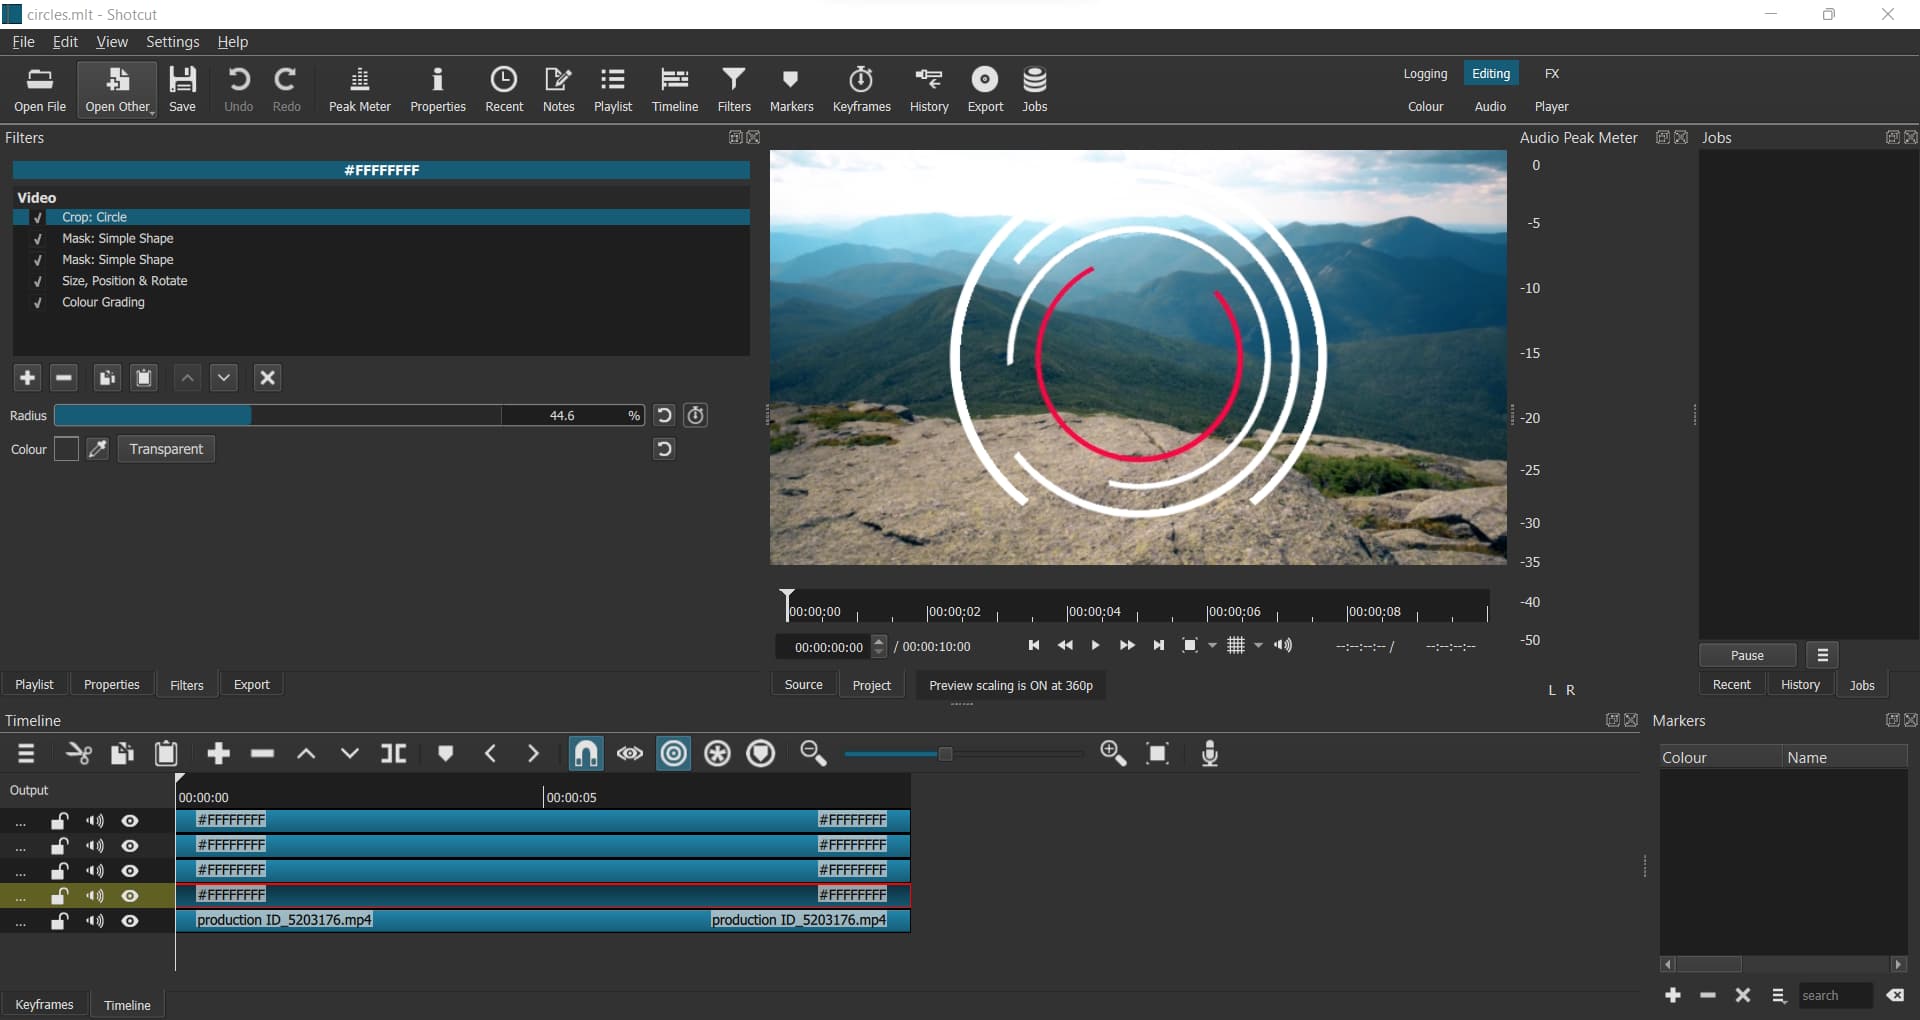
For the original version, I used a white color track, did a crop:circle and a mask:simple (ellipse) to create the ring. Then another mask:simple (ellipse) to cut the ring and a keyframed color gradient to change the color of the ring ans a Gaussian Blur filter to make it look better.
circles.mlt (25.5 KB)
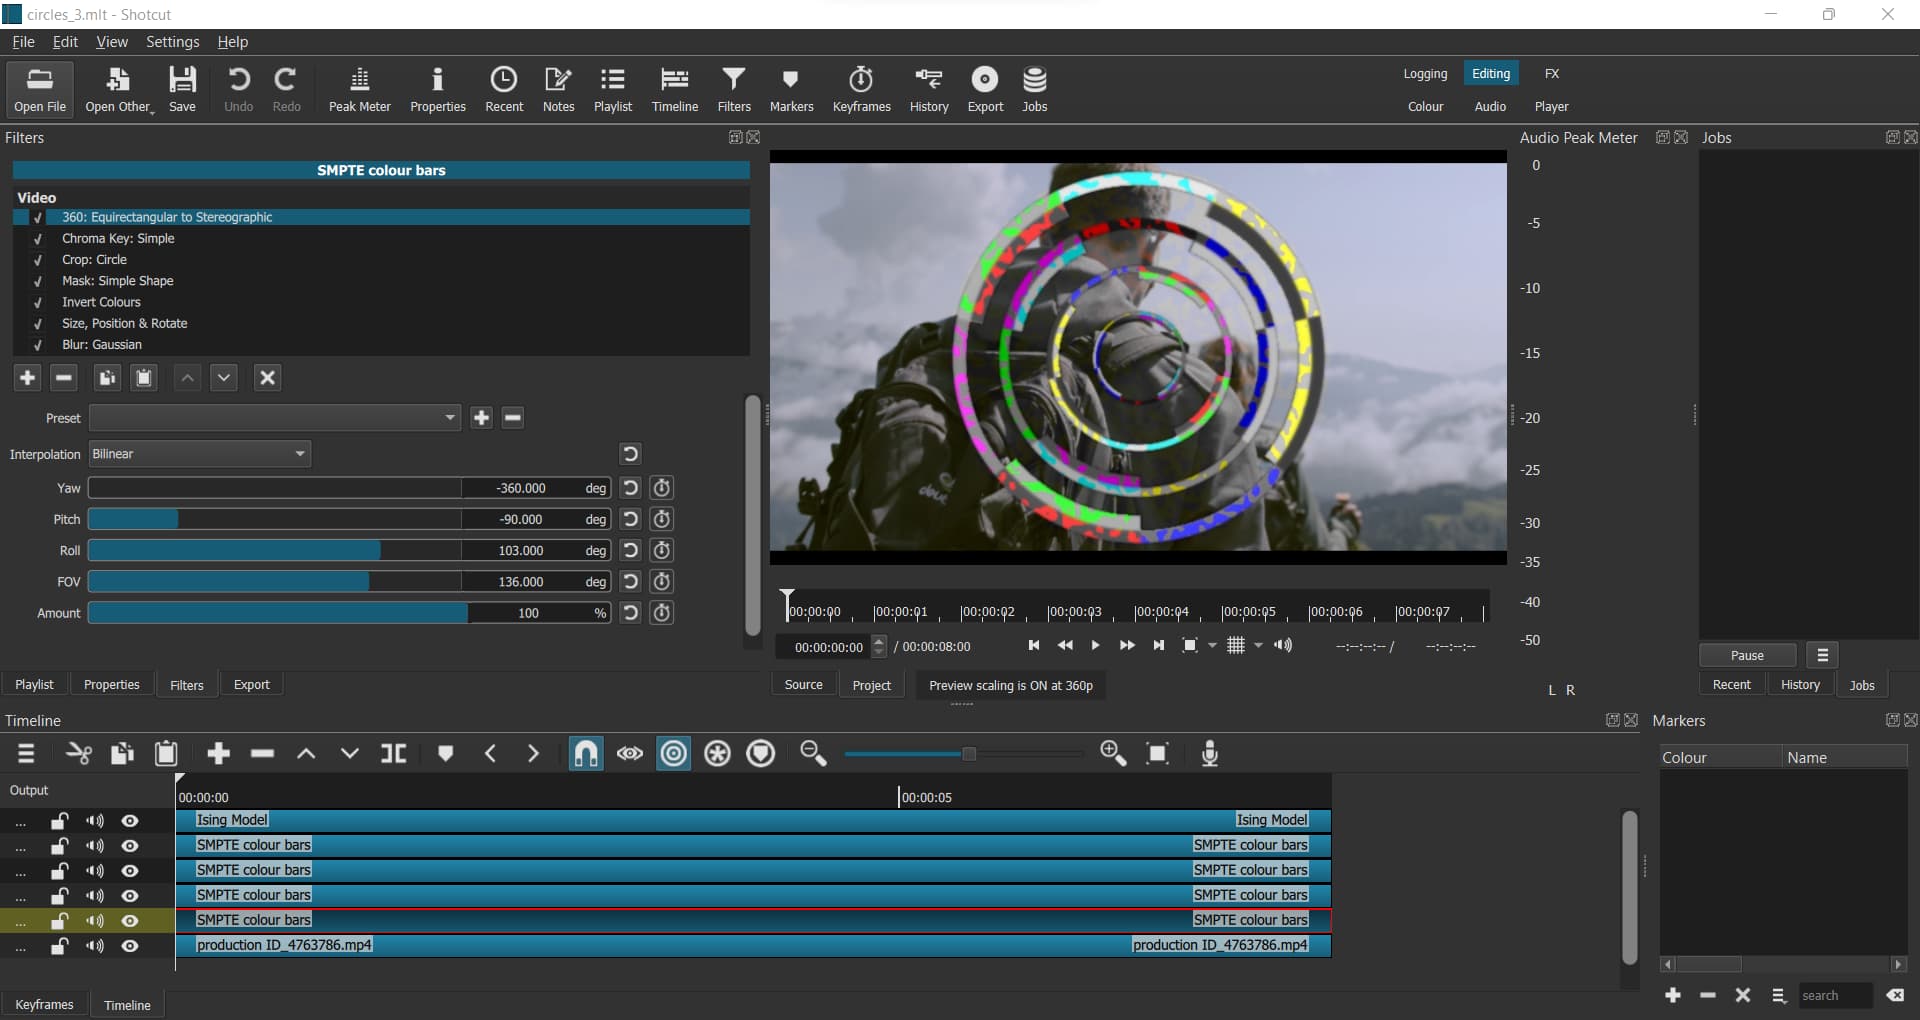
For the psychedelic version, I used an SMPTE color bars clip (Open Other Color Bars), applied a 360:Equirectangular to Stereographic filter. then created the circles using Crop:Circle and Mask:Simple (Ellipse) filters. On alternate tracks I used an “Invert Colors” filter and to get the blotchy colors I used an “Open Other Ising” clip with the track blend mode set to “HSL_Hue”.
circles_3.mlt (24.6 KB)
Voici comment j’ai procédé.
Sur V1 : L’image de fond (Clip couleur noire pour l’étape 1), pas de filtre
Sur V2 : Un clip de la couleur du cercle souhaitée (ici jaune)
Un filtre Crop rectangle pour tracer une ligne.
Here is how I did it.
On V1 : The background image (black clip for step 1), no filter
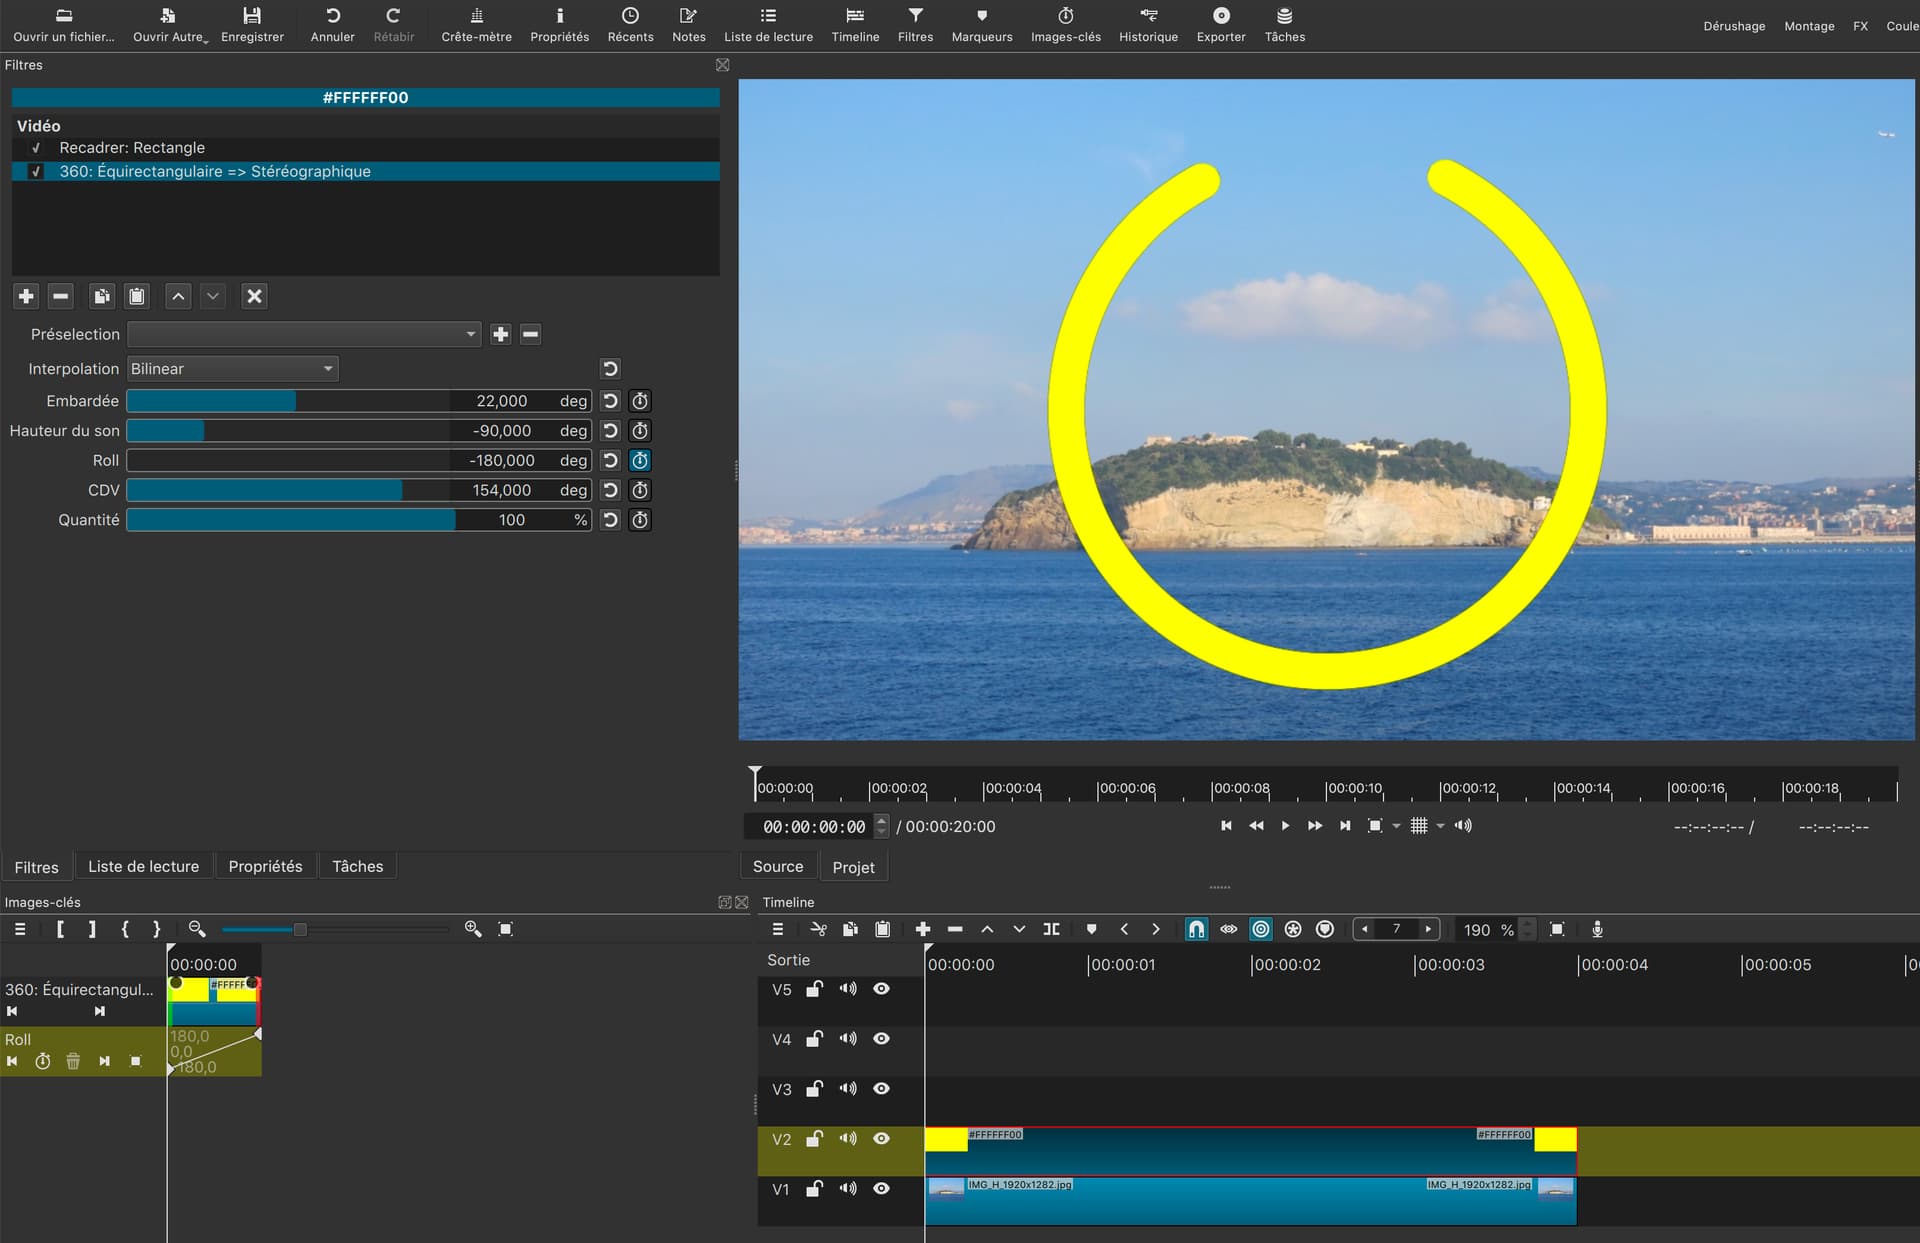
On V2 : A clip of the desired color of the circle (here yellow)
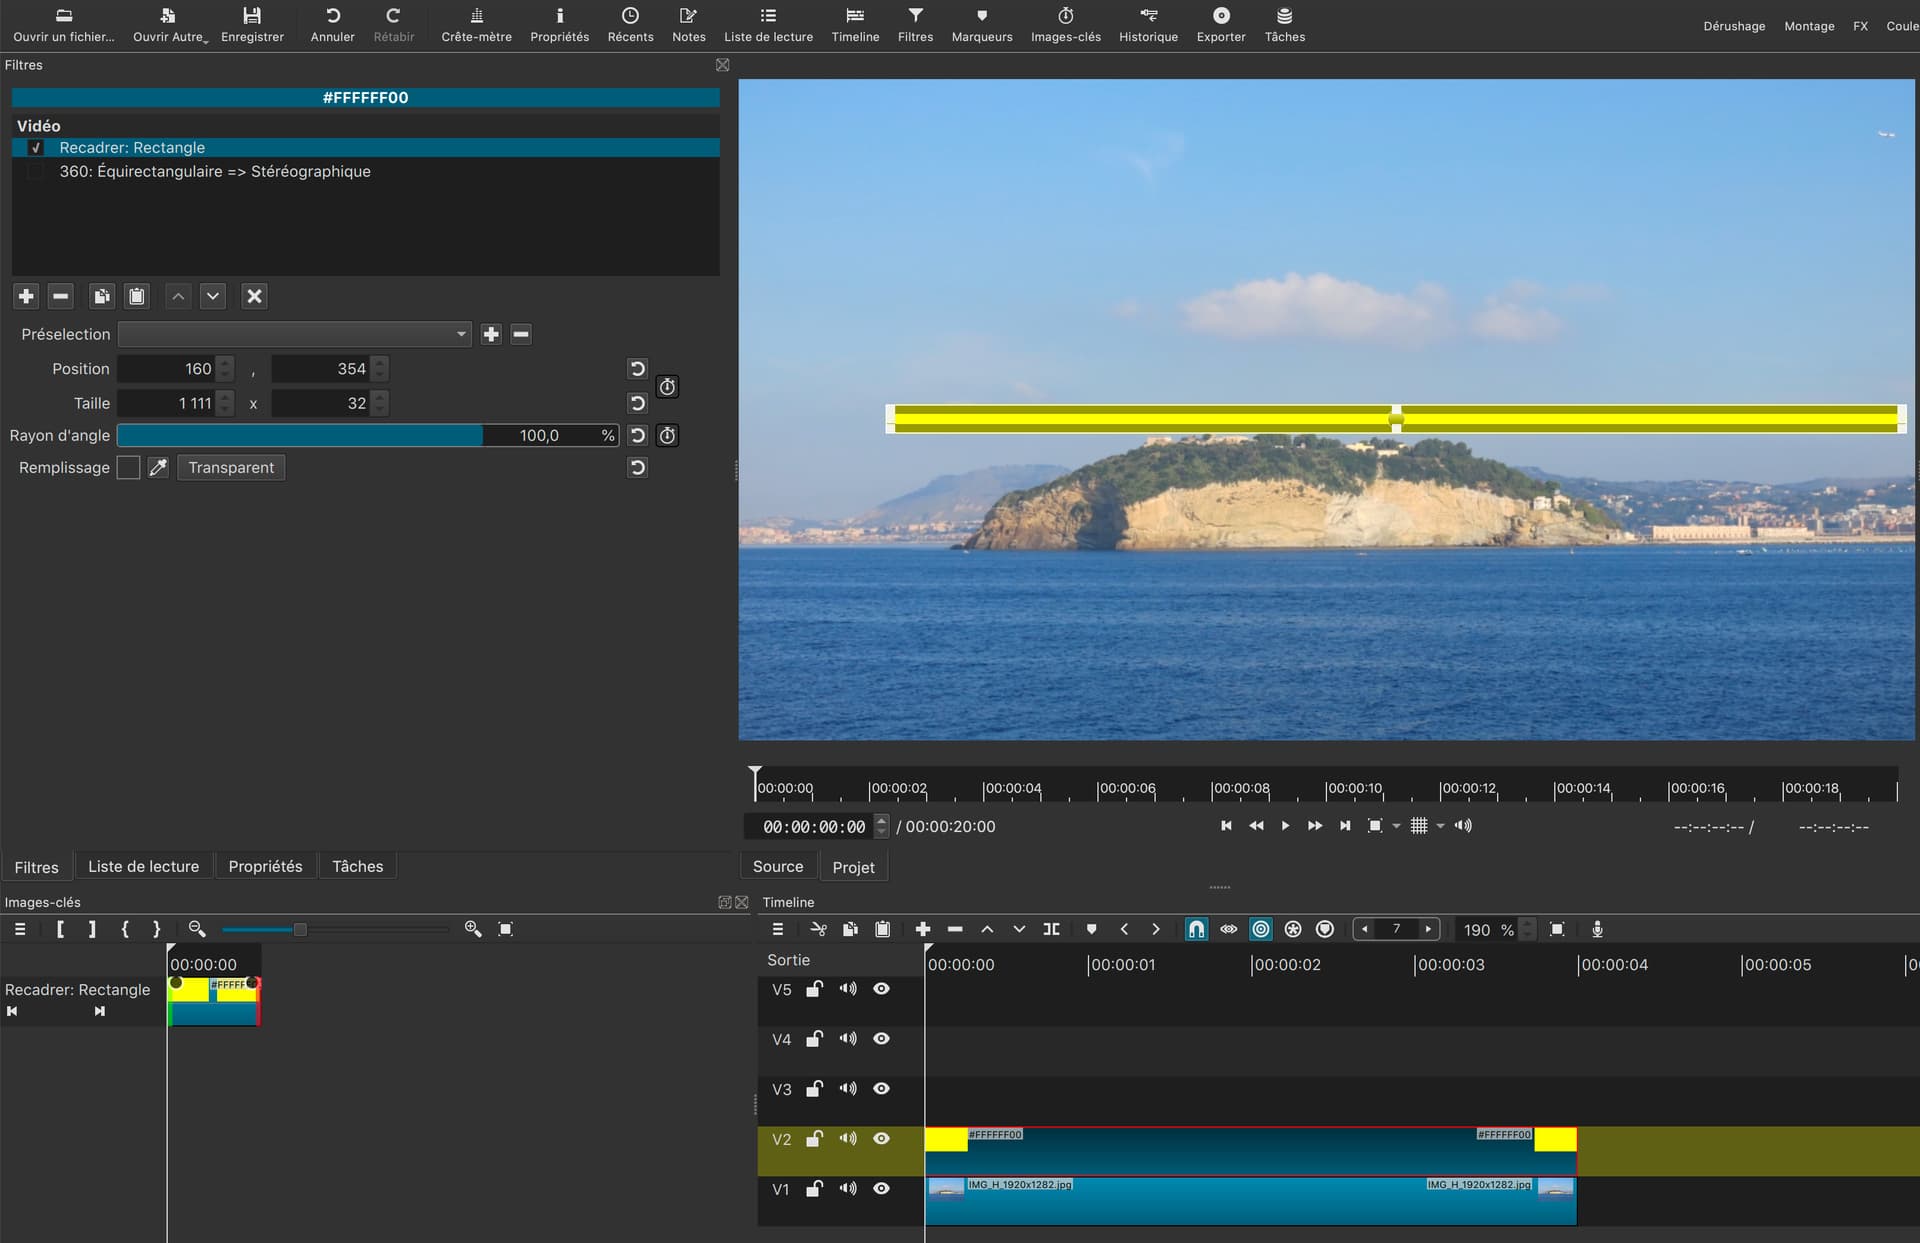
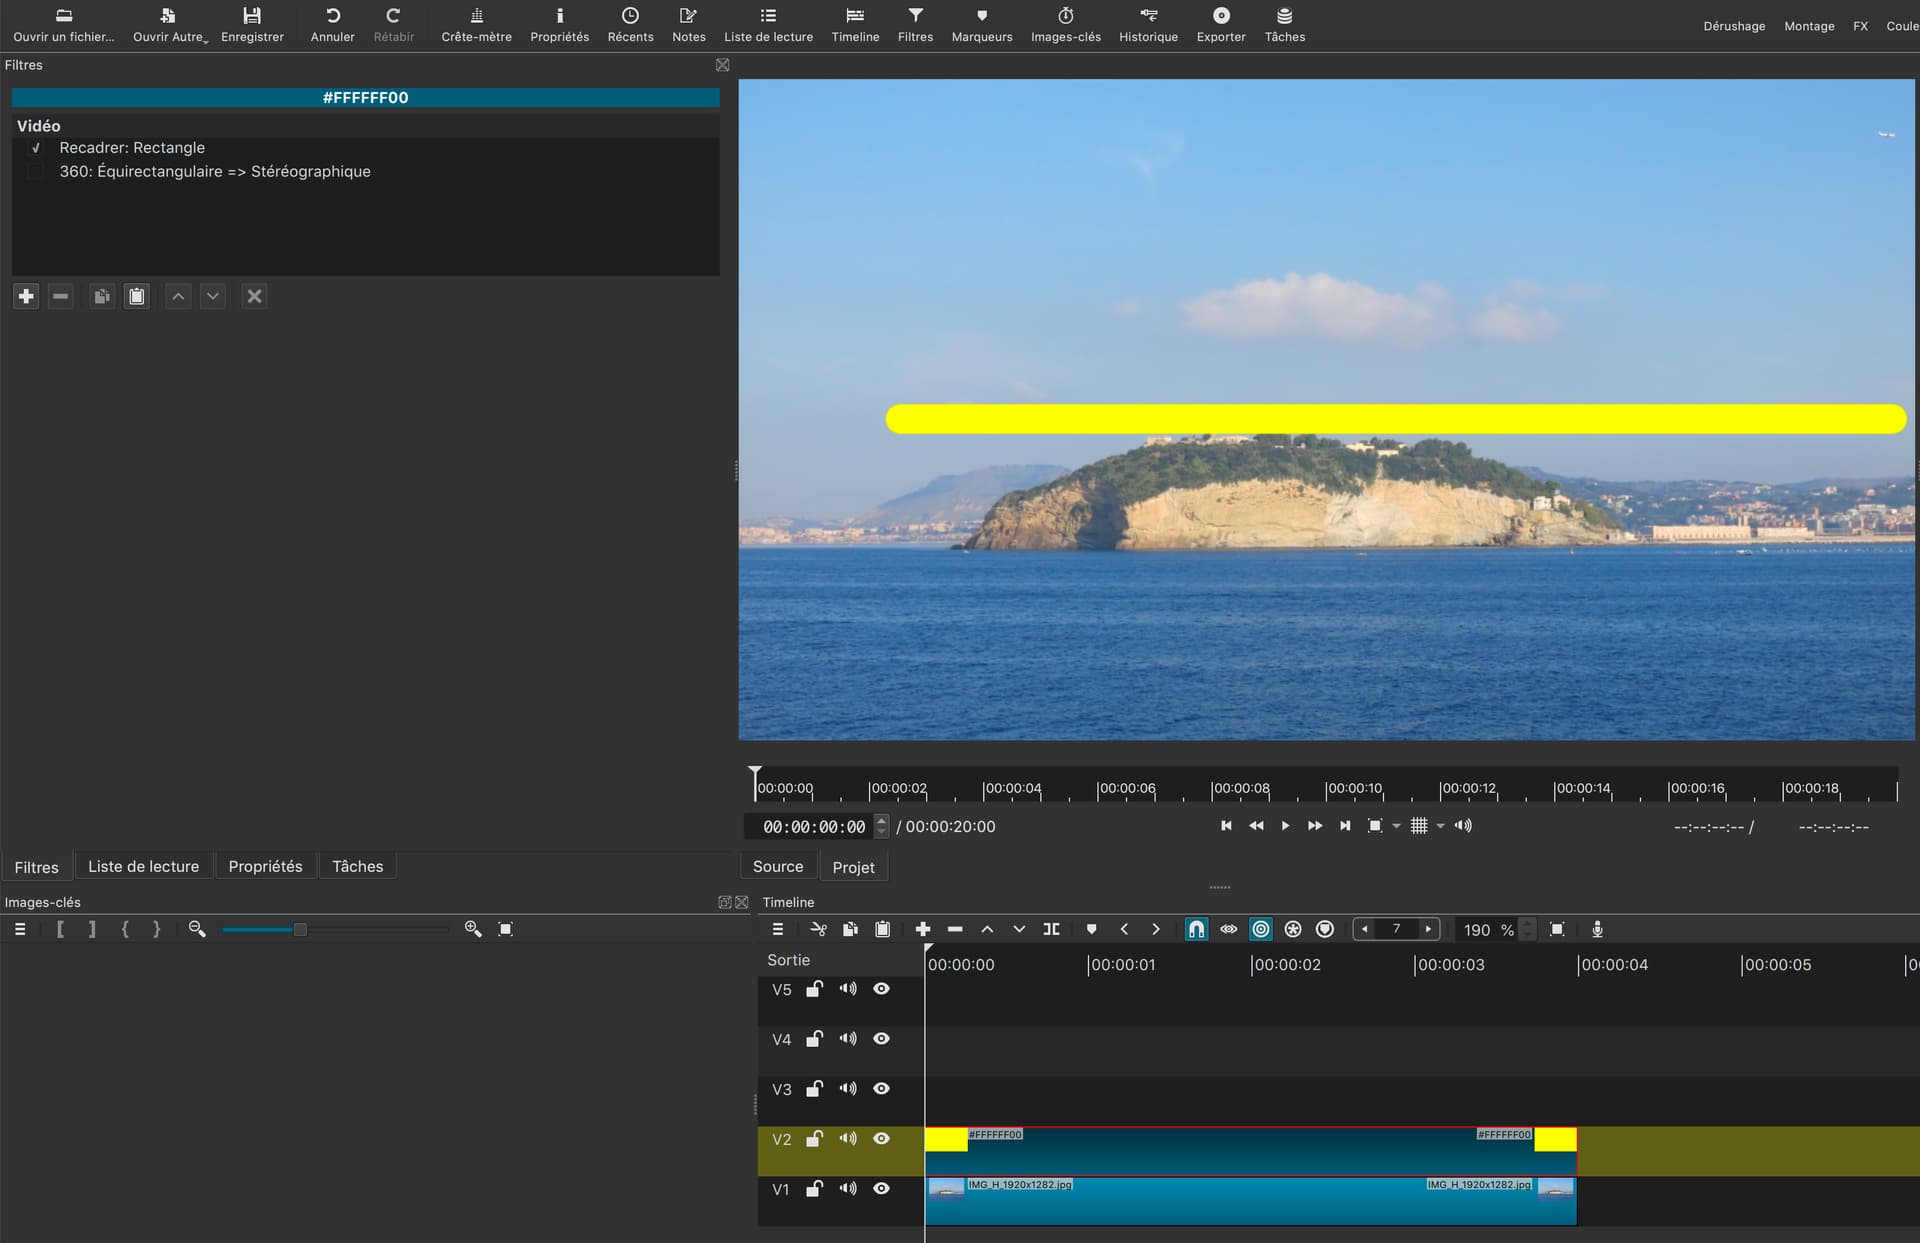
A Crop rectangle filter to draw a line.
Ajuster le rayon d’angle sur 100%, c’est ce qui me permet d’avoir les plus jolis arrondis aux extrémités des lignes. La hauteur du crop donne l’épaisseur de la ligne, et la position sur l’axe horizontal est l’équivalent de la commande Yaw du filtre suivant. Si la largeur du crop est égale à la largeur de l’image, alors le cercle sera entier. Dans notre cas il ne sera pas complet.
Setting the corner radius to 100% is what gives me the nicest rounding at the ends of the lines. The height of the crop gives the thickness of the line, and the position on the horizontal axis is the equivalent of the Yaw command in the next filter. If the width of the crop is equal to the width of the image, then the circle will be full. In our case it will not be complete.
Appliquer le filtre 360: Equirectangular to Stereographic, comme précisé par @MusicalBox Yaw donne l’orientation et Roll permet d’animer la rotation avec des images-clés.
Applying the 360: Equirectangular to Stereographic filter, as specified by @MusicalBox Yaw gives the orientation and Roll allows to animate the rotation with keyframes.
Copier et coller le clip de V2 sur V3
Changer la couleur du clip copié sur V3 dans les propriétés, remplacer jaune par rouge.
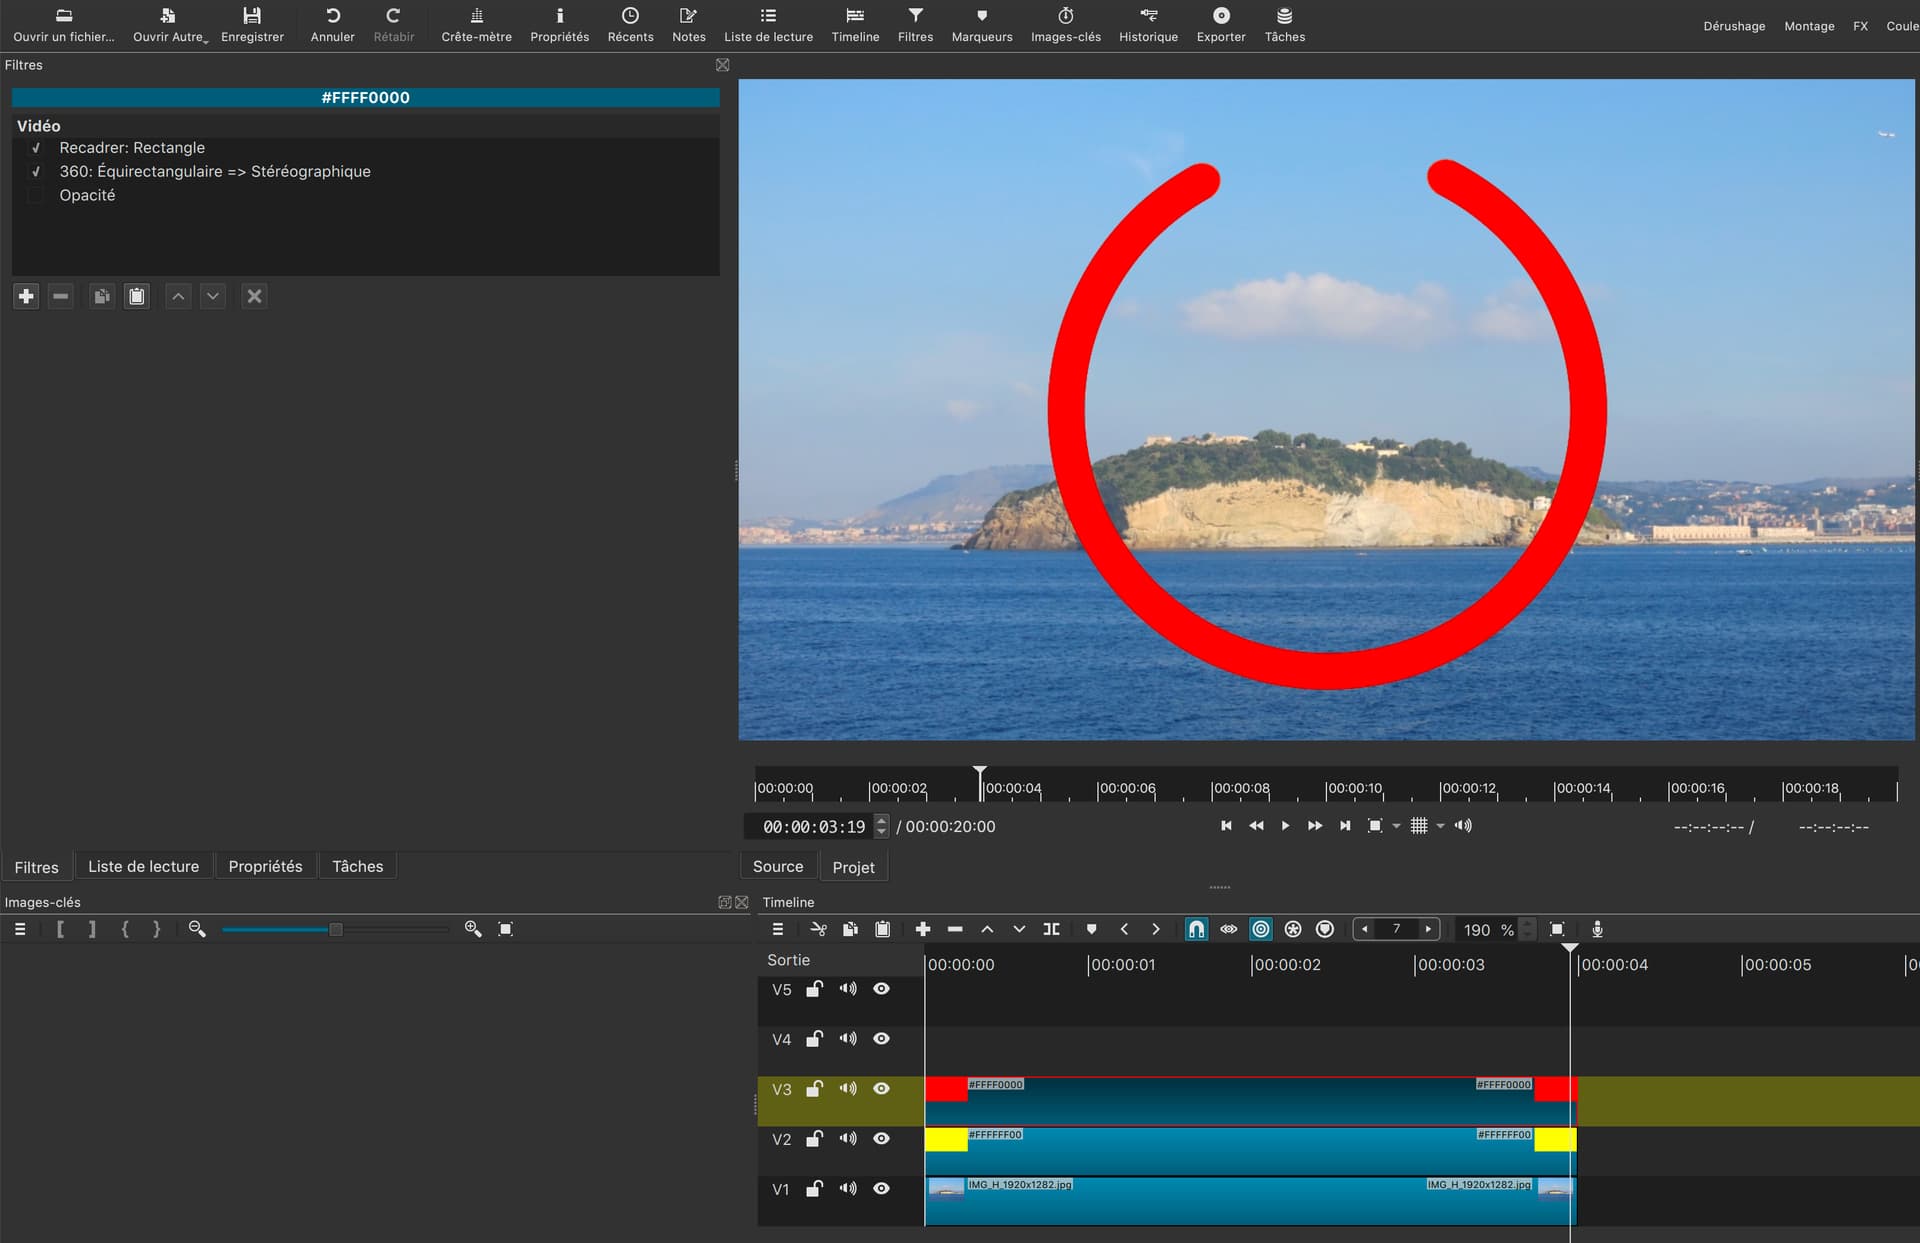
Copy and paste the clip from V2 to V3
Change the color of the clip copied to V3 in the properties, replace yellow by red.
Bien évidemment, le cercle jaune n’est plus visible, le cercle rouge de V3 est au dessus.
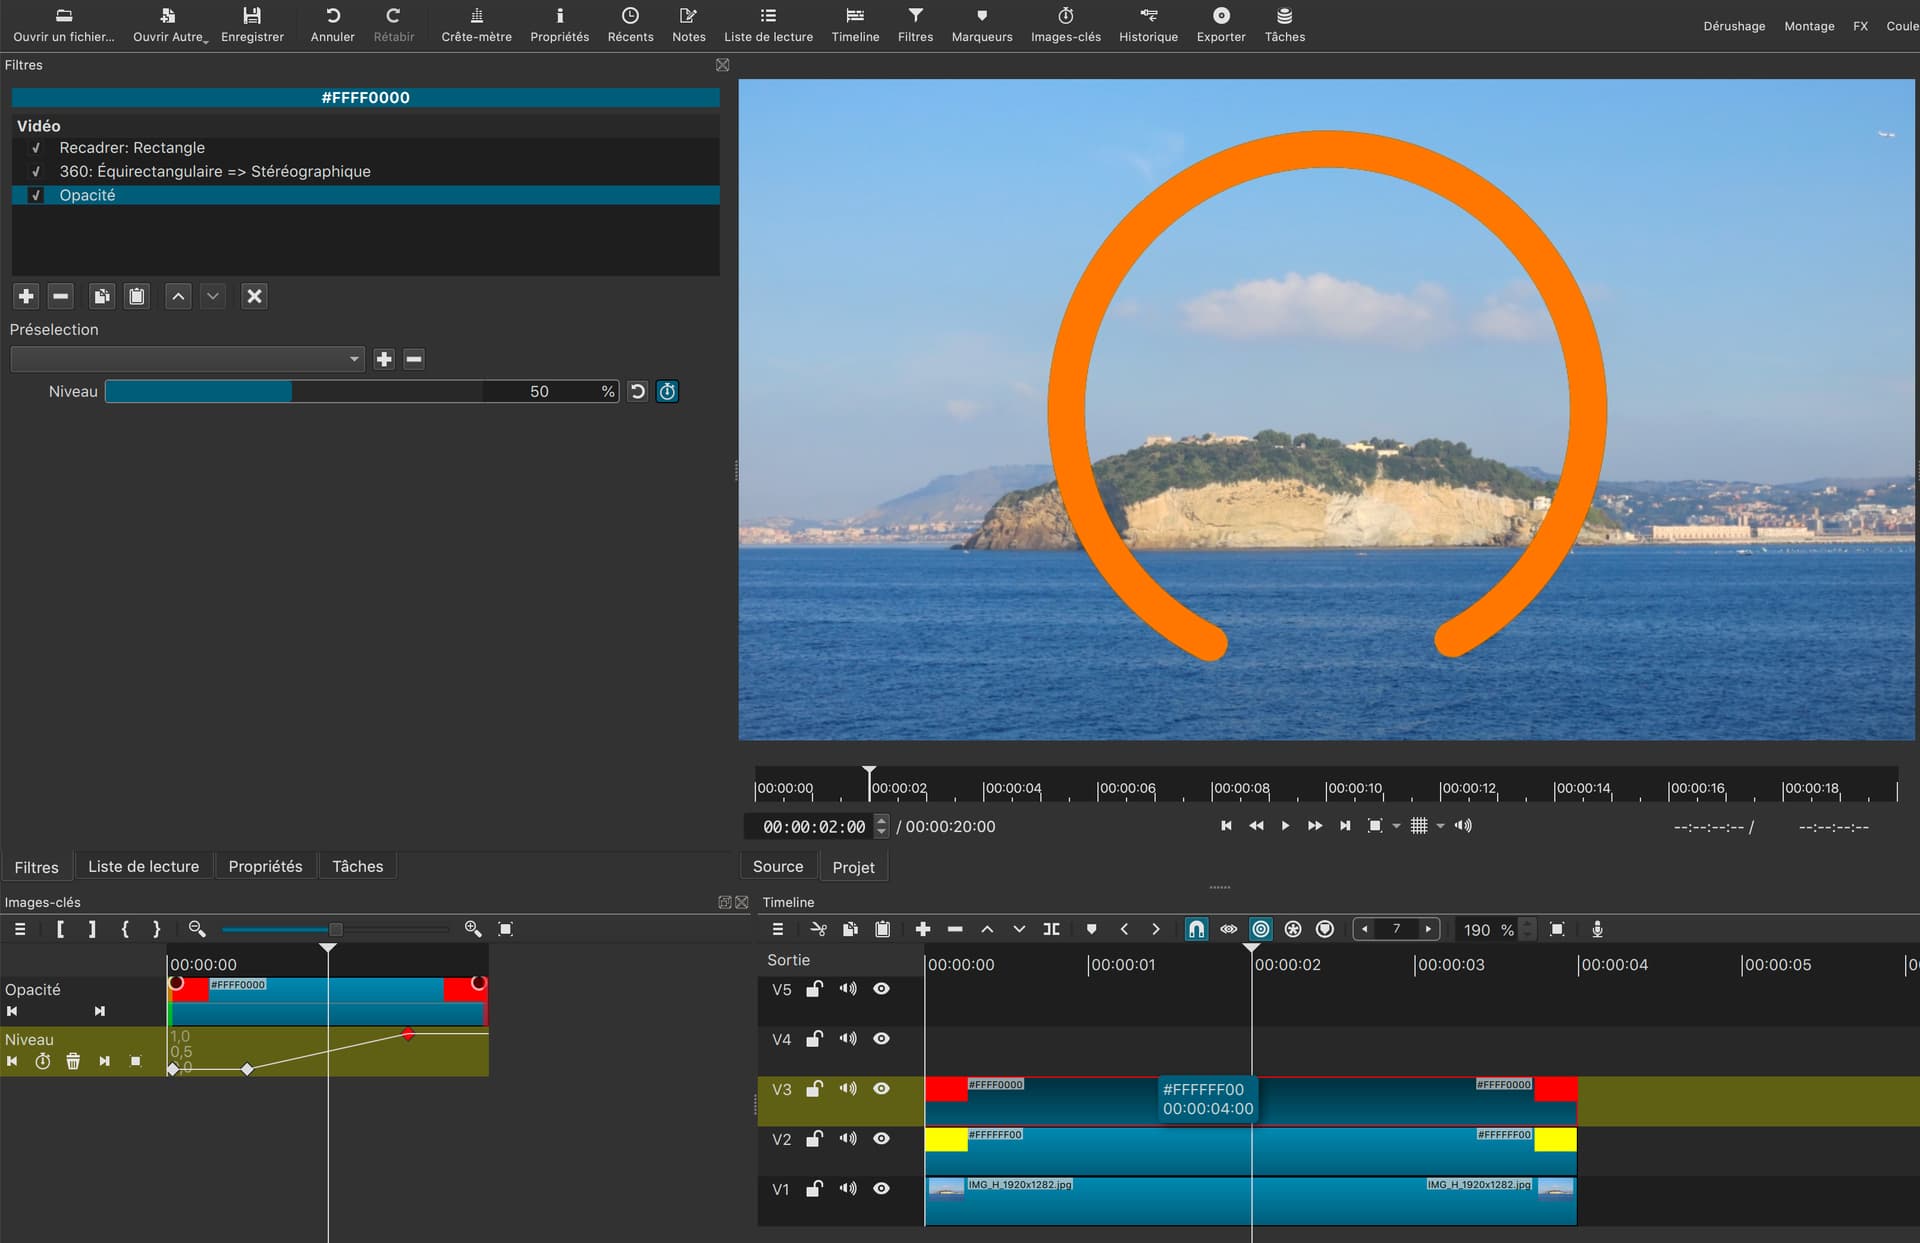
Ajouter un filtre opacité sur le clip rouge de V3 et faire varier l’opacité de 0 à 100% avec des images-clés
Of course, the yellow circle is no longer visible, the red circle of V3 is on top.
Add an opacity filter on the red clip of V3 and vary the opacity with keyframes from 0 to 100%.
Résultat.
Répéter pour les autres cercles.
Result.
Repeat for other circles.
Un point de plus pour vous, je n’y avais même pas pensé. J’avoue avoir triché en employant ma V20 et son filtre Simple shape pour créer la ligne pointillée.
One more point for you, I didn’t even think of that. I admit I cheated by using my V20 and its Simple shape filter to create the dotted line.
Le résultat est là, mais je ne comprend pas pourquoi:
- Vous ne mettez pas 100% pour la valeur du rayon dans Crop: Rectangle
- Vous créez un fond blanc dans Crop: Rectangle que vous effacez ensuite avec un Chroma Key : Simple. Pourquoi ne pas régler directement le fons sur Transparent?
The result is there, but I don’t understand why:
I get some kind of elongated nose, if you put 100%.
Yes, you’re right, it’s easier. I can’t remember why I used this particular method, in the process of experiments I added something, removed something, and maybe I got confused. Thanks for helping make this easier!
Bizarre, j’obtiens de mon coté un rayon parfait en mettant 100%
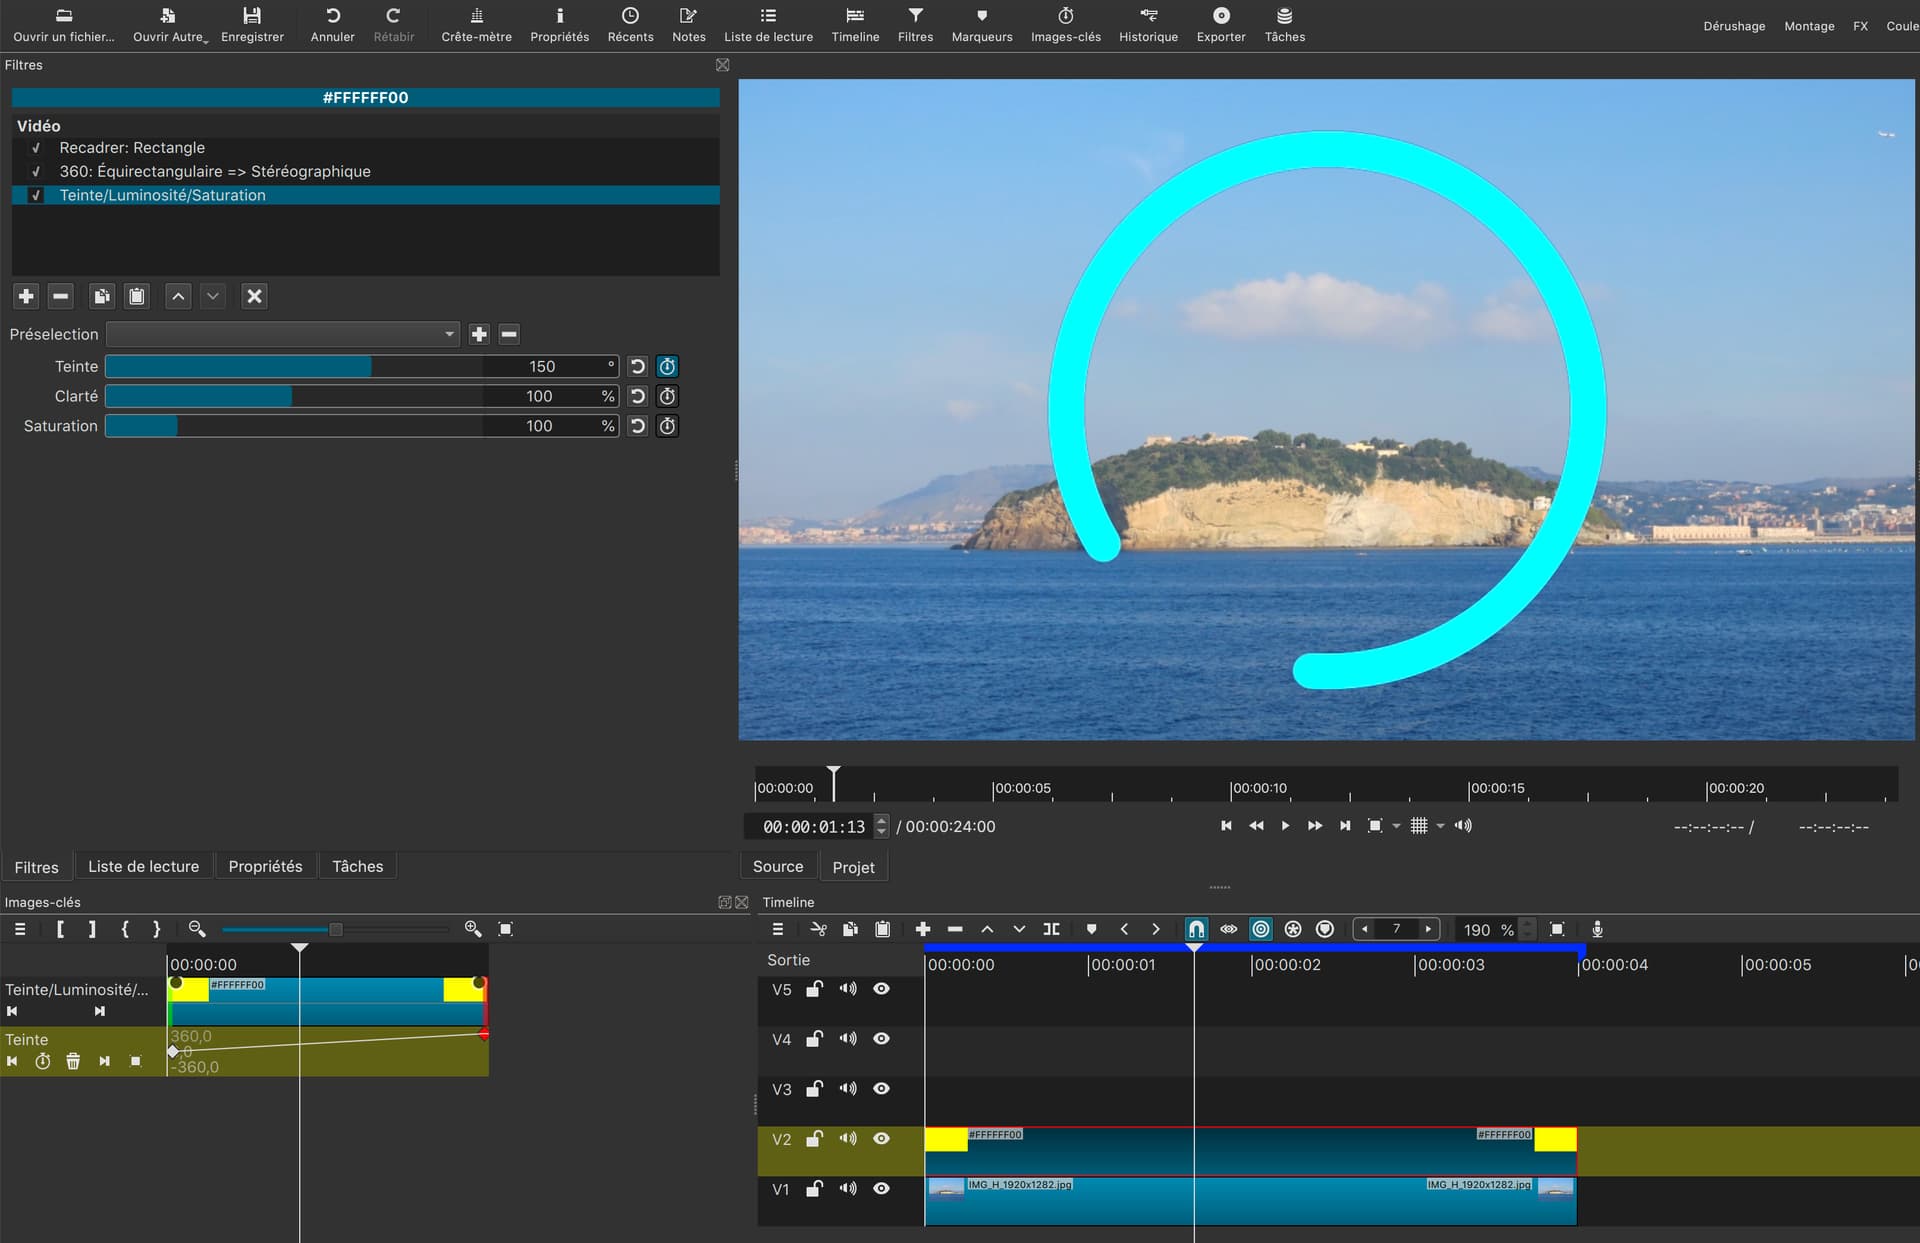
Je retiendrai l’astuce du filtre Hue/Lightness/Saturation qui permet de changer la couleur du cercle sans créer de piste supplémentaire comme je l’ai fait. Bien sûr il faut que l’ordre souhaité des couleurs corresponde à la roue
Strange, I get a perfect radius by setting 100%.
I will keep the trick of the Hue/Lightness/Saturation filter which allows to change the color of the circle without creating an additional track as I did. Of course the order of the colors must correspond to the wheel
I think I understand why I didn’t get the perfect nose.
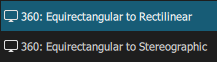
I used “rectilinear”, you used “Stereographic”
Your version is smoother. I will keep this in mind too.
I want to thank everyone for the fact that thanks to this challenge I got a lot of experience ![]()
Here’s how I made a circle rotation effect with cut-out, before I clocked about using the 360 Equirectangular filter.
I’ve first shown the rotating rectangle in RED, just to highlight how it works. Of course later I changed it to black to produce the black and white mask file.
It’s clunky and long-winded - but it works. Downside is that I didn’t get the lovely rounded edges …

Voici comment j’ai créé un effet de rotation de cercle avec découpe, avant d’utiliser le filtre équirectangulaire 360°.
J’ai d’abord montré le rectangle rotatif en ROUGE, juste pour mettre en évidence son fonctionnement. Bien sûr, plus tard, je l’ai changé en noir pour produire le fichier de masque noir et blanc.
C’est maladroit et long - mais ça marche. L’inconvénient est que je n’ai pas eu les jolis bords arrondis…
Here’s my take on creating the dashed rotated circle - before I knew @musicalbox’s great tip of using a text fliter to create the dotted line:

Voici mon point de vue sur la création du cercle pivoté en pointillés - avant que je connaisse le bon conseil de @musicalbox d’utiliser un filtre de texte pour créer la ligne pointillée :