Usually, I downsample my original 4K videos to a resolution of 1920x1080 which takes around two hours for 20 minutes of video which is o.k. for me.
The recent video I needed to further downsample because I needed to create a smaller final file in order to upload it to the Web. When I did that, I made an observation that I can remember I already made months ago:
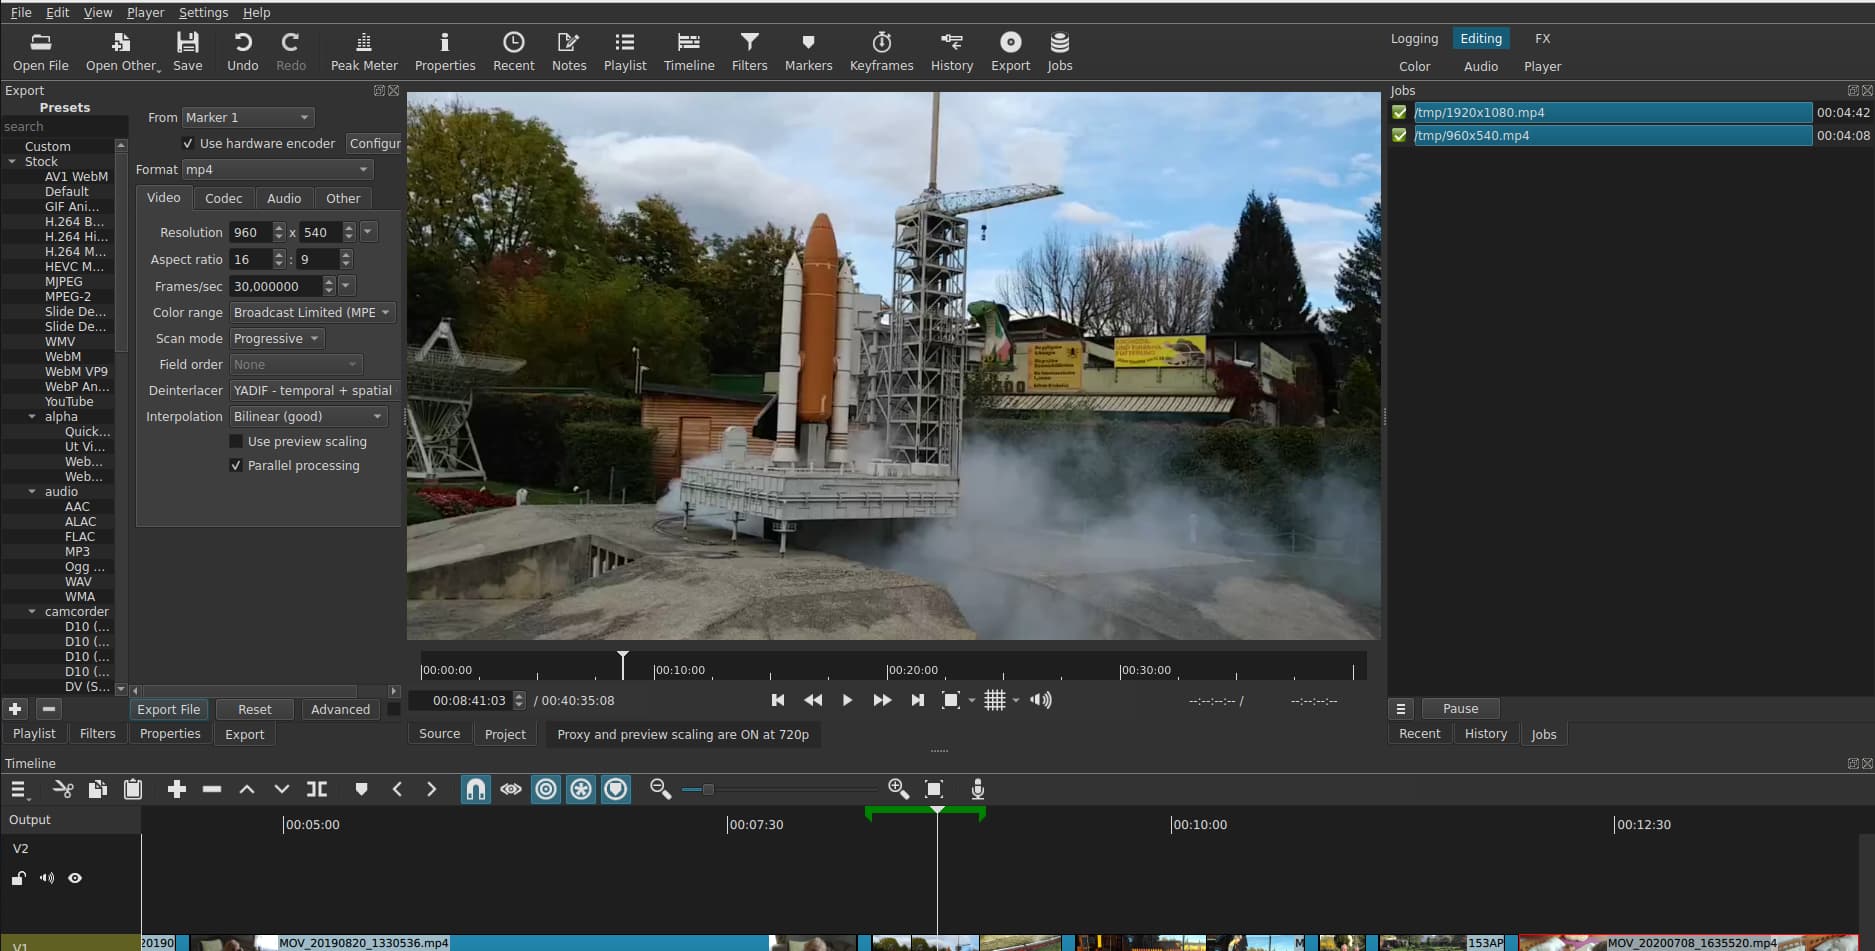
40 minutes, 3840x2160 → 1920x1080 took 5 hours
40 minutes, 3840x2160 → 960x540 took 9 (!) hours
(the only difference in export settings is the resolution)
That really baffles me… Why does downsampling to a 4 times smaller result (in terms of gigabytes) take almost twice the time? Intuitively I would expect “smaller” means “faster”…
Can you explain how this behavior can make any sense?
My goal is to export the smaller resulting video at least as fast as the larger resulting video.
Maybe because you are changing Export > Video > Resolution instead of Video Mode (against advice repeated here on almost a daily basis).
Or if you want to use Shotcut like a transcode tool, then you need follow a specific workflow to prevent running into things put into place to protect complex timeline projects. For example, for that use case, start a new app session (or use File > New or Close), set Video Mode to Automatic, and only add media to the Source player (never Playlist or Timeline). Now, you can freely change Export > Video > Resolution with intended results. Otherwise, you are creating a project with an established resolution, and any changes to Export Resolution is potentially two resamples: once to project resolution and second to export resolution.
Sorry but it is somehow foreseeable that the advice is not adhered to by many people. It is just counterintuitive. Even though I read about video mode in the past, it would not have made sense to me to see it in conjunction with (temporary) export settings, simply because it is recommended to set it only once when starting the project and to never change it afterwards.
The page Video Mode tells me about Video Mode: “It is important to set this as you desire at the beginning of your project. If you try to change it later Shotcut will try to retain the timing of edits, but some users have reported problems, and it is risky.”
Still I do not understand how I can export in two different resolutions (I consider that a reasonable and even frequent use case) if I should not change video mode once set… please clarify.
When not adding media to the timeline, as you suggest as an alternative, how should I then cut the clips?
For somebody who is not involved in developing the app, that is very confusing…
The data flow I need is quite simple: take the original video files (unchanged), clip them on the timeline, then export them to different resolutions…
It is only counter intuitive because you are trying to use a tool that provides multitrack editing with effects for a simple use case. If you cannot work with the guidance I already provided then perhaps use a simpler tool for a simpler job. BTW, you can trim (“cut the clips”) using only the Source player as well as apply filters and even use keyframes. However, if you need to do something involving multiple clips or sub-clips in one go then it gets into timeline or playlist. Shotcut is not well suited for your “The data flow I need is quite simple…”. Someone can think it should be simple to that and then add one little effect that suddenly breaks the assumptions (but I just needed to do one more little thing). Feel free to try changing video mode.
So is the conclusion: Exporting to two different resolutions after cutting videos using the timeline is not supported which is the reason for my huge discrepancy in export times?
Sorry, I am really trying to but I do not understand what is possible with the app and what is not. Is there a thread that already clarifies that question?
It is supported, but it is just slower as you already learned. There is nothing that will clarify everything for you - I doubt not even reading all of the source code. Moreover, I am not available any longer to discuss this and clarify any further.
Sure, it obviously takes more resources (at least that is what my observations of the CPU loads tell me: both cases have similar CPU percentages but the second case for a much longer time).
However, I think knowing the cause is the key for solving that problem…
This seemed very off to me and I did a quick test with a 1.5minute 4k clip (in a 4k video mode) and just changed export settings. I get faster exports with lower res (well at the extreme 480x270 it’s barely faster)
I don’t know why it’s different for you, maybe select a 1 minute range and try different stuff (enable/disable filters, effects, resolutions etc) to see how export time is affected.
Many thanks for your quick test. I started the exports again so that I can post screenshots as well. Already the estimates were different so it should not take 5 or 9 hours until I have the screenshots ready
Thanks. I already used the marker-defined exports several times for debugging filters. They are really very useful. Now I just need to find a representative part of the video to do a partial export.