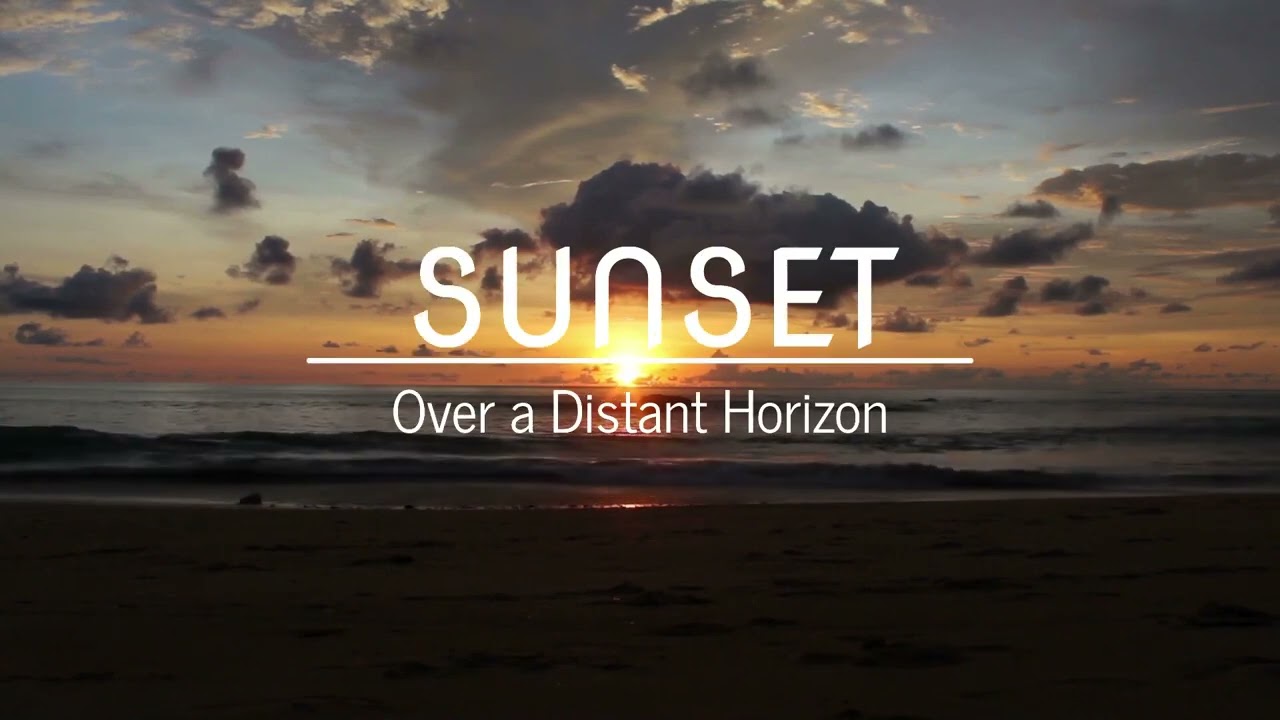
I created this animated titles template earlier today:
Grab it if you like it!
It’s free.
Spin Titles Template.zip (6.0 KB)
Instructions
Download and decompress the ZIP file
There are two MLT files in the package that you can use as templates.
Spin-title-01_3-seconds.mlt The title stays static for 3 seconds.
Spin-title-01_4-seconds.mlt The title stays static for 4 seconds.
You will also find a TXT file with a copy of these instructions.
Aside from the total length of the animation, both MLT files are identical and work the same.
The Video Mode used is 1920 X 1080, 30 fps
How to use these files
Open the MLT file of your choice in a blank session of Shotcut.
You will see these 4 tracks in the Timeline:
Background track:
The clip on this track is black and semi-transparent.
It it used to darken any content under the titles, making them easier to read.
Select the clip and go to the Properties panel if you want to adjust the color of the clip and/or its transparency.
Line track:
The clip on this track is used to generate and animate the white line.
To edit its color, select the clip and go to the Properties panel.
Unless you are an experienced user, I don’t recommend you change anything else on this track.
Top Title and Bottom Title tracks:
You can edit many of the parameters of the Text: Simple filters on these two tracks.
What can you edit?
- Obviously, you can replace the default text.
- I chose the Boris Black Bloxx font in the templates. But you can use any font you like.
- You can change the font size, color and outline.
- If you change the default font and/or the size of the font, you will probably need to also adjust the vertical Position of the text.

I don’t recommend you modify the other parameters, but of course you are free to experiment if you want.
The only real restriction is to make sure that your titles do not exceed the width of the middle line.
When you are done editing the template, you have 2 options:
Option 1: Save As…
- Save (File > Save as…) the template under a different name (ex: myproject_titles01.mlt)
- In any project where you want to use this animation:
- Go to File > Open MLT XML As Clip…
- Navigate to the folder where you saved your MLT file
- Select the file and click on Open.
The animation will start playing in the viewer. Grab it there and drag it to the timeline or to the Playlist.
NOTE: Like I said above, the template Video Mode is set at 30 fps. You may experience compatibility problems if you open it in a project with a different framerate. If you notice any odd behaviors, try Option 2.
Option 2: Export as a video clip with alpha
-
Go to the Export panel.
-
In the Presets list, choose the Quicktime Animation preset. If you don’t see it, click to open the alpha sub-list.

-
Click the Export File button.
-
Drag/Import the resulting video clip in any of your projects. No need to add a Chroma Key or a Blend Mode filter. All transparencies are preserved when exporting with the Quicktime Animation preset.
I did many test and didn’t find any bugs in the templates. But nobody’s perfect.
So if anyone finds something wrong, report it here. Please and thank you.
Enjoy!

 … (I think it’s already used somewhere).

