Text: Rich would be nice with more options

With Text: Rich i have written some text in 2 languages in a table in order to display it simultaneously in German + English in a video tutorial.
The functions of Text: Rich are unfortunately very limited.

How can I round off the margin-corners?
Do you use an external html editor for this (which one) and import the html-code?
I tried to edit the html file manually, but only a few changes are displayed in shotcut.

An older shotcut with text: html (v 20.07.11) i tried, too.
But it opens not my newer SC-projekts and also does not have a table function.

Here you can see an older Stream with text: normal.
https://youtu.be/60aZORySDIA?t=12
Now i will do with Text: Rich in a table with rounded Borders (for better looking)

There are ways in Shotcut to round off the margin-corners.
You could add a Crop: Rectangle filter for example.

In the Text: Rich filter, leave the background color to transparent.
Change the color of the clip instead.
Then add a Crop: Rectangle filter.
Adjust it’s size.
Set the Padding color to Transparent.
Change the Corner Radius to about 20%

2 Likes

Thank you for the idea.
It would work with my linked video. Even with text only: normal.

In newer (not yet published) videos, I have the text appear in a table with visible white borders.
Only these margins should be rounded.

I can’t seem to do that with your solution.

Can you share an example of what you mean? I’m not sure I understand what you mean by the text appear in a table

Something like this picture:
https://cdn.educba.com/academy/wp-content/uploads/2019/12/table-border-in-html3.png.webp

Margins of the table (white) should be rounded.
The text (also white) in the table with a transparent black background.
I have already done that. The only problem is that I can’t get the white borders to be rounded, but angular.

This filter is inherently limited by the library we use - Qt. They are not growing it, and I doubt we will or the open source community in general.

Shotcut has an Insert Table menu item in its editor.

I suggest to use the included Glaxnimate to draw the border element. You can also try to use another tool such as a presentation tool to make the text with graphical elements and save it is as PNG with transparent background to include in Shotcut.

Here’s a picture of my current project

Only the 4 outside corners (with white borders) should be round.

Glaxnimate is a great additional feature, but (for me) very complicated.

An image is no good solution because the text is changed several times in the same project and in other projects.

Ok, now I see what you mean.
I think it’s doable with Shotcut filters, or, as @shotcut said, with Glaxnimate.

But what would be great for you is a HTML template with some kind of script that would export a PNG image of the table borders, semi-transparent table background and text on a transparent background.
You could import the PNG images in your Shotcut project instead of using the Text filters.

I think @Elusien would be more than able to create such a template. It could include many configurable parameters, such as:
Project size.
Table size and position.
Table corner radius value
Table background color
Table border color
Table background transparency
An input for each cell. Example: Text in cell 1, Text in cell 2, text in cell 3…
Etc…

Glaxnimate is not difficult for simple things especially with no animation and for simple shapes. Oh well.

1 Like

Thanks, i will take a look on his page.

I tried Glaxinate for some speech bubbles. It was frustrating when I tried to use it several times in the same project.
For 1 Video ok, but not the right way (for me) when I create hundreds of videos with different texts.

I looked on his website.
Almost all effects don’t seem to work with newer Shotcut versions (higher 20.07.11)?!

Partly you have to film the screen for text effects, if I understood correctly.
This seems to be very time-consuming for many texts per project.

Hi @thegrobi , is it important for you to have the text in a table? As alternative I made this demo to demonstrate how I might do it.

How I made it:
V1: video/photo
V2: Black colour clip, cropped with rounded corners (following @musicalbox’s advice)
V3: Text:simple filter (German text)
V4: Copy of text:simple filter but with English words
V5: Black and white “gradient line - expanding out/in” mp4 video which I made for other projects. I applied a Blend Mode(ADD) filter to remove the black background.
I faded the clips in and out… see screenshot:

PS - just FYI, the gradient line MP4 I mentioned above was first mentioned by me in this thread:

*Il est tout à fait possible de faire ce que vous souhaitez avec l’ancienne version 20.07.11 en installant les filtres Text: Webvfx et Simple Shape disponibles sur le site d’ @Elusien *
Si votre projet nécessite les fonctions des nouvelles versions, il vous suffit d’exporter l’image du texte (réalisée avec l’ancienne version) et de l’importer sur une piste supérieure dans votre projet avec la nouvelle version.

It is quite possible to do what you want with the old version 20.07.11 by installing the filters Text: Webvfx and Simple Shape available on the site of @Elusien
If your project needs the functions of the new versions, you just have to export the image of the text (made with the old version) and import it on a higher track in your project with the new version.

2 Likes

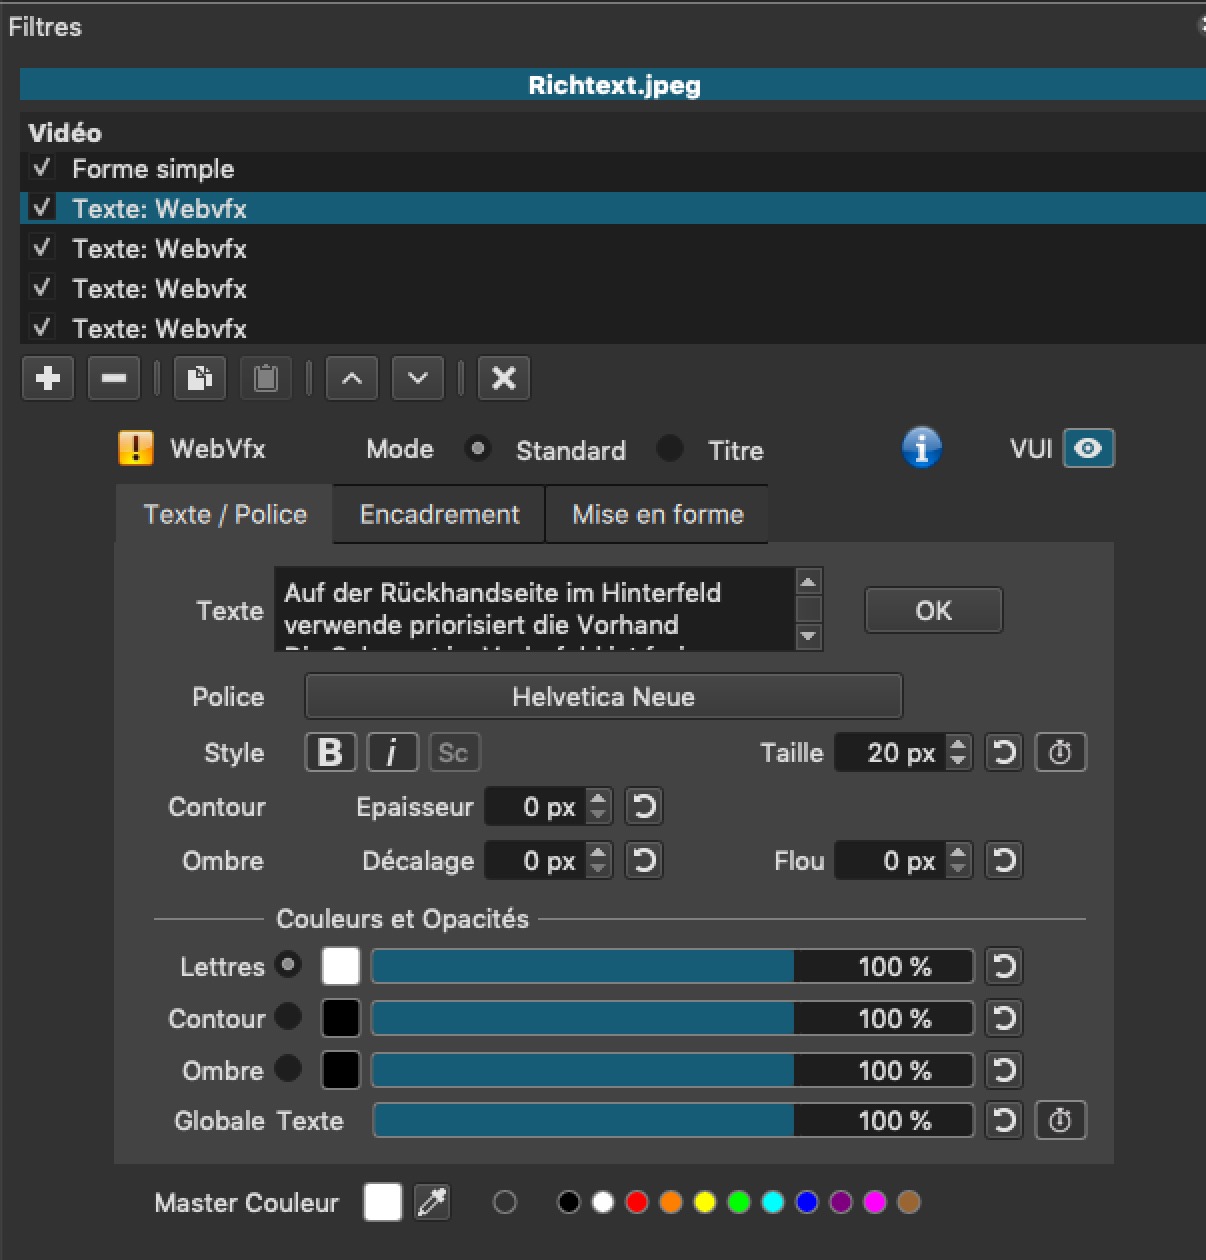
Shotcut’s Text:Rich filter is based on Qt’s RichText framework: Rich Text Processing | Qt GUI 6.4.2
which has a restricted subset of HTML and as such is not something that Shotcut’s developers can influence.

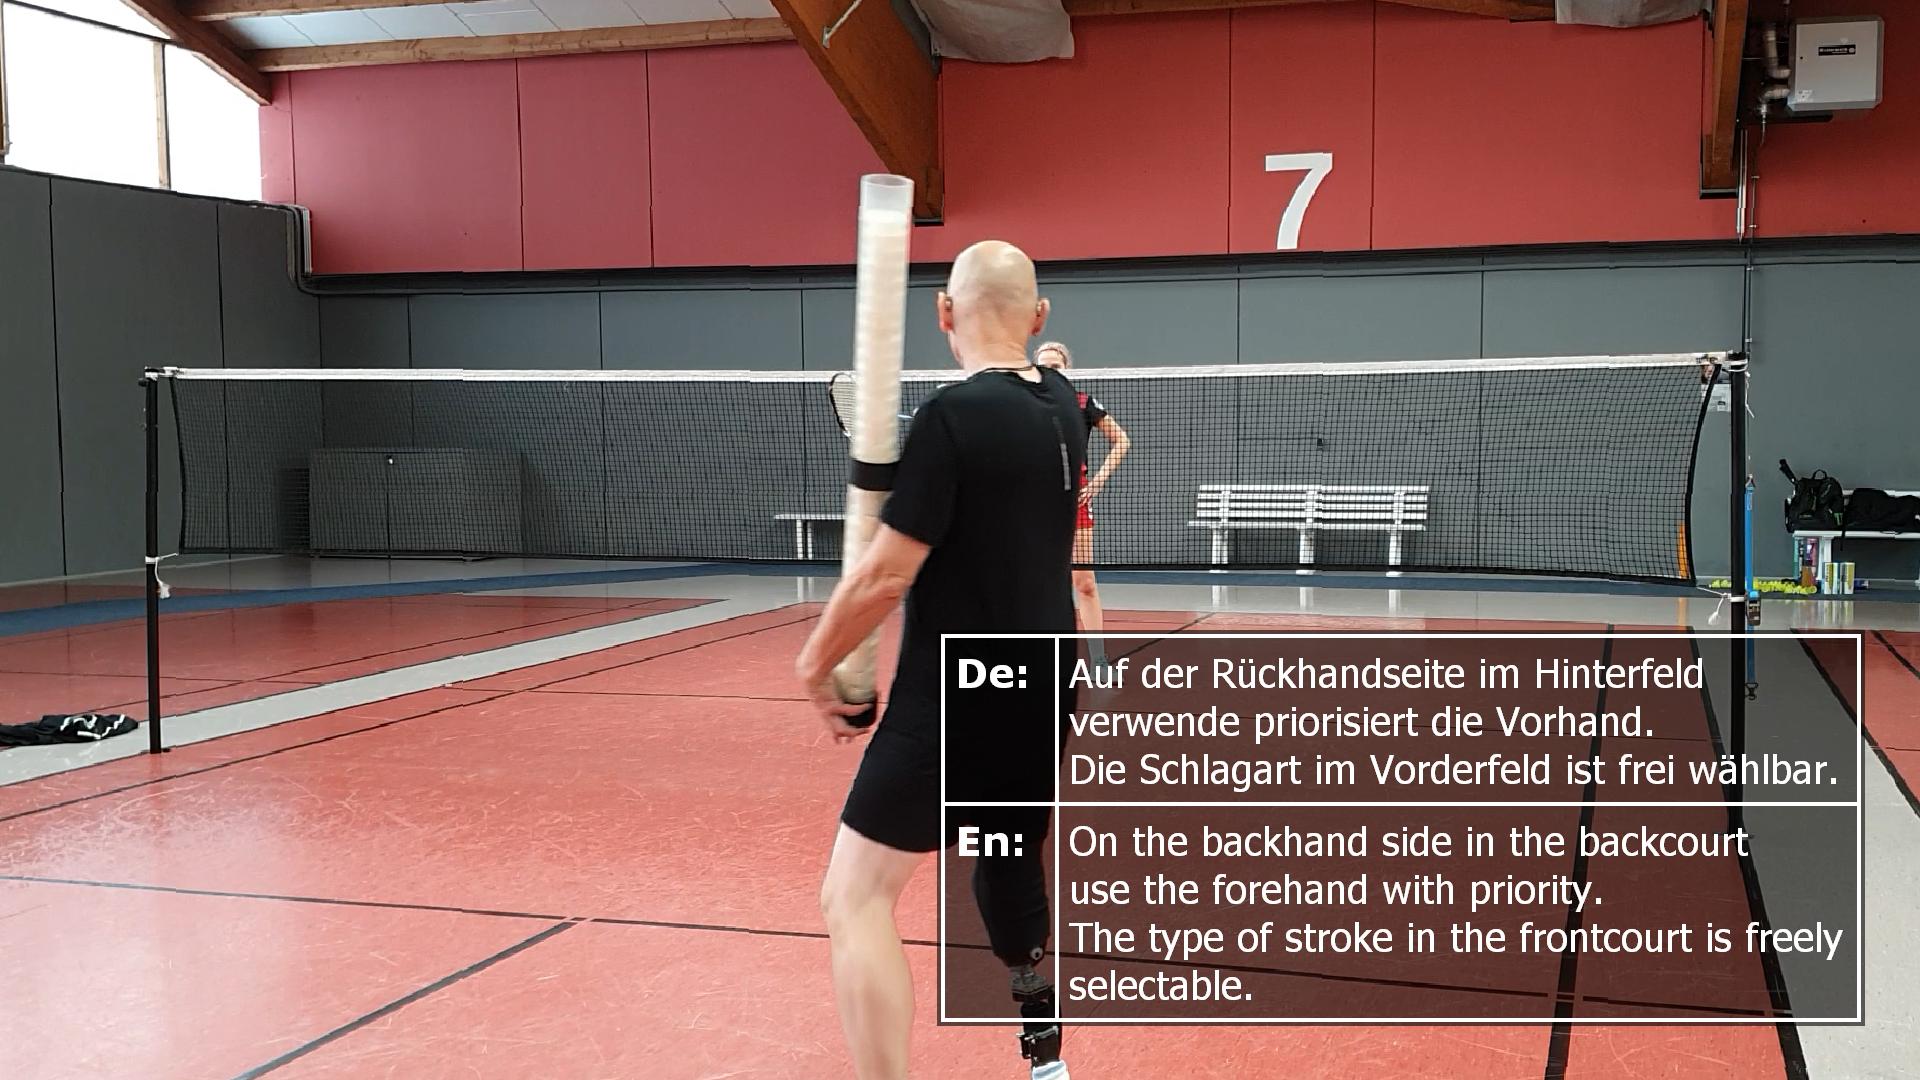
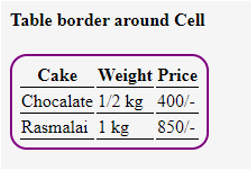
Text processing software (like LibreOffice Writer) don’t seem to allow rounded corners on tables. Namna’s solution is a good one. Dan’s suggestion for tthe use of Glaxnimate may be good, but I have yet to get to grips with using this software. HTML allows rounded corners, but it requires a bit of jiggery-pokery to get it to work well if the cells themselves have borders.

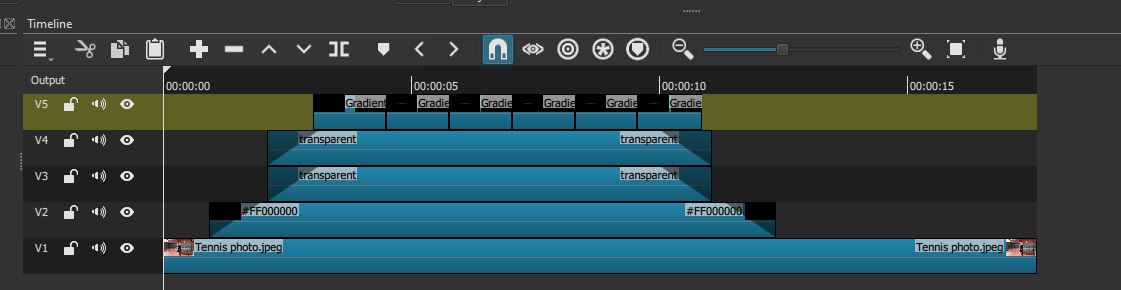
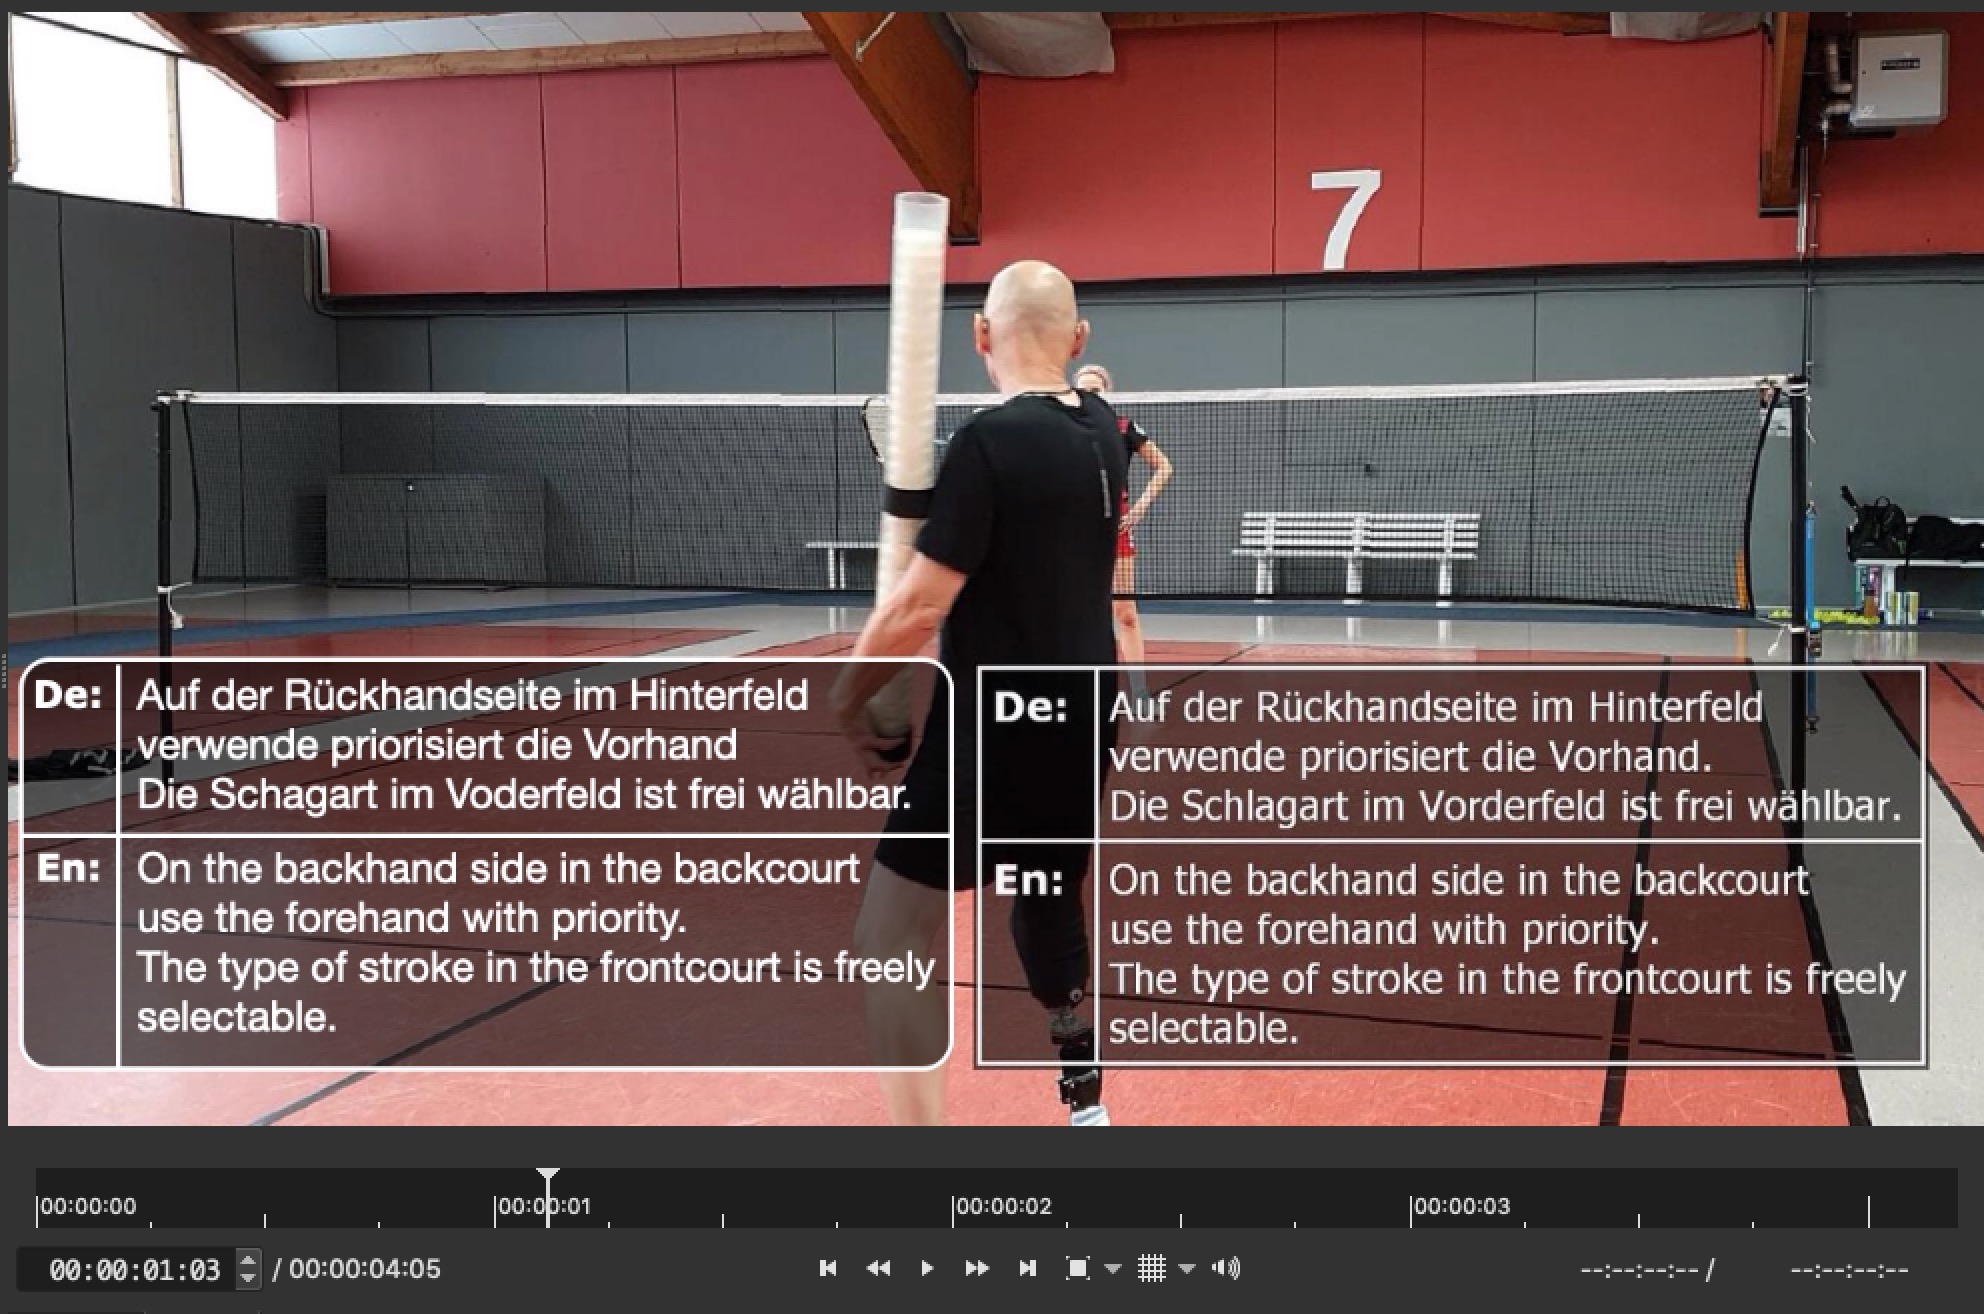
I have created an HTML file that allows you to input text into the cells, set their size, colour, font, border size and colour, position of the table on the screen etc… Once you are happy with the result you click on an “Export” button and a PNG file is dowloaded which has a transparent background and the table in the correct place. You can then input this PNG as an overlay on a transparent track above your video footage.

Just download the following file, remove the .txt suffix and run it in a browser. It is highly parameterised so it should be easy to change parameters by editing the file, then use it over and over again - simple.

Rounded_Tables.html.txt (6.9 KB)

Le filtre Text:Rich de Shotcut est basé sur le framework RichText de Qt : Rich Text Processing | Qt GUI 6.4.2
qui a un sous-ensemble restreint de HTML et en tant que tel n’est pas quelque chose que les développeurs de Shotcut peuvent influencer.

Les logiciels de traitement de texte (comme LibreOffice Writer) ne semblent pas autoriser les coins arrondis sur les tableaux. La solution de Namna est bonne. La suggestion de Dan pour l’utilisation de Glaxnimate est peut-être bonne, mais je n’ai pas encore maîtrisé l’utilisation de ce logiciel. HTML autorise les coins arrondis, mais il faut un peu de zigzag pour que cela fonctionne bien si les cellules elles-mêmes ont des bordures.

J’ai créé un fichier HTML qui vous permet de saisir du texte dans les cellules, de définir leur taille, leur couleur, leur police, la taille et la couleur de la bordure, la position du tableau à l’écran, etc. Une fois que vous êtes satisfait du résultat, vous cliquez sur sur un bouton “Exporter” et un fichier PNG est téléchargé avec un fond transparent et le tableau au bon endroit. Vous pouvez ensuite saisir ce PNG en superposition sur une piste transparente au-dessus de votre séquence vidéo.

Téléchargez simplement le fichier suivant, supprimez le suffixe .txt et exécutez-le dans un navigateur. Il est hautement paramétré, il devrait donc être facile de modifier les paramètres en éditant le fichier puis utilisez-le encore et encore - simple.

1 Like

@namna and @elusien - fantastic. There’s a wealth of creativity here…

@elusien - I knew that would be a piece of cake for you … :wink:
I can offer another method: I did this just using Shotcut (latest version) - basically using it as a graphics design program:
First, I made this, using black and white colour clips, Crop and SPR filters, then exported as a frame:

Then imported into the photo and added text filters:

Took about 5 minutes.
In retrospect I should have made the lines a little thinner…

For me, @elusien’s HTML file would be the easiest option.

I agree. The main problem with the other solutions is that the table varies in size, depending on the text the OP puts into it. So each time you probably have to use a Size, Position, Rotate filter. This has several problems:

  • It is computationally epensive.
  • It’s fiddly to get right.
  • The border size could be different from table to table, depending on how much resizing needs to be done. Especially as you would only be resizing in the vertical direction, so the vertical line-width may not match the horizontal.

With my HTML file you set the parameters you want once and save the changes, then for each table you just insert the text on the webpage, click the “Export” button, then change the text and hit the “Export” button again for as many tables as you require. You then input the generated PNGs into your Shotcut project and move the clips to the relevant position on the timeline - simples!

I HAVE PUT A NEW VERSION UP FOR DOWNLOADING IN POST #16

This restores the “Export” buttone once the PNG has been downloaded so you can then just overwrite the text in the two cells and press “Export” again, rather than having to reload the HTML file each time.

1 Like

@elusien - this is genius. You never cease to amaze!!

Just one thing - wouldn’t it be a good idea to be able to make the PNG have a totally black background (and also a black the grid background) with just the grid lines and text white? Then you could just apply a Blend mode (or Chroma-key) to make the black disappear…

OK, scrap that! I realise what you did, to make the background of the grid semi-transparent. D’OH! My mistake… apologies…