Here is Part 1 of 2 tutorials to show how to create animated text and line effects with Shotcut using only the Text:Simple and Crop:Rectangle filters. Part 1 is very much intended for beginners; it goes into a good bit of detail on how to set up the basic line and text without animation, offering explanations and alternatives along the way.
Part 2 will move much faster, just focusing on how to use the filters to create four different animation effects. I hope to have that tutorial completed much more quickly, now that I have worked through the process of creating a tutorial.
Excellent tutorial. Sounds like you are in the teaching profession.
One extra tip about the numerical fields, you can scroll up and down to change values.
It also might be worth mentioning that creating presets can save time if wanting to recreate with a different project. Perhaps this was something you was going to put in your Part 2 video.
Hudson, great comments. You nailed it - I am a university professor “in real life”!
I did not know about using the scroll key on the numerical fields - good tip. I do often use the up & down arrow keys on the keyboard; I thought about mentioning that … and I thought about mentioning the presets … but I decided I needed to bring it to a close. One thing I’ve learned through many years of teaching is that “less is often more” - one can never cover all the material, so it is better to be strategic about choosing less to cover material more clearly than to cram in more material and lose the students.
Very nice presentation, audio, providing a sense of speed but still explaining every step. After watching what I really wanted out of it was part 2, but I did learn at least one thing…. Open other- text saves quite a few clicks over open other- color- transparent and adding a text filter. Nice!
I think a lot of folks can learn from the presentation in this video. As someone new to Shotcut, I need to see a ton of tutorials to learn not so much the basics of using an interface but rather how to accomplish effects using the tools available. And for creative ideas.
What this video does so well is gets right to it, moves with a sense of purpose, not explain the same action 2-3 times, etc. Chief among those is getting right to the point and diving in. Some tutorials use up an entire minute of the viewer’s time with a channel intro and animations, going through the version, etc. It’s painful by the 2nd or 3rd video even though I want the content. The more direct and succinct each video the more a viewer can learn in a given period of time. I look forward to more videos like this!
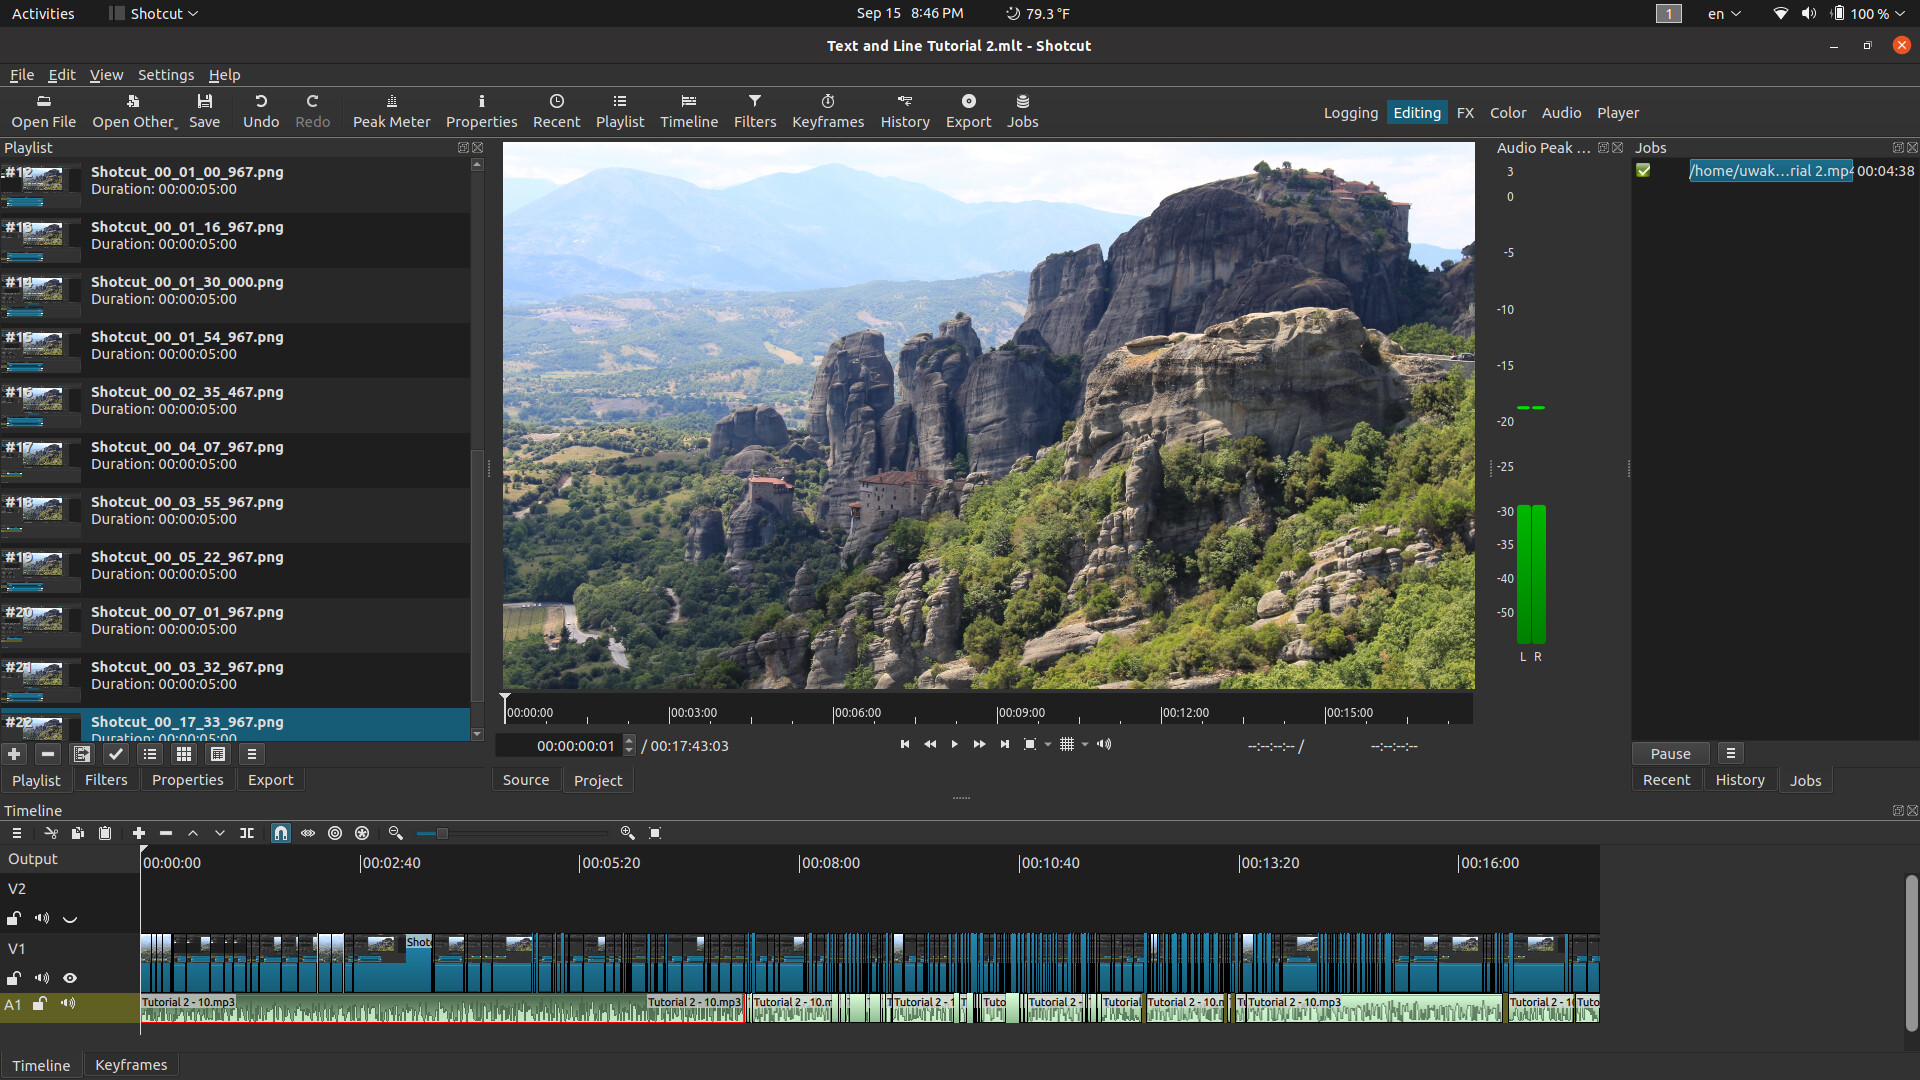
Let me say that editing this about killed me. Recording the script and tweaking it was no problem, nor was shooting the basic footage. The problem is trying to coordinate the timing between the two; in particular, I had to do a LOT of editing to get the Shotcut-editing footage into something vaguely resembling the time frame of the narration. That problem was compounded by the fact that I jiggle and jaggle as I move the mouse around, so part of how I cut the time down on the Shotcut-editing footage was eliminating a few frames here, a few frames there, to cut out un-neccessary mouse movement. As you can see in this picture, the resulting timeline looks like the main course at a Japanese steak restaurant after the cook is finished dicing it!
I also had some “clicks” in the sound track where I was trying to match the slight hiss in background noise while waiting for something in the video track to complete … somewhat annoying, but I decided to go ahead and post this, given how long it has taken. I will make “better hissing” a goal for the future!
Well, that’s bad news. I was hoping someone had the secret to moving quickly and smoothly from precise point to precise point! What a pain it was to edit out all the jiggles … but not doing that made the video even longer.
Wow, @awake, that is a wonderful tutorial!! Worth all the blood sweat and tears. A really useful resource for users. Thank you and bravo!
Because I sort of knew what you were doing I watched it at 2x speed (YouTube settings) and it was even then very easy to follow and very nicely paced. Great voice BTW! (to me it had a slight twinge of “Gone With The Wind” about it! LOL! I’m guessing you’re from one of the Southern States…
Yes, synching the voice action with the on-screen action is a faff!
Thanks, jonray - high praise indeed, considering the incredible work you did on your recent tutorial!
Yes, currently living in North Carolina, and have picked up the accent. I have lived in several different places around the world, and seem to pick up the accent wherever I am. I lived for three years in Singapore and sounded slightly British, but now I’ve been in NC for more than 25 years, and the Southern twang is firmly in control.
And I fully understand using 2x settings - I very rarely watch anything on YouTube at 1x settings! Whenever I have recorded a lecture for students, I always tell them to remember that they can use the speed up function, and then come back to anything that they need to slow down for.


 I’m guessing you’re from one of the Southern States…