My challenge to you since that you’re NOT here with me to witness.
How do I change the “Resolution”???
For example.
I was able to play a video on a laptop and the video is in full screen.
The video look in full screen on HD-TV which is 16:9 ratio rate.
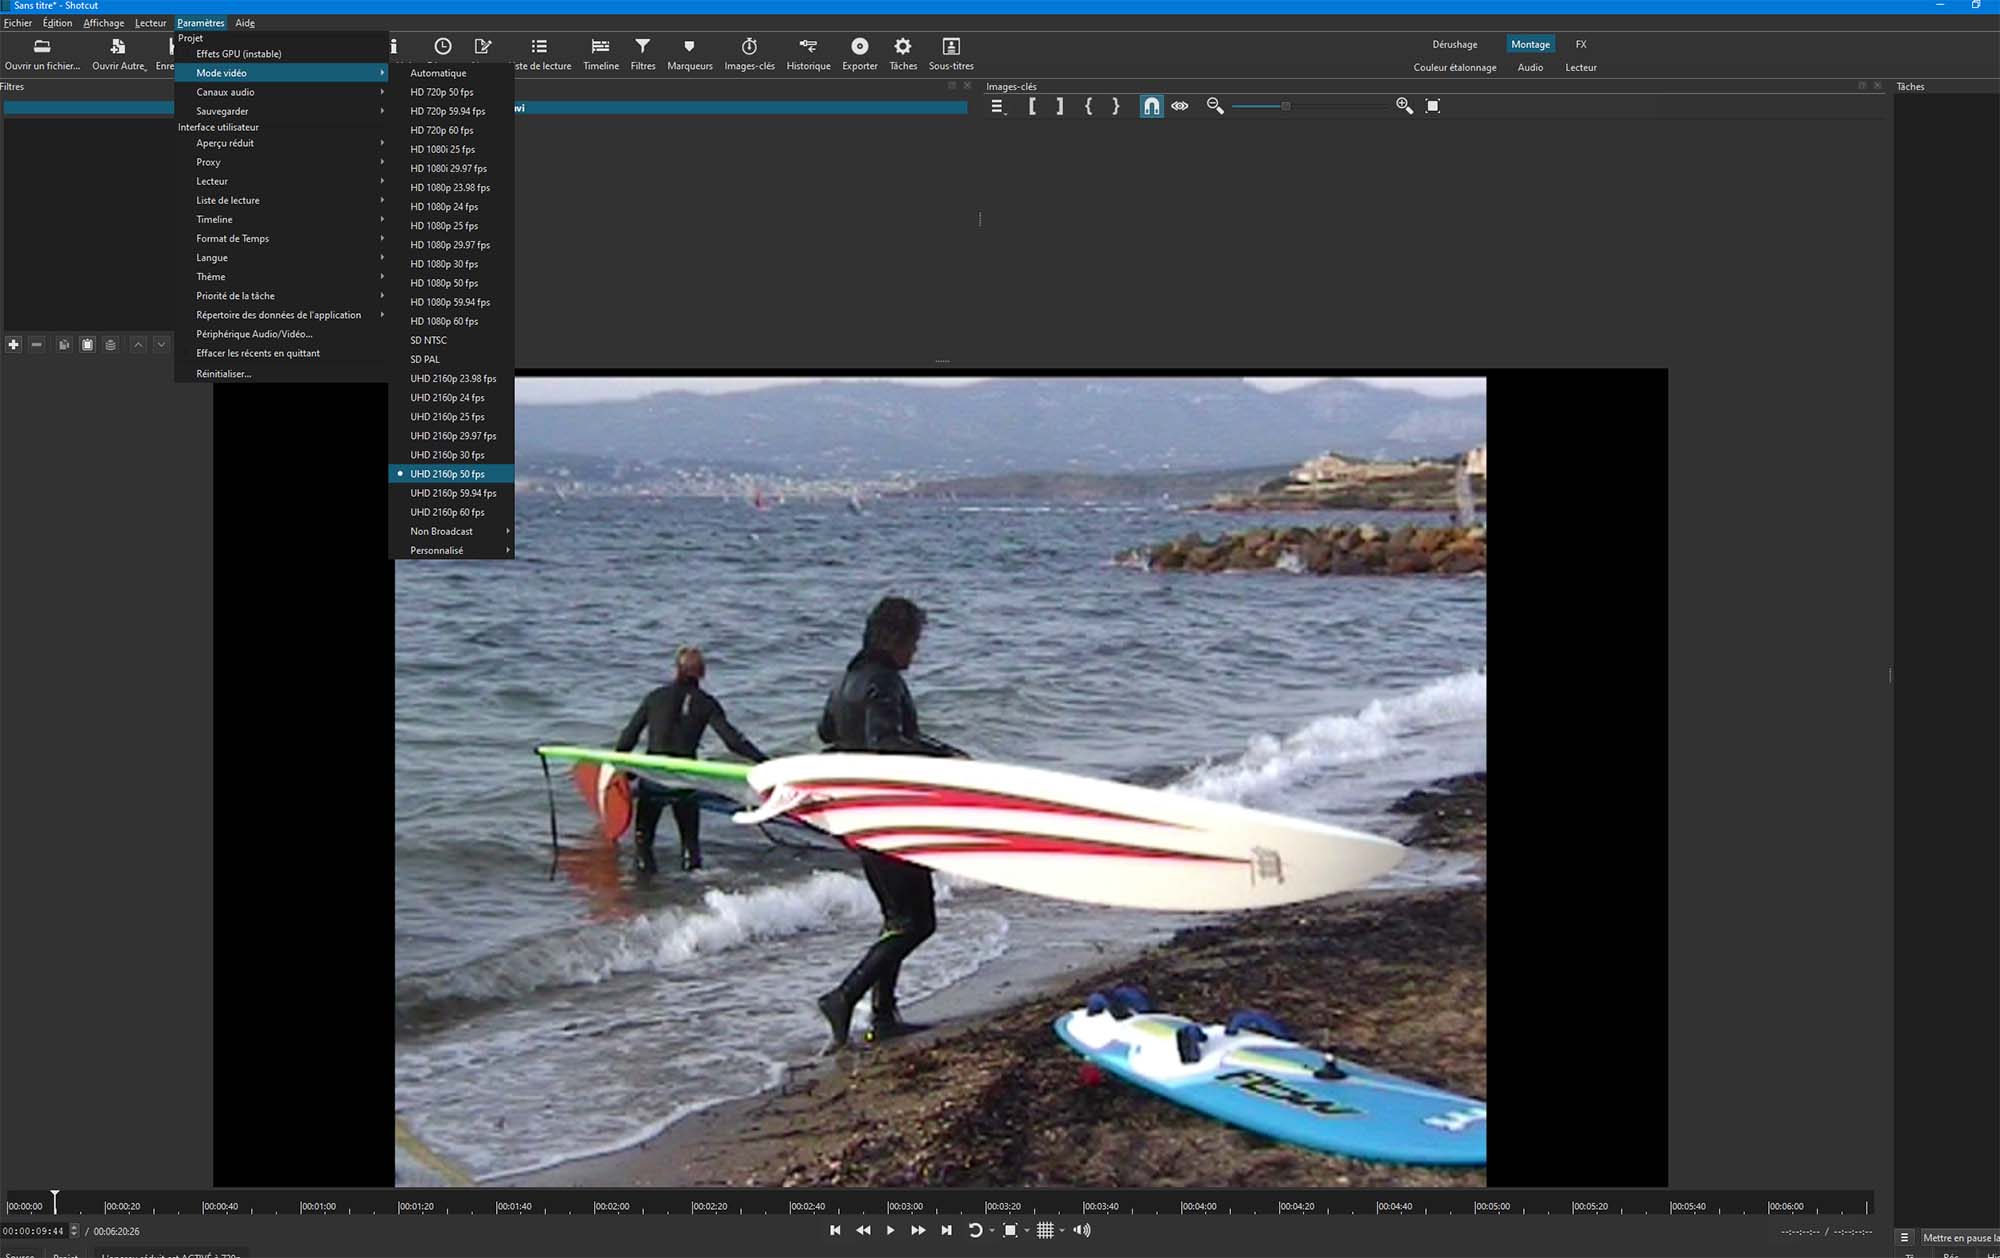
But on Shortcut
On the “Property” part it says that the video I was watching is actually……
Resolution: 720x480
Ratio or frame size: 4.3
( other video with the same resolution, the frame size is 16:9 with a 720x480 resolution.
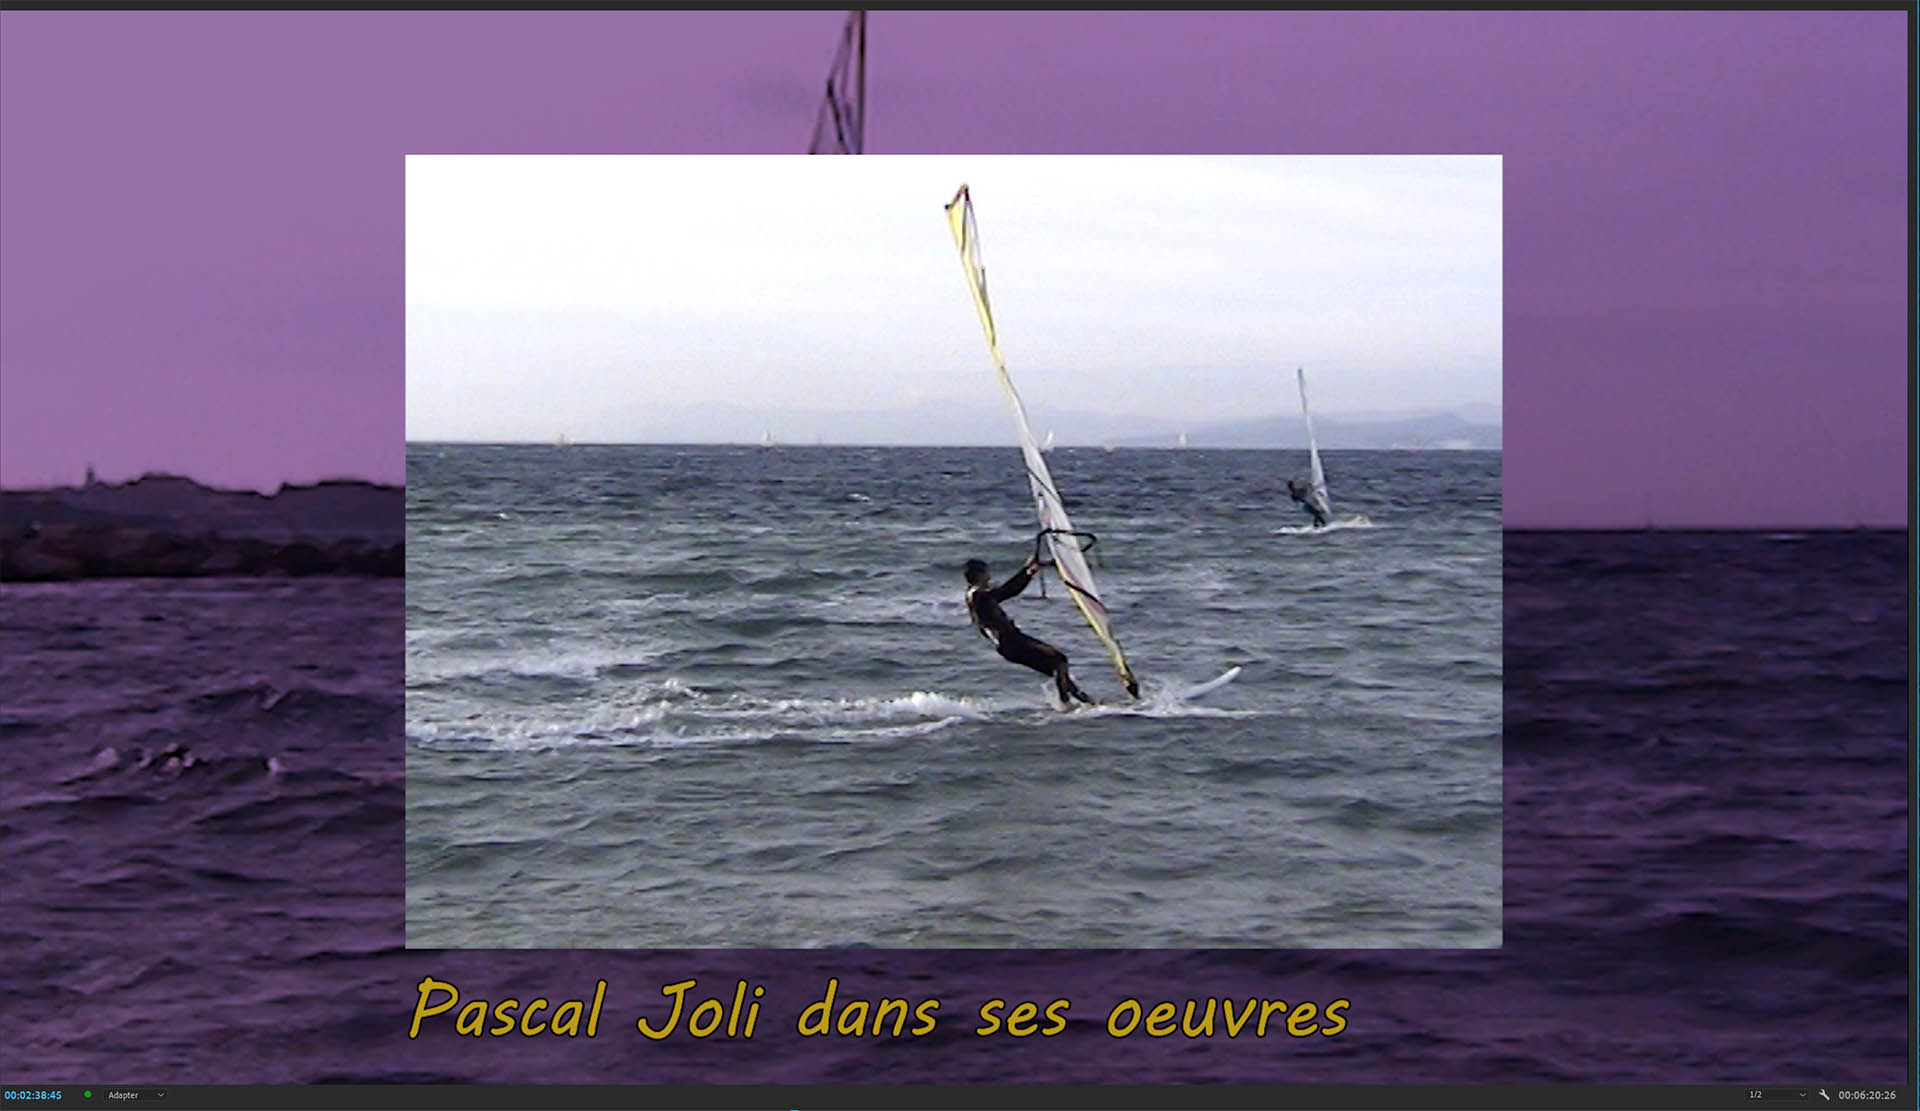
The video on Shortcut look like a “CONE HEAD” with 2 black spaces, 1 on each side.
Do you know how to edit for changing the resolution from 720x480 to — for example 1900x1080 ??
The original video look good on HD-TV and the laptop screen that detected and expanded the resolution and frame size. Which was recorded by a device that was set it’s resolution and ratio frame size.
Or don’t worry about the video that look good as 16:9 on HD-TV or laptop or computer screen???
Weird!!??
Anyone knows and have seen it and have done it for editing???
It seems that “Shortcut” editing tool is telling me the whole TRUTH about my video format that was made by a device. Such as a stand alone DVD recorder that replaces VHS tape recorder.
You can stretch the image, but that will distort it and the worst option in my opinion. For that use the Size, Position & Rotate video filter with Size mode = Distort.
You can scale/zoom it, but then it must crop some of the image.
Use the Crop: Source video filter and click the Center checkbox.
You can fill the bars with a blurred and scaled version of the original, which is seen often in TV news broadcasts when showing cell phone video, but that is kind of annoying too.
Use the Blur: Pad video filter for that.
This sounds like an anamorphic DVD file. This means the video file is encoded as 720x480, but the DVD player will stretch (resize) the video to a 16:9 aspect ratio at playback time. This technique was called anamorphic because pixels in the video are not square since they are stretched horizontally at playback to look correct. This is similar to “desqueezing” an anamorphic lens in cinema workflows.
When creating a new video in Shotcut that uses this anamorphic file, you’ve got two options:
Keep the pixels non-square and encode at the same 720x480
Stretch the pixels like the DVD player would, and encode the stretched image as traditional square pixels at 854x480
The first option is good if the new video is just a trim of the 720x480 video (or other 720x480 videos). The second option is good if the 720x480 video is being combined with other videos that are not anamorphic.
To do the first option, create a custom video mode with the dimensions of 720x480 and an aspect ratio of 16:9. Note that the aspect ratio does not match the dimension ratio. This difference is what triggers a media player to scale/resize at playback time, and is why the pixels are considered non-square (anamorphic) since they are stretched.
To do the second option, create a custom video mode with the dimensions of 854x480 and an aspect ratio of 16:9. (You could do 1920x1080 or any other 16:9 dimensions, but then there will be more quality losses from upscaling.) Then, add your 720x480 video to the timeline, and add a Size, Position & Rotate filter in Distort mode to stretch the video to full screen. Export as usual from there.
For anyone not following what this means, it means that the video is horizontally squished, making the actors look thin and tall. A round face looks like an oval (cone head) when horizontally squished. This is because the video is encoded anamorphically with non-square pixels. The video is expecting the media player to stretch the video back out before displaying it.
Why is this a thing? Because early DVD formats (especially NTSC) did not natively support 16:9 resolutions. So they squished the video dimensions, crammed it into an existing size that was supported like 720x480, and set a flag that told the player to expand it on playback. They did the opposite for 4:3 video… they set a flag to shrink 720x480 to 640x480 on playback. It’s a horrible hack just like interlaced video and fractional frame rates and other historical abominations that should no longer be done. (To be fair, they were clever tricks at the time, but technology is past that now.)
In the OP’s case, it sounds like the hardware recorder is always setting the 4:3 decoding flag even if the content is actually 16:9. Or perhaps a decoding flag is not getting set at all, and Shotcut sees the literal 1.5 aspect ratio. Either way, the OP will need to override the incorrect aspect ratio as I described in my previous post.
There is Video Mode > Non-Broadcast > DVD Widescreen
Another way I forgot to mention and is better, faster, and generally more correct for this is to change Properties > Aspect ratio on the clip (16:9 for this case).
In PAL, SD is 720x576, ratio 1.25. In your case, NTSC is 1.50.
I filmed in HDV for a few years with a Sony FX1.
It produced 16:9 panamorphic (rectangular pixels) interlaced.
I haven’t had the opportunity to use rectangular pixels in Shotcut.
I must say that I’m a consultant on a fairly reputable French forum, and I only used Shotcut to recommend it to those looking for a fairly comprehensive free software.
One thing I was completely inept at was exporting an interlaced SD rush to 50 progressive… It produced a 25p encapsulated in 50p, so it was choppy.
I must have chosen the wrong interpolation option.
You need to pre-convert them using Properties > Convert > Advanced > Deinterlace along with Override frame rate (no need to change the frame rate conversion method). Or use View > Resources > Convert Selected to do it in batch.
Oh, and use a video mode with 50p.
Could you send me screenshots of how to do it?? So that I would know where to point out with a mouse. It’s easier to know how by looking at screenshots and to know where to point at with a mouse.
I tested it, and we get a real 50p that’s clean. I must say I chose lossless conversion.
(But 6 GB for 6 minutes of SD) OK, we’ll delete it after exporting to H265.
I could recommend that.
Thank you very much.