Thought I might give the Sharpen filter a go to see if that can help a bit with my videos, but not sure what a “good” setting is. For any of you that use it, do you just go with the default on Amount and Size?
It’s incredibly subjective depending on what you want to do. We use Amount = 40% and Size = 30%, but our videos are in a more studio-style setting and don’t have a lot of movement. The sharpness has opportunity to be noticed on slower subjects (not lost in a bunch of blur). In your case, you’re always moving around, so your sharpness settings may have to be lower to avoid a strobe-light effect at sharp edges.
So I note that the default is Amount = 50% and Size = 50%. Which number needs to move lower than what you have to avoid the strobe-light effect? Given that on a test file simply adding the default sharpness filter tripled my export time, I’m kind of wanting to be close the first time I try this 
Thanks again for the help!
Unfortunately, sharpening is a rather guess-and-test business because the values can be very dependent on your final resolution. Higher resolutions may need a larger sharpening size to affect more pixels (that are also more dense).
The easiest way to find what works for you is to find a representative 10-second clip. In your case, open an existing project, find a spot where you’re walking around and there are some sharp edges in the frame like sidewalk railings, and then delete everything else in the project except those 10 seconds. Then, put the timeline playhead in a spot that those sharp lines are in the frame, and play with the sharpening until you find values you like for a still image. Try rendering the whole 10 seconds at that setting. If it strobes, you know to back off the amount and size in about a 2:1 ratio until the strobe goes away.
Forgot to mention… the sharpening values are also very dependent on the amount of sharpening your camera adds to the image before writing the video file to the SD card or whatever. If your camera is already applying sharpening, then adding even more sharpening during editing can quickly make a video look like it was made with a Motorola Razr from 2004.
For our videos, we have Panasonic cameras with an in-camera sharpening range of -5 to +5. I think we are using -2 or -3. This lets us apply a color grade to a “smoother” video and then sharpen whatever contrast appeared as a result of the color grade. The computer-based sharpening filters tend to be better than in-camera sharpening, too.
My point simply being… be aware of what your camera is doing to the video before Shotcut even gets ahold of it.
Just try several settings and see what you like. Yes, it’s very subjective. The only caveat is that too much sharpening will look artificial and then you know you’ve gone too far.
Also, the sharpening effect will be different depending on picture content.
Sound advice.
What I do is find a clip with something sticking up into the sky - a twig with leaves, TV aerial or similar because it is easier to see sharpening artifacts, set both sliders to minimum and increase Amount until it begins to take effect, then increase Size slowly until it begins to spoil the sharpening and back it off a bit. Check it on something with lots of detail, like a leafy bush in the middle distance. Enable and disable Sharpen and if it looks as if the leaves are chromium plated with it enabled, the setting is too high. The main thing is, apply the minimum of sharpening. My current settings are Amount 60.0%, Size 3.0%.
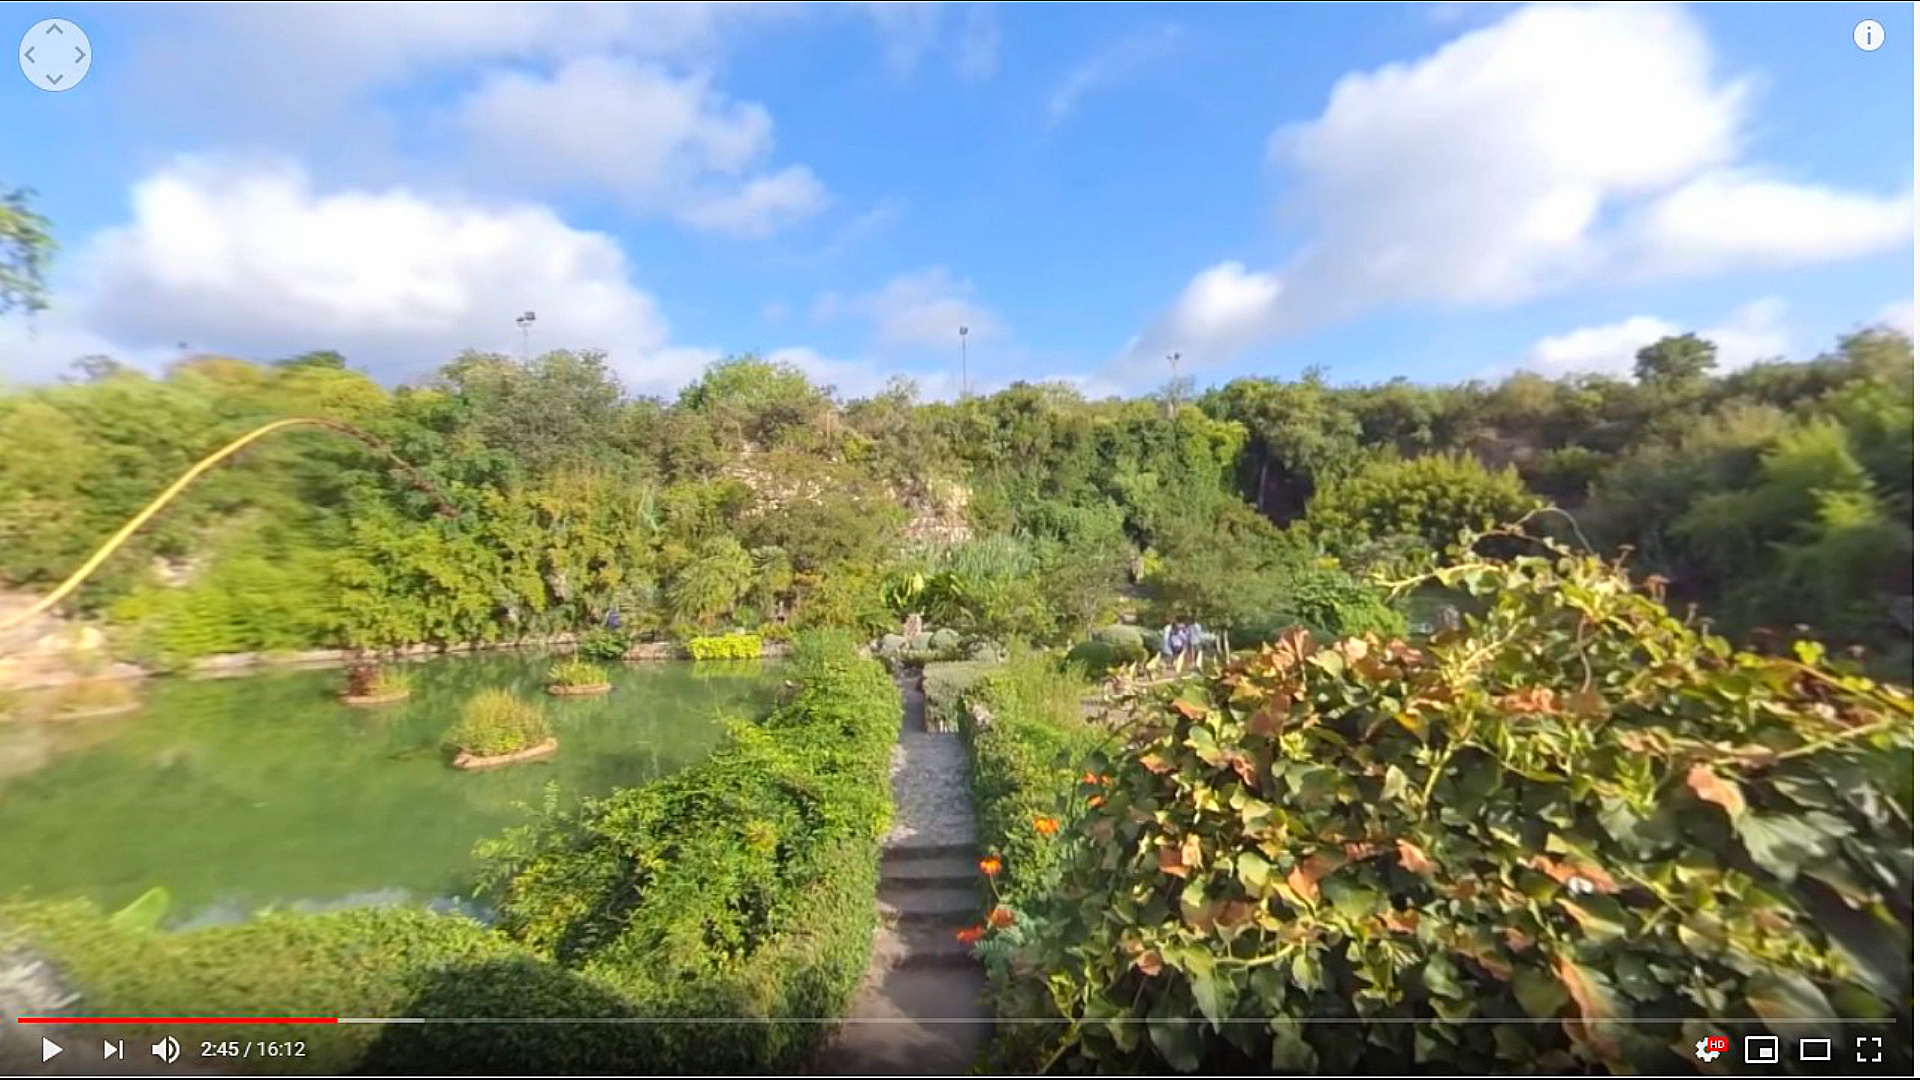
Hi @Ewan360, just thinking - you could experiment also with a touch of saturation? I took a screenshot from your Tea Garden video, opened it in SC then exported 2 frames, 1) original, 2) with sharpen (60%) AND saturation (150%). See the difference below. Might be too saturated for you, depends on taste.
Original:
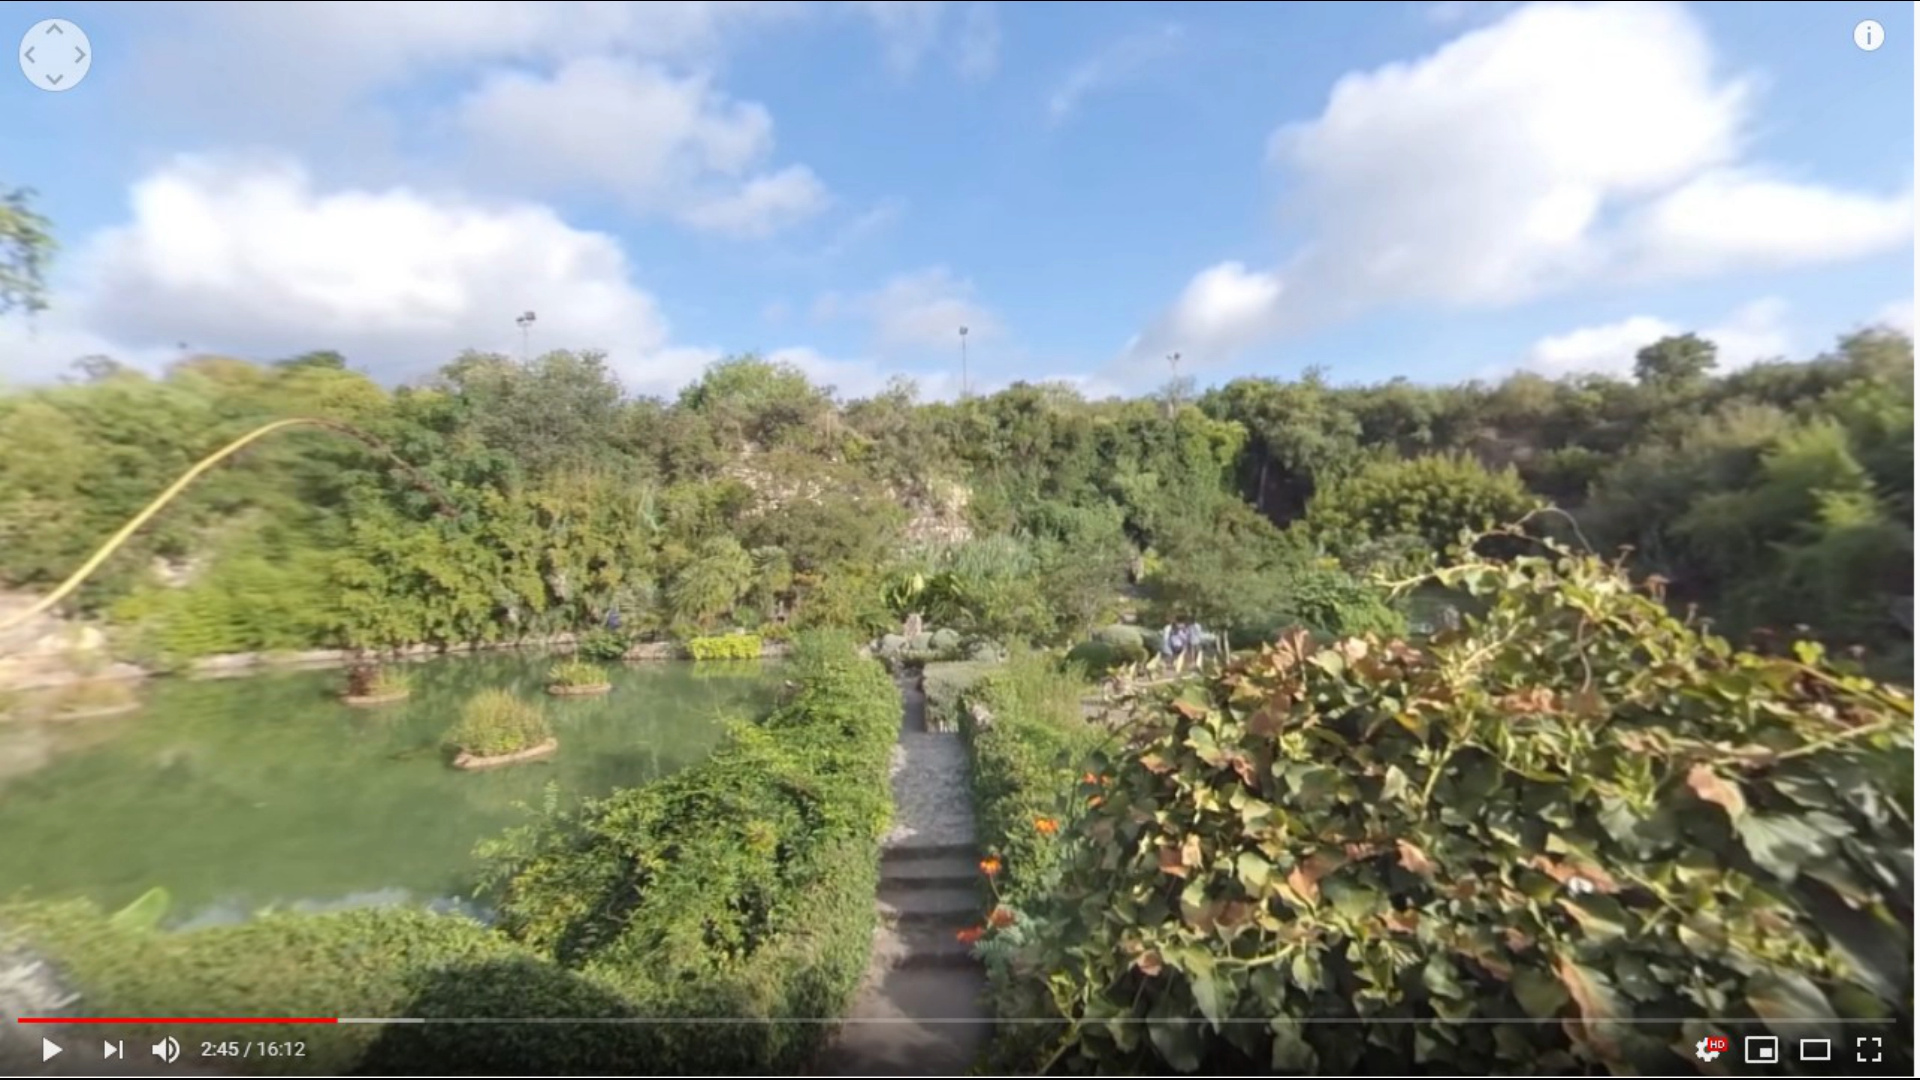
Processed:
@jonray Wow, good call on the saturation!
@Ewan360 Forgot to mention that sharpening adds fine detail to a video, and fine details mean larger file sizes to accurately represent it. Don’t be surprised if sharpening noticeably increases the size of your final exported video file. Not sure if file size is a priority to you or not. It isn’t to me, but just wanted you to know. 
Starting with last week’s video (Pavilions) I started adding the LUT for the camera, which adds a fair bit of saturation as well. So I think that was a good call on your part. I have so far not re-edited the episodes already uploaded (1, 2, and 3) with that since I would be breaking links. Probably need a note to do so in a couple months when that will not be as major a concern.
Thanks!
Yeah, I’ve had to give up on using any sharpening. As it is, the video sizes (using 80% VBR) are now growing to about 30 Gigs, which takes about 4 hours (!) to upload to YT. So while using VBR cut the export time in half, it added that time to the upload. I’d rather have the time there since I don’t have to babysit the upload (just keep the browser window open).
The one that I tried the sharpening on took almost 4 hours to export and the final size was gynormous. So going to have to hope it’s “good enough”.
Does that mean you found 80% VBR to be noticeably better quality than 68% VBR?
Watching locally, yes. Watching from YT I still think there’s an issue where they are downgrading quality when streaming to promote frame rate. But since that’s something I can’t control, I’ll just go with what I can control and hope that by providing the best possible source file, that folks will at least get the best possible result given everything else
This topic was automatically closed after 90 days. New replies are no longer allowed.