I am immensely grateful for your help, really. I hope someday, not too far away … I will be able to pay you back.
Thank you very, very much
Anie
1 Like
No, no, no, no, please don’t do that, it’s too much work. I am really grateful to you. Anie
I will still do it, because I am getting bored  of the holiday my boss gave me, because he’s on a holiday. There is nothing to do except watching the boring YouTube shorts with the unlimited internet from his wifi, data pack even doesn’t end making me feel extremely bored and bored and bo… And what else I have to do in these free 10 day’s?
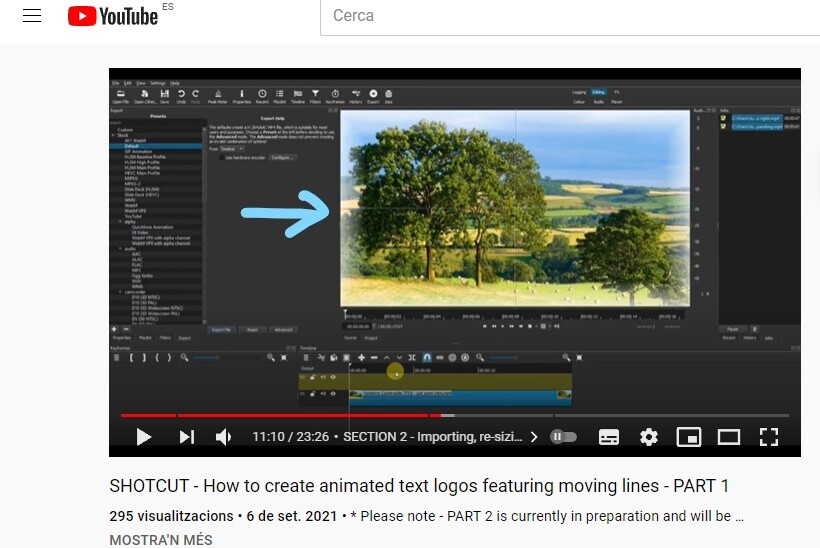
I will still make the tutorial for other people who aren’t on the forum. And if possible, I will voiceover Spanish.
1 Like
 Where better to be than doing tutorials with Shotcut?

2 Likes
Peut-être pourriez-vous finir vos 900 téléchargements en cours.
Perhaps you could finish your 900 downloads in progress. ![]()
Yes, that’s perhaps the best thing to do now. Re-download downloaded files and spend time using his wifi, that’s the best way to pass my time.
Thanks for suggesting me the best way to spend time!
This might also prove the company provides unlimited data.
1 Like
Hi @anie, you are not clumsy! Don’t worry, I would like to help you if I can!
Don’t forget that actually you don’t have to follow all of my tutorial to achieve this effect.
In short, you could:
- Download my resource videos from here:
RESOURCE Videos - animated horizontal white line with black background - Google Drive - Import one into Shotcut, position and re-size it, apply a Blend Mode Filter and set it to “add” ( this step isnot required for a .mov file)
- Add two lines of text, one above and the other below the line.
That’s basically all the tutorial showed!
1 Like
I don’t understand which filter this is,Blend Mode Filter”
I think the translation to Spanish is not correct and that’s why I can’t find the filter you mention.
1 Like
Ah OK, @anie, I’m no expert in Spanish. We need @ejmillan !!  In the meantime, you can use the “Chroma Key:simple” filter instead.
2 Likes
@anie, try “Modo de fusion” (possibly …I think …)
1 Like

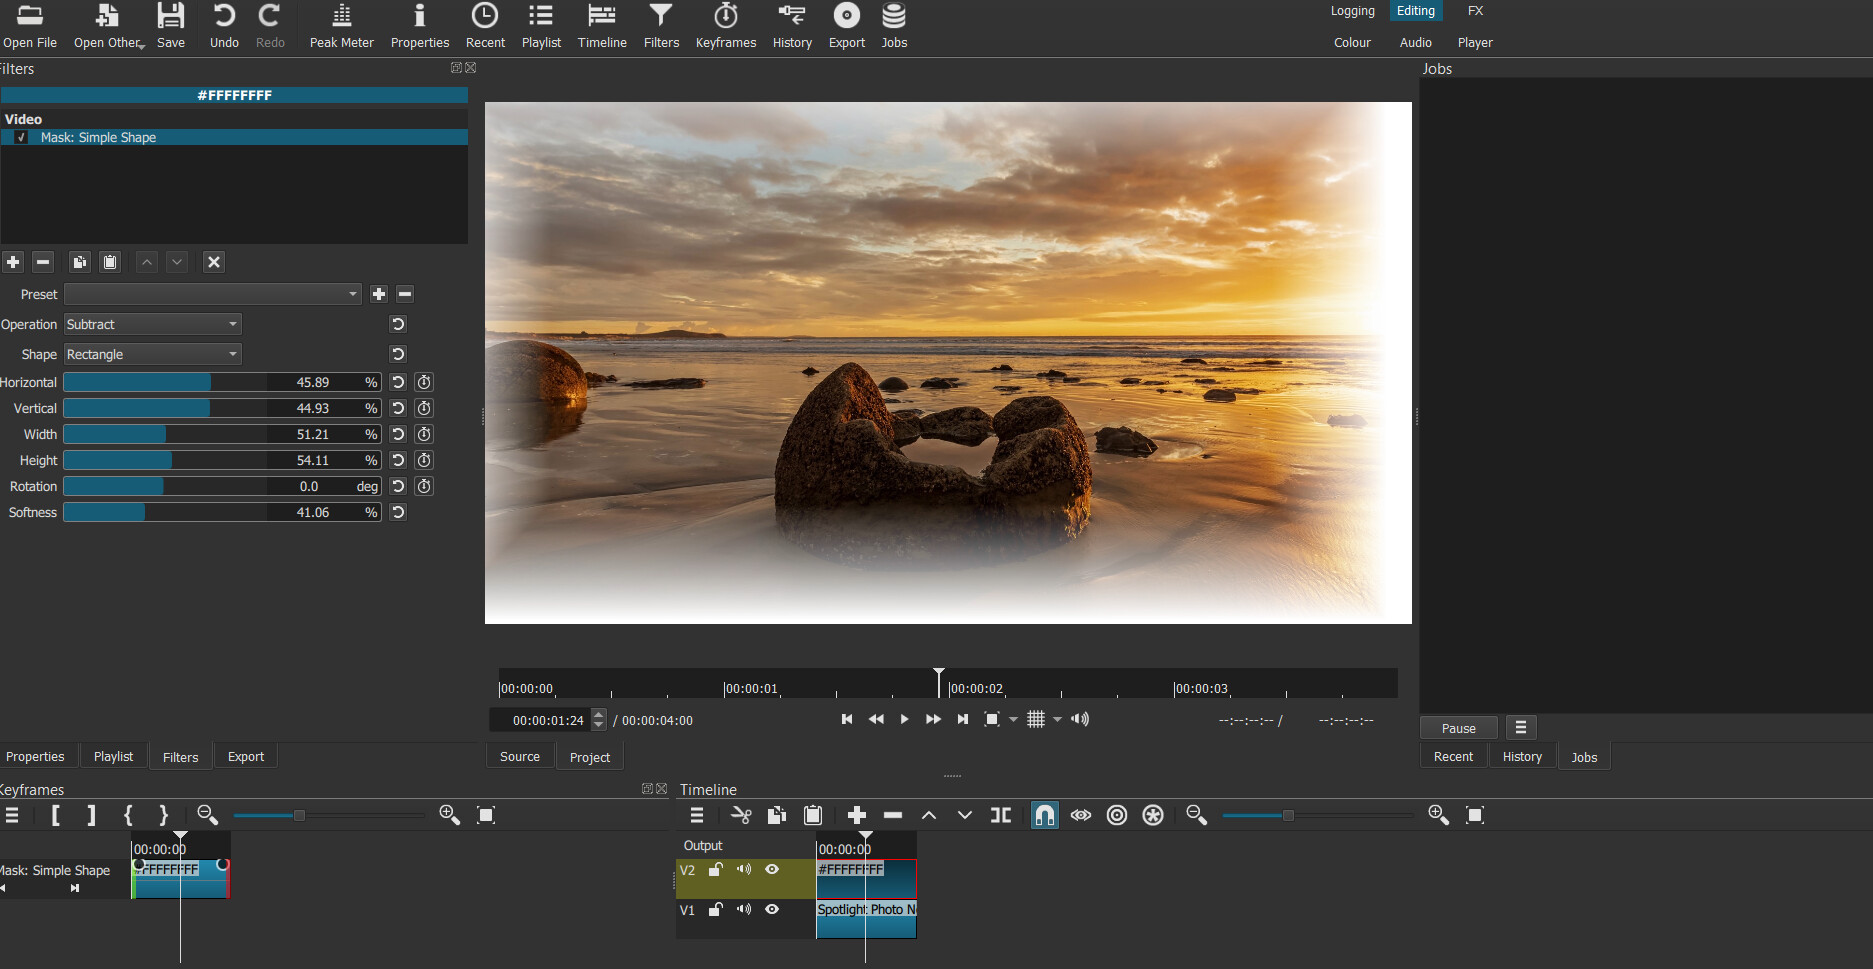
Hi @anie,
Image on V1,
White clip on V2.
Mask:simple shape filter on white clip. Set to “Subtract”.
Play with the controls!
Imagen en V1,
Clip blanco en V2.
Máscara: filtro de forma simple en clip blanco. Establecer en “Restar”.
¡Juega con los controles!
![]()
1 Like
Thank you very much for your help. @jonray
1 Like
No problem!
¡No hay problema!
1 Like
I had missed this particular comment the last time I looked at this thread. Some thoughts from someone who knows enough to be dangerous, but is not truly an expert:
-
MP4 can stand for the container format (e.g., the file has an .mp4 extension), or it can refer to more than one video format (MPEG-4 part 2 aka h263, MPEG-4 part 10 aka h264) used to encode a video stream contained within the container.
-
Actually, as best I understand it (remember: I know just enough to be dangerous!), the MPEG-4 part 2 and part 10 specifications determine the bitstream format, but do not specify exactly how that bitstream is produced; thus, one could see an .mp4 container with a “DivX” codec meaning the DivX encoder was used to produce the bitstream that is specified by MPEG-4 part 2.
-
The MP4 container can also contain other video formats which are not technically MPEG-4 - a primary example being MPEG-H part 2, aka h265.
-
Several different audio formats can likewise be paired with the different video formats - MP3, AAC, maybe even WAV.
-
Once a particular format / encoding scheme is used, there are many additional options that affect the compression and thus the lossy-ness of the results, such as bit rate and pixel format.
I’ll stop there, but the above is enough to suggest that is is really hard to make any sort of blanket statement about MP4 (or any other) being more or less lossy than another - there are too many variables at work, including what sorts of loss one is most worried about. Heck, even the term “lossy” is complicated. Even if there is no loss in digital data when moving from original to encoded to decoded, there is a certain loss that inevitably happens when analog is converted to digital; how much and what sort of loss will be related to the sample rate and data size. Once converted to digital, there are several stages at which one can make different choices that affect whether or how much digital data might be lost - how the pixel is encoded, how a single frame is encoded / compressed (spatial compression), how a sequence of frames is encoded (time compression).
All of which is to say that there is a good reason there is a recommendation not to muck around with the settings in the Advanced Export tab … not that I always observe that recommendation! ![]()
Let me say one more time that I am not an expert, and it is very likely that I have under- or over-stated some things above … or maybe just completely mis-stated them. I have done a good bit of digging into the subject, and I think I mostly, kinda, sorta understand it … at least when I am reading it … at least enough to recognize how much is going on “under the hood” of these files that we so easily and casually pass around. The fact that we can actually view one another’s videos is really pretty amazing! It is a fascinating topic …
2 Likes
I’m so busy lately that video editing is on the back burner for me. I hope to be back to normal soon to continue helping out as much as possible.
2 Likes
I totally agree with you.
Thank you for sharing @jonray
2 Likes
Great tutorial, sir. I will apply this to my new video. I have subscribed to your channel
1 Like
Thank you so much!
1 Like