Make horizontal or vertical aligning less time-consuming

Hi there, I guess I’m not alone in thinking that aligning video or image selections horizontally or vertically via masks should be less complicated. Other programmes have had those tools available for years, but with Shotcut I still need a calculator to get this 100% right.

Here’s a simple example (not a use case for me, but it’s much easier for the purpose of explaining what I mean.

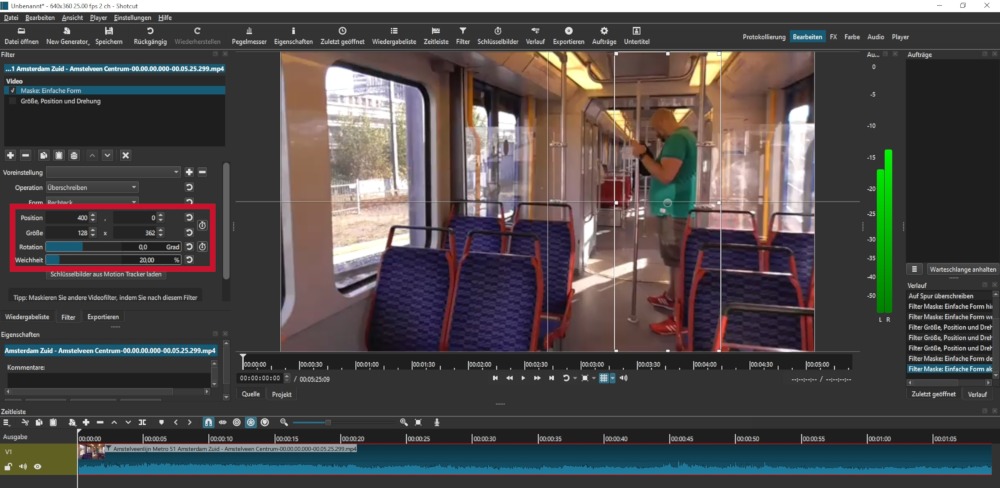
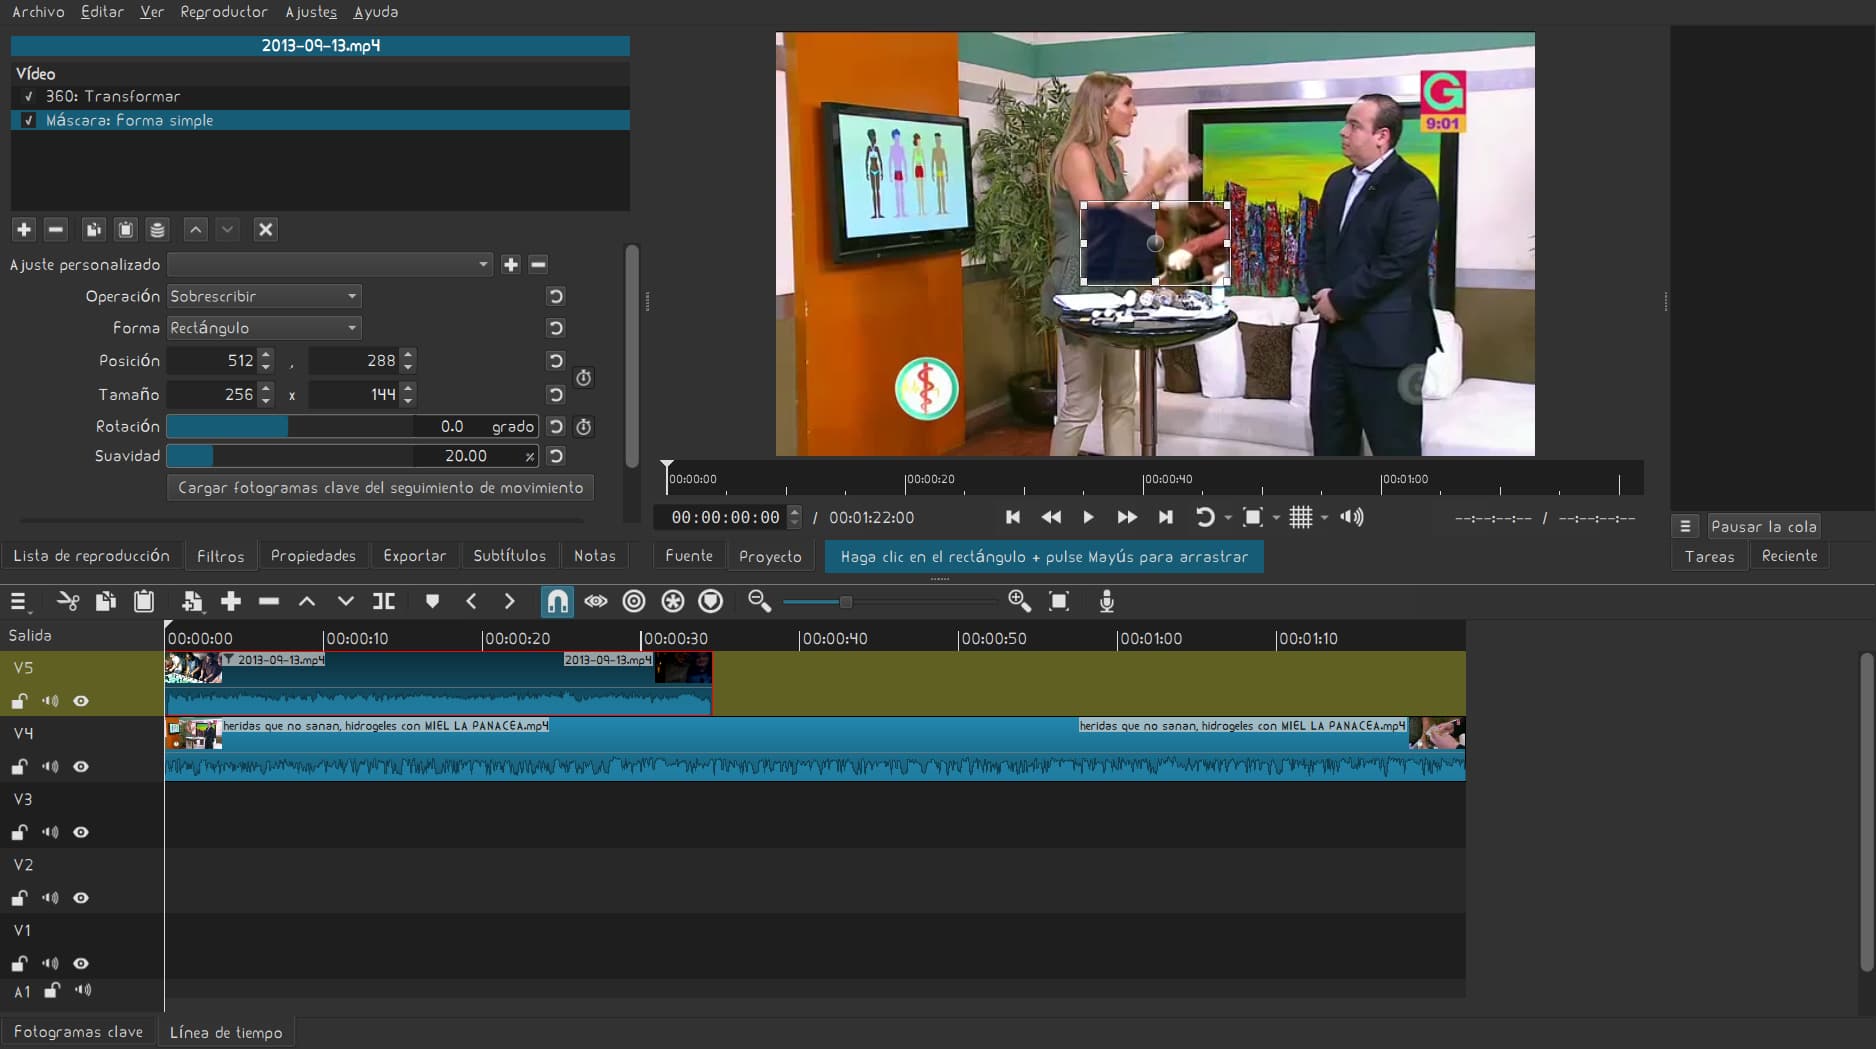
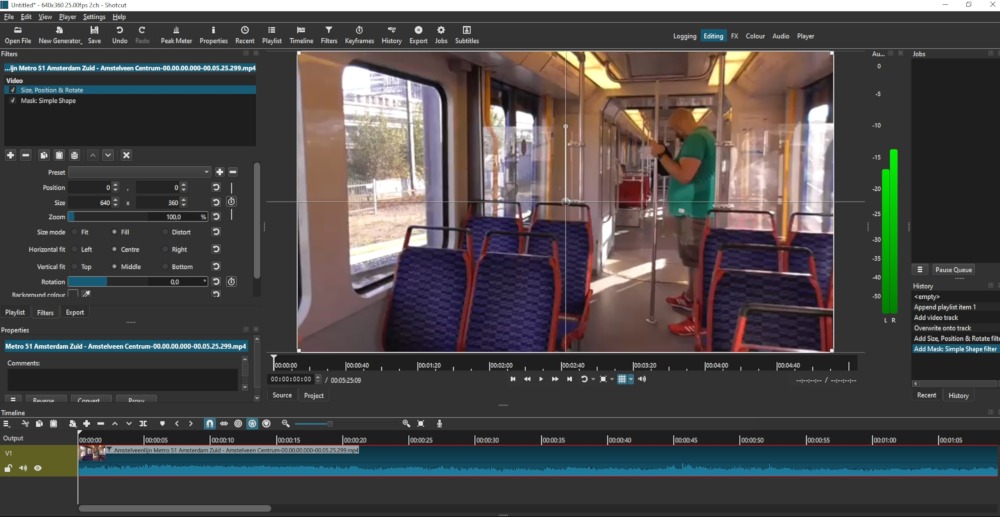
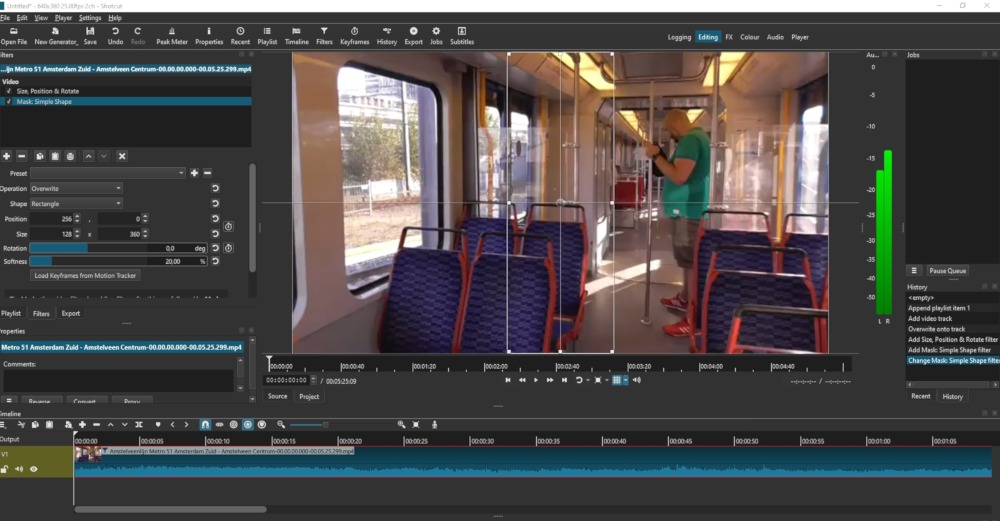
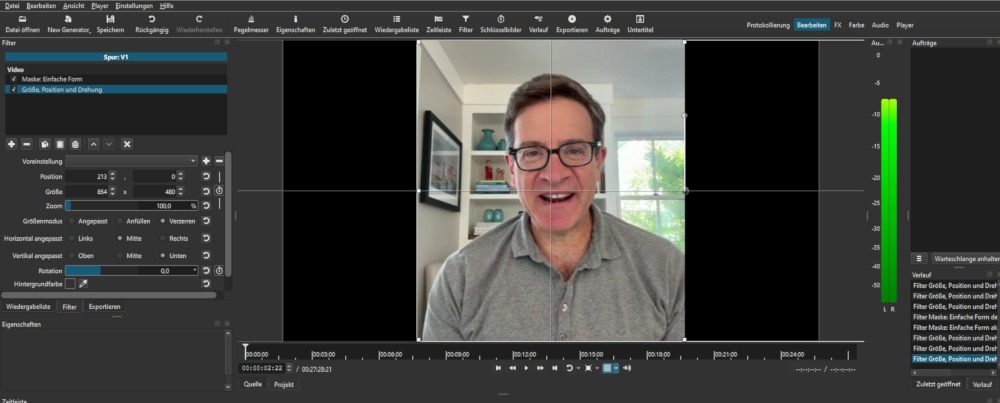
Let’s start with the original video (the two relevant filters and the grid are already visible:

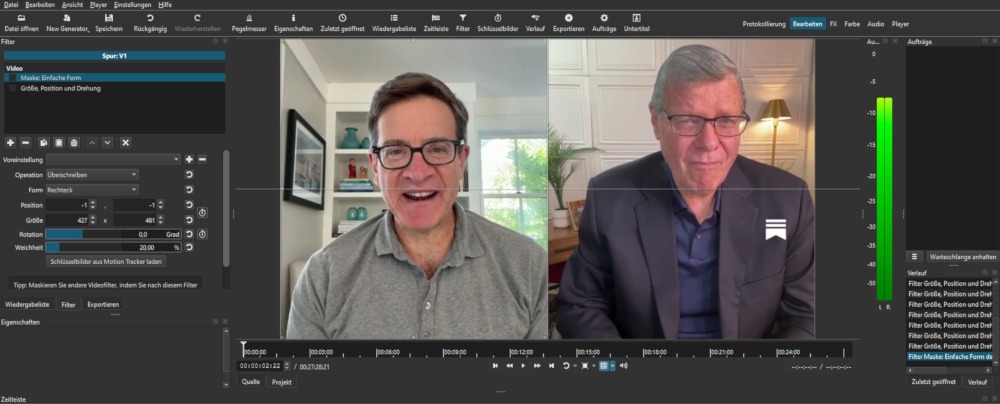
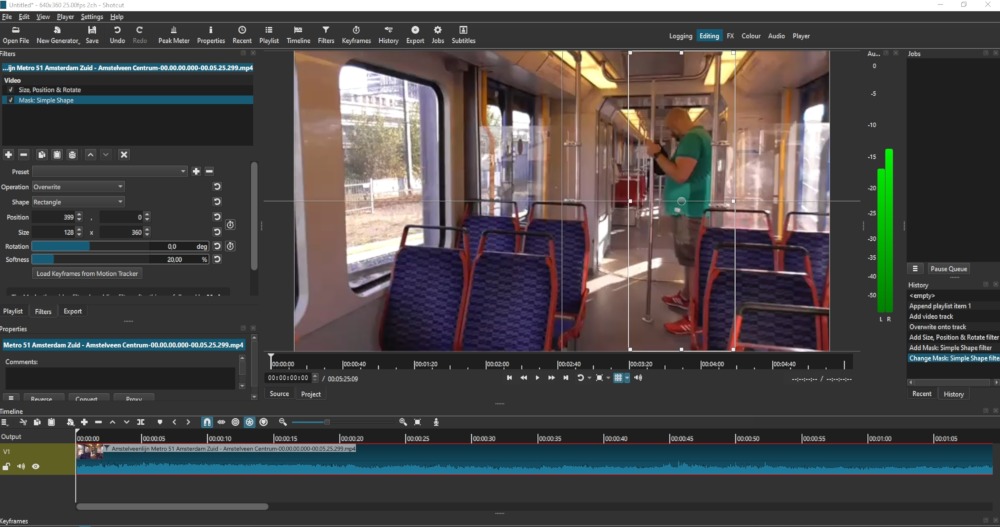
Next, I created a simple rectangle mask for the left part:

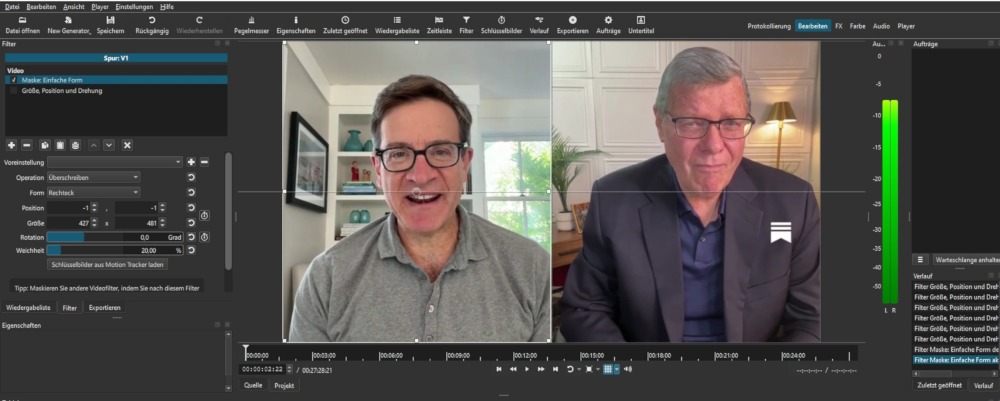
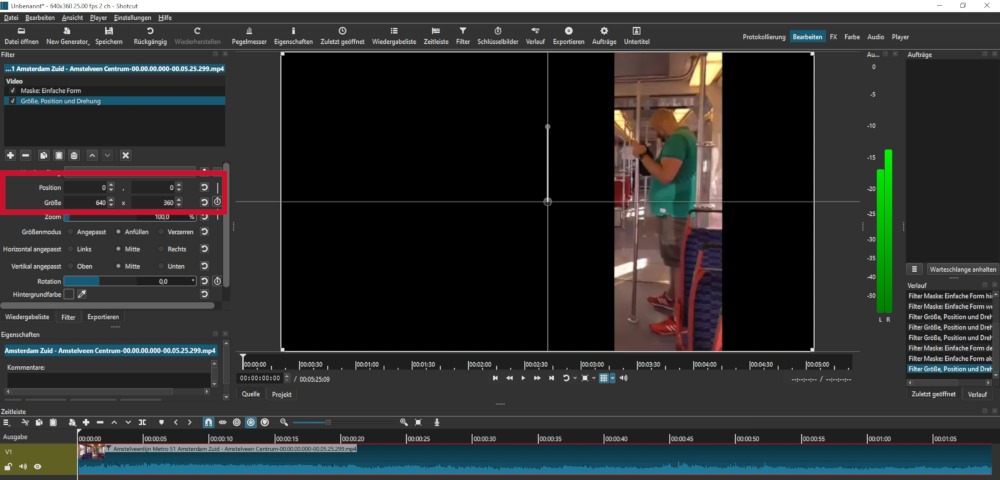
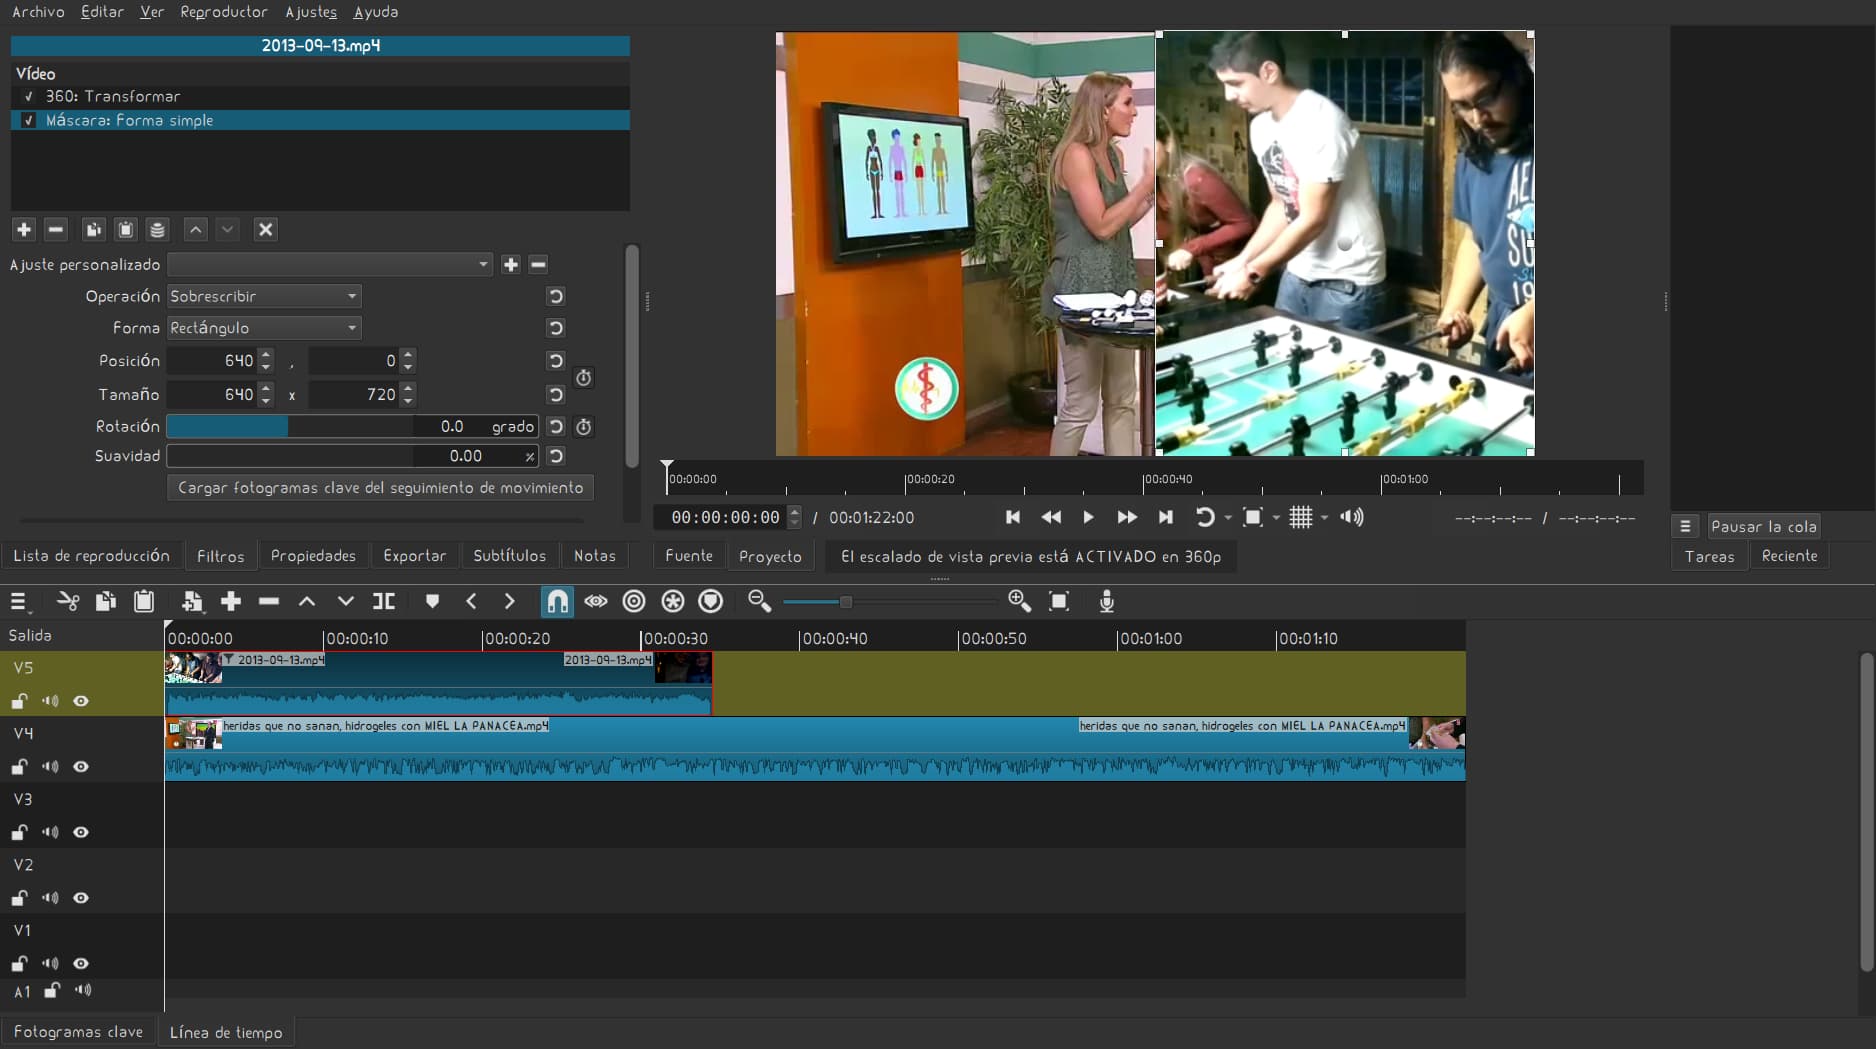
Then I activated the Size, Position and Scale filter:

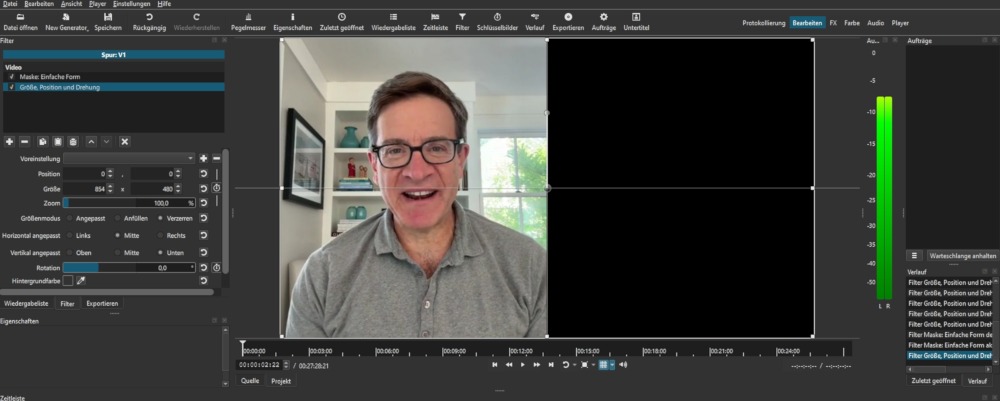
And that’s where the problem starts, because Size provides choices for horizontal and vertical adjustment, but not Position! So I end up with something like this:

I now have to use a calculator to find out what the real centred position of the masked segment should be and then insert the numbers into the Position fields. That’s one hell of a chore!

It would be great if Shotcut could also provide an easy-to-use way of aligning masked selections vertically and horizontally. The options need not be as sophisticated as in Inkscape, Scribus or even the much more simple Glaxnimate. Just providing the same options as are already there for Size would be enough.

2 Likes

Why do so many people talk rudely like that? Is it supposed to be motivating?

There is no way to provide this. A mask does not reduce the dimensions of a frame or even the active region of a frame because not all masks are simple rectangles of opaque and transparent.

The logical image size you created using the mask is completely unknown to the software and the other filters. It could be any width. I am not sorry that you need to do basic math.

1 Like

@Birdchaser
Unless I didn’t understand what you’re trying to achieve, I think you’re using the filters in the wrong order. And you don’t need a calculator to center your image.

  • Add a Size, Position & Rotate filter first.
  • Add a Mask: Simple Shape
  • Adjust the size of the mask to whatever you want.
  • Grab the middle round handle of the mask and snap it to the intersection of the grid to perfectly center the mask on the screen.
  • Go back to the SPR&R filter and move the image until it is where you want it inside the mask.

By the way. In your example, you seem to work directly in the Source (no timeline)
The Mask: Simple Shape might not work as expected in that case.
But you can use the Crop: Rectangle instead. It will do the same thing.

You can leave the Padding color as it is (black) or change it to any color you want

2 Likes

I understand perfectly what you’re saying, but you only do it once in a lifetime,

if you save it as a set of filters.

Then you just search for it:

video half screen right

Of course, always working with the same resolution for the videos or photos.

Thanks for all of your replies, and I didn’t mean to be rude. I’ll try your suggestions, even though they still seem to be unneccessarily complicated. I’m coming from 2D graphics like Inkscape, GIMP or Scribus, where automatic aligning has been made extremely simple (select item > align > done).

1 Like

Well, I consider Krita to be better than Gimp and regarding Inkscape, I had to downgrade (no join corners when dragging)…

Thanks for the replies again. What I’d like to see in Shotcut is a quick and simple way to align (centre, left, right, top, bottom) a simple masked selection, nothing more, nothing less. After all, one of the major strengths of Shotcut is its ease of use, isn’t it.

Here are two other screenshots that may be more clarifying and more typical of what I’m doing frequently:

The Mask filter is active, and there is a handle to move it at its centre. The size and position numbers are available in the filter dialogue.

On to the SPR filter:

As you can see, the “move” handle no longer refers to the mask, but to the original frame. However, Shotcut nevertheless has all the data it needs to centre the mask, but to get the masked content centred is not easy.

The calculation for horizontal centering is (or should be) one of the easiest one can think of: (Wvideo - Wmask) / 2, where W stands for width. To centre a simple mask, Shotcut only needed to calculate the distance between the left border of the video and the left side of the mask after doing that really simple math. The same would work for vertical alignment. It would also work for top, bottom, left and right alignments, as the substraction is no longer needed (either 0 or the maximum height or width of the video).

In the current situation, what makes the calculation a bit of a chore is that I only have the position of the centre of a mask, so I need to divide the size (H or W) by two, and some other calculations – and either a calculator or a sheet of paper. IMHO, it need not be that complicated.

An alternative to providing simple align buttons or options could be to implement an additional handle for a mask in the SPR mode (or preserving the existing one from the mask mode), so that users could easily drag the mask to the centre, top, bottom, right, left, using the grid.

Longer term, this could also be expanded to more complex masks, but for now I’m only talking about very basic usability terms and ease of use.

@Birdchaser I completely understand, as a former Kdenlive user, because let me tell you, it was very, very difficult for me to control what you mentioned. Shotcut makes it all easier.

The important thing is in the “Size, Position, and Rotation” filter. After resizing the video, let’s put the same values ​​in the mask fields.

@Birdchaser
Did you try what I suggested above?
Put the Size, Position& Rotate filter ABOVE the mask filter.
You can then keep the mask filter snapped to the center of the screen and move the clip inside the mask with the Size, Position& Rotate filter.

This is not as fast as moving the image with the mask filter as you suggest, but that will never happen. This method I’m showing you just makes things a bit more simple.

@Birdchaser I have two things to add:

  1. Indeed, the mask in simple form appears in 20% of the screen. Sometimes it doesn’t respond when you set the same filter values ​​(size, position, and rotation). You have to move it with the cursor and then fill in the fields with the “coordinates” so that they both remain in the same place (Linux).

Ultimately, what we’re most interested in, in most cases, is that it has the same height as the project, so we can then stretch the mask to its width.

  1. The “360: Transform Video” filter allows us to move the video, covering the entire screen. NOTE THE DIFFERENCE.


// screen mask 20% “default”

//mask applied half screen HD

//MOVEMBER “360°”

@MusicalBox

Thanks a lot for your reply and your video! Sometimes one doesn’t see the forest for the trees.

Yes, that works perfectly well, and in the past I would have done this like you described, but for some exotic reason/corner case that I don’t remember I had to take another road and had to switch the sequence.

It’s not exactly intuitive, though, so I still think simple align options/buttons might be a good idea.

1 Like

It feels intuitive to me though. For example, if I need to frame a photo, I wont move the mat (mask) toward the section of the image I want to highlight. I’ll leave the mat centered and move the photo instead.

1 Like

Hi, I tried your approach, but it doesn’t work here (latest version, Windows 10, openSUSE).

Let’s start where your video starts: both filters are active, applied to the clip, basic grid on:

Now on to the mask filter, rectangle selection:

The mask moved to the centre using the basic grid and snap:

This was already different from your video. Now I’m going back to the Size filter, as per your video, and the result is this:

No mask to see! A workaround for me is to add another Size filter, but that’s not really precise either.

What did I miss?

Hi @Birdchaser
First of all, I have to mention this (not related to your problem): Your screen captures are a bit small (1000 x 514) and it is difficult to see your filter’s settings or any other details. I doubt your screen resolution is that small. Maybe you downsize your captured images before posting?

You are using a Mask filter with nothing on the track below. That’s why it doesn’t work.

Either put a black (or any other color) clip under your main clip,
or use the Crop: Rectangle filter instead of the Mask filter.

1 Like