The last video was performing well, but as the previous progress bar looked old, I decided to do some modifications. Now I have also linked those files that I mentioned in the video.
Enjoy!
The last video was performing well, but as the previous progress bar looked old, I decided to do some modifications. Now I have also linked those files that I mentioned in the video.
Enjoy!
This is a useful tutorial. Although, I have 2 questions.
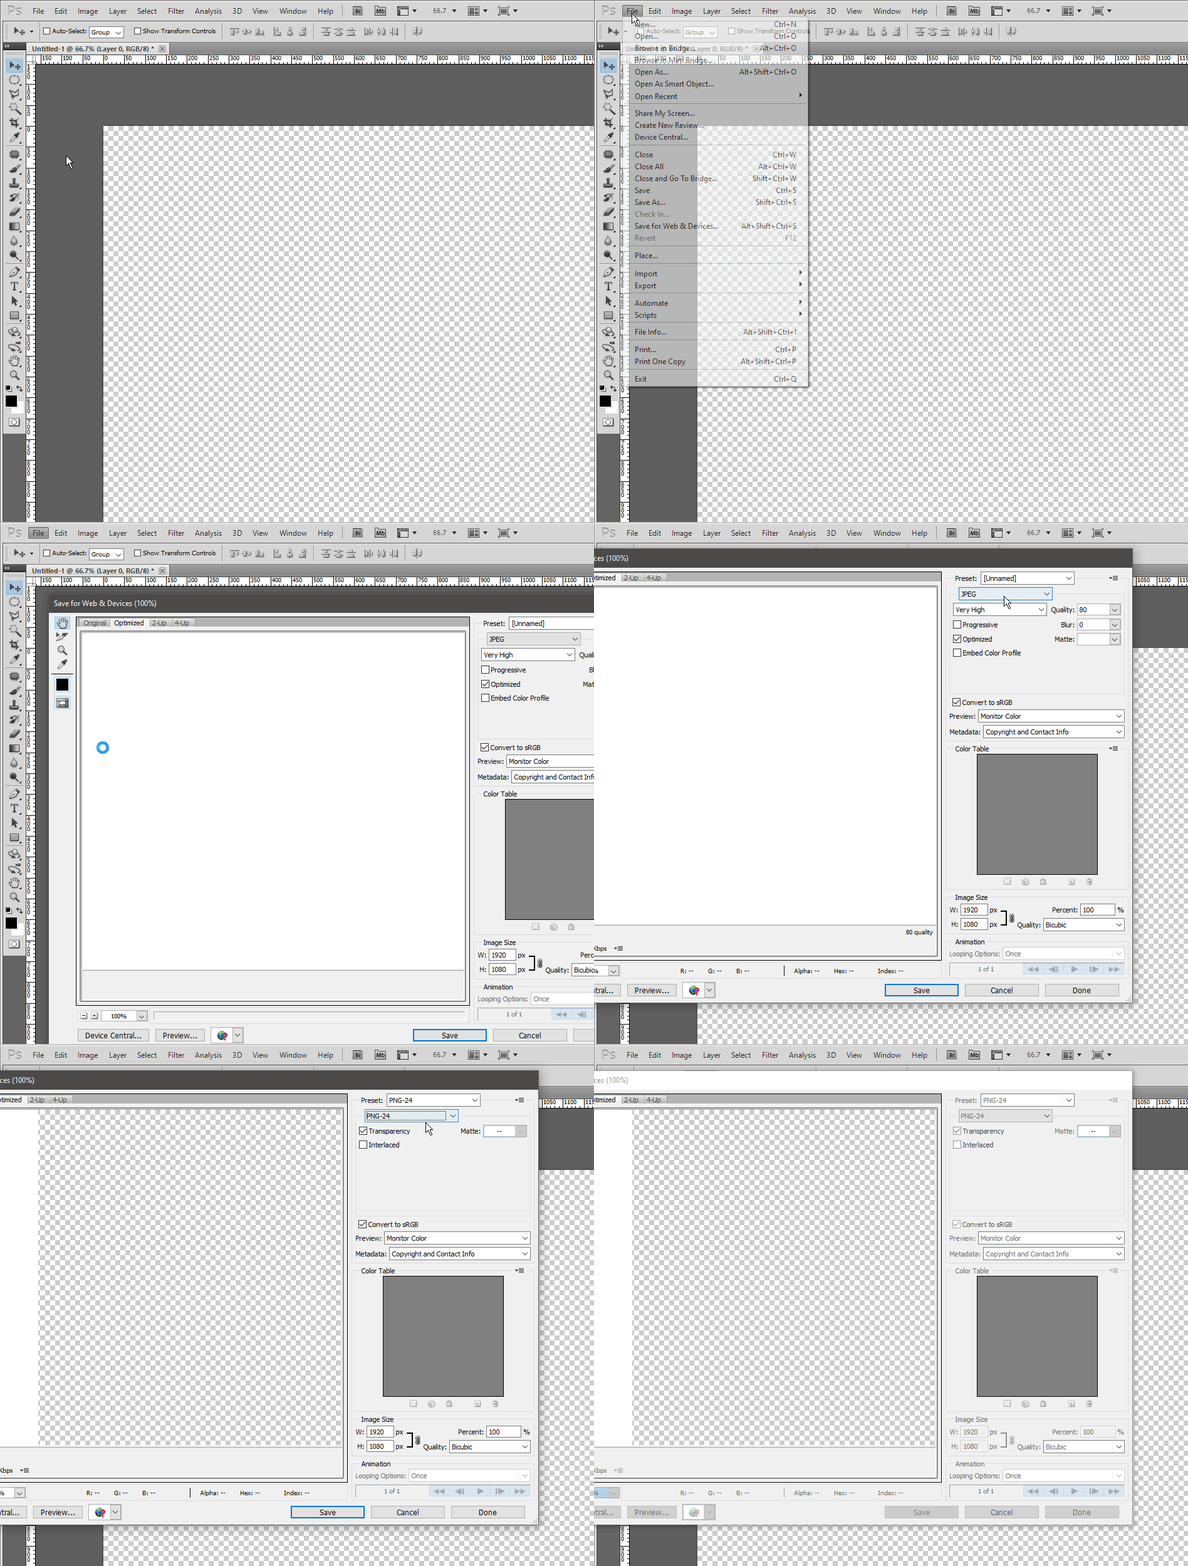
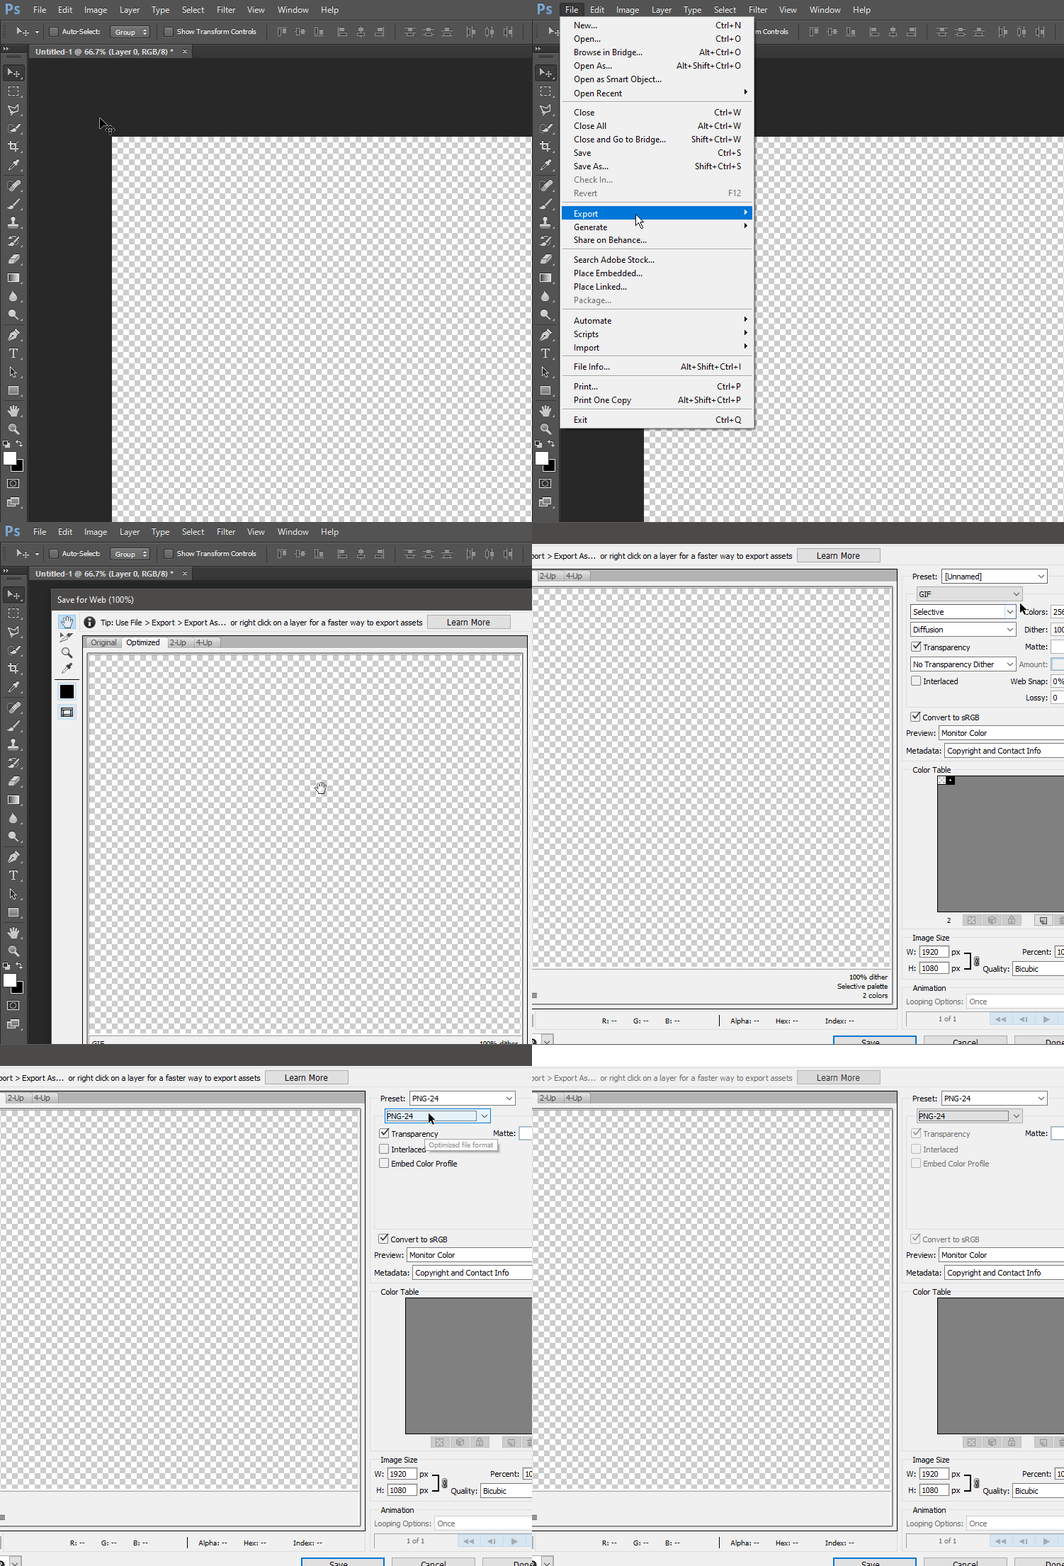
Why do you say that creating the line and markers PNG files only works with Photoshop CS2 ? I have Photoshop CS5 on one computer and Photoshop CC on another computer. And they both can create compatible PNG files.
Instead of using Save as you just need to use Save for Web & Devices or
Export > Save for Web (Legacy), then specify to export as PNG-24.
Photoshop CS5:

Photoshop CC:

Why do you place a keyframe at each marker? One keyframe at the first frame and one keyframe at the last frame would be enough.
I never said that in my video.
I said, that I am using cs2 because it makes my psd file compatible for most of the people who will be downloading my psd file, which I linked in the description.
You can closely hear that:-
Many people might have their chapters on different times in the video, just keyframing the first and last one wouldn’t work for them. Doing this might not match the timing in many videos.
I did that “each marker keyframe” Because people can keyframe where there first chapter ends and second starts. I know it was not useful in my case, but for the sake of a tutorial, I just did it.
Well, thanks for the constrictive criticism. I like if someone says any mistake to me that he Thinks I did. Although this was not a mistake, but just a misunderstanding. ![]()
Is there any reason not to generate the line and markers directly in Shotcut? (using a color clip with a crop filter, for example)
No, there is no reason. I was just fool here that I didn’t think the way you are talking. I knew we can do it in shotcut, but just forgot about it.
Nothing foolish about it! There are just so many ways to accomplish the same or similar things in Shotcut; that’s one of the things I appreciate about this forum - I’m constantly learning new ways to do things.
As an example - it is useful to demonstrate how one can set up a clip using an external program, because one thing that can be done that way, which I don’t think Shotcut can do (??), is to make a “3d” style progress bar, or other “fancy” styles of bar.
How about a sea wave bar…
Shotcut is surprisingly good at doing animations like progress bars without employing other programs.
Some time ago, before Shotcut’s keyframing feature was developed, I used a simple HTML/CSS file to do such things as progess bars. Once the CSS was set up as I liked it (less than 120 lines of code) it was simple to tailor the HTML to produce the progress bar. The 2 green-screen examples shown in the split-screen video below were produced using OBS and had the following HTML code:
<div id="progress" style="--duration: 12.36"> <!-- Length of video in seconds -->
	<div id="bar"></div>
	<div style="--time: 2" class="circle"></div>
	<div style="--time: 2" class="title">Chapter 1: Introduction</div>
	<div style="--time: 5" class="circle"></div>
	<div style="--time: 5" class="title">Chapter 2: Discussion</div>
	<div style="--time: 9" class="circle"></div>
	<div style="--time: 9" class="title">Chapter 3: Conclusions</div>
</div>
Make sure you move your mouse pointer outside the video area to be able to see the lower progress bar (or go “full screen”).