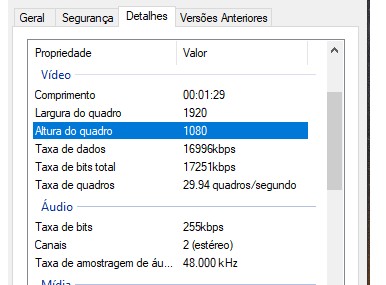
HOW DO IT?..How did you do it? Every time I try to change the video size (width), it changes the height automatically. I believe you can do it, I want to learn. Teach me?
The subject is complex and very technical, I’m such a headache, lol. But I will learn this business, I will. The subject by itself is difficult, imagine using the google translator? What you wrote that I understood absolutely nothing: "using Lanczos interpolation mode in Export panel instead of bicubic as well as " What interpolation? LANCZOS? BICUBICO?
Interpolation, bilinear, what are you talking about? My good lady of the edition, help me.
Not sure how to answer in a simple way.
I’m pointing you to this Wikipedia article, which can be translated to your language.
Along the left side there is an option to chose which language to view.
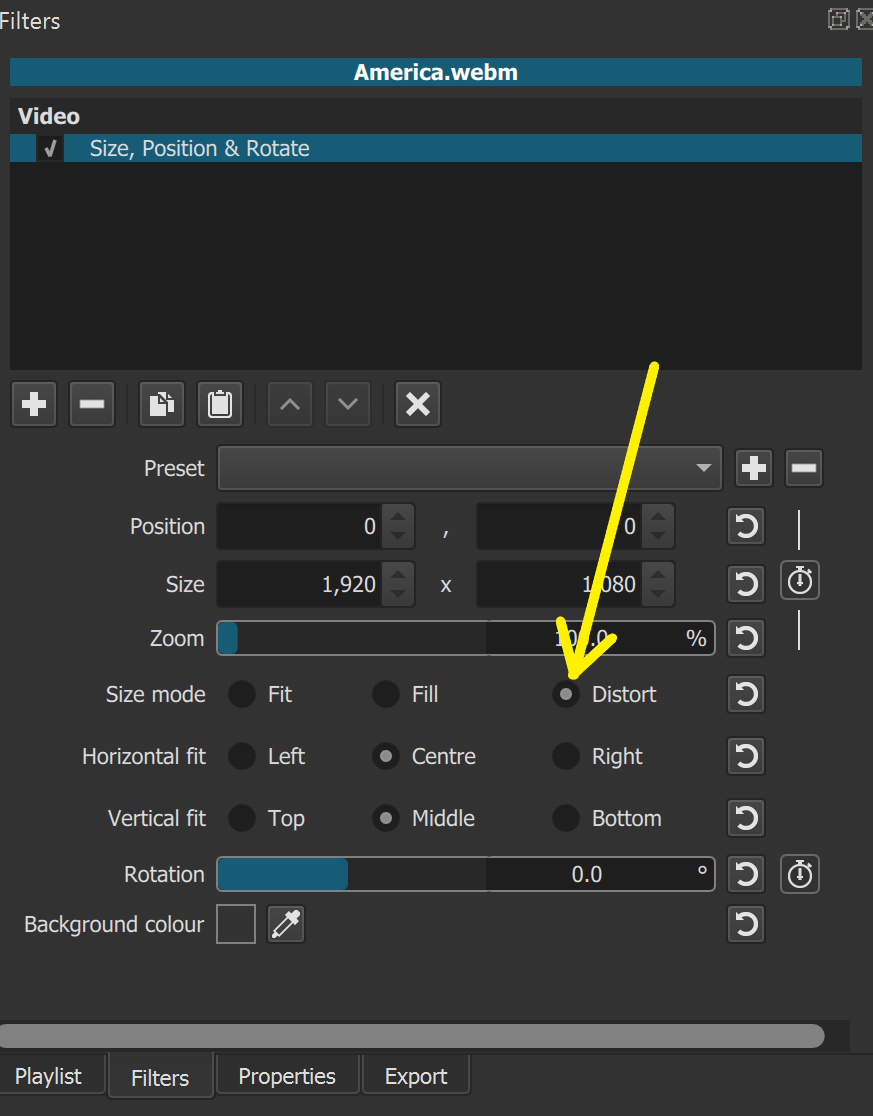
Se você quiser alterar uma dimensão sem alterar a outra, use o modo de tamanho “Distorcer” do filtro.
[If you want to change one dimension without changing the other use the “Distort” Size Mode of the filter.]
2 Likes
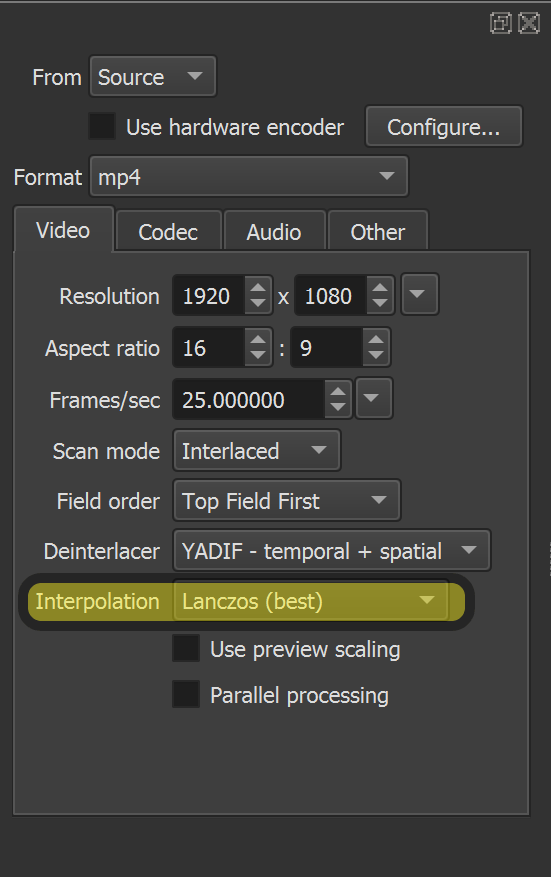
Para escolher uma técnica de interpolação use a lista suspensa no painel de exportação [To choose an interpolation technique use the dropdown list in the export panel]:
2 Likes
Isso é verdade. Mas recebemos muitas perguntas no fórum que perguntam como remover as barras pretas das laterais de um Vídeo Retrato que foi exportado como Paisagem e substituí-las por uma versão borrada do próprio vídeo. É aqui que o Blur: Pad é útil.
[That’s true. But we get many queries on the forum that ask how to remove the black bars from the sides of a Portrait Video that has been exported as a Landscape one and replace them with a blurred version of the video itself. This is where the Blur: Pad comes in useful.]
1 Like
Do you swear I’ll have to use Cartesian product to learn how to edit a video? Really?
I’ve already done that, it looks awful.
I’ve already done that, it looks awful. SHOTCUT is excellent because it has so many features, my difficulty is knowing WHICH TO USE? WHEN? IT IS LIKE? that’s all, laughs.
Using the PAD filter is easy. But the video is still vertical, laughs.
Effectivement, vous avez raison, ce n’est pas possible avec Shotcut, ni avec d’autres logiciels.
Indeed, you are right, it is not possible with Shotcut, nor with other software.
Friend. I did as you suggested. I made a print of each step. Did not work. I don’t know why, maybe you can help me. I propose to open my pc via TEAM VIEW, you enter and edit the video and show how you do it. I personally have watched dozens of videos, I don’t know how to do this. If you can help, thank you immensely.
“IMPOSSIBLE” in computer science is an almost forbidden word, because everything is possible, maybe it takes some work, but everything is possible.
The way I would do it is:
- Open Shotcut;
- Create a “horizontal” (1920x1080) video setting;
- Open your “vertical” (1080x1920) video;
- Apply a Size-Position-Rotate filter with Zoom set to 316.0% (316 = 100% x 1920 x 1920 ÷ 1080 ÷ 1080);
- Move the VUI (rectangle) vertically till you get the scene you are interested in;
- Set the x-position to 0.
You could keyframe the y-position if your area of interest changes throughout the video.
If your vertical video is not 1080x1920 but WxH then zoom by the percentage 100% x 1920 x H ÷ 1080 ÷ W instead.
A maneira como eu faria isso é:
- Abrir Shotcut;
- Crie uma configuração de vídeo “horizontal” (1920x1080);
- Abra seu vídeo “vertical” (1080x1920);
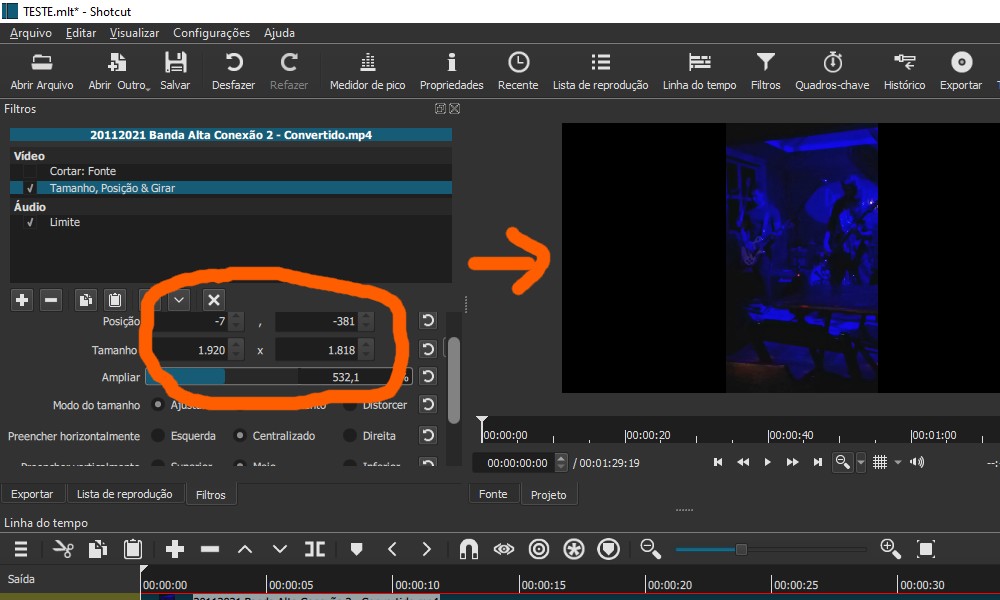
- Aplique um filtro Tamanho-Posição-Girar com Zoom definido para 316,0% (316 = 100% x 1920 x 1920 ÷ 1080 ÷ 1080);
- Mova o VUI (retângulo) verticalmente até obter a cena na qual está interessado;
- Defina a posição x para 0.
Você poderia colocar o quadro-chave na posição y se sua área de interesse mudar ao longo do vídeo.
Se o seu vídeo vertical não for 1080x1920, mas WxH, em vez disso, amplie na porcentagem 100% x 1920 x H ÷ 1080 ÷ W.

There is a problem with the technique I described in my last post. When you open the vertical video it is downscaled by the ratio 9:16. This “throws away” information before doing the 316% magnification.
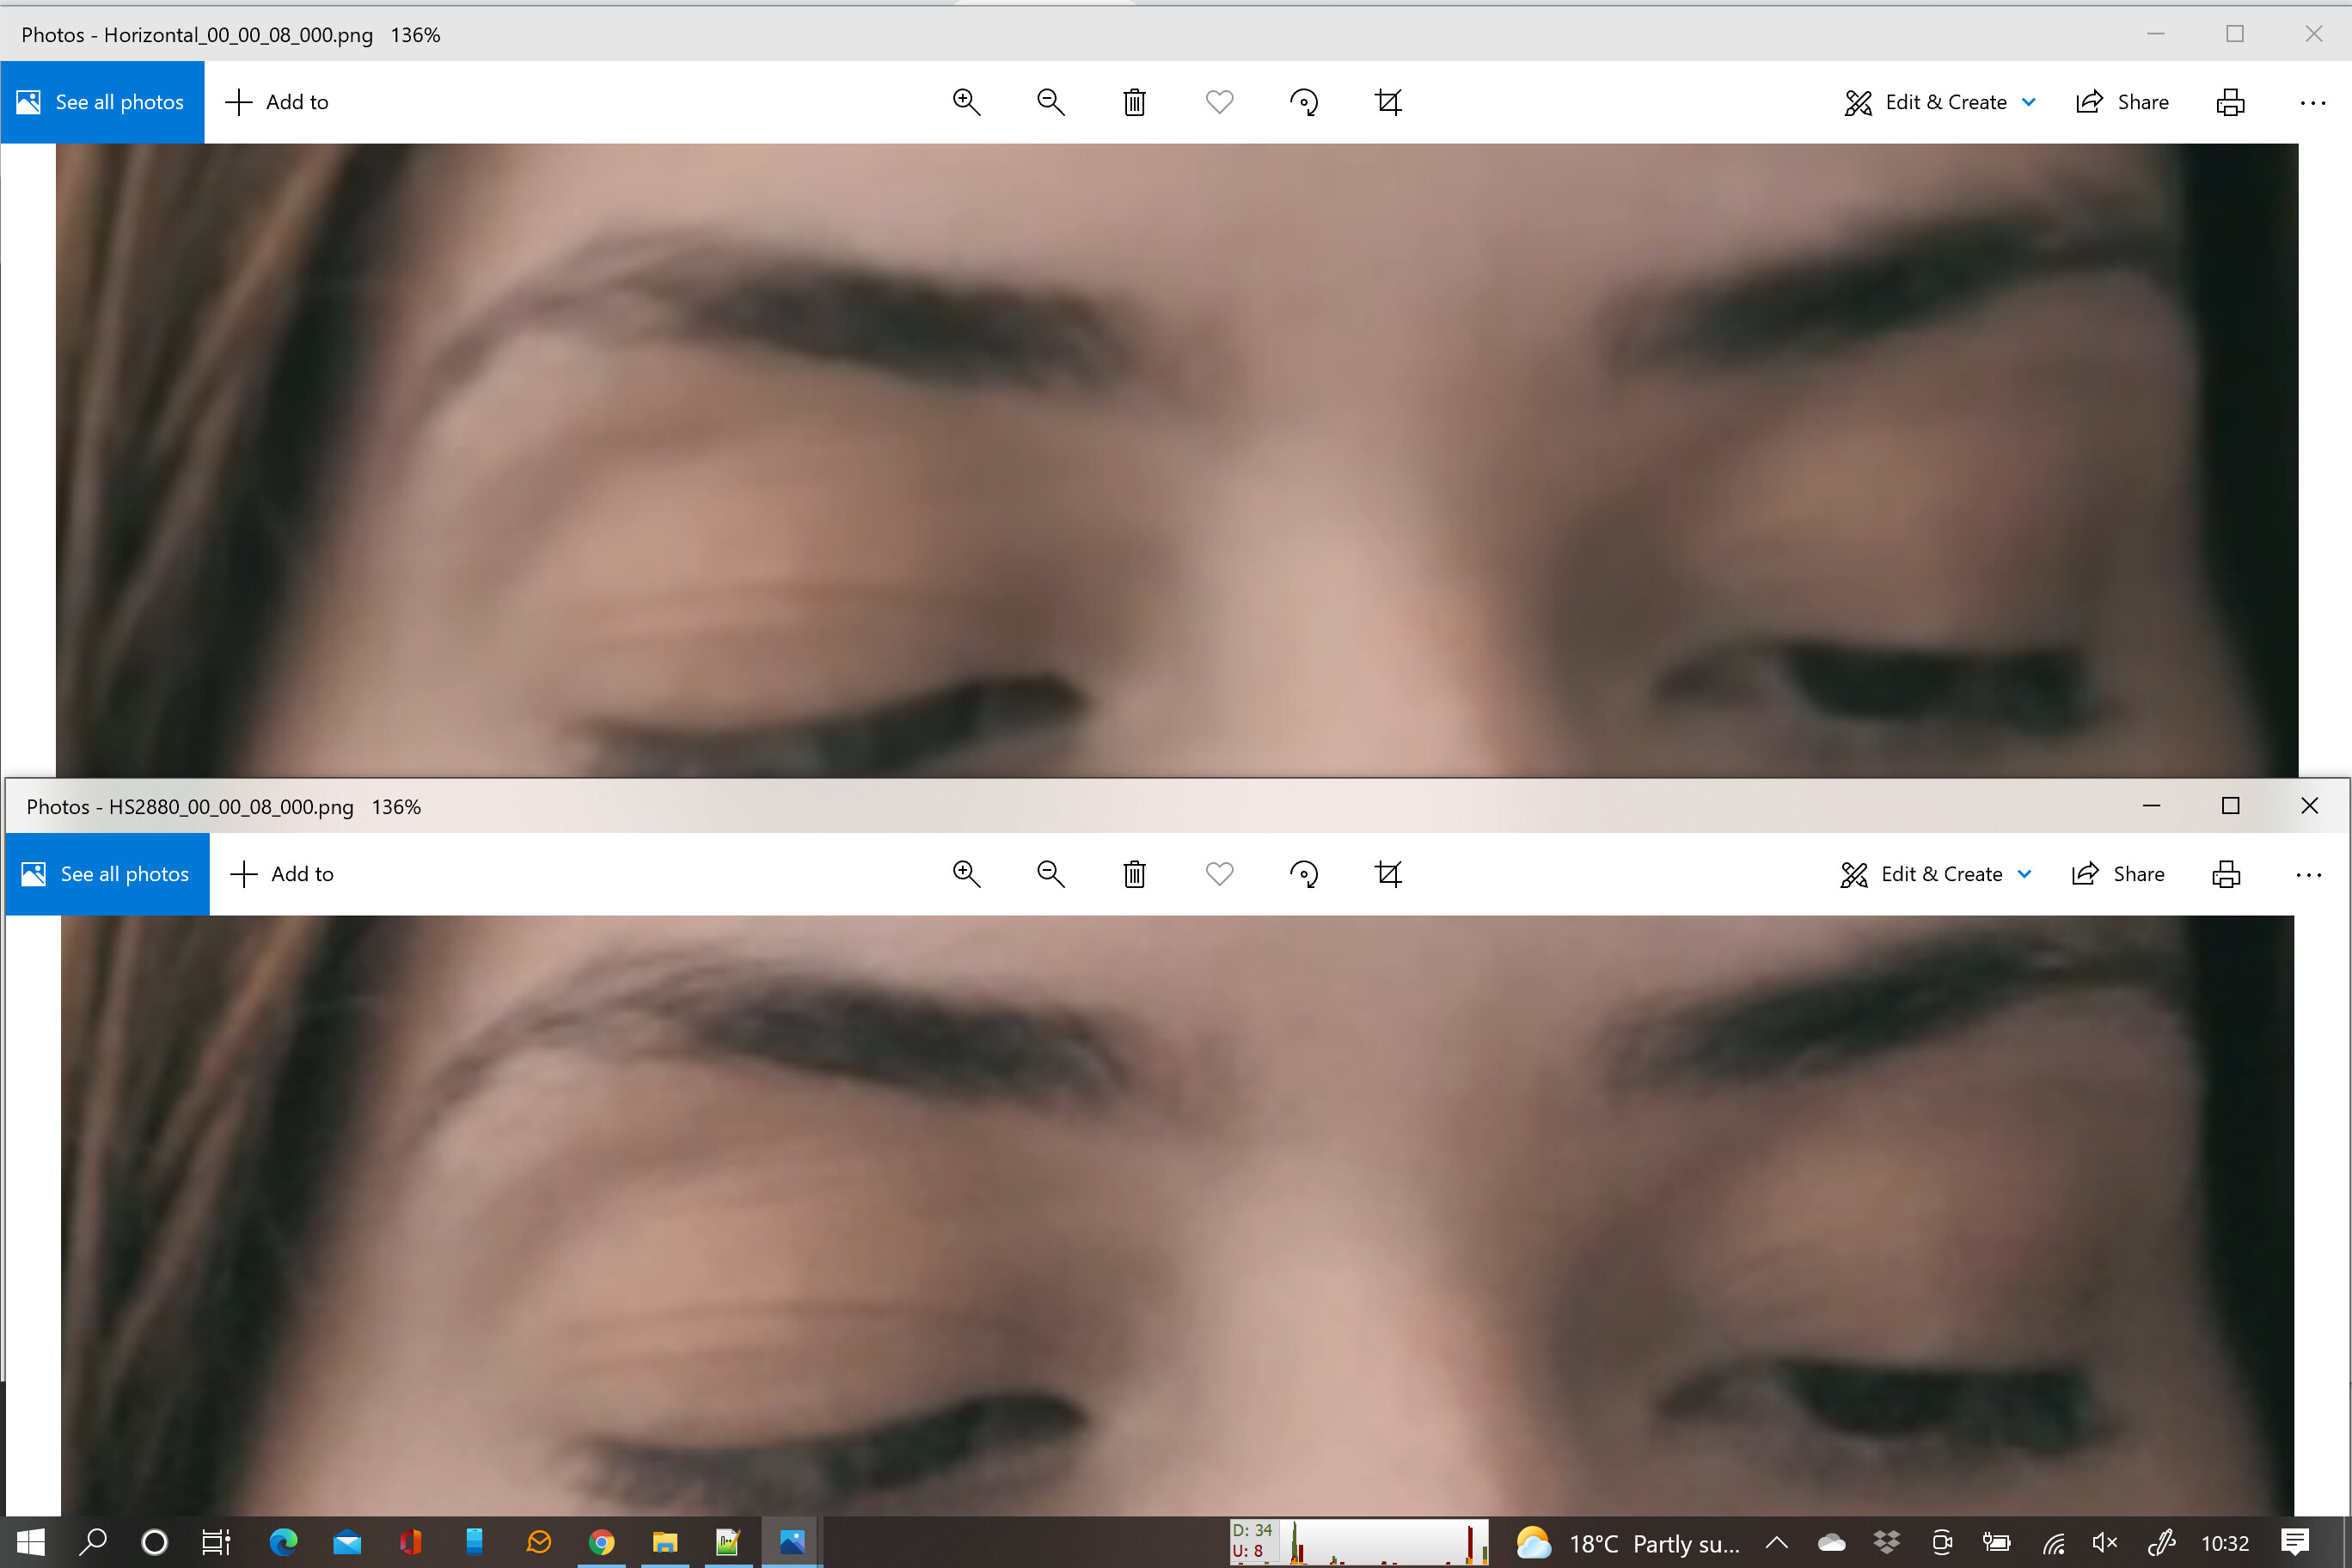
A better technique would be to create a custom video setting of 2880x1920. This would keep all the information that is in the vertical video before doing the 316% magnification. When exporting you can increase the quality e.g. to 67%, or even save it in a lossless format.
[I made a mistake: the value 2880 shoud be 3414]
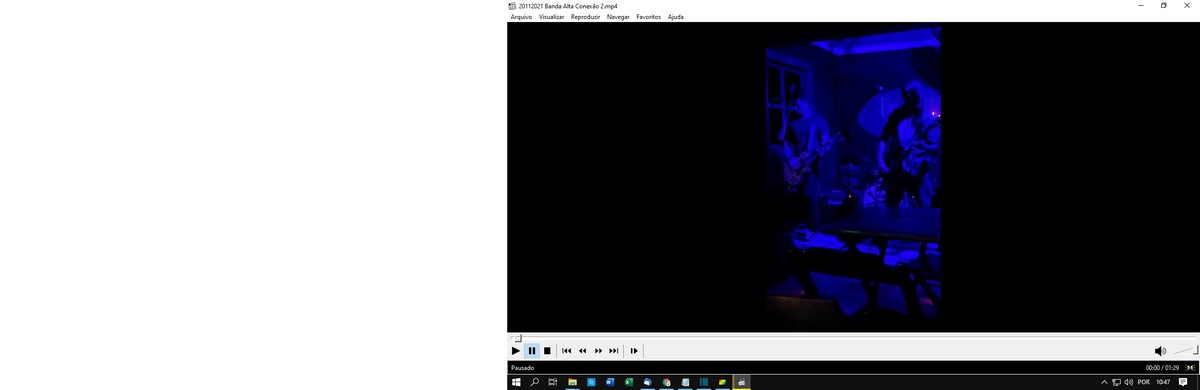
The screenshot below shows the final product (1980x1020 at the top, 2880x1920 at the bottom).
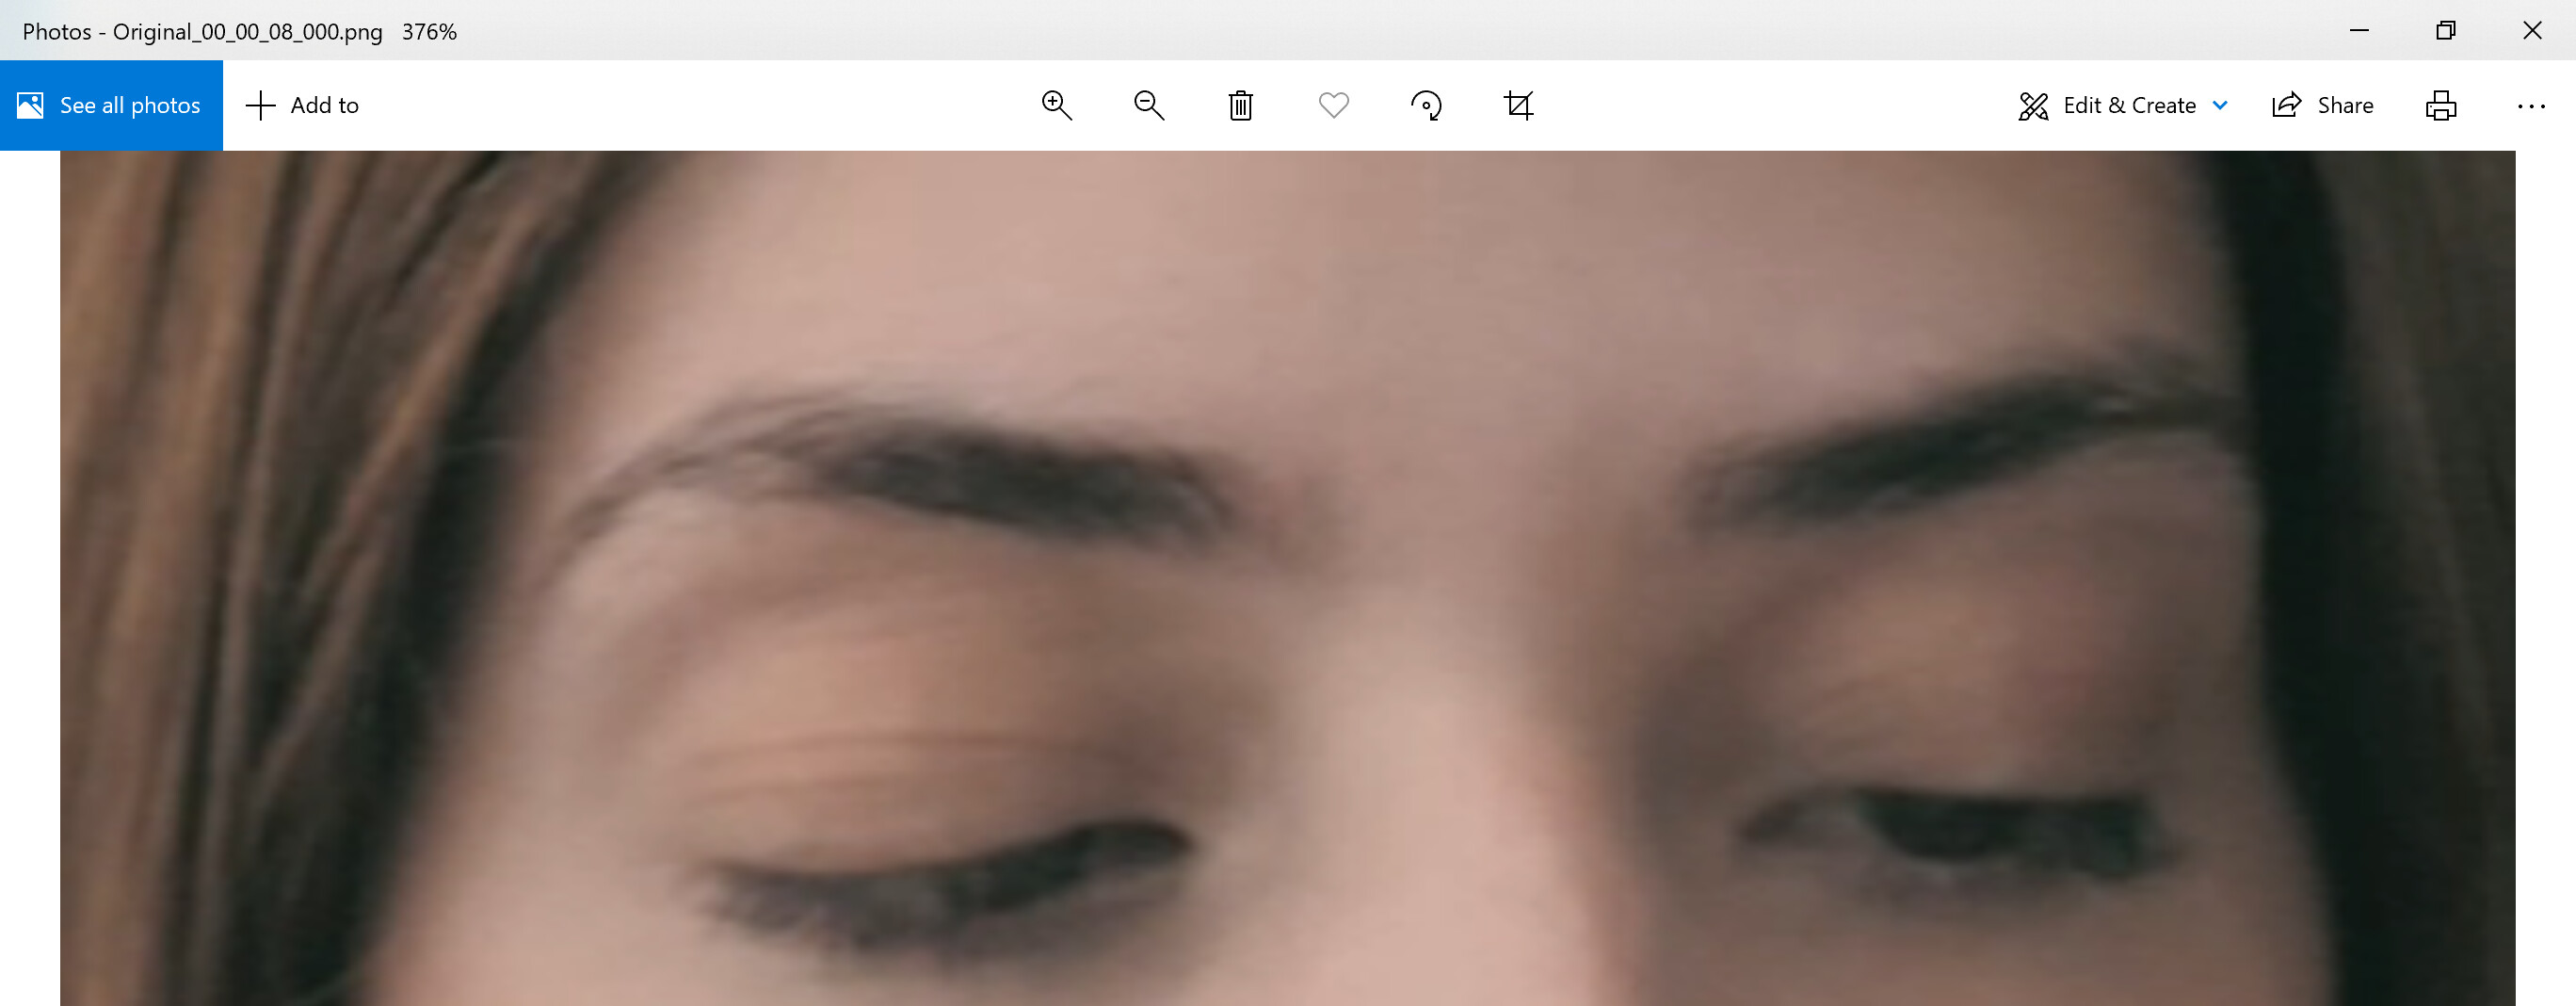
Here is the original (vertical)
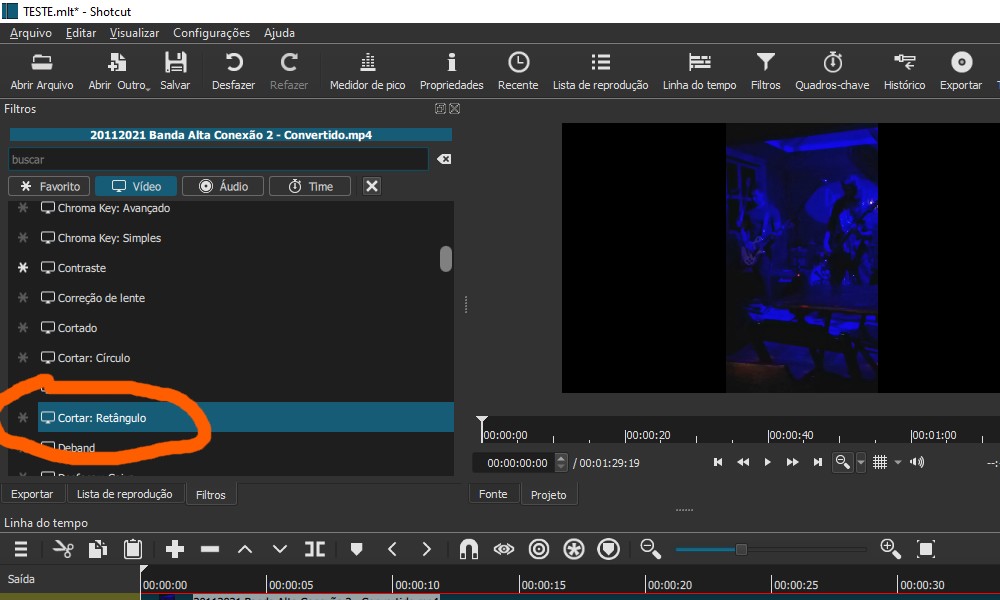
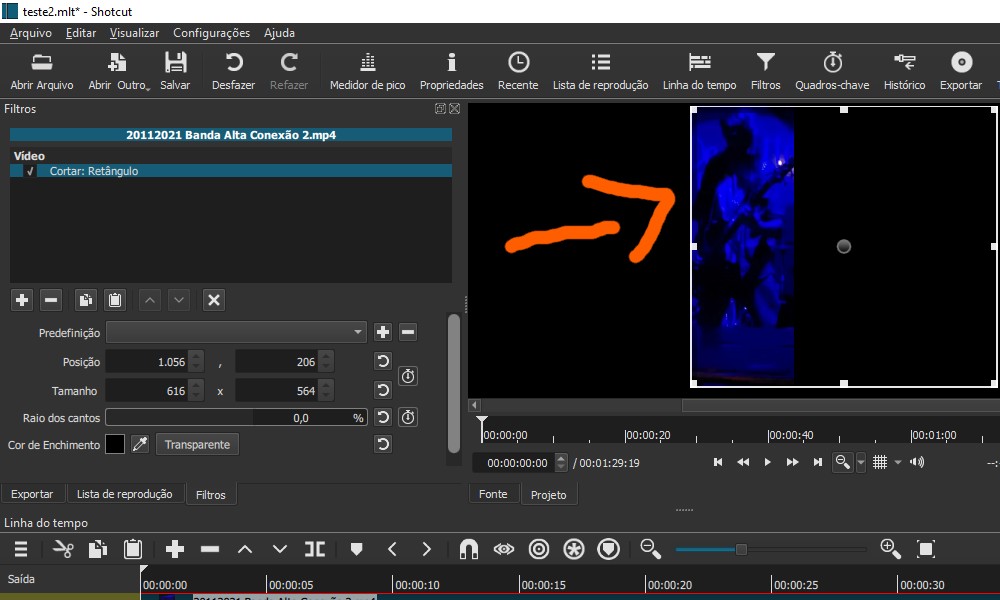
The “Crop: Source” filter is always applied first by Shotcut internally (regardless of filter order) to get around the resolution problem you noted. “Crop: Source” happens before the automatic resize-to-fit-the-video-mode.
@WALDIR21 had a screenshot where it appeared “Crop: Source” was in use, and that should have worked. But it used Center Bias instead of top/bottom values, and it looked like the crop happened a little off-center for some reason. Maybe preview scaling was on and there was a margin of error.
I don’t understand, can it be clearer? What do you mean “automatic resizing”? Crop does not reset the video size. The SIZE-POSITION-ROTATE effect has no option to increase only the width, it doesn’t take up all the space in the editing area.
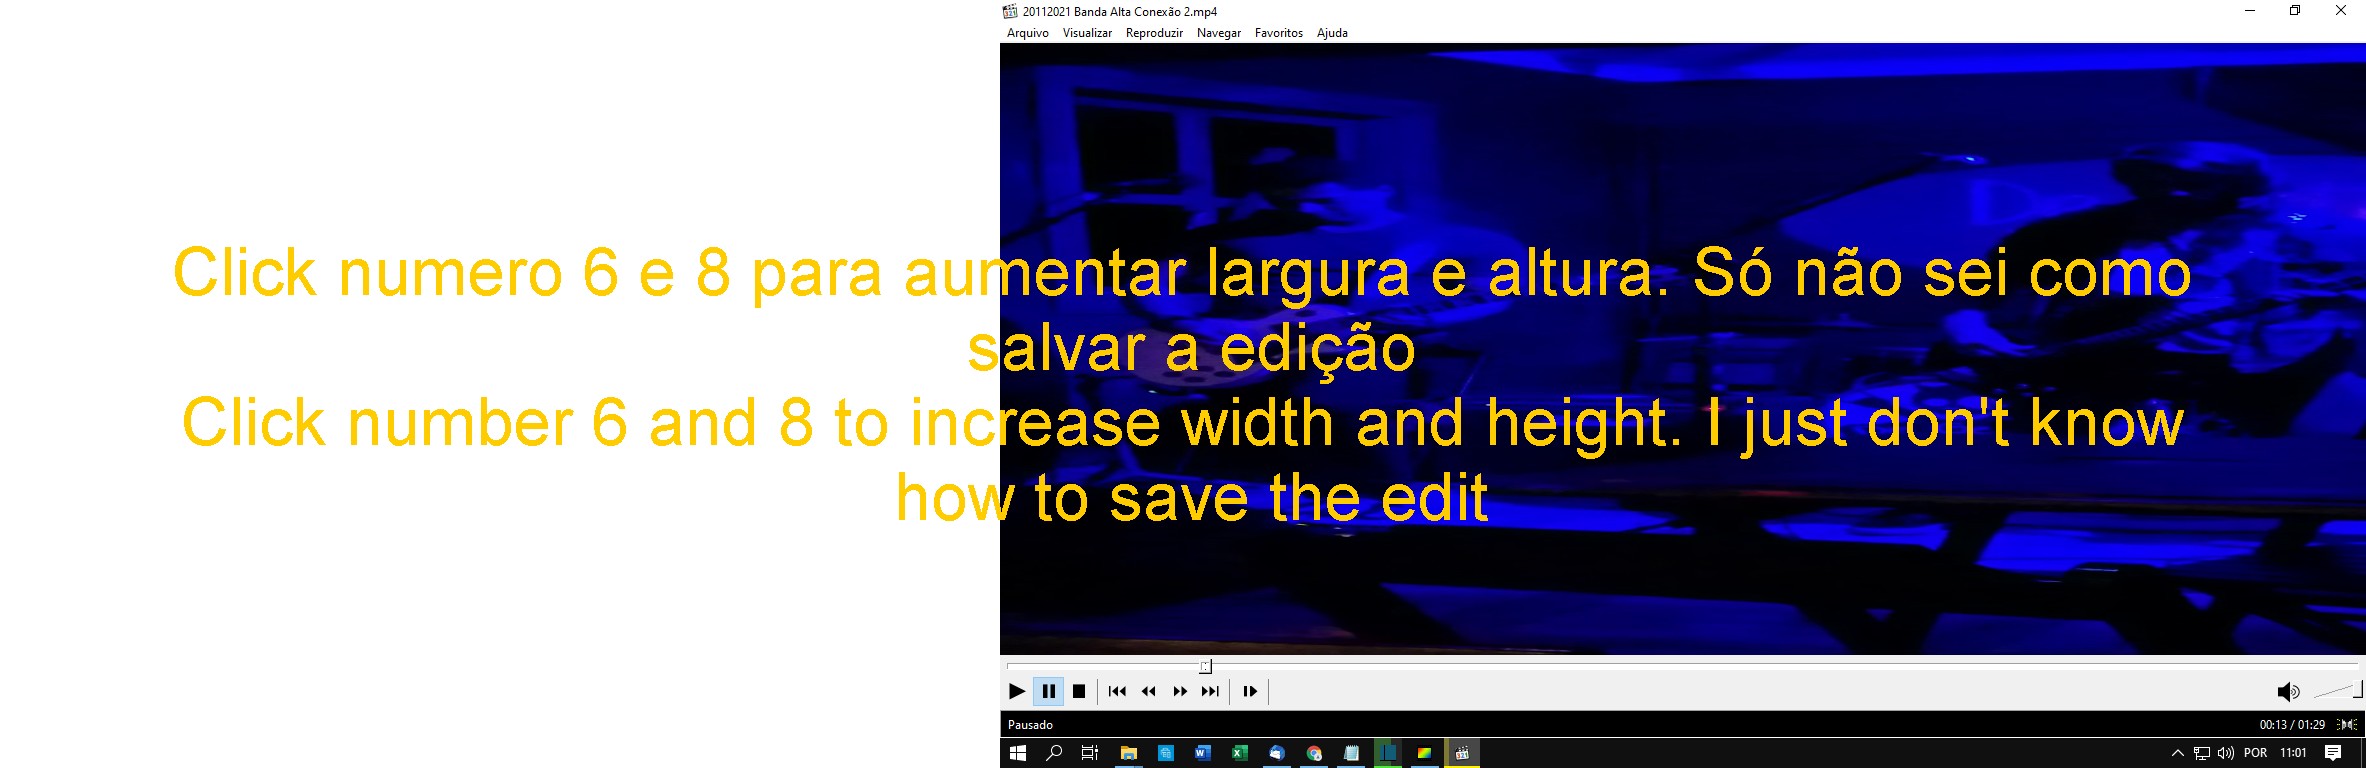
I did a test on the MPC-HC, it is possible to increase the width with a key. Distorts. I just don’t know how to save the edit, lol.
Click number 6 and 8 to increase width and height. I just don’t know how to save the edit
When a vertical 1080x1920 video is brought into a horizontal 1920x1080 timeline, the vertical video is automatically resized to 608x1080 by Shotcut (even if no filters are applied) so that the vertical video can be completely seen inside the borders of the horizontal video. This is what creates the black bars on the left and right sides.
EDIT: The following description of how SPR works is inaccurate. I’m leaving the post intact for sake of following the conversation, but please see later down this thread for updated details of how SPR works. Long story short, it’s fine… there is no resolution loss to worry about when zooming into an image.
If the Size Position Rotate filter is then used to zoom into the video, it is the 608x1080 version that gets enlarged instead of the 1080x1920 original version. This causes a loss of resolution (detail) compared to zooming into the original version.
However, the “Crop: Source” filter is unique in that it is processed before the automatic resize takes place. So, if a vertical 1080x1920 video has a “Crop: Source” filter that removes 400 pixels from the top and 440 pixels from the bottom (total of 840 pixels removed from the height), then the resulting image is 1080x1080 square. This basically selects a 1080x1080 section from the original video and copies it verbatim to the timeline with no resolution loss. Yes, we lost the top and bottom portion of the original video, but how else can we cram a vertical video into a horizontal space, in a way that doesn’t stretch it sideways to fill the gaps on the sides?
EDIT: The 840 pixel number is “old math” before Shotcut had proxy support. See my next reply for the new math when using the Crop: Source filter.
It does if Distort mode is used. Distort allows the width and height to be adjusted independently. However, as the name implies, the resized image will be distorted. Increasing the width but not the height will cause the image to look stretched horizontally. If that’s what you want, then the SPR filter in Distort mode is what you need. If you don’t want the image to look stretched, then Crop: Source is what you need, but don’t use the Center Bias option. Use actual left/right and top/bottom values, as it appears one of your source videos may have a black bar baked into it, which would require additional cropping.
1 Like