Follow these steps when you want to change the default duration of image clips.
This will also set the default duration of:
Open other - Color
Open other - Text
Open other - Color bars
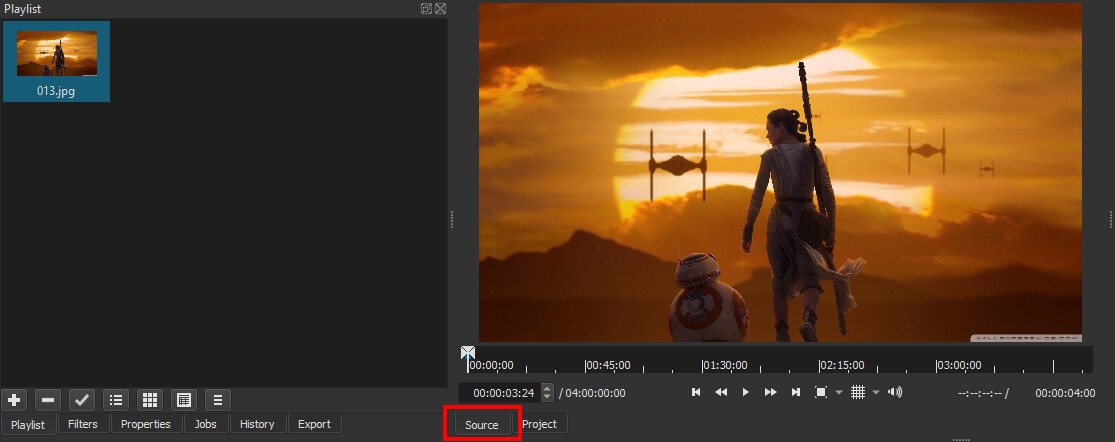
Import any image file in the Source player. You need to use an image to set the default duration of new imported images and color clips.
You can also use an image that is already in the playlist, but you’ll need to double-click on it’s thumbnail to open it in the Source player (See first screenshot bellow)
Open the Properties tab.
Modify the current default duration.
Click the Set Default button to validate the change*.
*Note: Sometimes you’ll need to click on the Set Default button twice. One time to remove the focus from the Duration time box, a second time to apply the change.
Really useful tip, @MusicalBox . One of those things that is simple to do but that not everyone knows about. And if someone searches Google for this in the future, they will probably be directed to this post.
It will get the views eventually.
I posted a lot of detail in this post a number of years ago, and it’s got 4.7k views now. Good to have an updated tutorial showing the current UI.
Hi,
I’m using Shotcut version 23.12.15., Windows 11 Pro 22H2
The “Duration” “Set default” button is always grey and deactivated, no matter which framerate I use nor which resolution of the single picture. I can modify the duration of a single picture manually with the mouse, the change also shows up in the entry box but can not be changed in this box. “Set default” stays deactivated.
If I overlooked a solution over here (though searching quite a while now) I would be gratefull for a hint.
The first two steps say very clearly “Source player” with the word "source’ capitalized and bold. And the screenshot adds a red box around the “Source” tab of the player. Some of us use the actual words used in the (English) user interface.