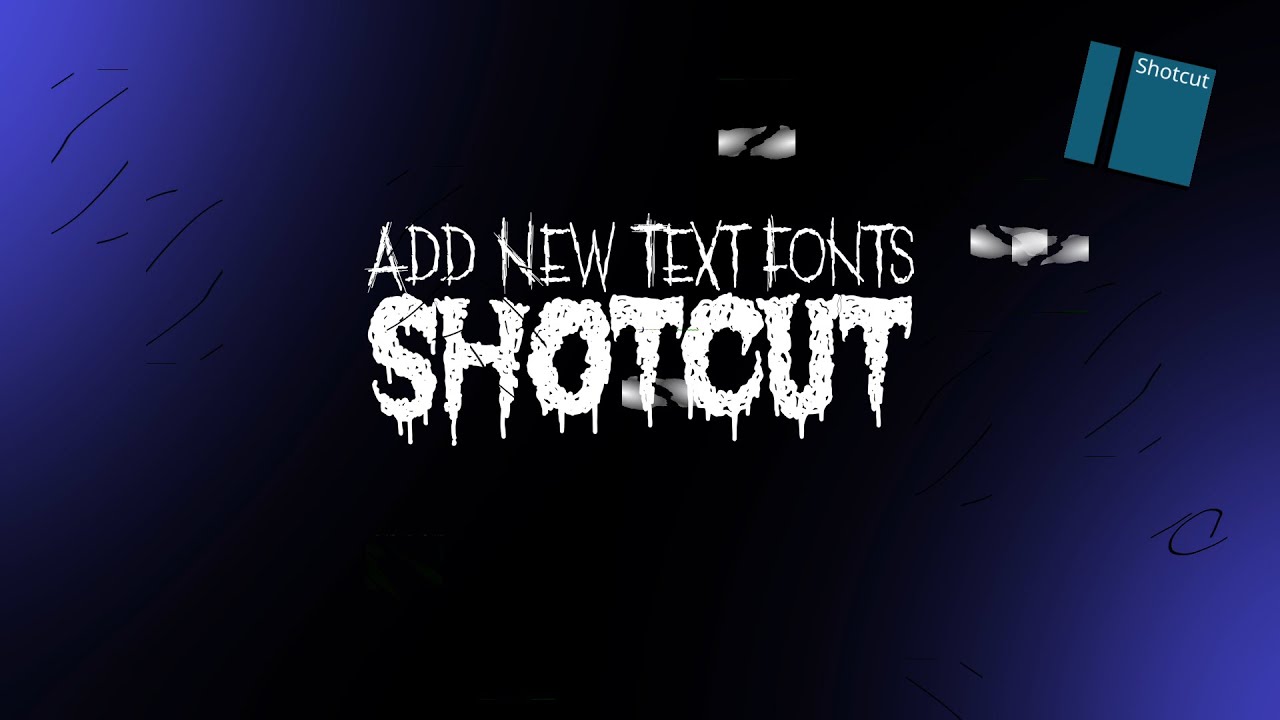
In this video, I’ll walk you through the simple steps of adding custom fonts to the Shotcut video editor.
Adding new fonts to Shotcut is simple because the program uses the fonts installed on your operating system (Windows, macOS, or Linux).
Step 1: Download Your Desired Font
-
Visit a Free Font Website: Go to a site like https://www.dafont.com/. This site offers thousands of custom fonts that are free to download.
-
Review the License: Before downloading, be sure to check the font license (often located on the font’s page). While many fonts are completely free, some may require you to credit the author or may be restricted to non-commercial use.
-
Download the File: Click the download button for your chosen font. The file will download as a compressed ZIP file.
Step 2: Install the Font on Your System
-
Unzip the File: Locate the downloaded ZIP file and unzip it (usually by right-clicking and selecting “Extract All” or “Unzip”).
-
Locate the Font File: Inside the unzipped folder, you will find the actual font file. This file will have a
.ttf(TrueType Font) or.otf(OpenType Font) extension. Either type will work. -
Install the Font:
-
Right-click the font file (
.ttfor.otf). -
Select Install.
-
Step 3: Use the New Font in Shotcut
-
Open Shotcut: Launch the Shotcut Video Editor.
-
Add a Text Filter: Select the clip you want to add text to, go to the Filters panel, click the plus sign (
+), and add a Text: Simple filter. -
Apply Your New Font: In the Text filter settings, click the Verdana button. A font selection window will open. Scroll through the list and select the new font you just installed.
Important Note on Custom Fonts
Keep in mind that custom fonts are treated as a single, static style within Shotcut. This means:
-
Limited Customization: Unlike standard system fonts, you cannot use the Bold, Italic, or Thin options to change the font’s weight or style after it’s applied.
-
Alternative: If you need a specific weight (like “Bold” or “Light”), you must install that specific version of the font separately from the download folder.
