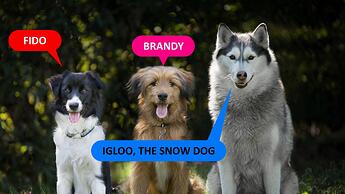
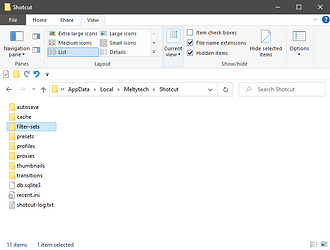
I made a filters set that generates this kind of info bubble (or speech bubble) on a single clip and using only a couple of clicks.
NOTE: You need Shotcut version 23.05.14 (and up) to use filters sets

Download the ZIP file:
MB-1920x1080_Info-Bubble_USE-ON-BLACK-CLIP.zip (1.0 KB)
It’s meant for 1920x1080 projects, but I guess it would also be usable on other projects dimensions, as long as the aspect ratio is 16:9
EDIT: Turns out it doesn’t work properly on projects of other dimensions.
Here’s another ZIP file containing the filter sets for 3840x2160, 1920x1080 and 1280x720 projects:
Info-Bubble filter sets.zip (3.0 KB)
After you’ve added the info bubble to your timeline, you can edit the shape and the color of the bubble, the position, size, shape and orientation of the arrow, and, of course, you can change the text and it’s color. You can then position and resize the entire bubble and it’s text.
Example of use:
INSTRUCTIONS
-
Download the ZIP file and un-zip it somewhere on your computer.
-
Launch Shotcut
-
Go to Settings > App Data Directory > Show
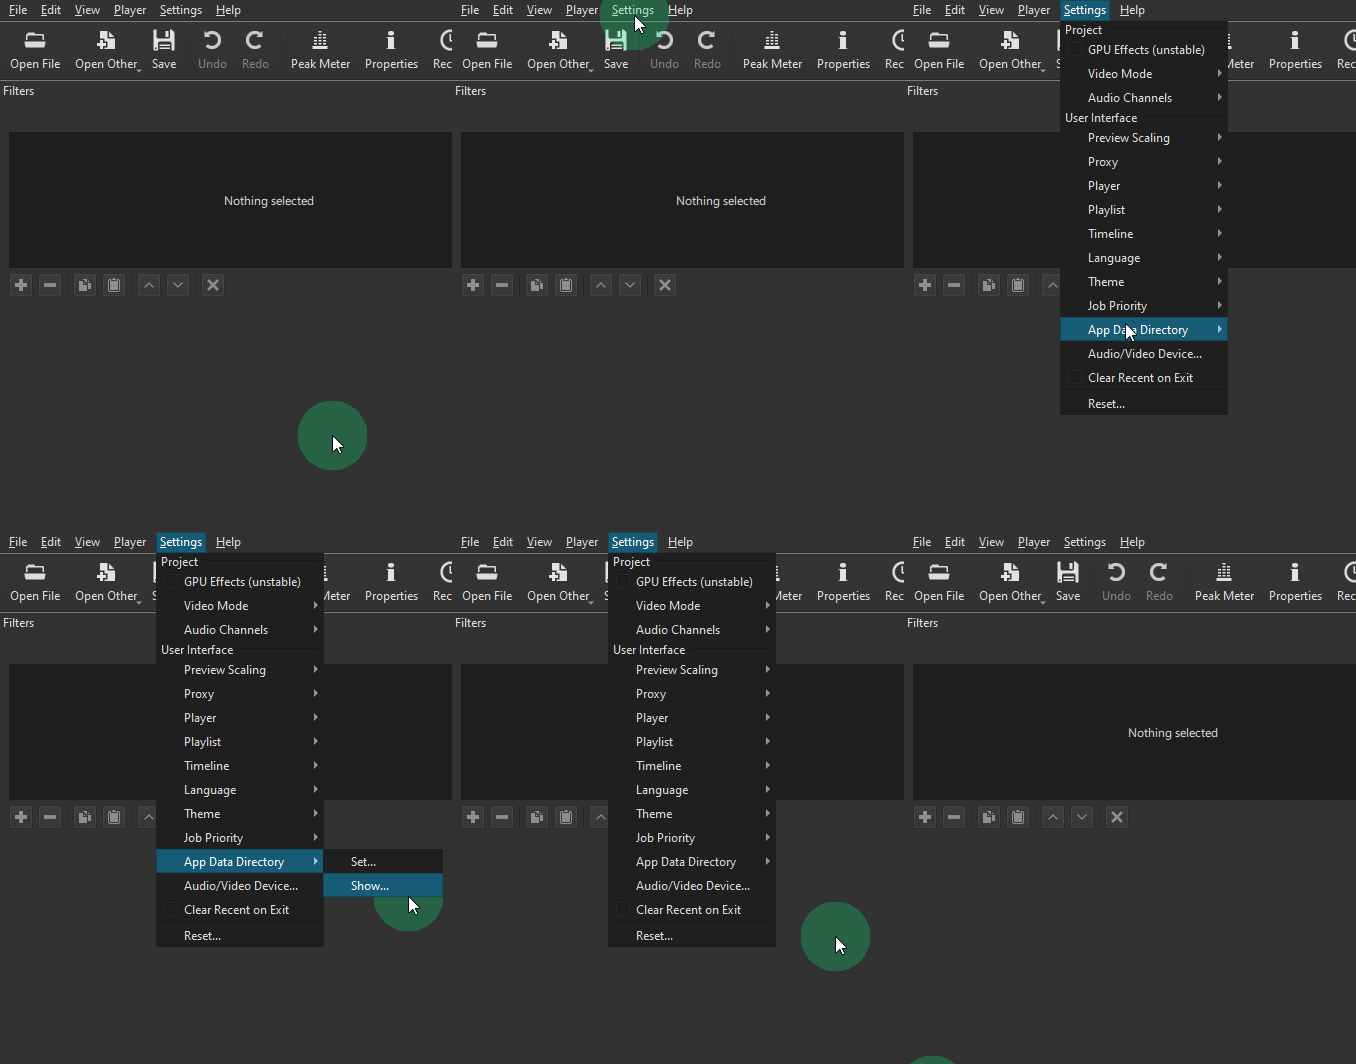
IMPORTANT NOTE: Someone commented on YouTube that he doesn’t see the filter-sets folder in his Shotcut App Data Directory. I think that this folder is probably only added to the directory when you create your first custom filters set. So if you don’t see the filter-sets folder, do this to create it:- Add any clip to the Timeline
- Apply one or more filters.
- Click the Copy checked filters button.
- Enter a name in the dialog box and click OK to save the filter set.
-
Exit Shotcut
-
In the App Data Directory, open the filter-sets folder.
-
Move the un-zipped file inside that folder.
-
Launch Shotcut. Open a project or create a new one.
-
Create a new track on top of the other tracks in the timeline.
-
Open Other… > Color
-
Create a BLACK clip (it is important to use a black clip), and add it to the new track.
-
Make sure the clip is selected and go to the Filters panel.
-
Click the + button and select the Sets category.
-
Click on the Info-Bubble filter set.
Here’s how to edit the shapes and colors of the Info Bubble:
In brief:
-
The Crop: Rectangle filter is used to change the size and shape of the rectangle. You can also remove or increase the corner radius.
-
The Mask: Simple Shape filter is used to change the shape, position and angle of the bubble arrow.
-
The Color Grading filter is used to change the color of the bubble + the arrow.
You only need to edit the values of the Shadow (Lift) wheel. -
The Text: Simple filter’s job is pretty obvious. Use it to change the text and format it (font, size, color etc…)
-
The Size, Position & Rotate filter is used to move and resize the entire info bubble.
-
Adding a 2 x 2 grid is helpful for aligning the text inside the bubble.
