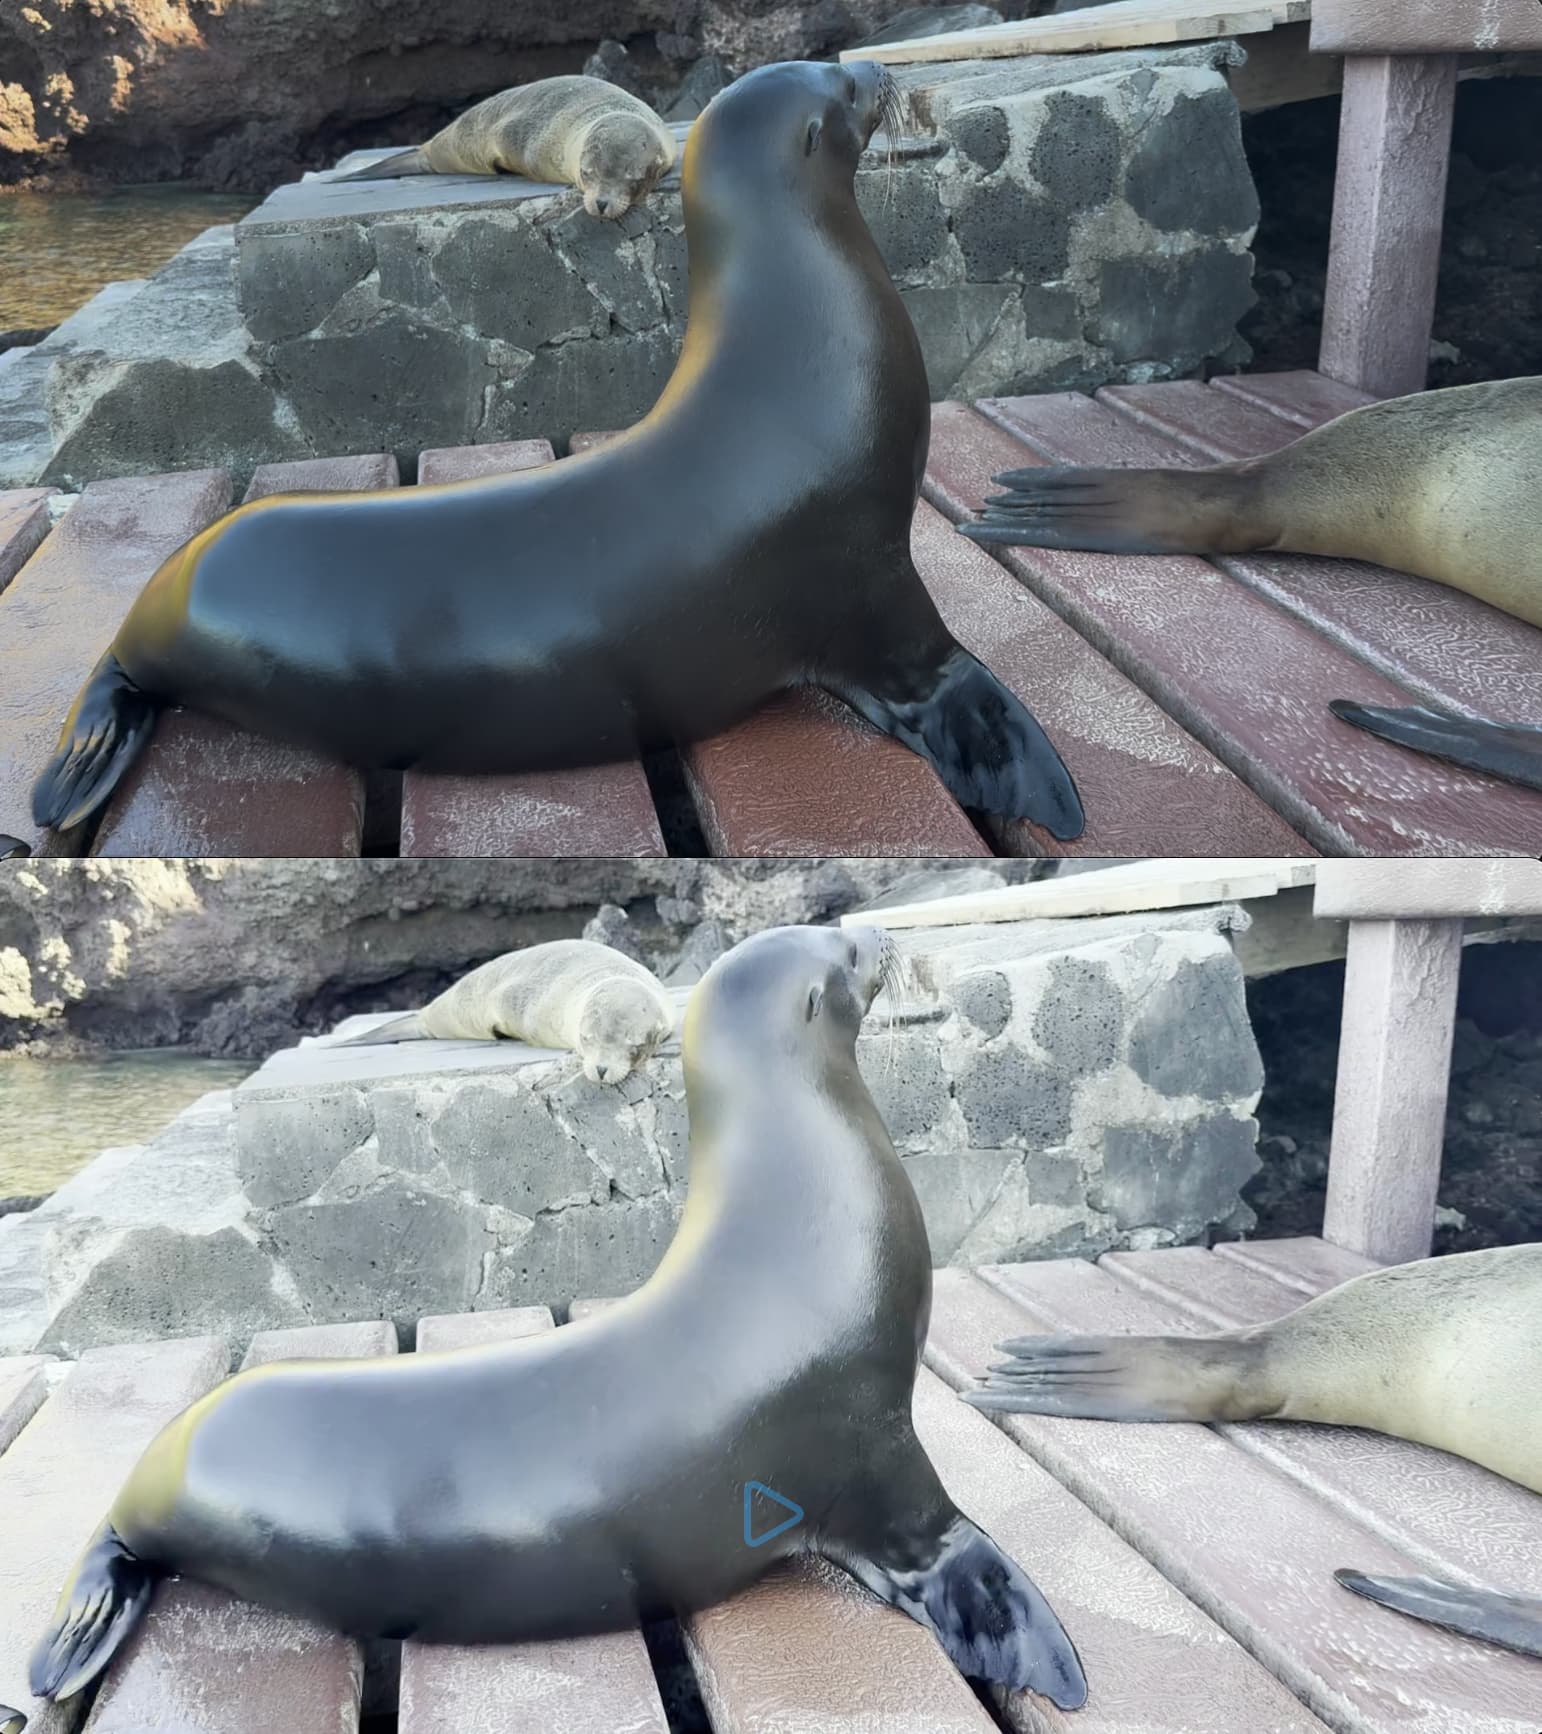
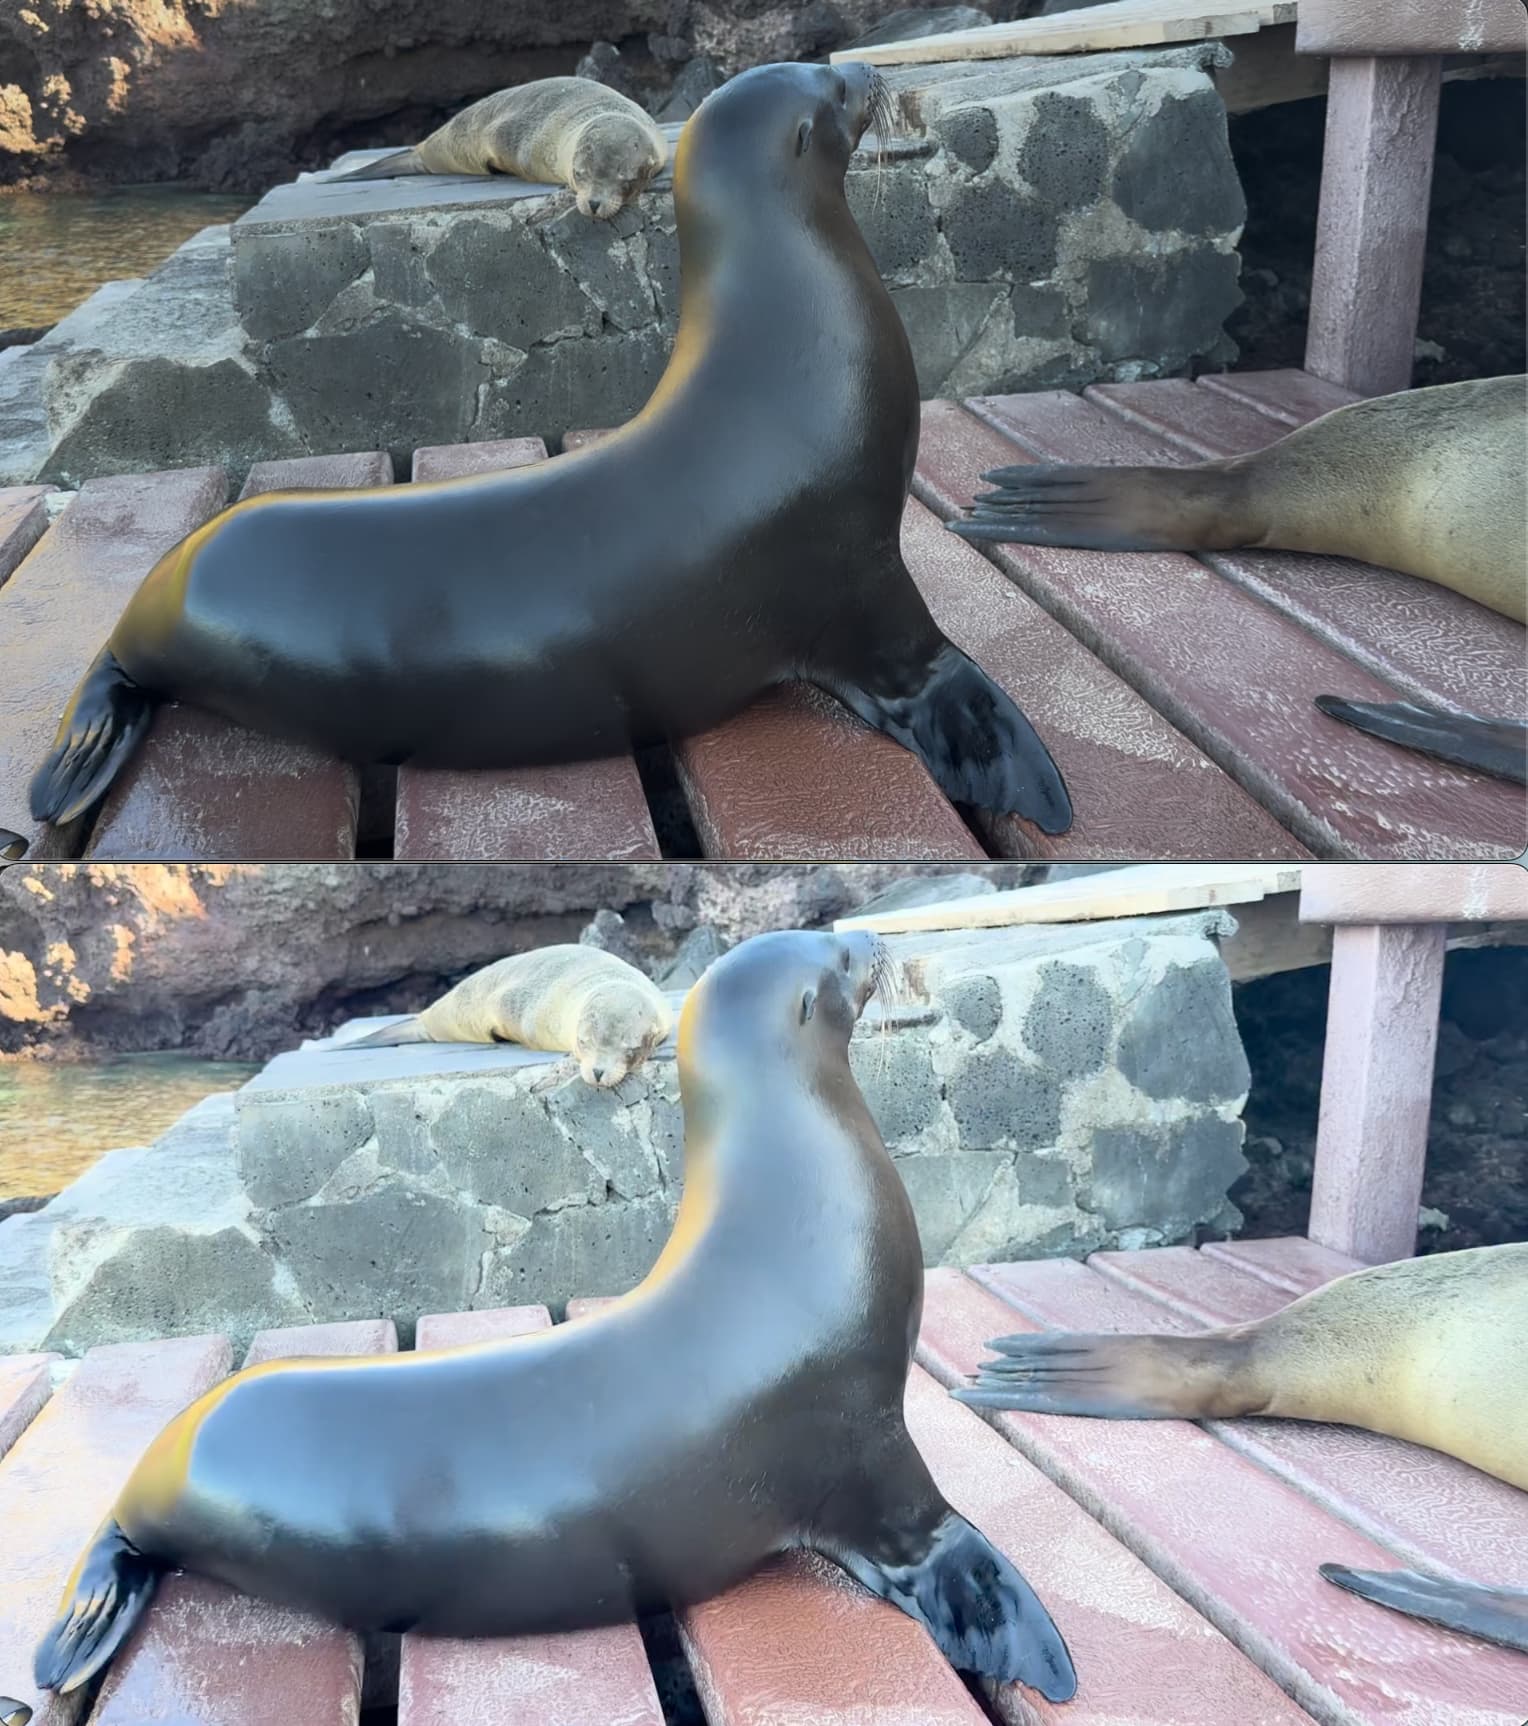
I’ve just started testing Shotcut and have run into a problem: the exported video has noticeably different colors and contrast compared to the original.
Is there a way to preserve the original colors during export?
*edit
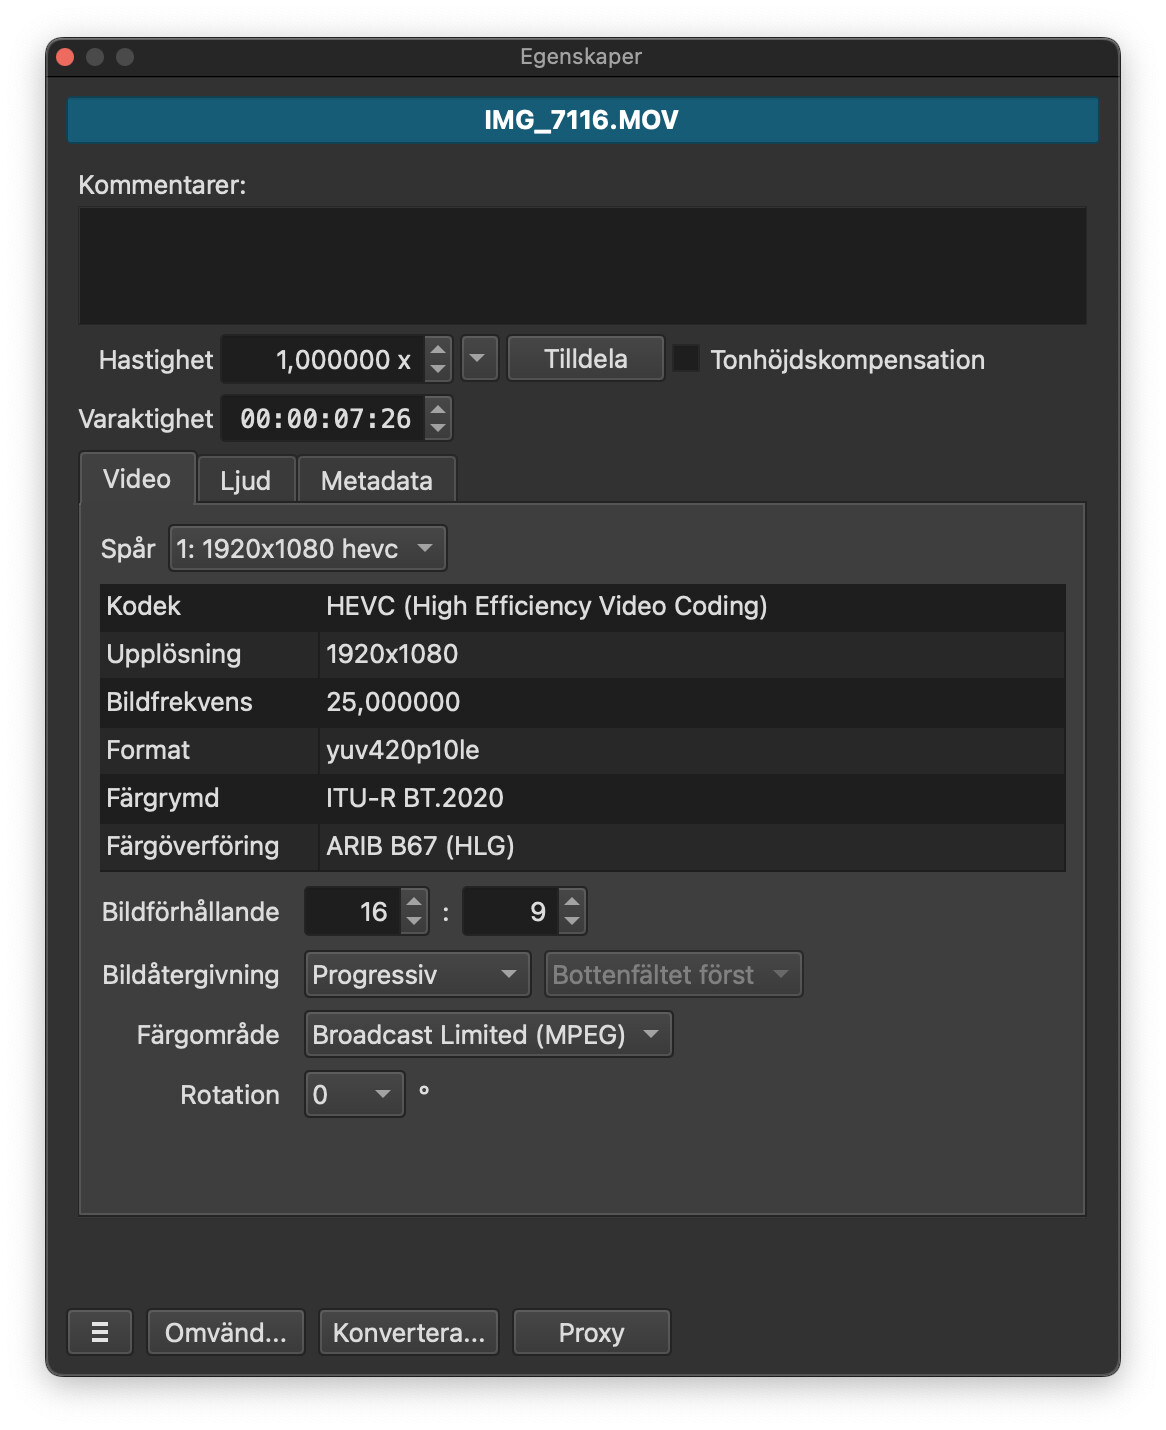
If it is to any help, the original video was shot on iPhone 16 Pro, 1080p, 25 fps and has .mov extention. ProRes is turned off. Running Shotcut on MacOS, both are the latest versions.
You should report or show the file’s properties. It is probably HDR, and HDR is not supported in Shotcut even though it can be done. Basically, if you have to ask the answer is no. You cannot convert a video from HDR to SDR and keep it looking the same and as good. The convert option with the Rec709 option does something but you might need to manually adjust from there.
I assume this is an HDR file. What’s the most convenient way to make it look close to the original? Should I manually adjust the contrast and colors in Shotcut? Do I need to convert it to BT.709 first, or can I work directly with the original file?
In any case, trying to match the original colors manually can be tricky and tedious for someone who isn’t very familiar with how color and contrast work. Is there a simpler, more foolproof way to do it? QuickTime displays the video correctly. Is there a way to export or convert it from QuickTime with the correct tone mapping and take over the result as a source footage to Shotcut?
Yup, that’s HDR - it’s in the BT.2020 colour space and uses HLG. Shotcut’s conversion to edit-friendly will convert the colour space; I haven’t worked with HLG so I don’t know if it will convert that or if you’ll need to use the LUT filter.
Another option is using an external program to do the conversion. Here’s a video I made about the process I’ve used to convert HDR footage (in my case, PQ rather than HLG) for use with Shotcut, using Handbrake as the conversion program. I’ve since started using FFMPEG to do the conversion as it offers more control. Your camera vendor may also have a program to do this conversion.
He is using iPhone and asked about QuickTime Player which cannot convert it to SDR, but I believe Final Cut Pro can. Of course, so do other tools as you pointed out.
I use videos from various sources, but the iPhone videos are recorded in HDR.
As I mentioned earlier, converting them within ShotCut doesn’t give the desired results - the converted video ends up looking almost identical in tone to the one ShotCut already renders from the original.
However, I’ve found a workaround for the moment. QuickTime can export a tone-mapped H.264 video that ShotCut reads correctly. It’s not ideal, as I have to manually replace all the iPhone clips in the timeline with the newly converted ones, but I think this is the only way to keep the work I’ve already put into the project.
Oh, that’s great to learn. They do not make it very obvious. You have to do:
File > Export As
pick a resolution
a file dialog opens
at the bottom of the dialog is a drop-down where you can choose Greater Compatibility (H.264)
I have to manually replace all the iPhone clips in the timeline with the newly converted ones
Timeline clip context menus have a Replace action to help with that. It uses whatever is in the Source player along with its current In point as the source of that operation.
Yeah, but as far as I can tell, you still have to go through the timeline, find each clip, and manually hit Replace to point it to the new source. It works, but it does take a bit of time.
With ShotCut’s built-in conversion, the new file automatically replaces all the referenced ones in the timeline, which is super convenient.
It’d be great if that same behavior worked for externally converted files too. And even better, if ShotCut could tone-map HDR footage so it’s much closer to the original look right out of the box.
A slightly different workaround that might be faster is to convert all of your videos (in the other tool) then rename the converted ones to the original filename (and rename the original files as something +HDR).
Shotcut should use the converted files after reopen thinking nothing changed because they have the original names.
Do note: you should try a quick test with only 1 file to make sure this works as I’ve never tried it with HDR before, but I did try it with regular videos (as proxy) and it worked correctly.
Thank you, Dan! That was a great tip! But would it work if I just add “+HDR” or something similar to the file name? The name will change in this case. Will ShotCut still recognize the files?
I could also just overwrite the names. After making copies of the originals first, of course. It will speed up the changing process significantly.
You don’t need to overwrite the files, I’m gonna give an example:
Say you have this video file that is HDR:
IMG_2631.MOV
rename it to this:
IMG_2631_HDR.MOV
at this point do not open Shotcut, it will see this file as missing.
Open this file IMG_2631_HDR.MOV with quicktime and convert it to non hdr and type this name in the Export As panel (this is the original name you had before):
IMG_2631.MOV
Now just open Shotcut normally and load your old project. It will simply look for IMG_2631.MOV (which is now the converted variant by quicktime) and load it up. Check to see it is showing properly in timeline and you’re good to go.