Crop: Rectangle is a filter used to crop a specified region of a video clip or image file to the current Video Mode. Keyframes are available with this filter.
Filter can be applied to Source, selected clip, Video Track or Output.
Parameters
- Preset: Save current settings for later use. To use later, just click the drop-down menu for selection.
- Position & Size: Values can either be input by keyboard or adjusted by the adjustable border corners and center.
- Corner radius: Apply a corner radius to the cropped selection. Can be adjusted by the slider bar, entering a value, or just click & scroll on the percent value.
- Padding color: Default is set to Black with no opacity (Alpha channel = 255). Any padding color can be selected and alteration of the Alpha channel can all be adjusted. You can also pick a color using the eye dropper tool.
Tip: To adjust opacity, lower Alpha channel from 255 to 0.
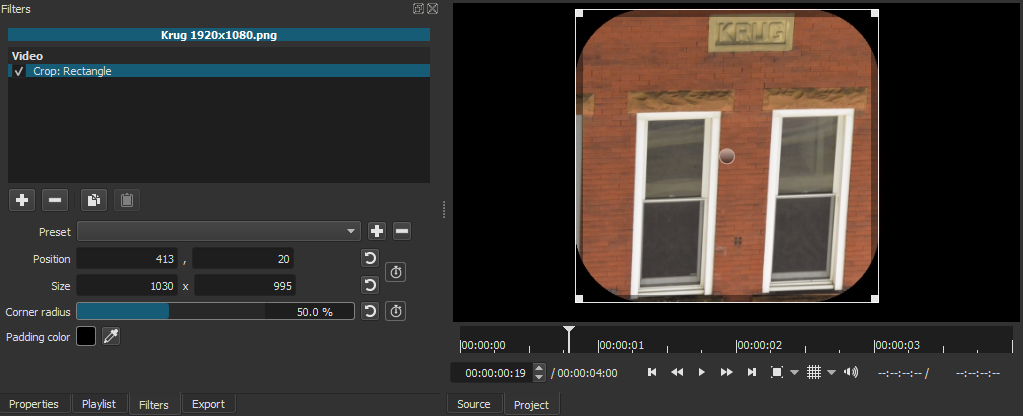
Example #1:
Video Mode 1920x1080, Image 1920x1080, Padding Alpha channel set to 255.
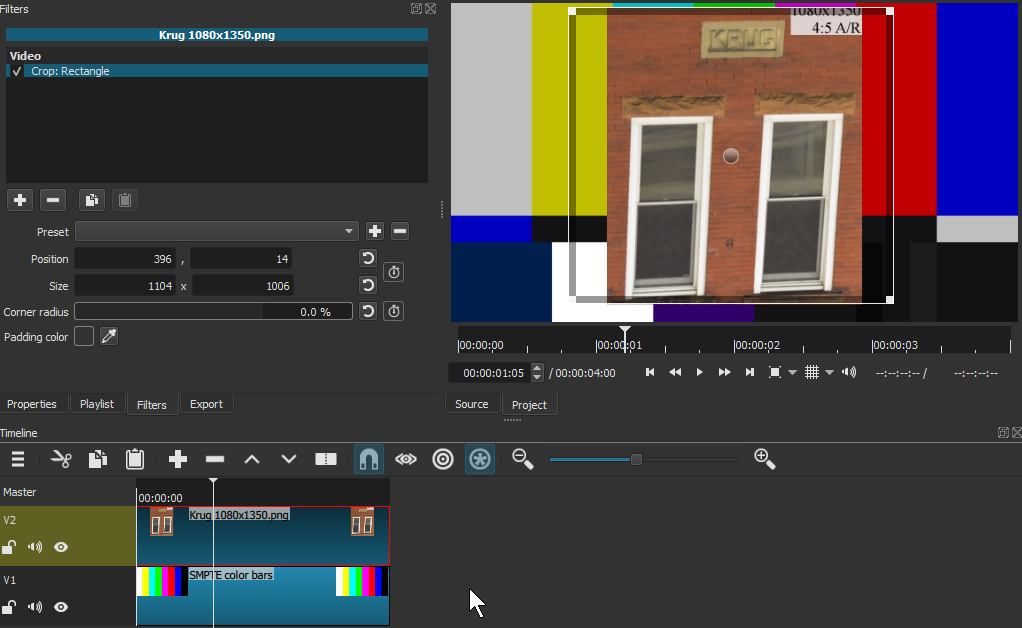
Example #2:
Video Mode 1920x1080, Image 1080x1350, Padding Alpha channel set to 0.
Apply to Source

The Apply to Source button in the Crop: Rectangle filter is the primary way to simply "crop a video".
Exporting without using Apply to Source

The clip is exported at its original size, with black bars around the cropped area.
Exporting using Apply to Source
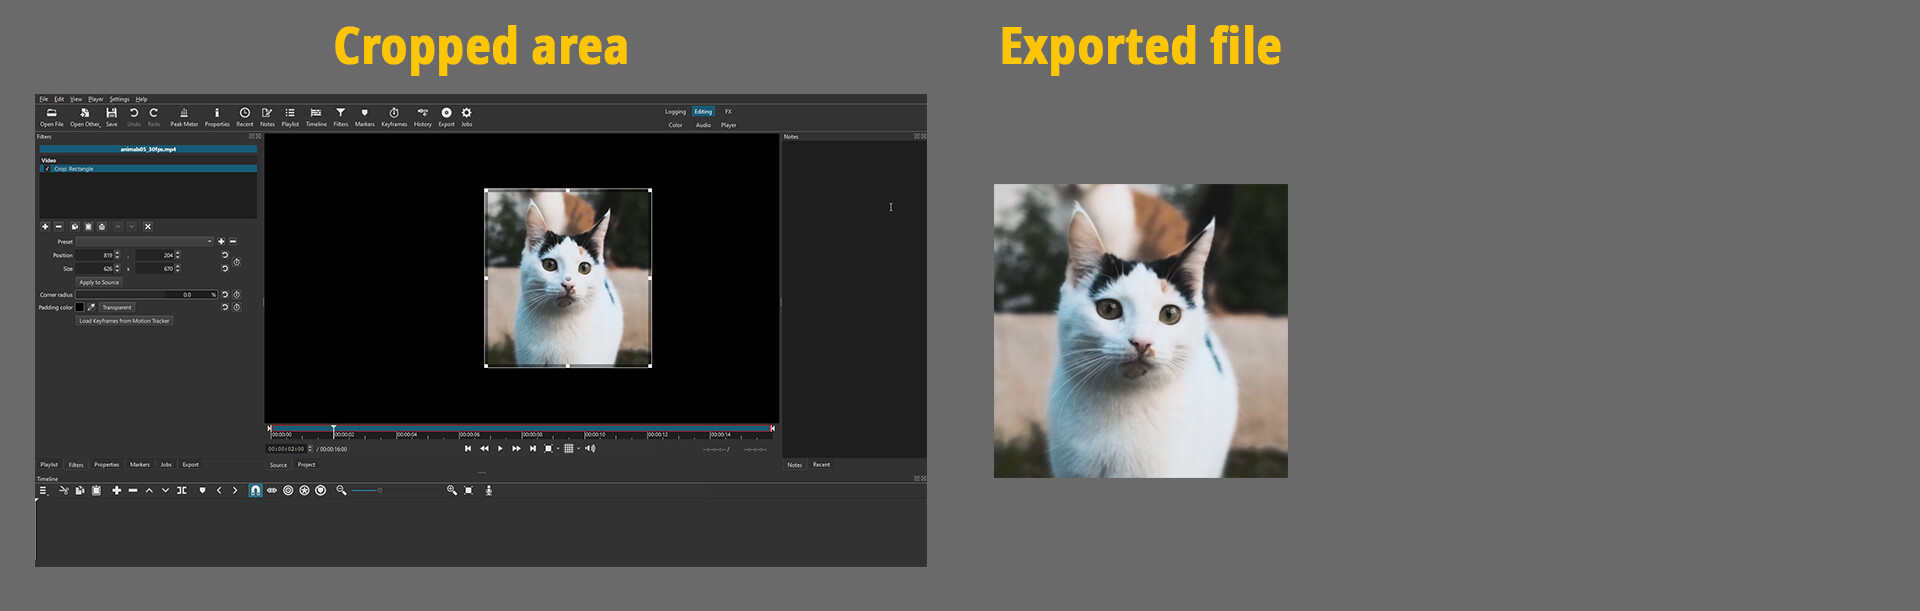
Only the cropped area of the clip is exported. The clip will have the same
dimensions as the ones set in the Crop filter.
Notes
- The Apply to Source button was added in Shotcut version 23.11.29.
- The Apply to Source button is only enabled when the aspect ratio of the source media matches your project’s Video Mode because it is impossible to include the black padding that Shotcut adds to a source. To make sure the project and the media dimensions are the same, set the Video Mode to Automatic before importing your media file.
- Since this feature is intended to crop a single clip, you do not need to use the timeline.
How To Export a Cropped Area
- On a new Shotcut project, go to Settings > Video Mode and choose Automatic.
- Go to File > Open File… and import your media file.
- Add the Crop: Rectangle video filter.
- Adjust the size of the cropped area.
- Click the Apply to Source button in the Filters panel.
- Choose Yes in the dialog asking to change the Video Mode.
At this point, your clip will be cropped, and the Crop: Rectangle filter will be replaced by the Crop: Source filter.
Also, the Export settings will automatically be adjusted to match the new dimensions of the project. - Export
Residual Black Bars
It happens sometimes that the cropping is not perfect and leaves small black bars on one or two sides of the clip.

If that happens, edit the parameters of the Crop: Source filter to remove those bars.
Depending on which side(s) the bar(s) are located, adding 1 or 2 pixels to one or more of the parameters highlighted below should be enough to remove them.
