Last month @MusicalBox showed how to simulate a camcorder viewfinder display using Glaxnimate.
I decided to see if I could do this using just HTML and CSS. I also wanted a project that would use the display: grid CSS feature. The HTML file can be downloaded below (just remove the “.txt” suffix:
It can be used as a browser source in OBS studio, which is how I created the video below. In Shotcut you can remove the black background by using the Chroma Key filter and choosing the color “black”, or you can change the HTML background to green “#00ff00” and choose that color in the filter.
The HTML is parameterized so it is easy to tailor:
    --width       : 1200px;
    --resolution-w: 1920;   --res-w: '1920';    /* The horizontal "resolution" the simulated camcorder is shooting */
    --resolution-h: 1080;   --res-h: '1080';    /* The  vertical  "resolution" the simulated camcorder is shooting */
    --codec       : 'mp4 (h.264)';              /* The  container  and  codec  the simulated camcorder is shooting */
    --exposure    : '5...4...3...2...1...▼...1...2...3...4...5'; /* Simulated Exposure setting */
	--screen-color: #000000;
/*	--screen-color: #00ff00;    */              /* Uncomment for a Green-screen */
	--text-color  : #ffffff;
    --rec-color   : #ff0000;                  /* The color of the flashing "recording" bulb */
    --hilite-color: #000099;                  /* Text and border shadow color */
    --font-weight : bold;
	--font-size   : calc(var(--width) / 60);
    --padding     : 10px;
Super, et en plus paramétrable. Juste un détail pour ceux qui ont déjà téléchargé le fichier, il manque un point ‘.’ entre le 3 et le 2 (ligne 20)
Great, and moreover customizable.
Just a detail for those who have already downloaded the file, there is a missing dot ‘.’ between the 3 and the 2 (line 20)
I have added text- & box-shadows to all the elements so if you have a light or even white background the features still stand out. I have updated the original post with the corrected html.txt file. Thanks for pointing it out to me.
Faster than a speeding bullet;
Faster than a speeding ticket;
Faster than the speed of light;
Faster than a toupee in a hurricane;
Faster than the babysitter’s boyfriend when our car pulls up.
Faster than I can say the name of that hill in New Zealand known as "Taumata whakatangi hangakoauau o tamatea turi pukakapiki maunga horo nuku pokai whenua kitanatahu "
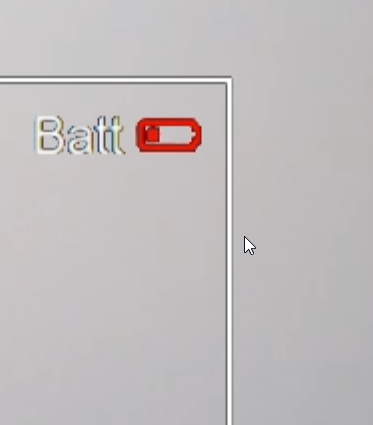
I haven’t got time to try it right now but how about making the background half-grey (#808080), then apply a Blend Mode: Hard Light instead of a Chromakey. Might make the white and red show more clearly.