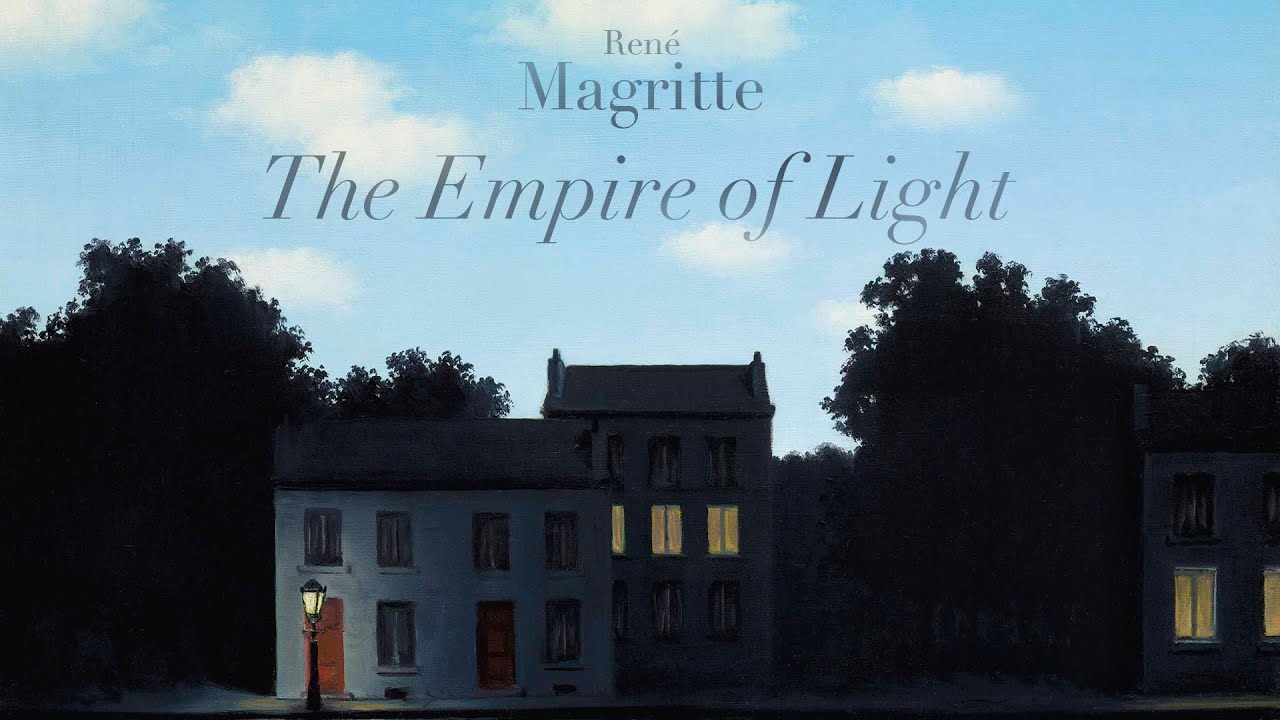
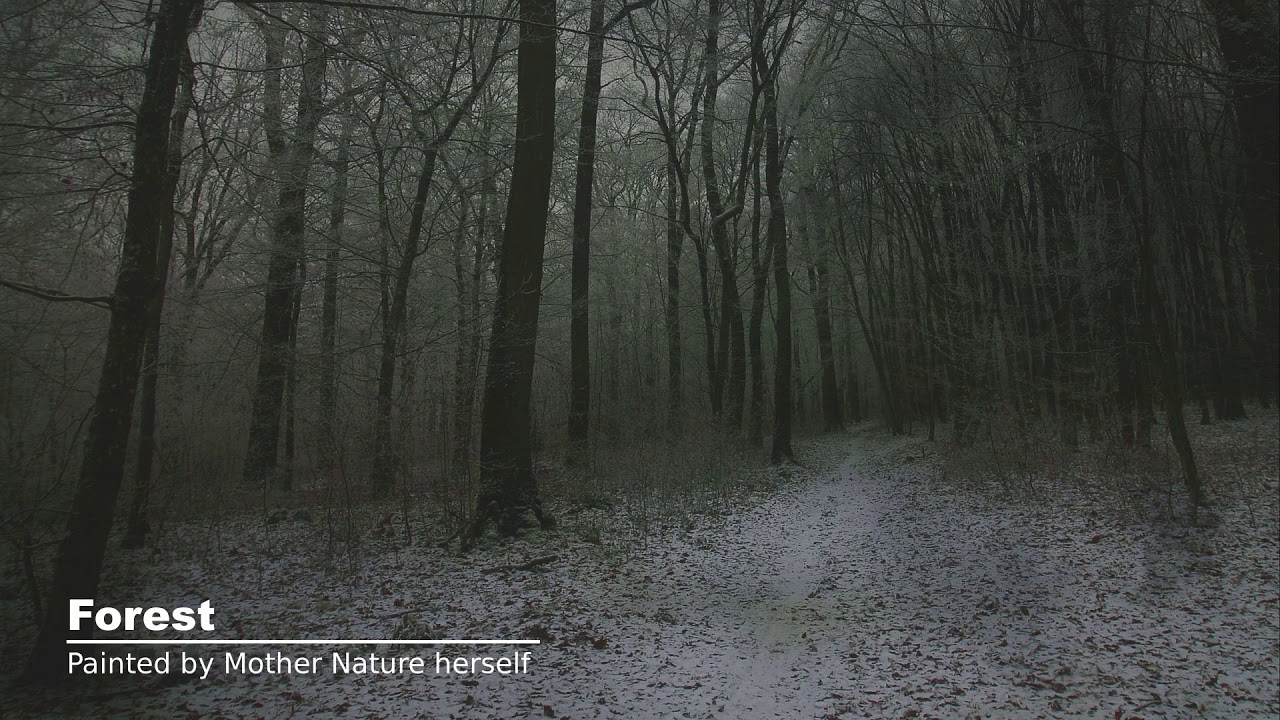
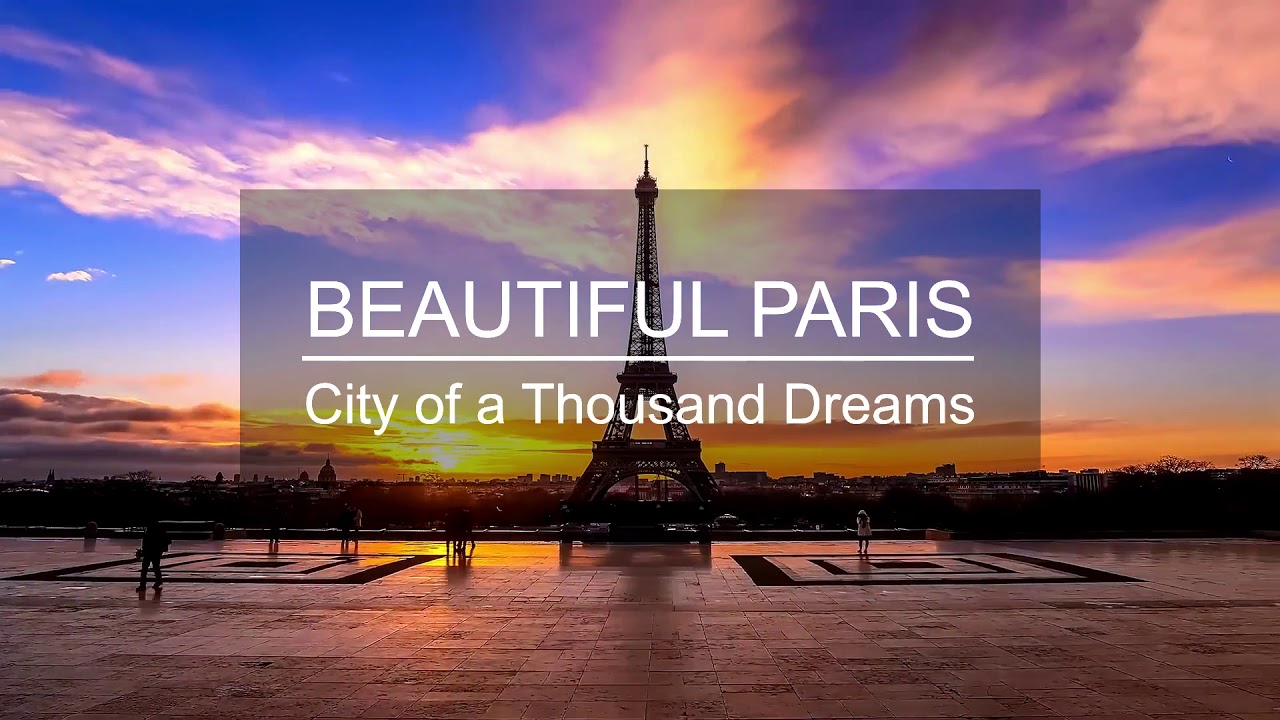
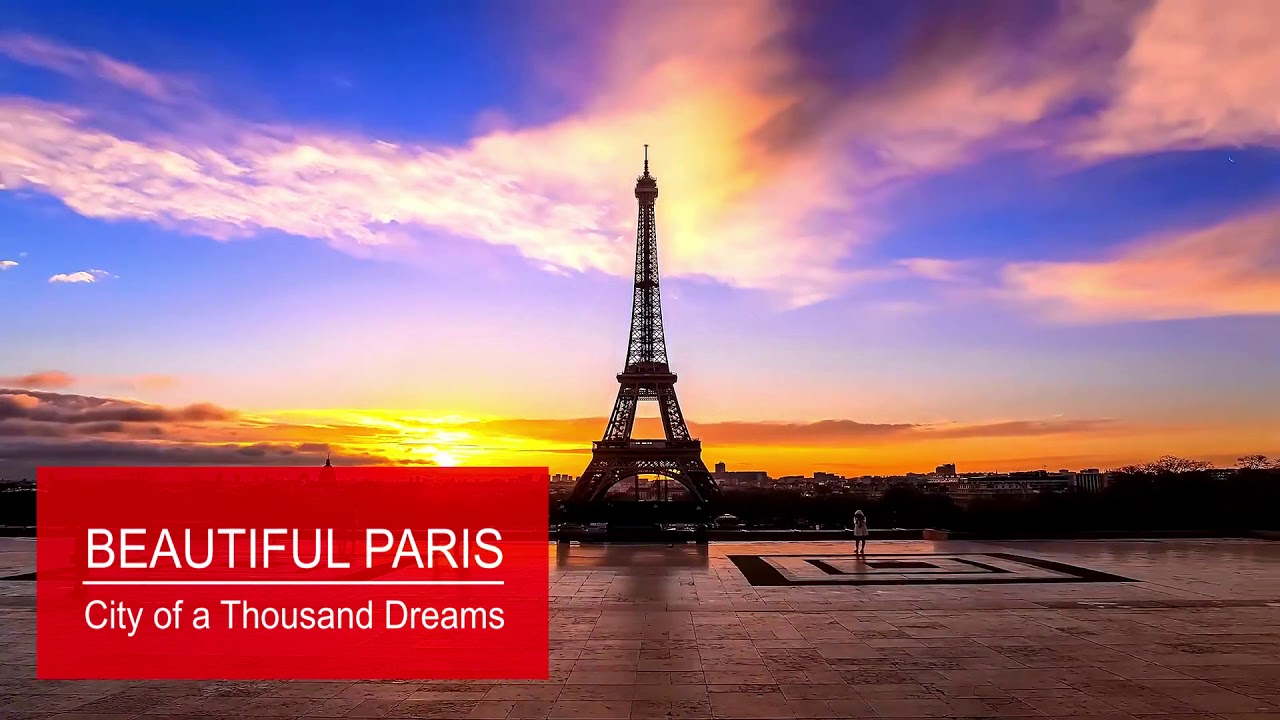
I would like to know how to minimize/shrink animated text title to fit the bottom left in a video like this one here @ 20 seconds. The animated text is small and appears in the middle at the very bottom @ 3:12. I know how to create an animated text titles based on @sauron @jonray tutorials. But I’d like to recreate small animated text title like in the video link. If this question was already asked in a previous thread. I apologize in advance.
Hi @anon78133251
This is my try at this title animation:
And here’s the project file you can download and study:
lower_left_title.mlt (11.7 KB)
You need to have a basic understanding of how keyframes and masks work, but you should be OK since you had previous training from @sauron and @jonray ![]()
You can change anything according to your needs: Text and line color, fonts, line length and the position of the animation on the screen.
Hope this is helpful. Don’t hesitate to ask if you need more infos.
Hi @musicalBox, sorry for this late reply to your post but your demo is fantastic and will no doubt have been really useful to show @anon78133251 how to create this effect. I appreciate you posting it! Great work! ![]()
As it happens back in November started making a YT tutorial on how to do a very similar effect - I completed 90% of the tutorial but then had to put it on hold because a) I wanted to wait until the “Size Position and Rotate” minor bugs were fixed in v.20_11_28 and b) I have been busy writing and arranging some Christmas music.
The tutorial shows how to make this actual effect:
and also how to adapt it for a nice lower thirds effect:
My method was very simialr to yours, using simple text filters and masks. The main difference was that I showed viewers how to first export the animated line (white line with black background) then re-import it, adding blend mode: add, and re-sizing it.
Once I’ve got my Christmas Music projects done and dusted I’ll revisit my text effect tutorial and post it.
Thank you for the helpful example @MusicalBox I’m still exploring SC and trying to learn new things and experiment. I came across this animated video text effect shown @ 11 second mark [https://m.youtube.com/watch?v=oHztJIo1tAc] The first few seconds look easy to achieve but it looks a little challenging with the continuous animated box shape changes. A lot of keyframing involved. I wish there was a tutorial on premiere pro animated title styles for SC users.
That animation would indeed require a lot of keyframing but also a lot of tracks would be needed in Shotcut just for that effect. I never worked with Adobe Premiere Pro, but from what I can see, it uses a system of layers that simplifies the process and allows all the parts of an animation to be contained in a motion graphic template that is simply applied where you need it. The template can also be saved and re-used again and again with a couple of clicks.
It is possible to create reusable templates with Shotcut, but I’ve never seen a step by step tutorial on that subject.
In fact, the MLT file I provided above could be used as a template. Remove the BACKGROUND track, modify your text and export as a PNG sequence (using the stills → PNG export preset). You can import this image sequence as a file in your project with a screen or a add blend mode. You can then move it or resize it if needed.
How to import an image sequence in Shotcut :
- Go to the folder where you exported the PNG sequence.
- Find the FIRST image (the one ending with 00001.png) and drag it to the Source viewer
- Go to the Properties tab and tick the Image Sequence box
- This will merge all the images of the folder as a single clip in the Source viewer that you can then drag into the playlist, or directly to the timeline.
This is not as quick and easy as using presets in Premiere, but it sure is faster than having to manually recreate the animation each time you need it in Shotcut.
Note : The template can also be exported as a video file using one of the alpha export settings.
Thanks for your kind words @jonray. I tried to replicate as accurately as possible the effect shown in @anon78133251 example above (by the way, that video about René Magritte’s The Empire of Light painting was very interesting).
Adding a translucent background like you did is a nice touch.
Thanks for this helpful tip @MusicalBox
You’re welcome @odusis
This topic was automatically closed after 90 days. New replies are no longer allowed.


