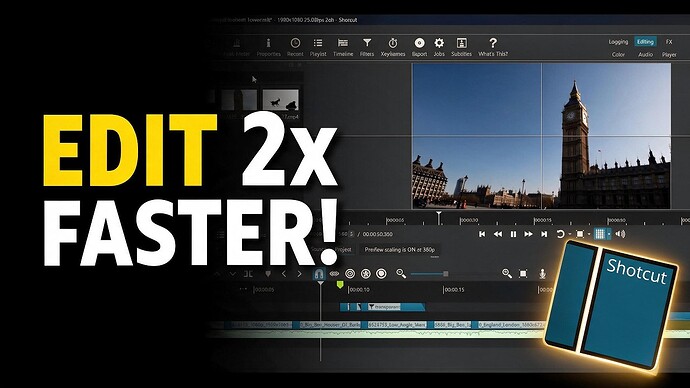
Are you tired of manually moving every single clip on your timeline every time you make a cut? In this Shotcut tutorial, I’m showing you exactly how to use the Ripple Tool and its different modes to cut your editing time in half! We will break down standard ripple edits, track ripples, and how to use Ripple Markers so your timeline markers move perfectly with your clips.
True, but it is in our documentation, and searching here with the Relevance search order (default) prioritizes the documentation. Or, use the AI bot to ask a question like “What is ripple?” The bot prioritizes the documentation and the web site’s News (release notes) from the past couple of years.
What is Ripple?
Ripple refers to the automatic shifting of clips to fill gaps when you delete, trim, or move a clip. When ripple mode is enabled, all clips following the edited clip move left to close the gap—they “ripple” along the timeline.
Key Ripple Features in Shotcut:
Ripple All Tracks - There’s an icon in the Timeline toolbar that controls this feature. When ripple mode is enabled, you can use this to apply ripple edits across multiple tracks simultaneously.
Keyboard Shortcuts:
Ripple Delete: X or Shift + Delete or Shift + Backspace — Removes a clip and shifts following clips to close the gap
Lift (non-ripple delete): Z or Delete or Backspace — Removes a clip but leaves a gap
When Ripple Affects Your Edit:
Cut operations are ripple actions by default—they shift following clips to close the gap
Transitions — If you drag a clip and create overlap with ripple OFF, you get a gap. With ripple ON, no gap
Trimming clips — The ripple behavior depends on this fundamental setting
You can enable/disable ripple from the Timeline toolbar to control whether edits automatically close gaps or leave them behind. This gives you flexibility in how you want your timeline to behave during editing operations!