Hi all
I’m trying to fade in and out of various clips on the timeline using the opacity filter so it sort of blends into the next clip and shows part of the clip above which slowly dissolves into the new scene. I knew how to do this and out it to great use but after a long lay off I’ve forgotten what I did!
There was an excellent video tutorial out there where he segued from one landscape clip into another but can I as heck find it. Anyone know this video?
it isn’t clear whether your clips are on the same track:
or if they are on separate tracks:
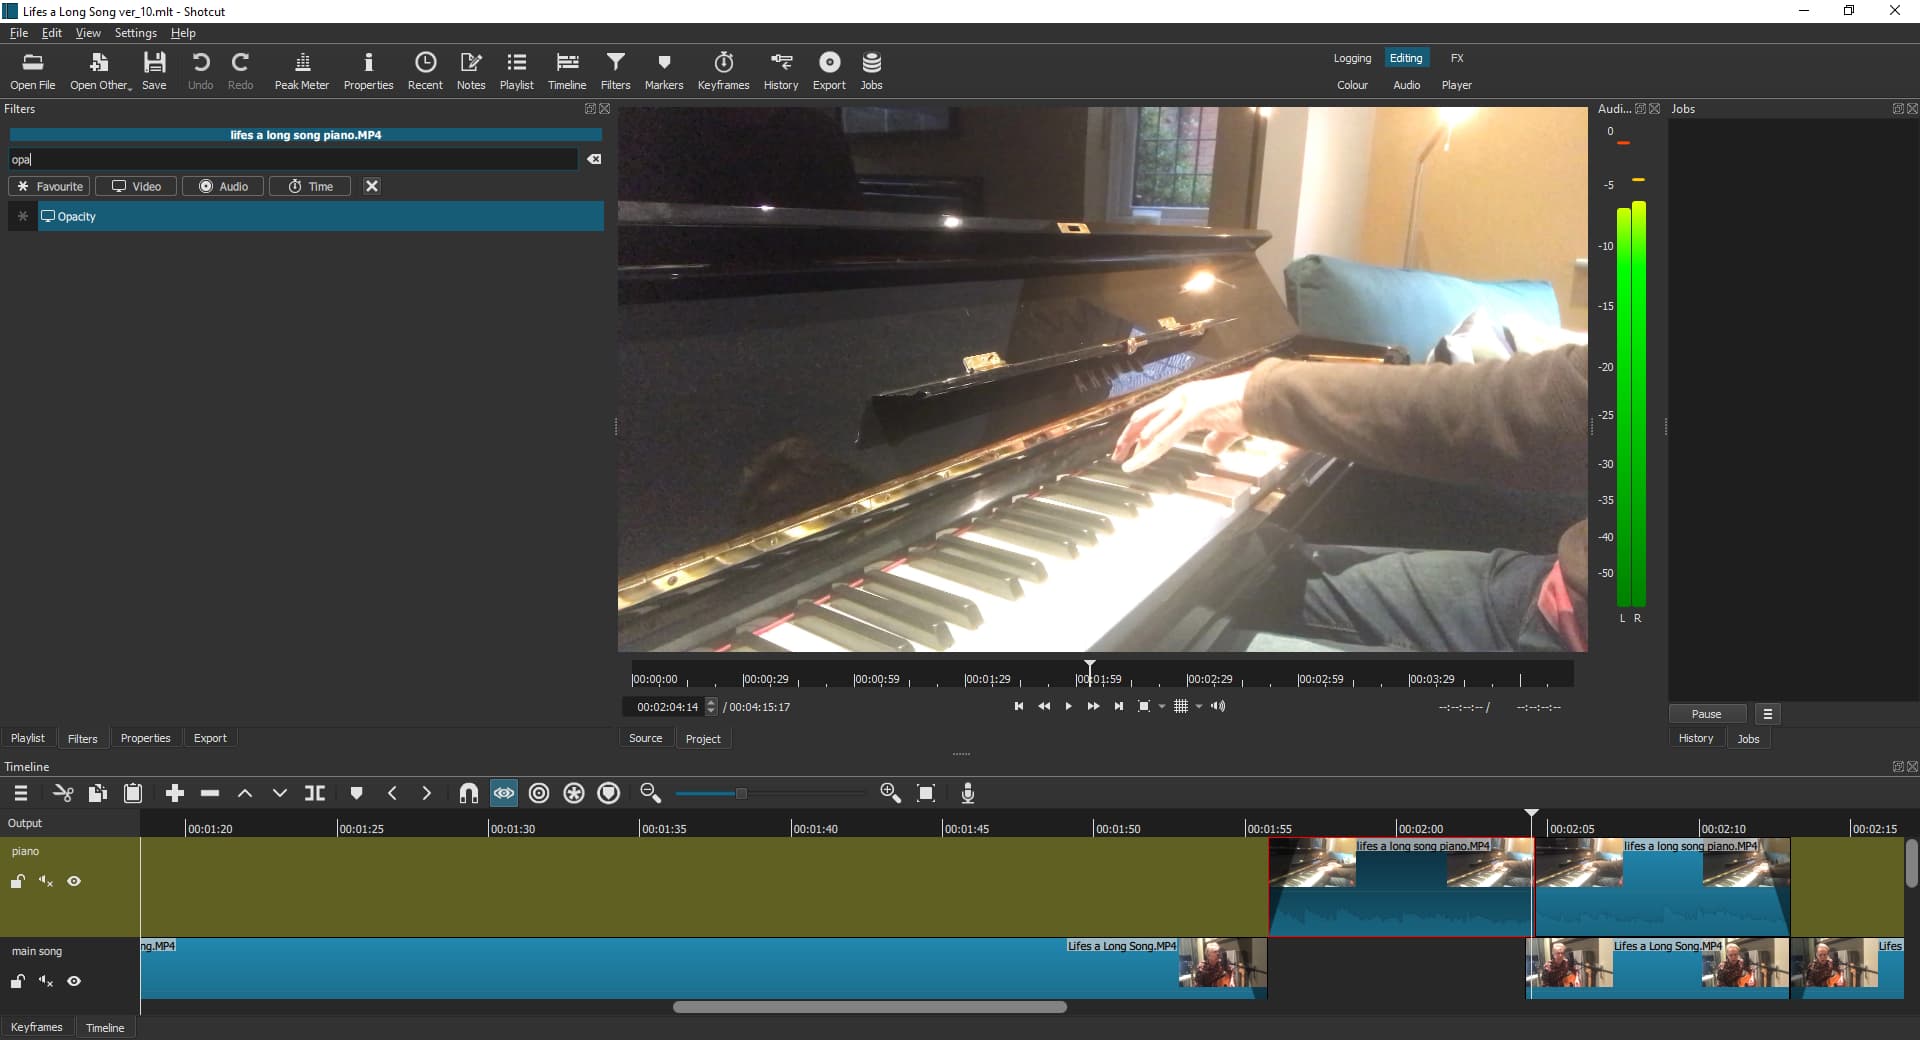
The answer depends on the situation. Post a screenshot with the playhead at the point of transition; one of the clips selected and the filters panel showing.
Mettez le clip qui doit se fondre dans l’image sur V2
Mettez l’image sur V1
Sélectionnez le clip de V2 et positionnez la tête au début de l’image sur V1
Appliquez le filtre opacité et créez une image clé à 100%
positionnez la tête à la fin du clip de V2 et mettez une image clé à 0%
Set the clip that is to blend into the image on V2
Set the image on V1
Select the clip from V2 and position the head at the beginning of the image on V1
Apply the opacity filter and create a 100% keyframe
position the head at the end of the clip on V2 and set a keyframe to 0%.

Thanks for replying. I am afraid I don’t understand keyframes, and I know I should do a tutorial but so much to learn!
Voyez dans le projet ci-joint.
Le filtre “Opacité” est appliqué au clip sur V2
See in the attached project.
The “Opacity” filter is applied to the clip on V2
Opacity.zip (519.5 KB)
ok will have a look
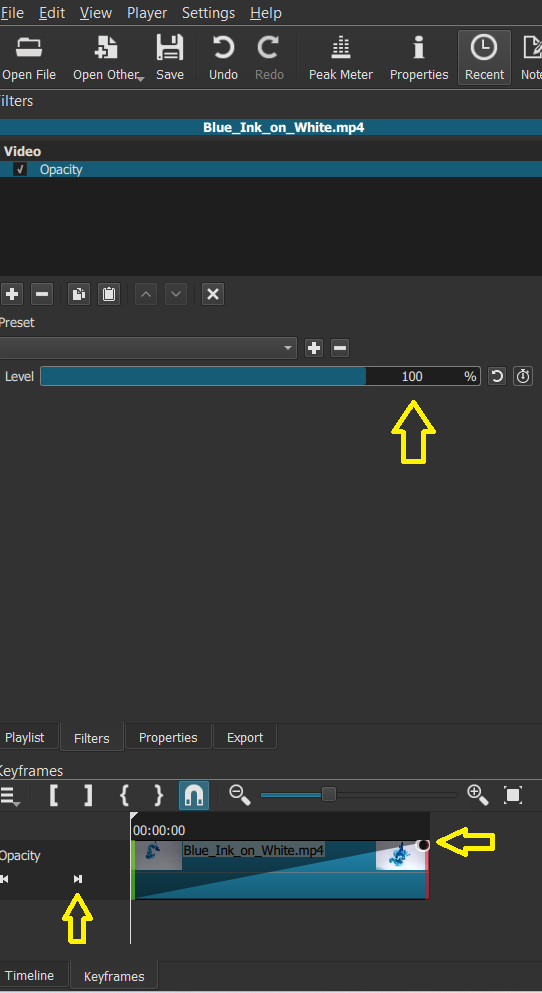
Your overlapping clip on the top track completely overlaps the lower one, so that makes it easier as you can use “simple keyframes”. Do the following:
- Select the clip.
- Add the opacity filiter to the clip, with Level=100%.
- Position to the start of the clip.
- Open the Keyframes pane.
- You will see a black dot in the top left-hand corner, next to the green line.
- Drag this black dot all the way to the end of the clip.
- Click the “Seek Forwards” icon ( ⏵|) in the keyframes pane, to select the end keyframe.
- Set the Level=0%
Et voila, you have a (simple) keyframed opacity filter.
Thanks I will go away and try that out. It does make me ask a question though; I used the " invisible track" technique to go from one camera view to another. ( There is that video of the guy fishing and moving from one camera to no2 camera) but dragging the part you want “invisible” down to the invisble clip means splittinf the clip. And this causes a problem as there is no overlap of clips to use the fade out method and the opacity filter. But I am going to go away and think it through, just wanted to mention the problem I face more than willing to try and sort it myself first! Thanks again
That work well thanks. I am simply following those steps parrot like rather than understanding exactly what I am doing but that will come with time. I’m also learning how to use Cakewalk for my recording and seem to spend loads of time learning stuff, its fun but time consuming! But with help from these forums its so much quicker and its appreciated greatly.
This topic was automatically closed after 90 days. New replies are no longer allowed.