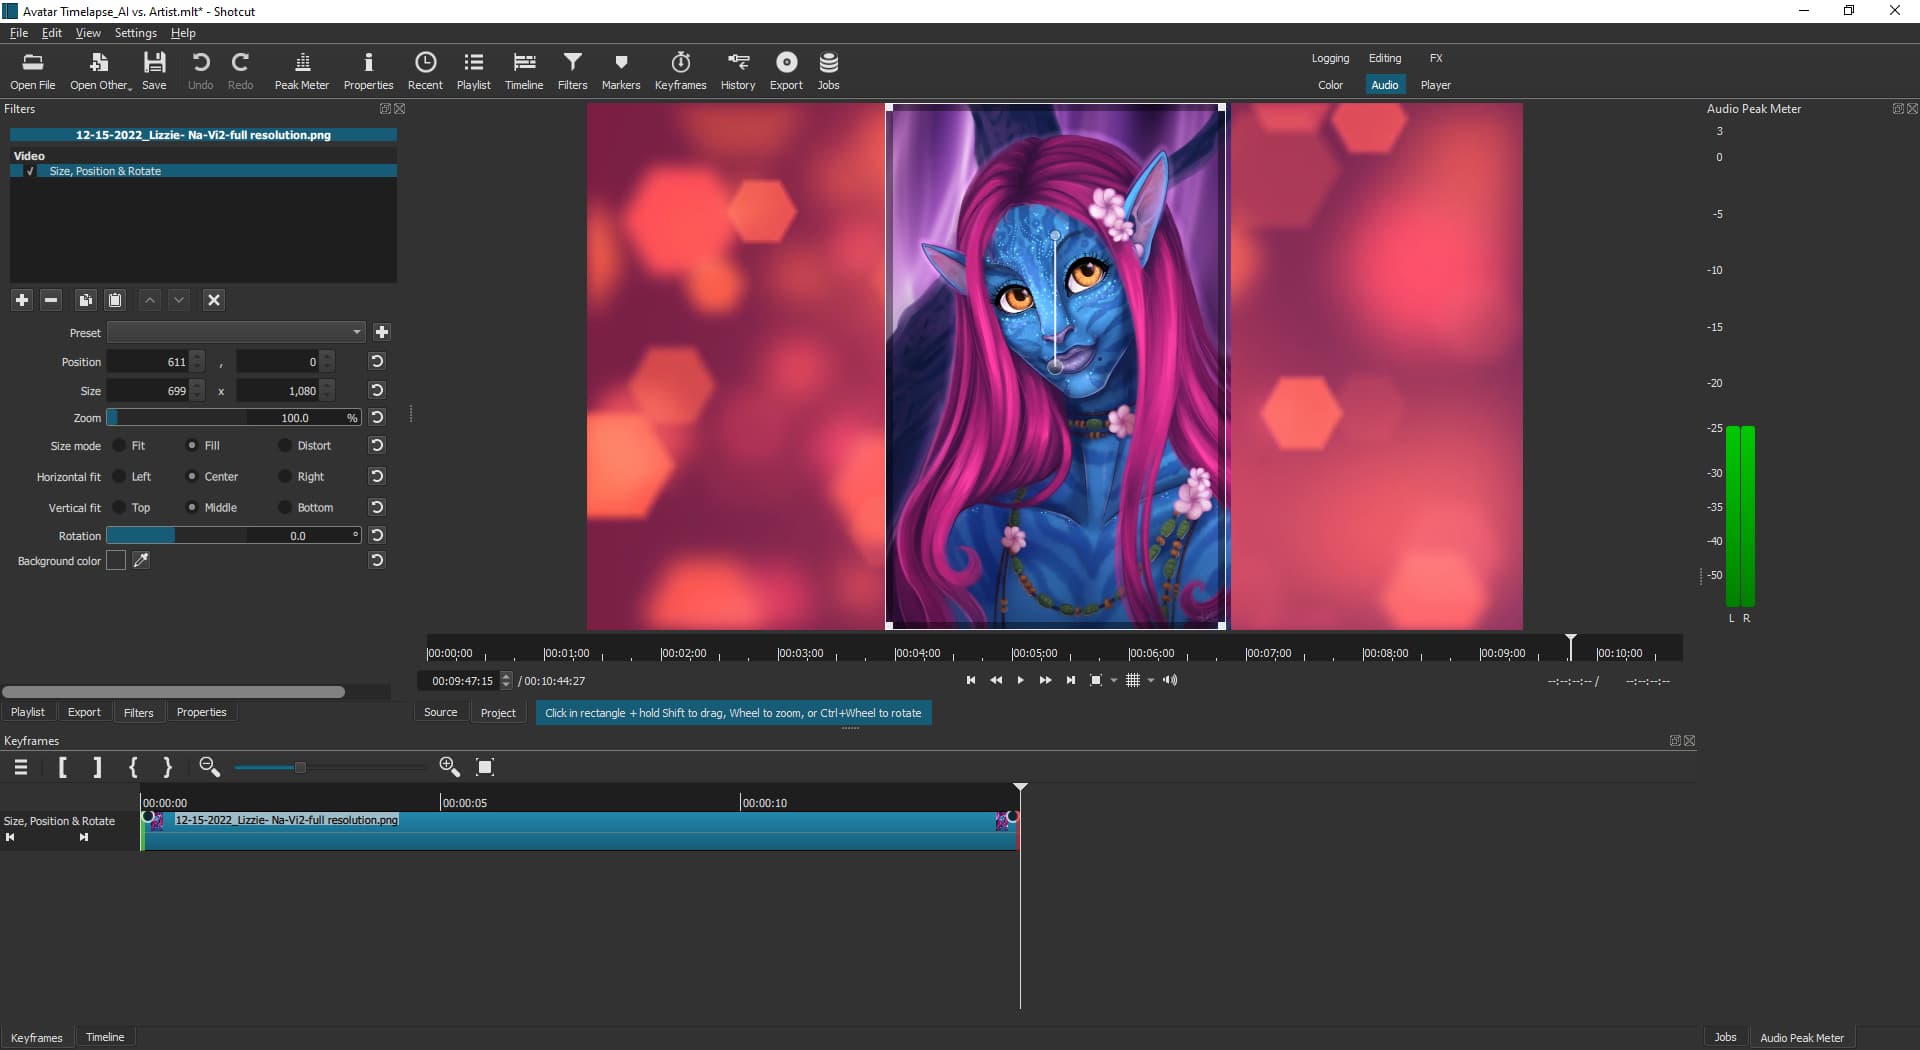
I’m unsure what changed, I’ve been editing time lapses of my art. At the end has been a very simple zoomed final image that pans up. I would select the size, the position, and add the key frame. Do the same at the ending position, and the zoomed image would slide up from key frame to key frame.
Trying to finish my current video, and the key frames are not the same now. They look more like the sliding points that the fade filter has. If I zoom, I can’t pan. And if i set two filters, one to zoom and then a second to pan, it will drop the first zoomed filter. The image will move to the wrong spot. Its frustrating.
I can’t follow the tutorial I used to learn how to set the key frames as it no longer seems to apply. I also haven’t seen anyone else post updated tutorials or mention the issue, so I’m really hoping to get to the bottom of this!
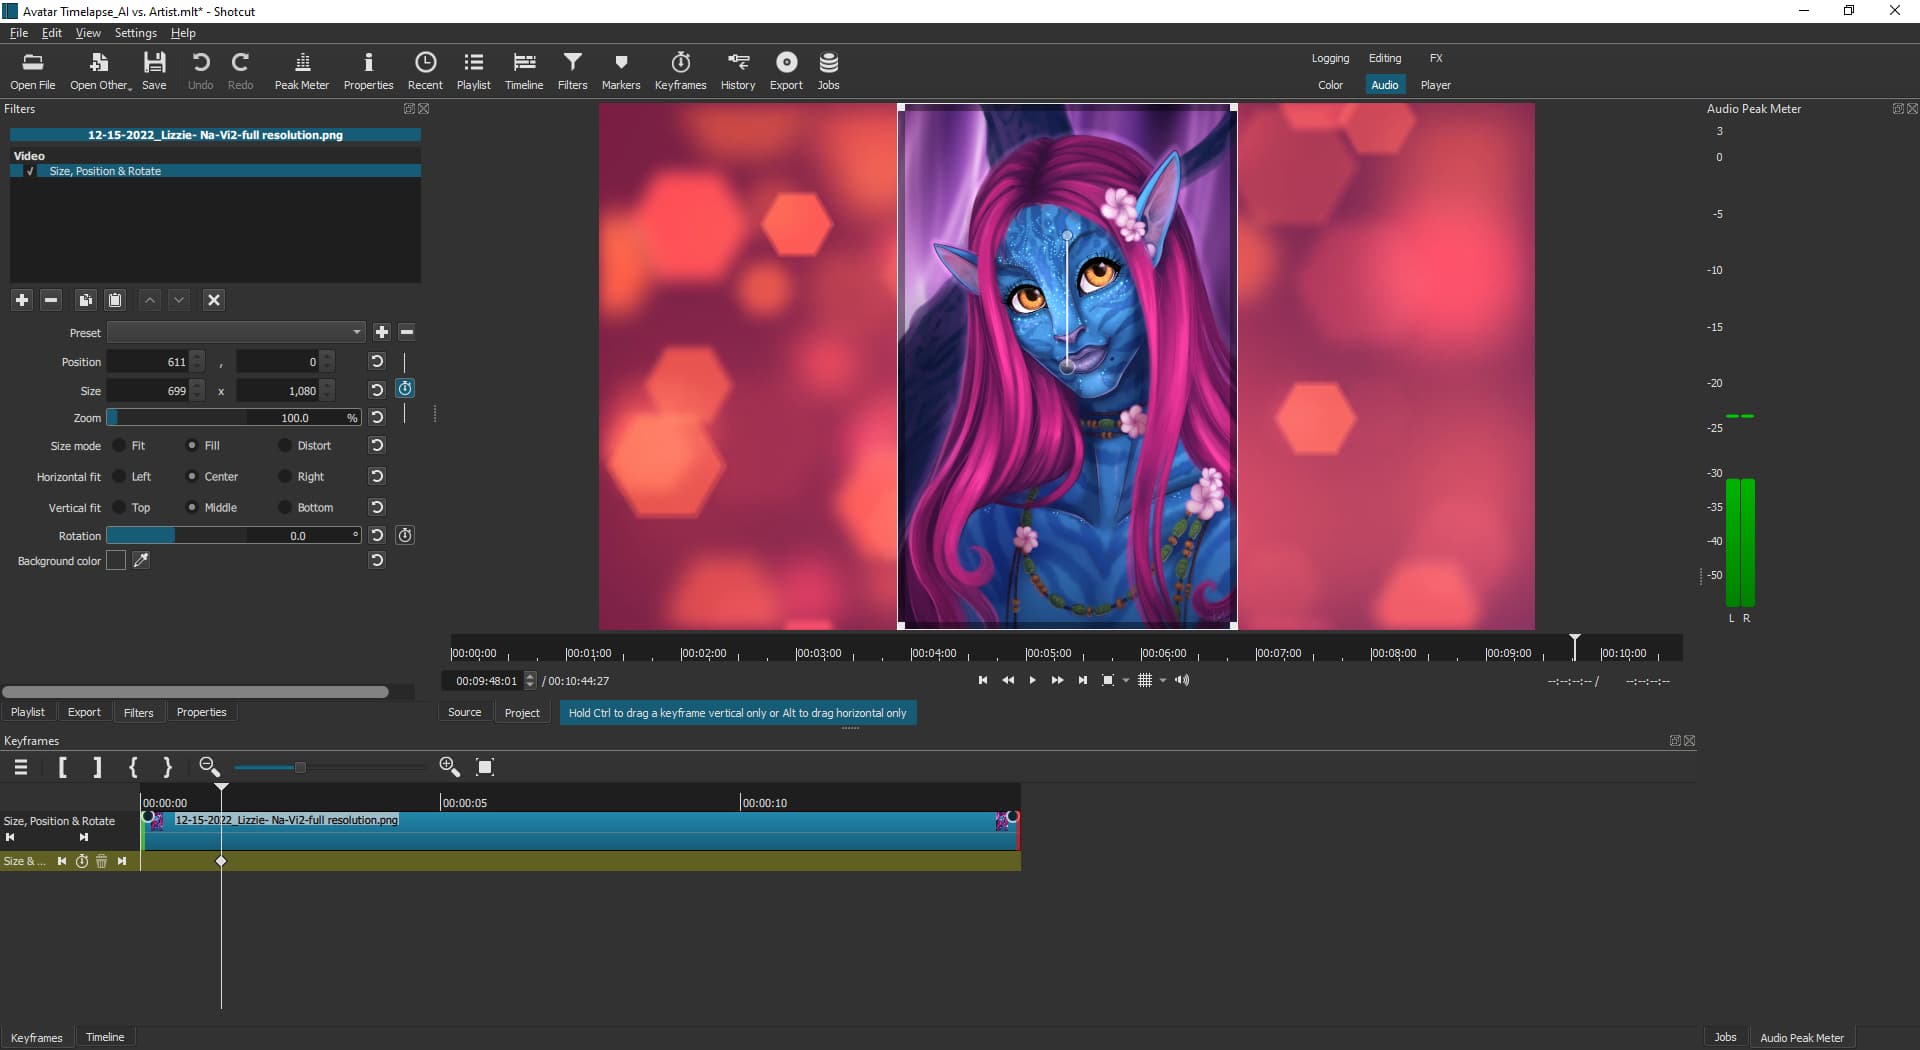
I remember someone asking a similar question a couple of years ago. Because his Timeline/Keyframes area was not tall enough (or tracks height too tall), the bottom half of the keyframes panel was hidden outside the screen.
I am both super frustrated I spent three days on the issue and simultaneously baffled at how easy the fix was. Sometimes the answer is so simple its easy to overlook. Thank you so much!