Resizing Shotcut output for DVD

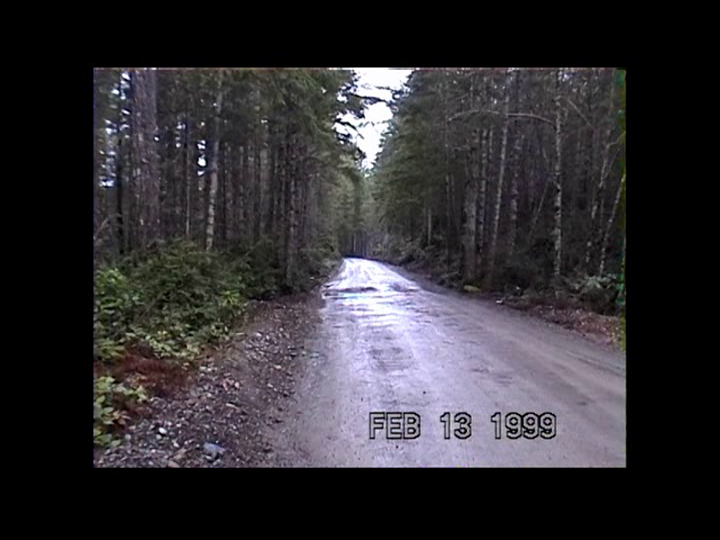
My project to restore old family analog video has been on hold for a couple of years. I followed the recommendations of Developer Brian to convert to an intermediate codec DNxHD at 1280x720 to improve the picture quality while editing before putting it on a usb portable drive intended for a family heirloom. The 1920x1080 mp4 videos look pretty good!

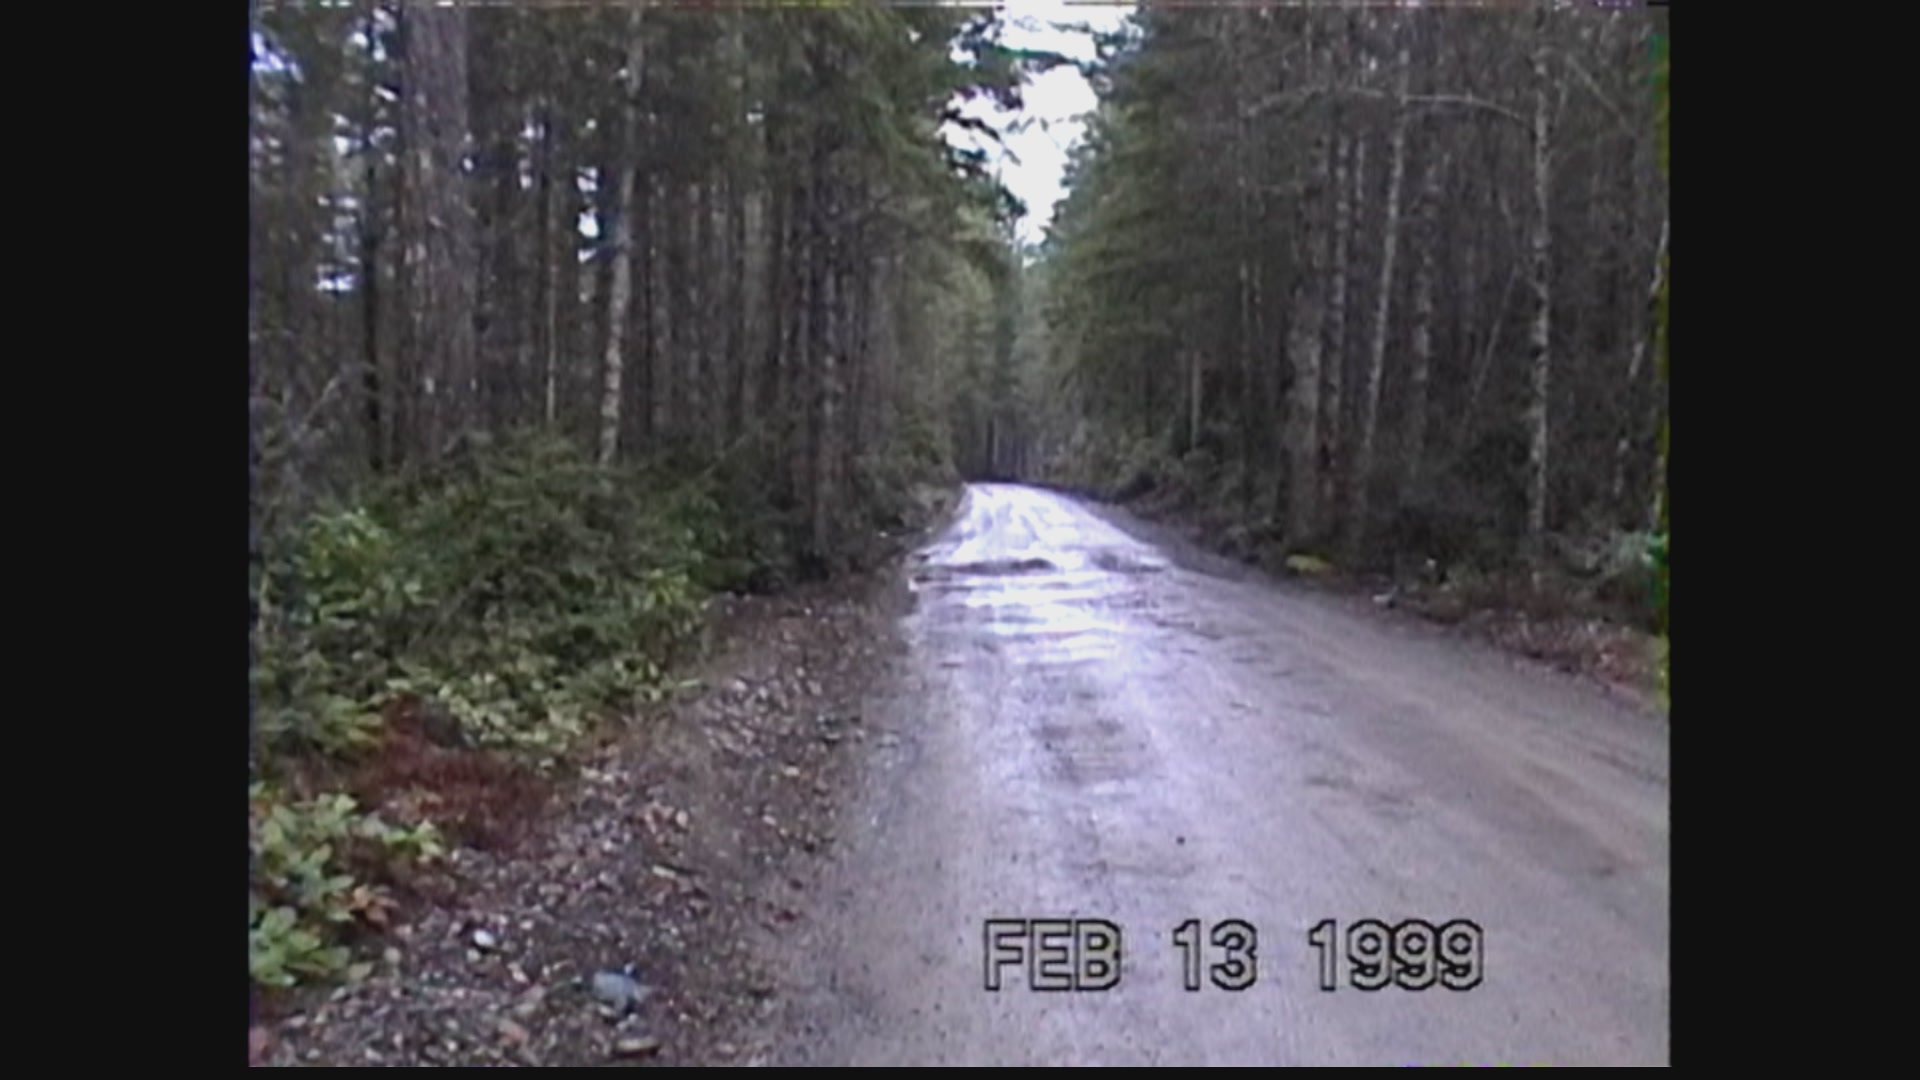
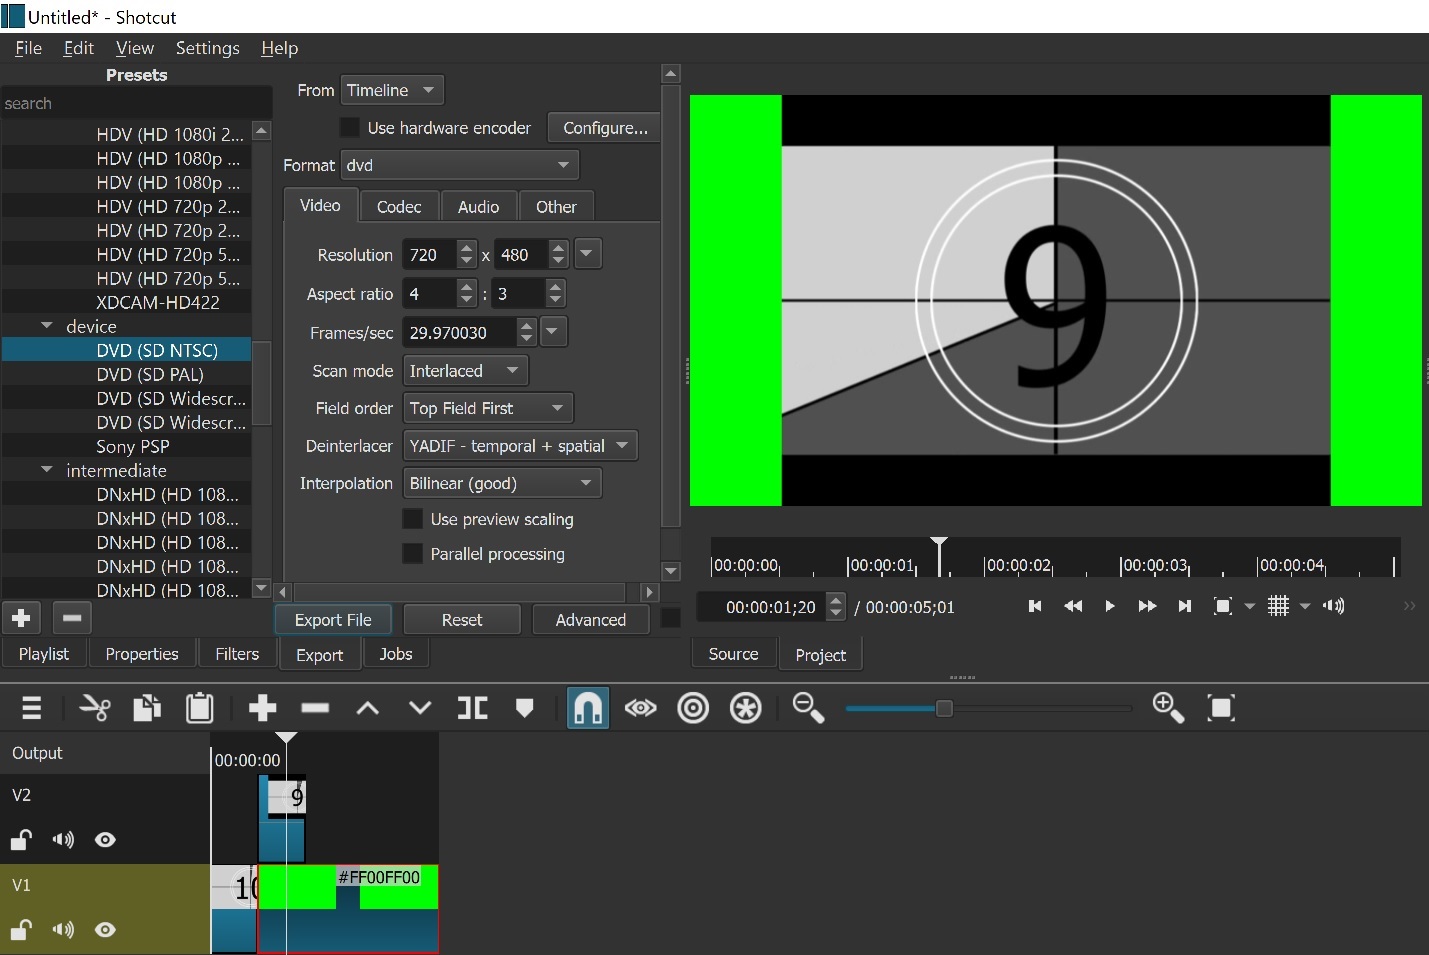
However, I wanted to put one of my videos on a DVD for a friend and so I rendered out the file using the DVD (SD NTSC) Preset. The resultant file presents as 720x480 in MediaInfo. I expect to have black bars on the left and right sides since the original video was 4x3 aspect but what mystifies me is that there are black bars also on the top and bottom! Shotcut seems to shrink the whole video instead of filling in to top and bottom of the frame.

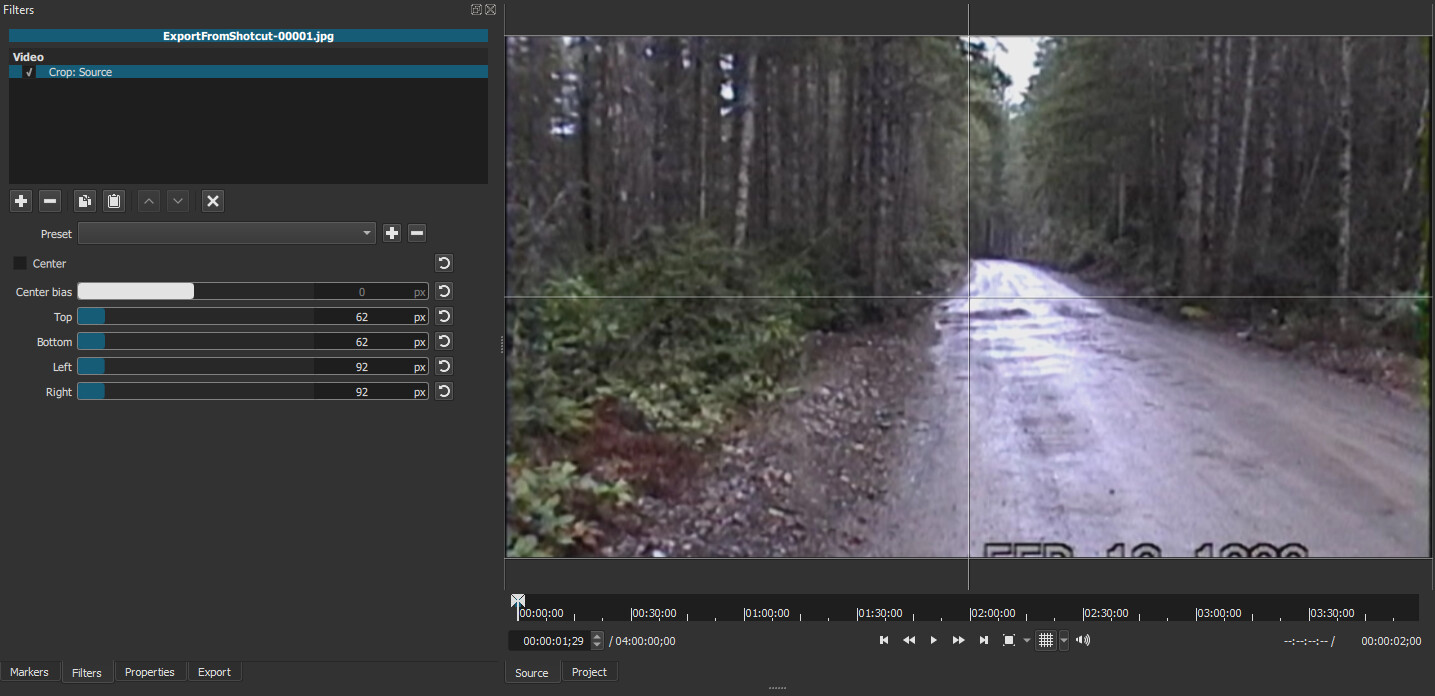
In order to render out the DVD size video Shotcut has to reduce the pixels from the 1280x720 intermediate codec to 720x480. How can I do this without having black bars on the top and bottom?

Start with setting the Video Mode to DVD Widescreen NTSC.
shotcut_2022-01-05_20-13-25

Then use the Crop: Source filter.

Hi Hudson!

I already tried that. The widescreen version has slightly less black area top and bottom. Despite the differing presets the video still seems properly proportioned! It’s still a mystery to me.

Can you provide a full frame export of the 1280x720 video?

Depending upon VLC settings, you may see black on all sides.
2022-01-05_20-28-08

I’m not sure what you mean, Hudson. The snap posted was from VLC. I exported a BMP from Shotcut and the properties are 1920x1080.

In going over your earlier post I missed the suggestion to use the Crop filter. Perhaps I can try that tomorrow. Thanks.

Here is the settings for Crop:Source you would need for center.
Video Mode: DVD Widescreen NTSC

Can we start from the beginning? This is terribly confusing.

Whatever the source video was, the converted 1280x720 result is now a 16:9 widescreen format with square pixels. If the source was 4:3, there are probably black bars baked into the left and right sides now.

Where did these come from? Are they an upscale of the 1280x720?

Rendered out which file? The 1280x720, the 1920x1080, or the original videos (whose resolution and aspect ratio are unknown to us so far)?

The next problem is that “DVD (SD NTSC)” is a 4:3 output format. If the timeline is “DVD Widescreen NTSC” and there are 16:9 videos added to the timeline, but the export is 4:3, then Shotcut will shrink the 16:9 timeline to fit inside the 4:3 output. This creates black bars on the top and bottom that will be baked into the output video file. Notice what happens if we bring the exported 4:3 file back into Shotcut (which is still in 16:9 timeline mode) and put a green color clip under it:

We can now see that the top/bottom black bars are baked into the 4:3 video due to the aspect ratio mismatch during export. Meanwhile, the sides are green because there is no video data there when playing back 4:3 video on a 16:9 screen. Without the green clip underneath, the sides would default to black, creating the thick black border around the video that you noticed before.

Probably use the “DVD (SD Widescreen NTSC)” export preset instead of the other one, assuming your source videos are 16:9, which is still unclear. This one change will probably fix everything, but I wanted to walk through the process in case it doesn’t, to make troubleshooting easier.

This should not be the case. If using the “DVD Widescreen NTSC” video mode, Shotcut should be exporting frames that are 853x480. This is the final resolution after 720x480 (with non-square DVD pixels) has been scaled into 853x480 (with square computer pixels).

When everything is set up properly, there should not be any cropping required whatsoever.

Hi Austin! Thanks for taking an interest in this. I will be more thorough in the details. It has been three years now so memory for this old coot is flaky but I will reconstruct the process.

All my original assets are Hi-8 analog video shot in SD 4:3 aspect. They were converted to DV. I used FFMpeg to de-noise, de-interlace and produce 1280x720 intermediate files using the DNxHD codec. The clips on my Shotcut Properties show VC3/DNxHD, 1280x720, 29.97, yuv422p and (strangely) a 4:3 aspect ratio.

My original purpose for the project has been realized since the original product was to be mp4 files with 1920x1080. They look very good, considering the source. They have the expected black bars on the sides but fill the frame top and bottom just as the most recent frame grab reveals.

BTW, the Export stills, BMP dialog Resolution option has a checkbox to the right side which allows you to choose the resolution and I chose 1920x1080.

The issue here is the one-off DVD from this project which downsizes the frame, leaving the black bars top and bottom. I suspect that Shotcut only has certain ratios that it uses to downrez for the DVD vob files. I tried using NTSC Widescreen as well and it has the same problem.

I hope I have managed to answer all your questions.

I wonder if there are some weasel words that could be added to the “Other” box in the Advanced dialog to make Shotcut scale differently? I wouldn’t mind even if it cut off a few lines from the top and bottom.

Wow. This is the first time I have stumped the experts here. I suggested a fix. Can we modify the scaling factor when generating the vob file? I wouldn’t mind if the resize ended up cutting off some of the top and bottom of the frame.

Since this is a one-off project I wouldn’t want to create a brand new project just for one DVD. So, does anyone know how to adjust the output scaling factor?

I would suggest a different approach:

  1. Create a new Shotcut project
  2. Select video mode: DVD (SD NTSC)
  3. Open the 1920x1080 mp4 video that “looks pretty good”
  4. Apply the “Crop Source” filter to the clip to remove all the black bars so that the 4:3 active image from the source fills the 4:3 frame
  5. Export without changing any advanced export settings

Your upscaled 1920x1080 file has plenty of extra detail to survive one more scaling and re-encoding operation.

2 Likes

Oh, thanks Brian. I didn’t think it could be that simple. Wonderful!

This worked great! I was expecting to have to build a complete new project using the source files in SD. I am happy!

1 Like

This topic was automatically closed after 90 days. New replies are no longer allowed.