What I used to do previously in an older Shotcut version:
In the previous shotcut version I was able to create a project with video files that were low resolution so that I could edit them nicely without having computing power problems. When I would be finished I’d save the project, remove all files from the folder they were previously in and then put the high-quality files (that are way bigger than the ones I used in the project in the first place) in that folder. When I would then open the shotcut project it would prompt me to search fro the files, giving me the option to find a replacement for each of the files I used in the project. Like that I could select the higher-quality files for each lower-quality file and then export it in high quality without having to do editing, as all the editing would be saved from the previous lower-quality files.
What I’m expriencing now:
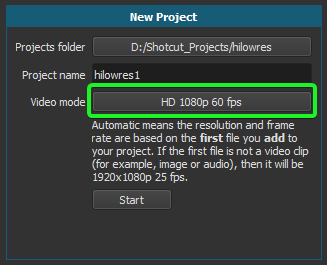
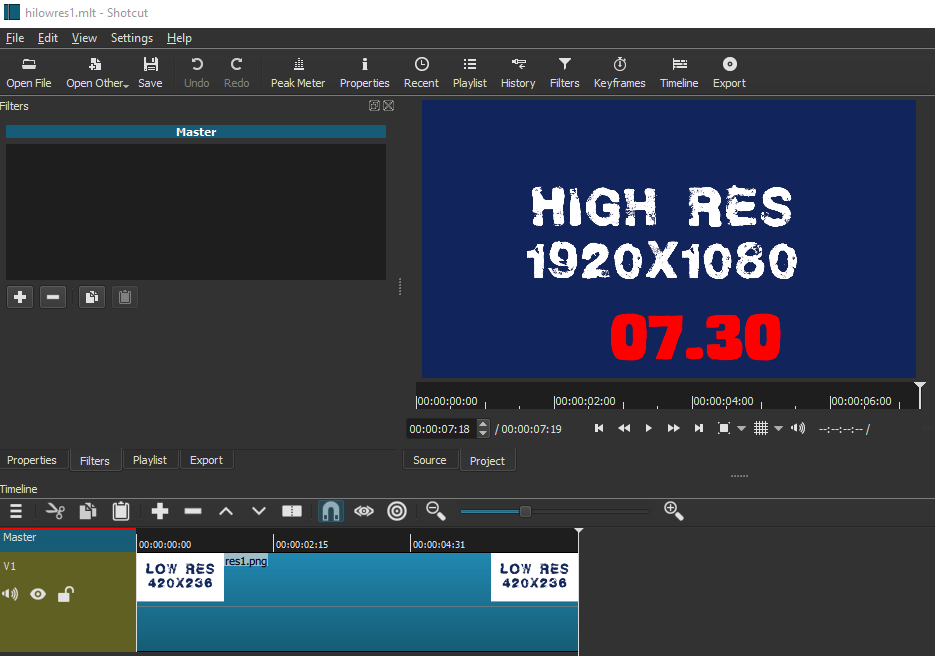
In the new version of Shotcut (19.01.27) that prompt to search for the files doesn’t come when I open the project. It loads the preview of the lower-quality files, but I can’t play them as they’re no longer there.
What I need an answer to:
So how can I change those “empty files” to the high-quality ones?
Best, Corinna
My boyfriend just helped me find the answer:
As the higher quality files are exactly named as the lower-quality files and in the same folder than previously the lower quality files, Shotcut probably thought nothing was amiss. So the solution was to open the mlt-project with the text-editor and manually mis-link the files to something else. That way, when opening the project, the information window of Shotcut popped up that files were missing in which I then could replace them with the files I wanted.
Hi there - I noticed that it still doesn’t work the way I tried it with the text-editor.
It does seem as though it uses the other files when rendering, however in the end it’s still the old low-quality files being used.
Anyone has another idea?
Close out of Shotcut.
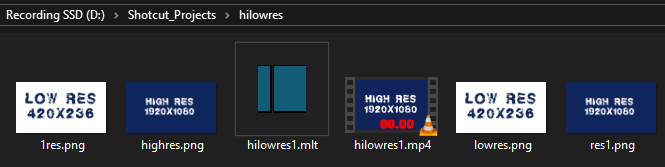
Your high res file is named: 1video.mp4 (Same folder as the mlt file)
Rename low res file: video1.mp4 to video.mp4
Rename high res file: 1video1.mp4 to video1.mp4
Hi Hudson,
I did everything as you said but when I reopen the project with the new files I see them in the timeline but when I play it there’s just a black screen and that’s also all I see when I export the video.
What am I doing wrong?
Now you rename the files after you resave the project.
Close Shotcut.
Reopen Shotcut.
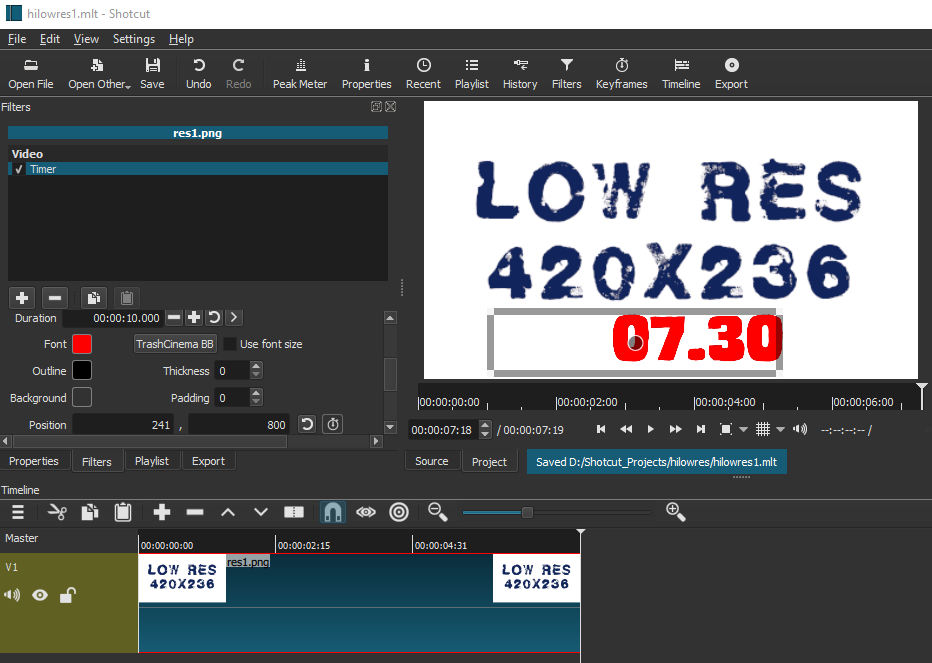
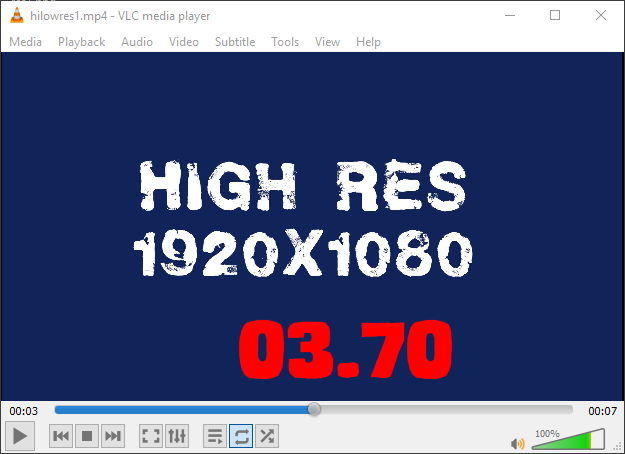
Open the MLT file. For some reason the thumbnail in the timeline stays the same, but it exports fine.
If your source media and your proxy media do not have the same video_index and audio_index (these are the stream positions within the multiplexed file), then this technique will not work as intended. This is one of those gotchas in proxy workflow that people tend to forget about that makes things actually trickier than it seems from a high level. To understand this better, look at the <producer> elements in the MLT XML. Then, open each clip (source vs. proxy) and look at each Properties > menu > More Information… and look at the numbers after “[streams.stream.]” section headers.