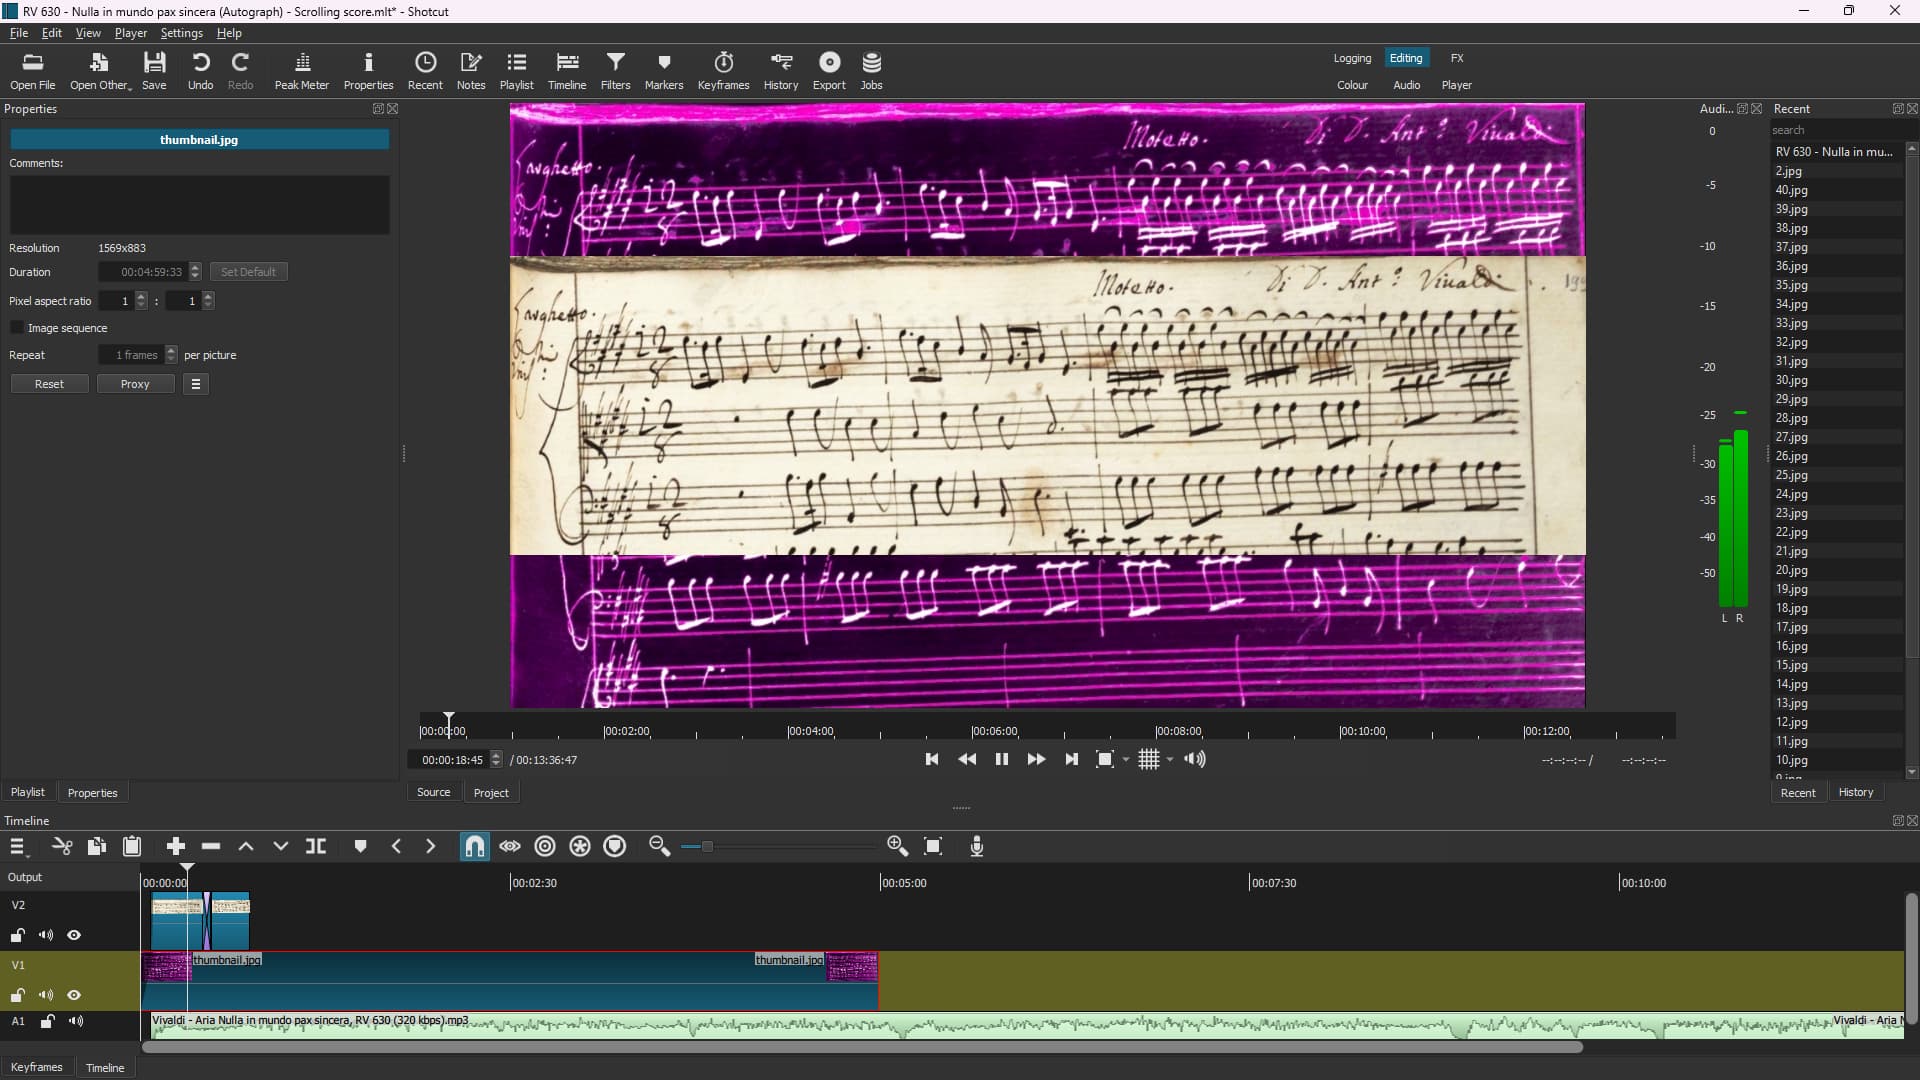
Will make this brief, I have never used shotcut before in my life, and trying to create a rather complex video that I have to finish in less than 20 hours (only have experience with Windows Movie Maker)… I am having serious issues with dragging a video track to the right to last the full duration of the video, it has a red line and I can only drag it by minuscule amounts, but I can drag it to the left fine (see picture A), for no reason my brain comprehends…
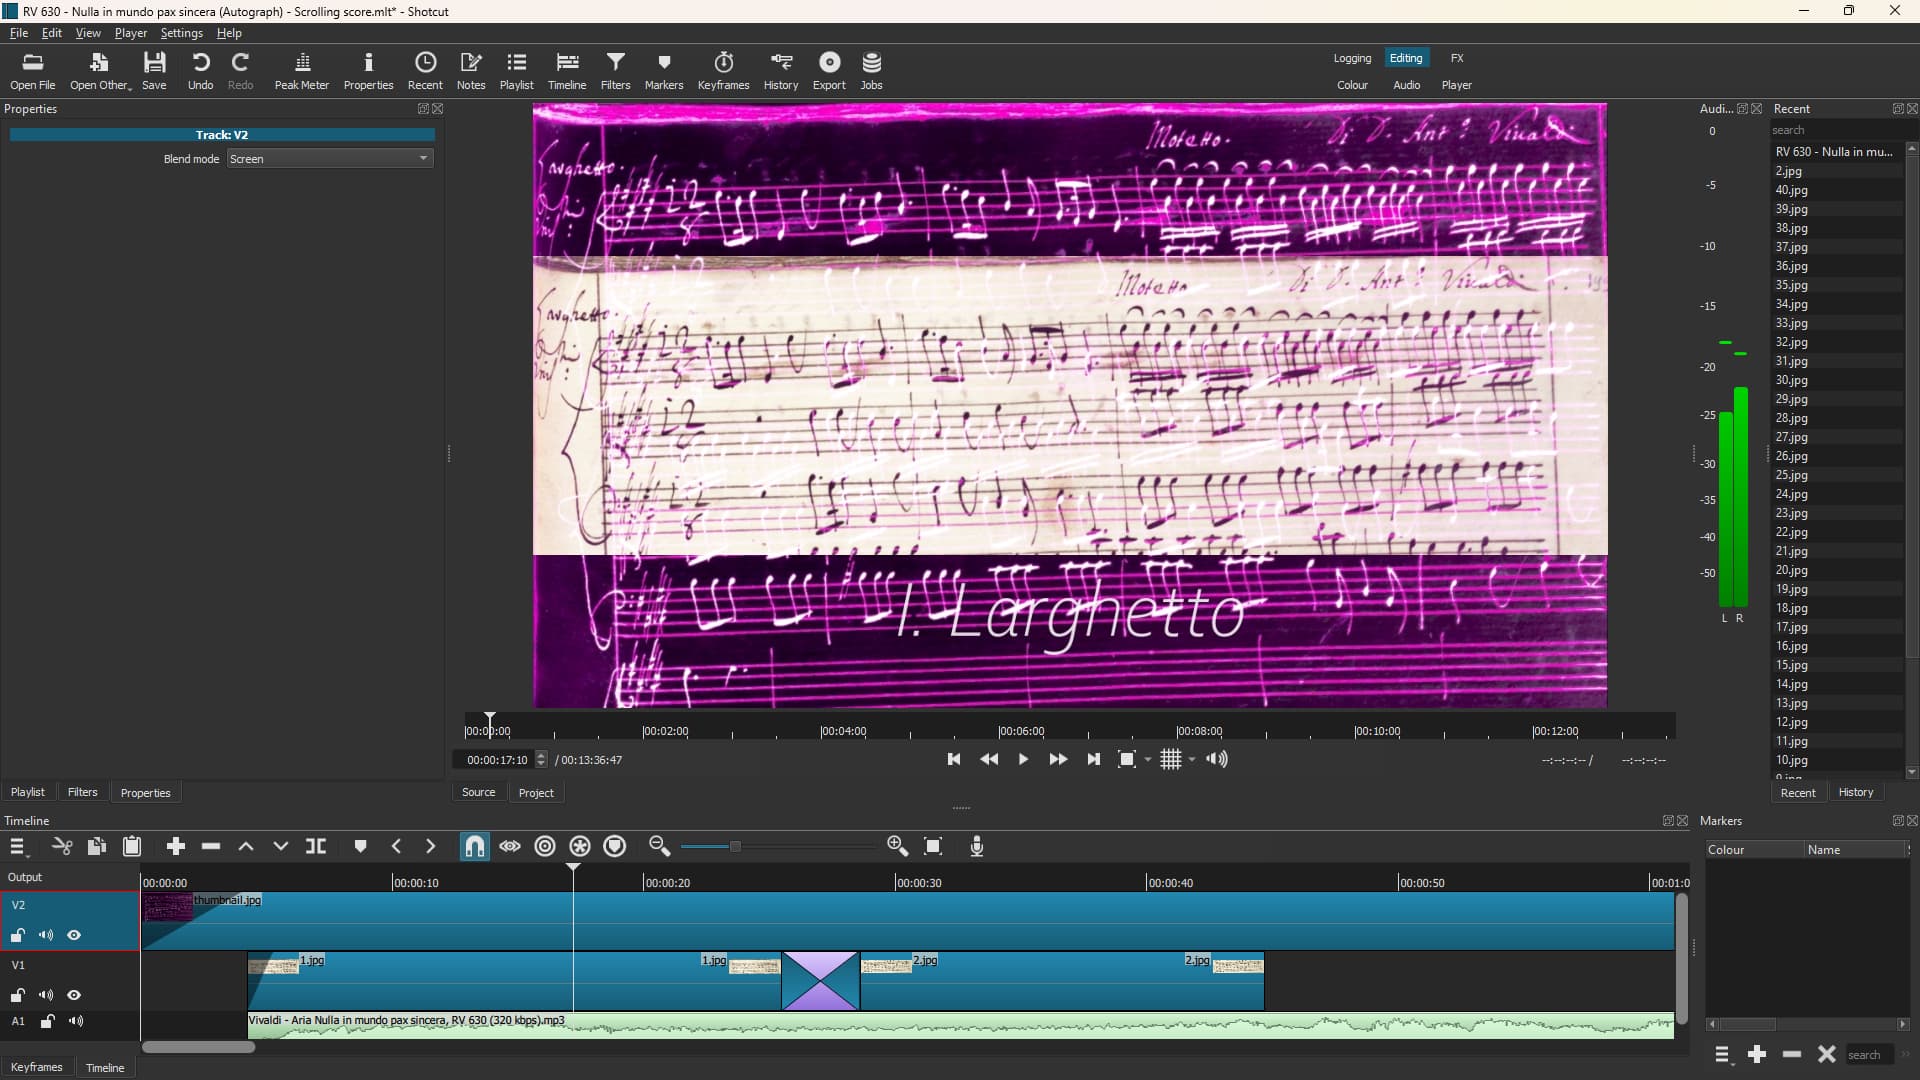
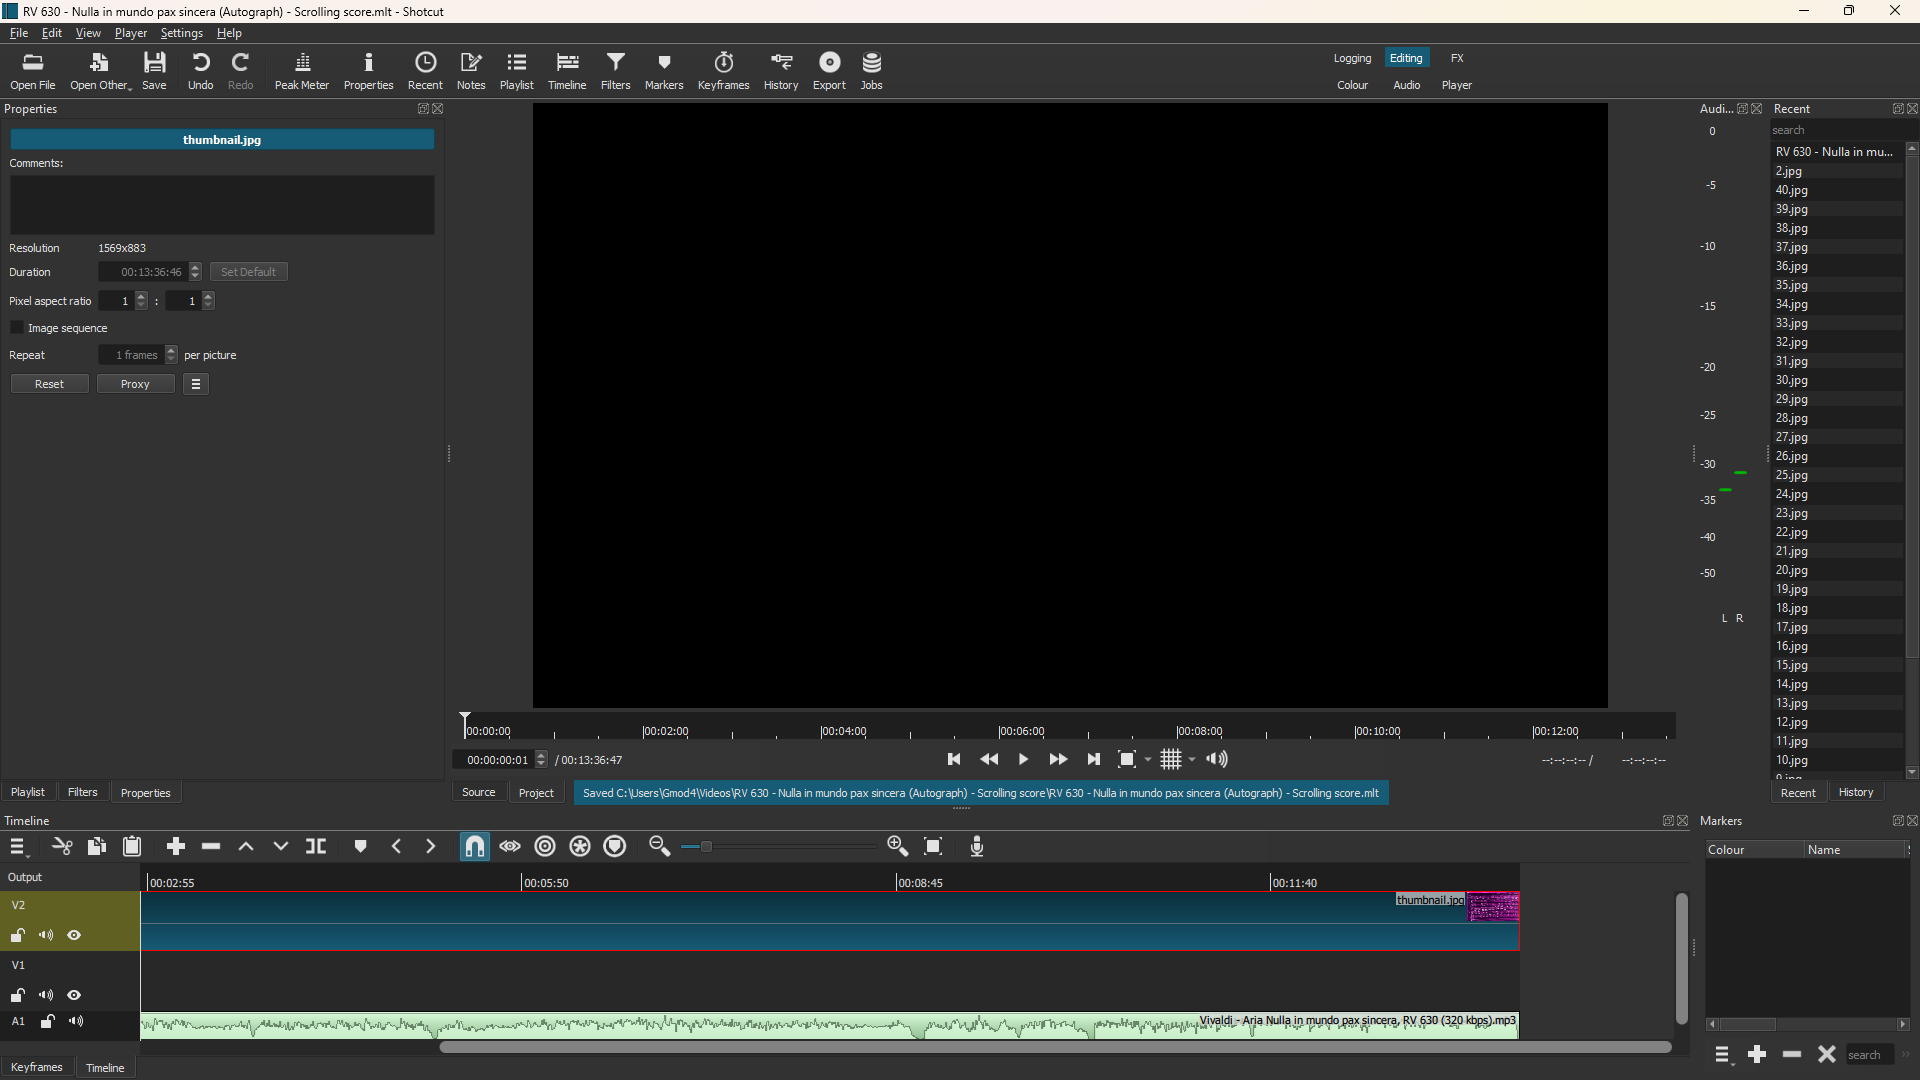
the second and final issue I need resolved is transitions… I have a image in the background (pink), and when one image transitions to the next, it disappears and goes black (see image B and C)
P.S: If someone helps me resolve these two issues, I guarantee you are going to heaven, it is all I have to offer
If I understand correctly, you mean that you want to stretch the video clip on track V1 to make it as long as the audio clip, which I guess will be the length of you project.
A video clip has a fixed duration, so you can’t stretch it to make it longer. Shotcut can’t create footage out of nothing.
Take a 12-inch (30cm) ruler for example, you can’t pull on one end of the ruler to make it 15 inches long.
The exception to this is if your clip was originally a part of a longer clip.
Here’s an example:
In the first video bellow, the clip in my Source panel is 12 seconds long. If I move it to the Timeline, I can’t stretch it, as I explained above.
If I go back to the Source panel, trim one end of the clip and move it also to the timeline, the resulting clip will be shorter than the original, and I will be able to stretch it up to it’s original length, but not more than it’s original length.
One way to make a clip longer though is to slow it down.
If I select my 12-second clip and go to the Properties panel, I can adjust the Speed value to 0.5 for example, and click on Apply. Since the speed of the clip is divided by two, it’s original 12 seconds length will be doubled.
If you select the pink video then press the large i button at the top of the screen (properties) then you can reduce the speed of the video to 0.5 so that it is longer and is the same length at the audio as MB says.
As for the pink vanishing and becoming black … try deactivating your filters / tracks to find out where the problem is coming from.
It is the transition, and also it is text now that I added some - I managed to get over a similar issue by ticking the “Adjust opacity instead of fade with black” option, but that does not seem to apply to transitions nor text, so I am at a loss currently…
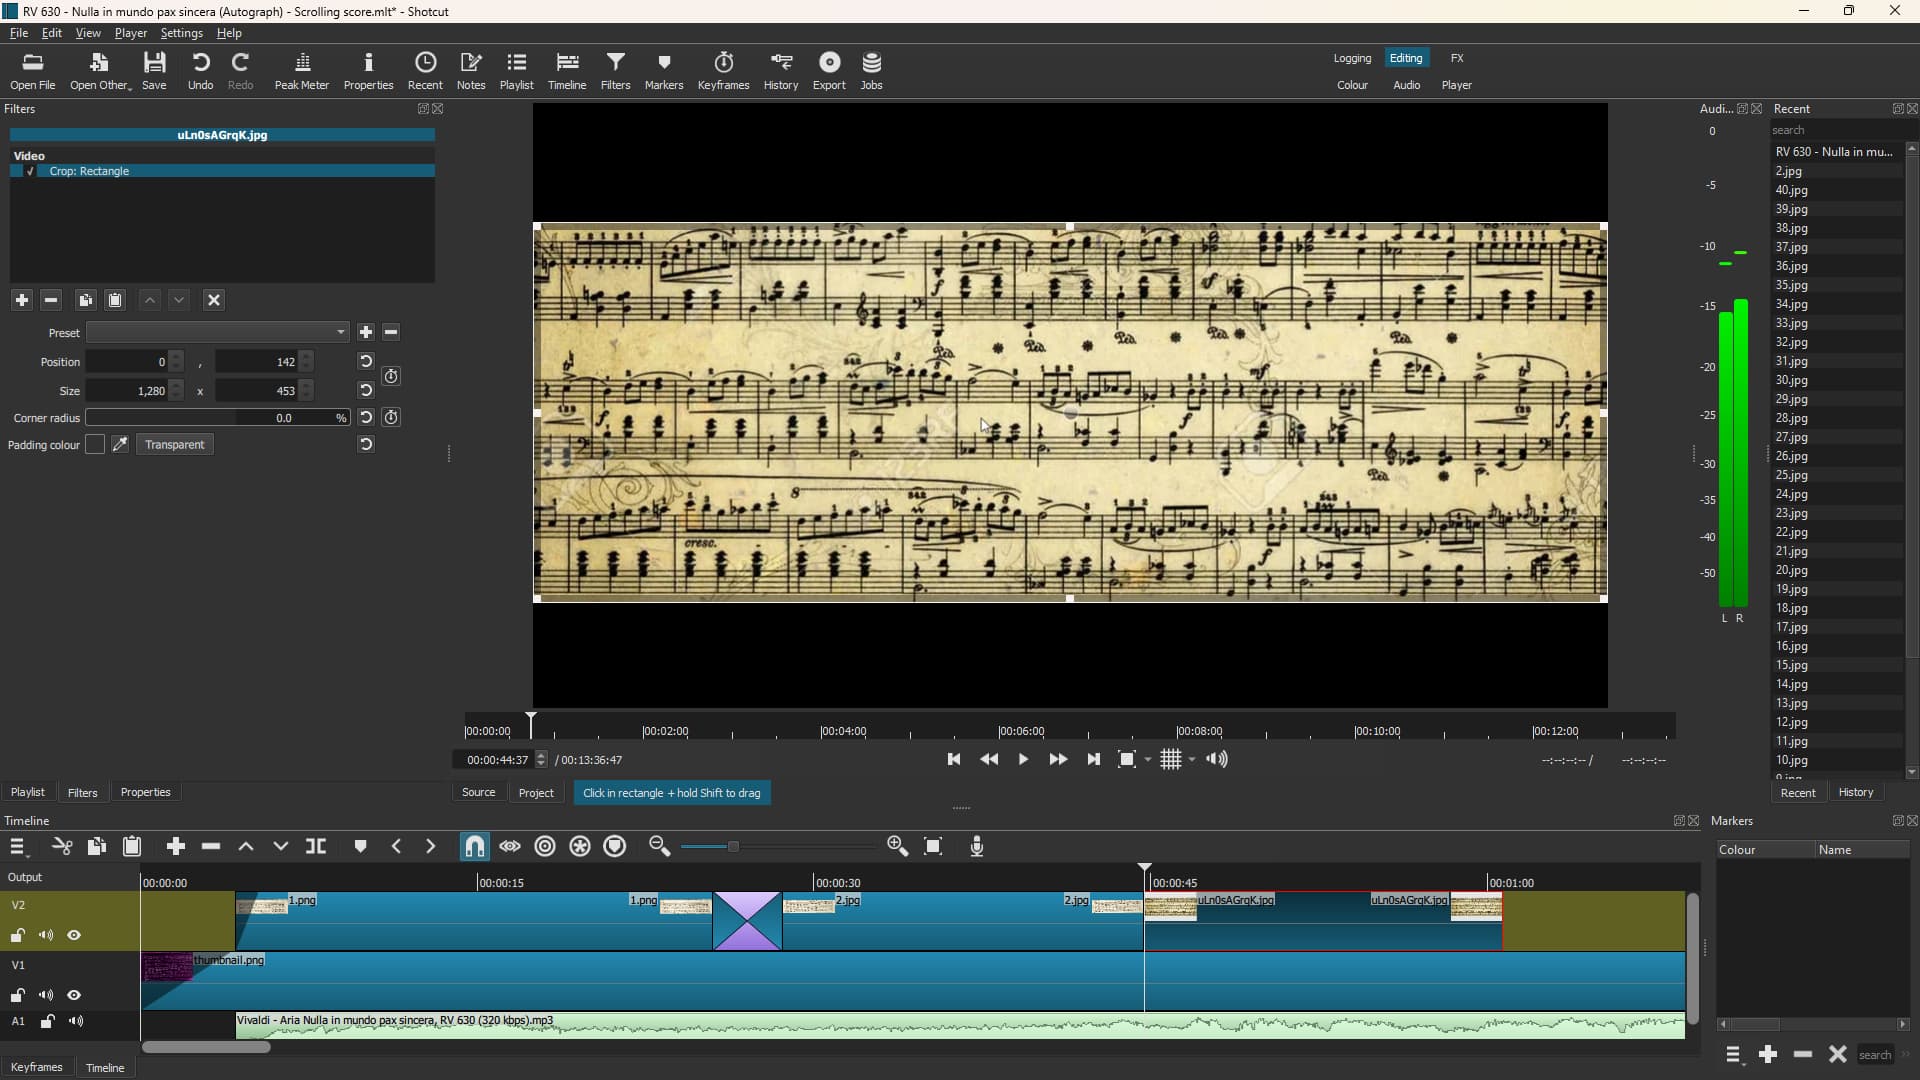
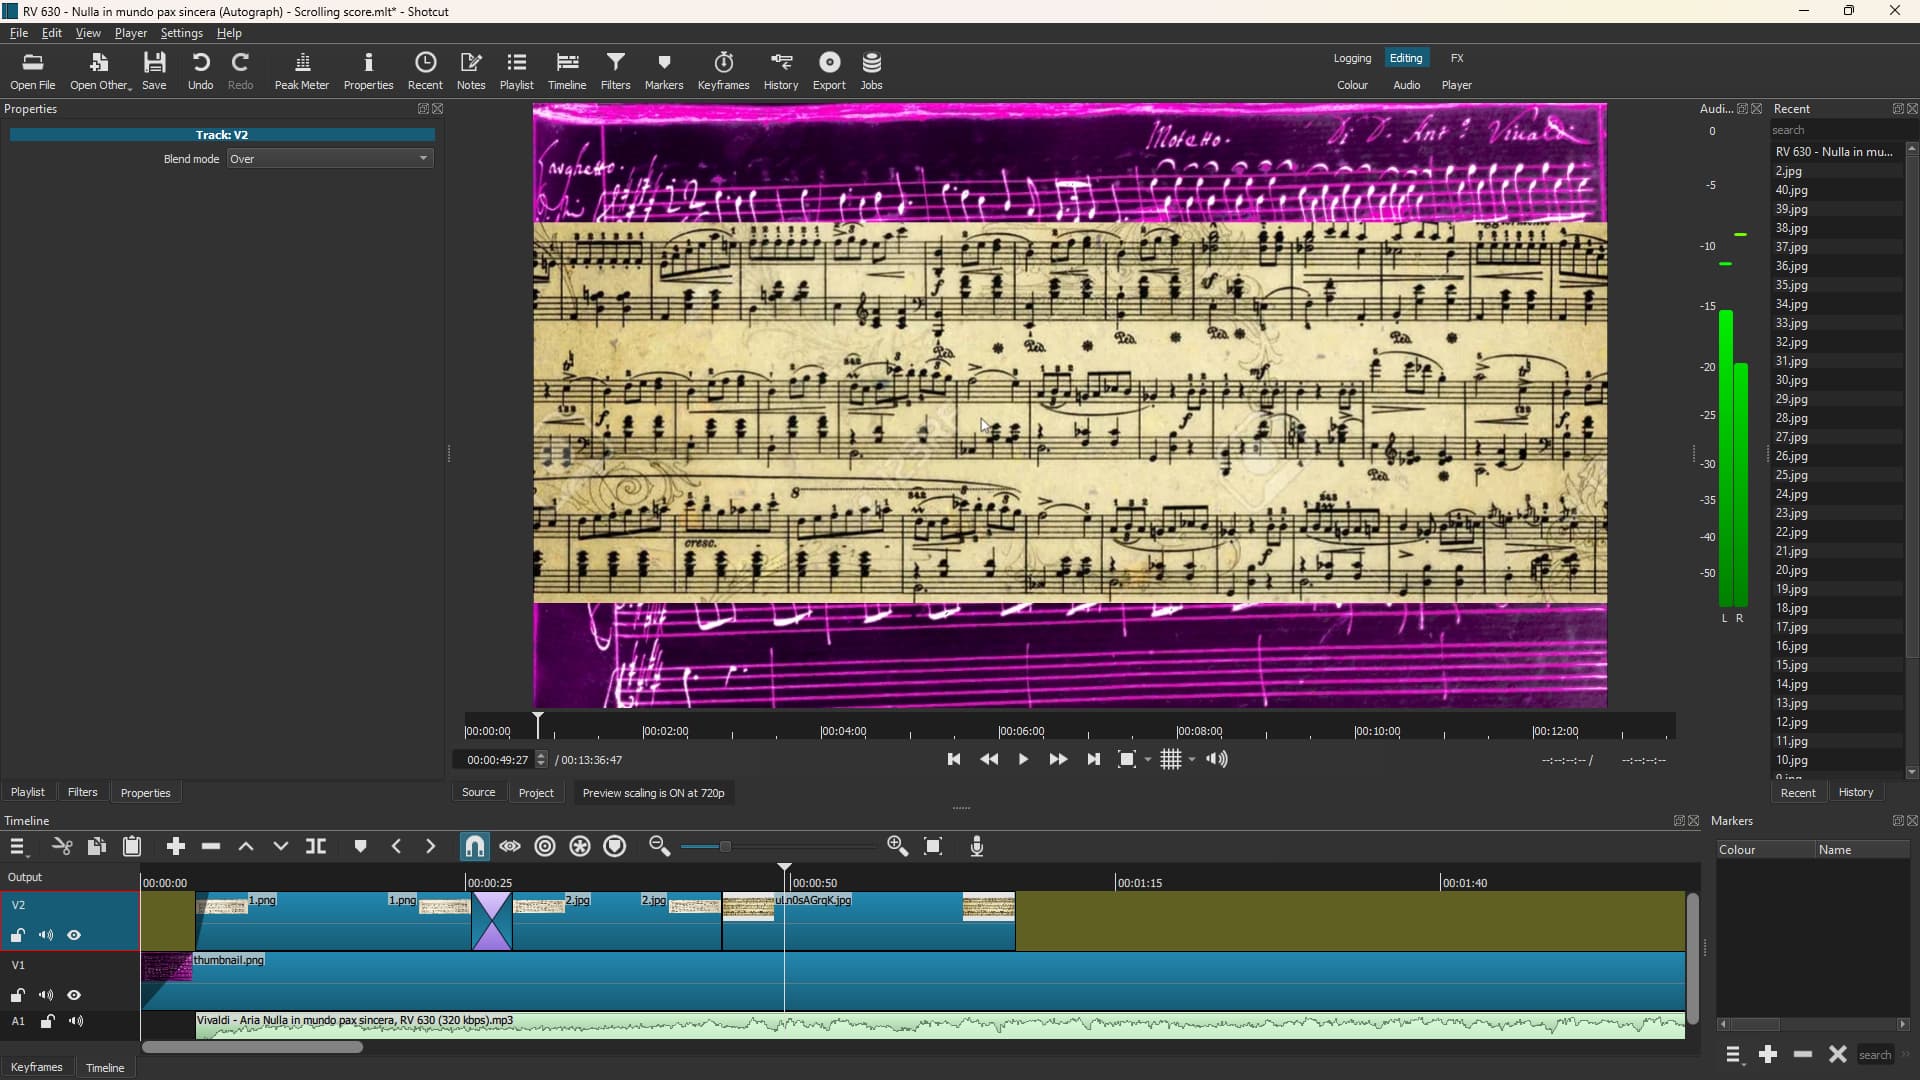
Made progress but still need help… I managed to mess around and find the “Screen” bend mode on the track properties, and I have eliminated the black screen issue of the pink background disappearing - but now I have the issue of the background image merging with the images I want displayed in front, I need to make them separate - if anyone could help…otherwise I have to give up on this software as I have very little time left to create this video
I think your problem there is that you use JPJ images that doesn’t allow transparency.
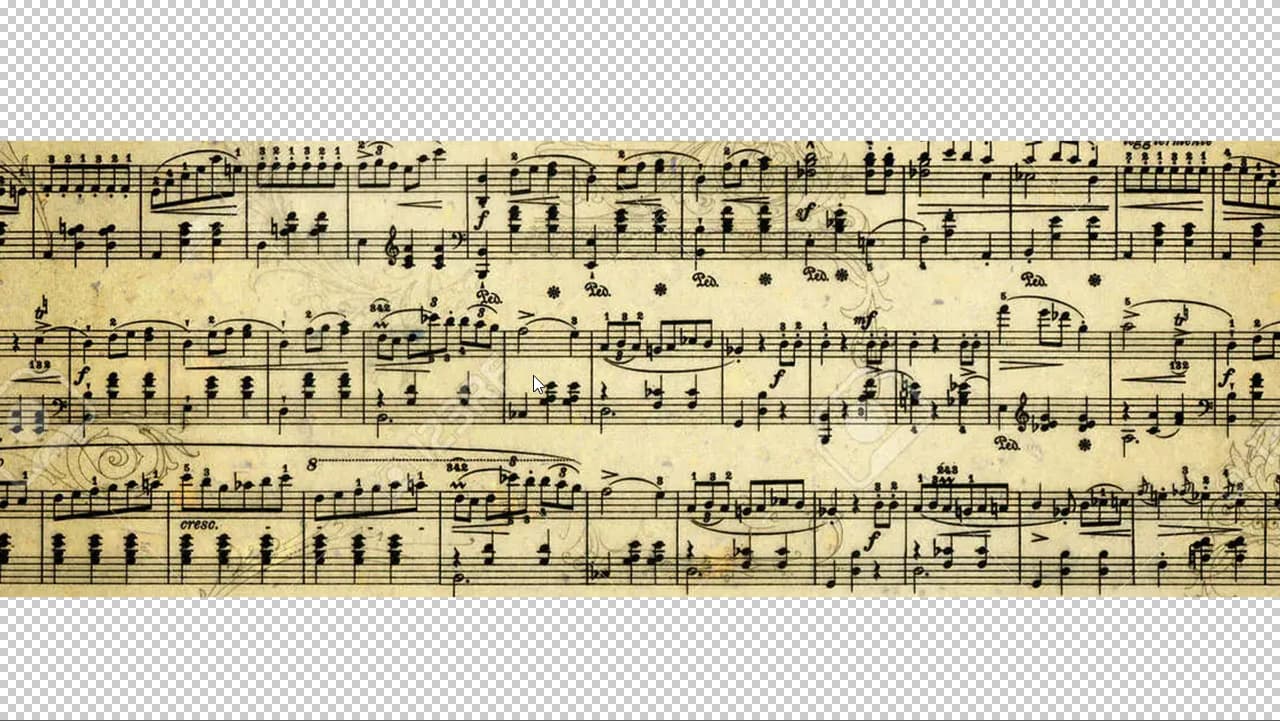
It’s hard to tell from your screen captures, but I suspect that both of the images that you use in the transition consist of a strip of music sheet with a black opaque background.
Using a blend mode will hide the black background, but it will also affect the rest of the images. All the dark parts in the music sheet will be at different levels of transparency, depending on how dark it is.
I have two solutions for you:
Use PNG images instead where you replace the dark background by a transparent one.
Thank you so much for this post - you achieved what I was starting to think was not possible - however I am having a issue still, it seems on my end as evidenced by your ability to do what I am attempting to do…
I followed your instruction, even before you told me actually, as I learnt you need PNG files for transparency, and have been using only JPGs, so I converted 1-2 files to see if it would work, it did not, and after reading your post I used your PNG file with transparent background, added the crop effect - made it transparent andddd… nothing, it is as if there is no background image present at all (see below)
whereas in your video as soon as you hit the transparent button, it then appeared, and THIS is where I am having issues, as soon as it is resolved I can get to work and finish this video in the few hours I have left.
Thanks in advance for any follow up advice as to what is going on my end, I am at my wits end…
If you choose something like red as the padding color does it replace the surrounding black with red? Then if you click transparent does it make it disappear?
Hmm, you also played with the blend mode, did you revert it back to over? If it’s set to none it will not show anything below it.
That is a interesting question, and the answer is that I can change the color, and transparency does make the background black.
(Sorry for edit, I didn’t confirm the color change initially leading to a different result)
I’ve quickly edited in this part, not sure you caught it as it now seems the most likely cause. Click on the track head/name part (leftmost on the timeline) then check properties panel.
Want software did you use to make the background transparent, if I may ask - I am trying to use GIMP, but the black portion of the background I need made transparent does not appear for me to change it.
Once I make the images I am using transparent, and if they achieve the same effect with the “over” blend, then my issues are resolved and I can finally begin the score-video proper.
P.S: This website is restricting me from replying and it has taken an hour since my last reply to send this message, just so you are aware if I go quiet
Not sure how MusicalBox did it but I assume you first need to change the file/image/canvas size to something like 1920x1080 (16x9) format as the only reason shotcut is leaving the blank space top and bottom is because it keeps the original aspect ratio and scales down the score image to fit the 16x9 standard video mode. So if you change the final image resolution in GIMP then it will probably also do the same thing as shotcut and add by default transparent top and bottom - which will be saved to the png if you use the transparent option somewhere in the final export/save as dialog.
Edit: But the question is why do you still need transparent PNGs? doesn’t the crop thing achieve the same thing?
And also it’s been about 24hours since you started the thread, how are you with the deadline?
Using crop, and even if I “unfix” the ratio to select the entire image with transparency, no clearly marked chequered background appears, like in the image example given by MusicalBox.
Also for context this score-video I am creating is to coincide with my first score-video to reach 100,000 views… thankfully it is still at 99k views, so I have still a very very short time frame left to work with, so I really need to get this transparent background issue resolved because I haven’t even done the first of 40 pages…
the 100,000 video for reference, (but don’t watch it, less views the better for now )
I don’t know if you still need an answer to that question. In any case, here it is
I used Photoshop, but here’s how I’d do it with Gimp.
By the way, you said: “but the black portion of the background I need made transparent does not appear for me to change it”
Maybe it’s because you didn’t Add an alpha channel to your image after you imported it in Gimp. Look carefully in the video below, I do it at around 00:14