Hi folks. I had an idea. So I wrote a piece of flute music and called it “Daybreak”. It’s an educational “warm-up” piece for flute students.
I’m making a video to showcase the sheet music. My idea was to create an animated sunshine effect.
Here’s the effect (no audio):

Here’s the flute video I’m working on (unfinished):

I thought I’d share my process in stages:
-
With a marker pen and paper, I drew a basic “sun and rays” - a blob with radiating lines:
-
Scanned the image, printed, rescanned with two images per page.
-
Printed 7 copies, giving 14 sunshine images.
-
Using all the artistic flair I could muster, I changed each image slightly by increasing the width of the rays (randomly), changing slightly the size/shape of the sun (blob). Also I added some more lines and dots.
-
Re-scanned all the images, and used the Windows Snipping Tool to capture and save each image as a separtete JPG (named 1.jpg up to 14.jpg. Here’s the image folder (no audio):


-
In Shotcut - dragged all 14 images to the playlist.
-
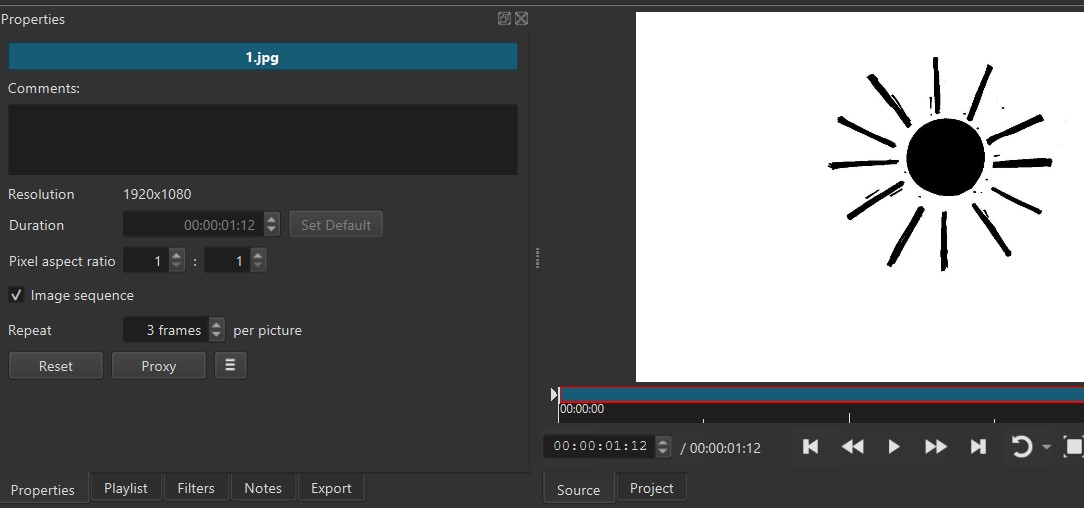
Selected image 1 and in properties, I set it to “image sequence” - 3 frames (my video mode is 1080p, 30fps):
-
Dragged the image to the timeline - hey presto, it generated a 1-second video.
-
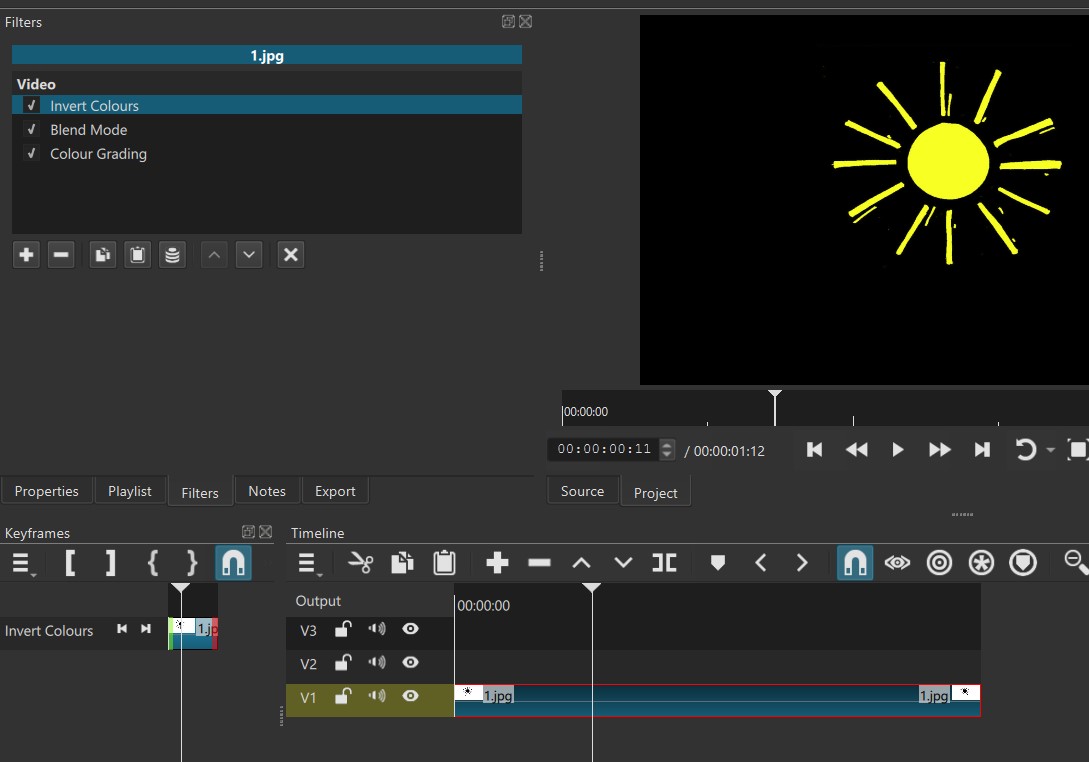
Applied 3 filters:
Invert Colours;
Blend Mode (Add);
Colour Grading (highlights set to yellow).
-
Copied and pasted the clip 7 times to repeat the animation, giving a 7-second animation.
-
Exported as an Mp4.
I now have a sun animation with a yellow sun and a black background, ready to import into a video and apply a chroma-key filter. Woo hoo, thanks, Dan; @shotcut, Brian; @brian and the Shotcut team for Shotcut’s continual, day-in, day-out development!