Hi @bentacular, thanks! I’m working full steam ahead with the tutorial, but just for you  here’s the process in a nutshell:
Method 1:
- Make a “Slide-Out/Slide-in” transition of 7 frames duration. Use a 7-frame transparent clip as a guide.
- (My Eureka moment no.1!): export just the 7-frame transition as an Mp4, then re-import, place it above the transition.
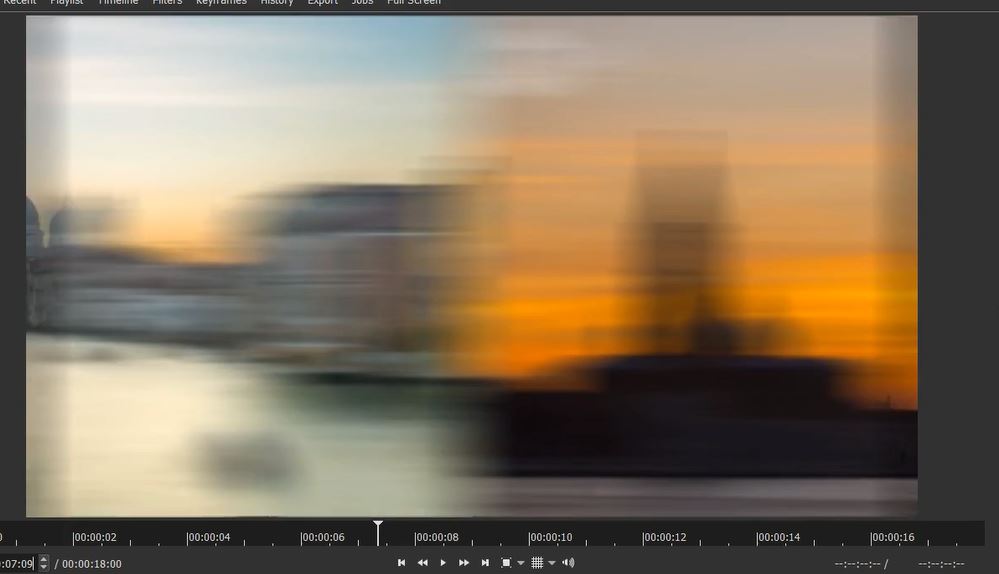
- Apply a Blur:Box filter (99px width, 0px height).
Problem: dark areas on the left and right edges.
- (My Eureka moment no. 2!): add a Size/Pos filter, set to distort, drag out the dark areas left and right so they disappear.
- (My Eureka moment no. 3): to make the transition slightly slower, apply a speed of 0.8, or maybe 0.5 to just the transition Mp4.


Ta DA, seems to work…
Method 2:
-
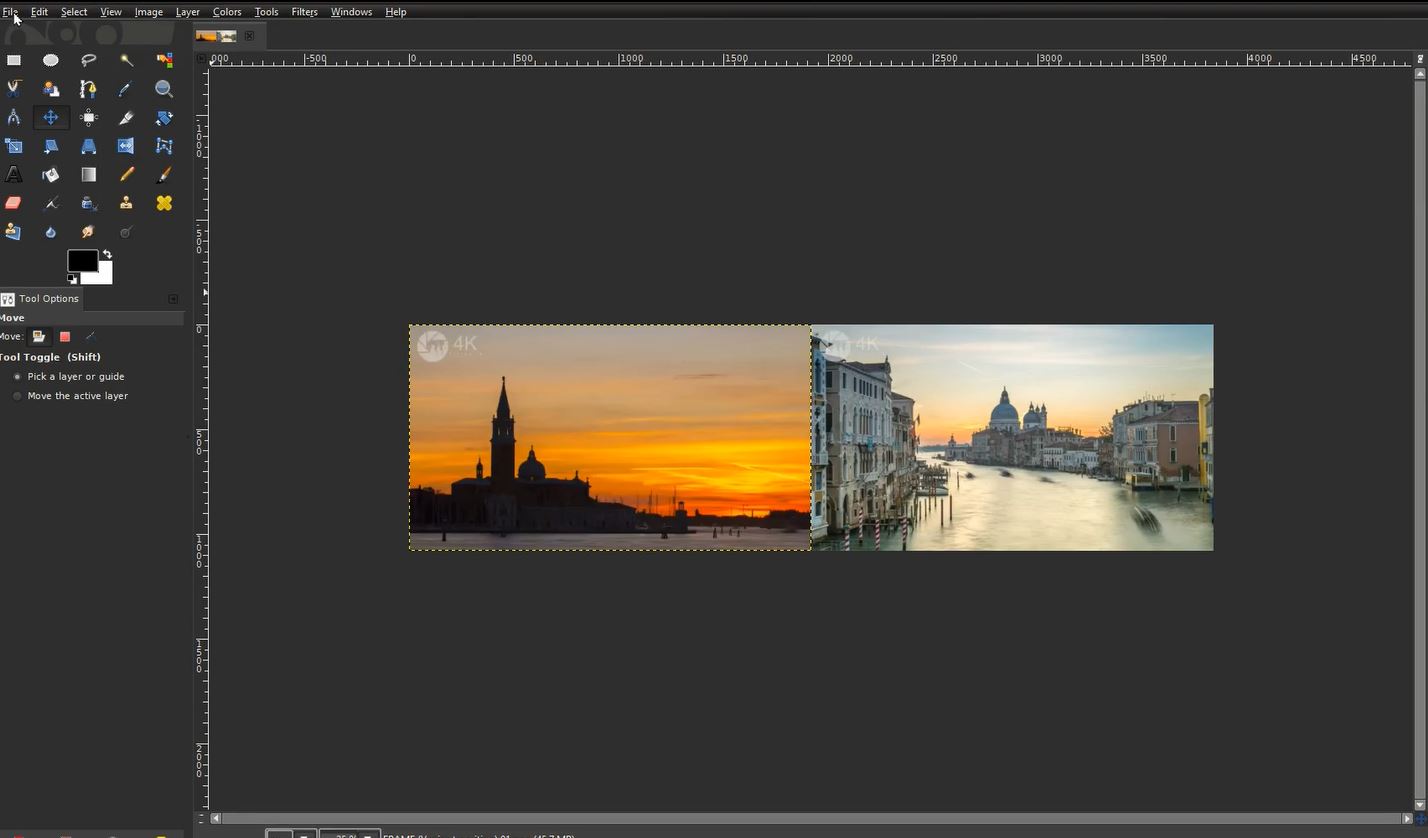
Export as a frame: last frame of clip 1, and first frame of clip 2.
-
In GIMP, make a 3840px-wide image of the images side-by-side.Export as a JPG.
-
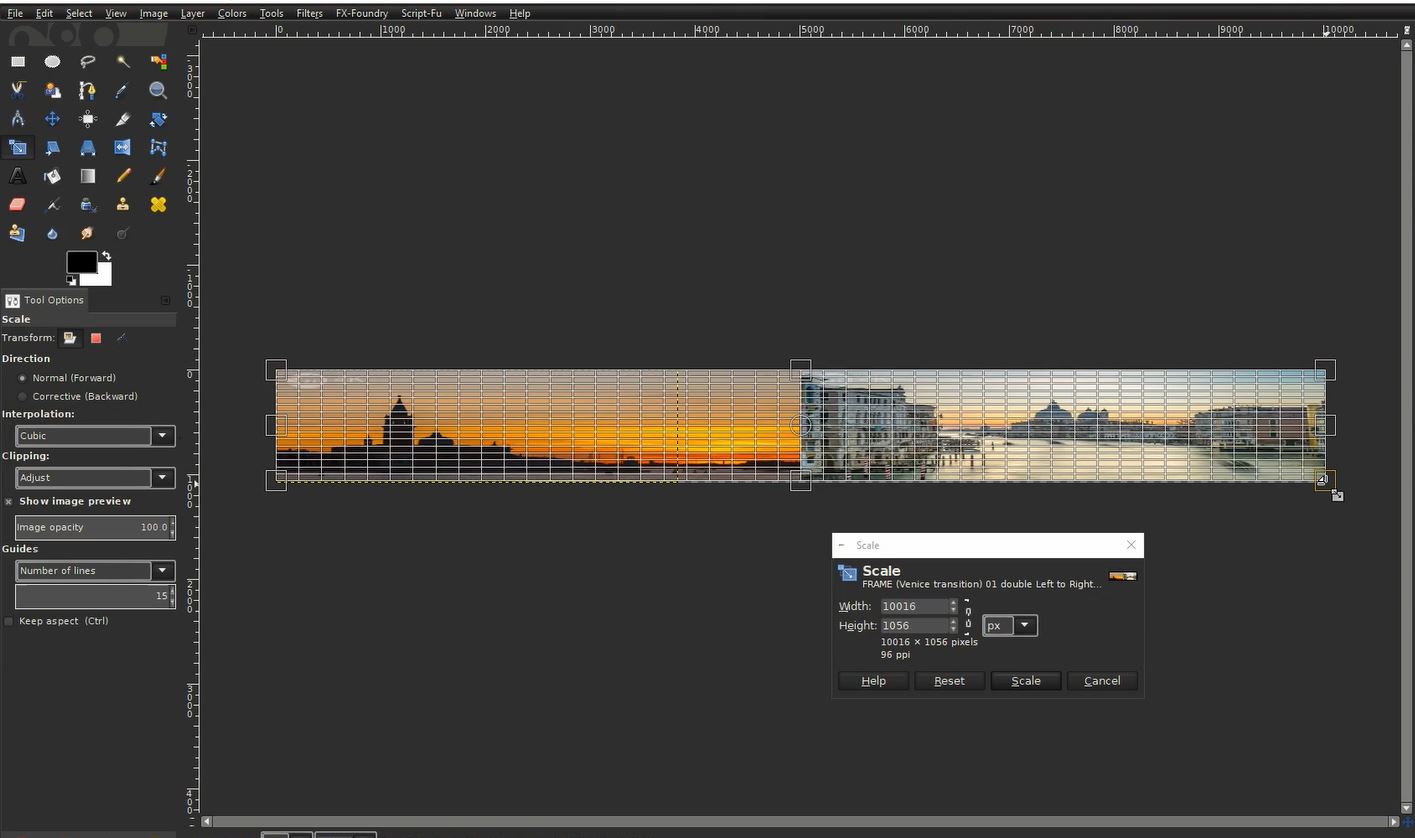
Re-import into GIMP, stretch to 10,000 pixels wide. Export.
-
Import this wide image into SC. Apply a Blur:box filter. Not too much is required since the image is stretched…
-
Apply a Siz/Pos filter, set to distort, set width at 10,000.
-
Keyframe it from “0” to “-8,080” (10,000 - 1,920) for a duration of 14 frames. Trim this transition clip to 14 frames length.
-
Arrange timeline : clip 1, then transition clip, then clip 2 (no overlapping).
Bingo, DONE!
I’d be interested if my Method 2 was the same or similar to yours? 