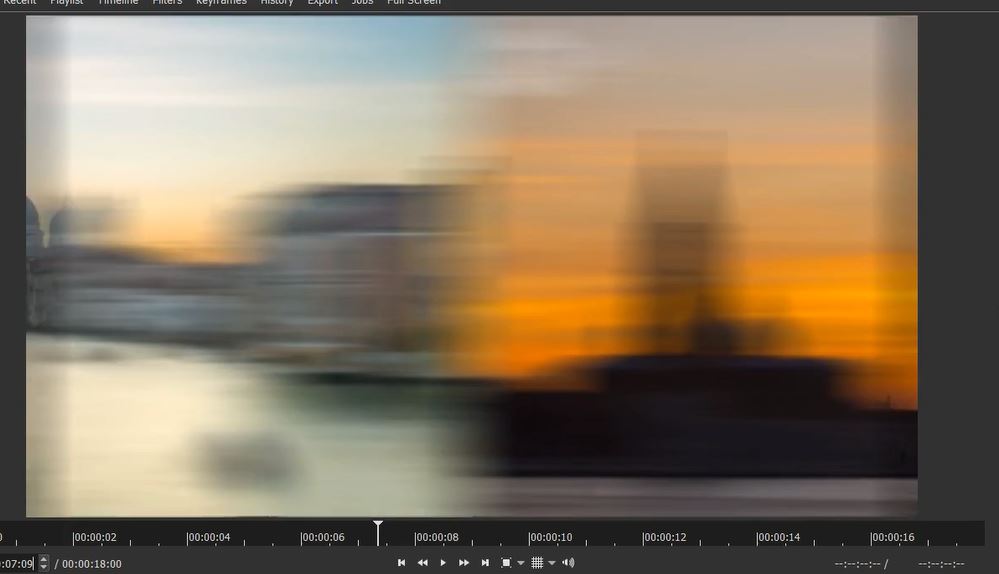
Hi folks, I’ve been working on two techniques (Method 1 and Method 2) to achieve Motion Blur (Whip-Pan) transitions in Shotcut. Method 1 is done entirely with Shotcut, and results in a short panning distance. Method 2 uses Shotcut and GIMP, and achieves a wider panning distance.
This demo features a mixture of Method 1 and Method 2 transitions. I’m preparing a YouTube tutorial which explains how it’s done in easy stages, so watch this space .
Yay! I’d be interested to see Method 1. I typically use Method 2, but instead of GIMP I use Photoshop. I’m sitting in the first row waiting for this one.
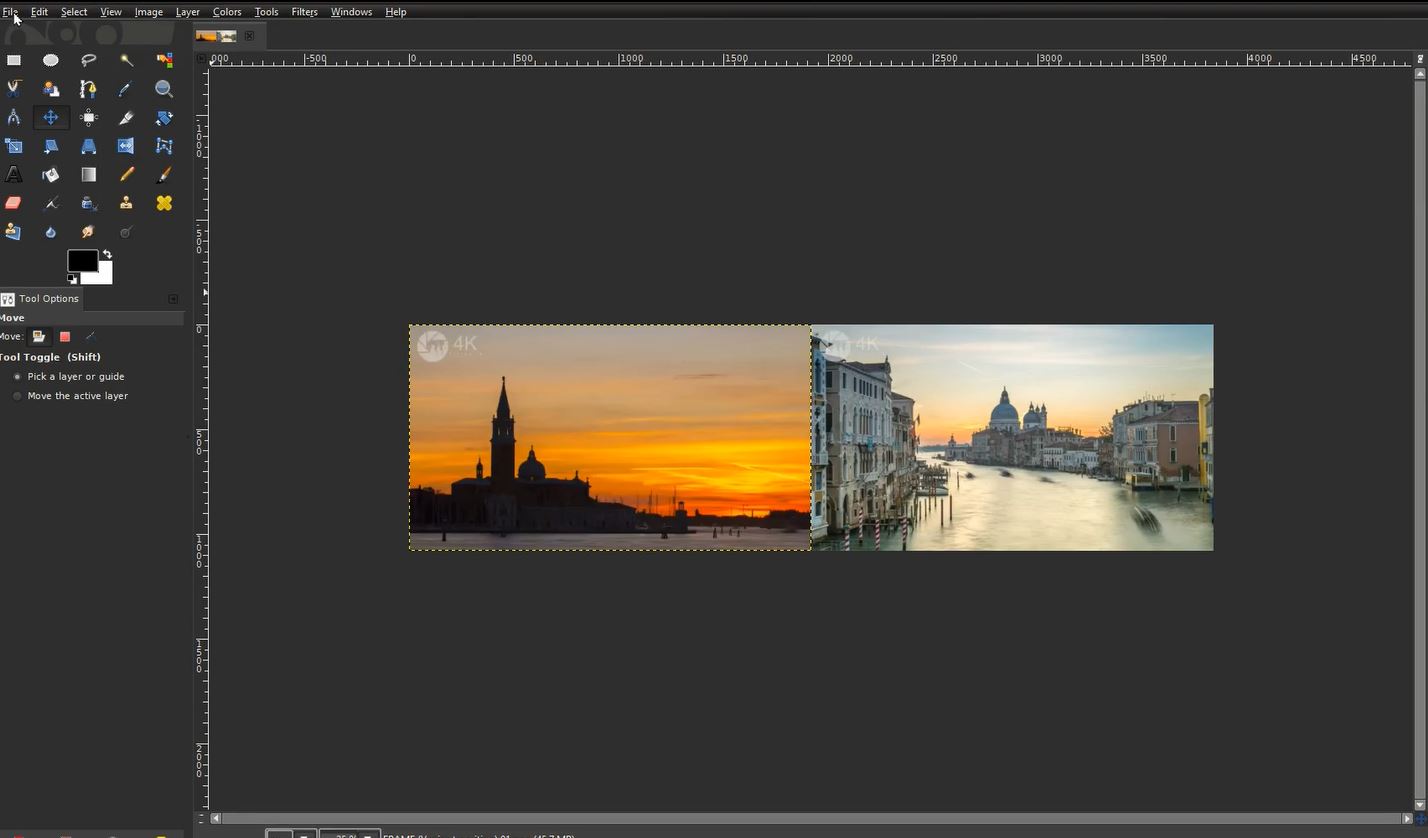
Mine is almost identical to yours except I tend to use rotate and scale instead of size and position so that I don’t have to come back and tweak it after editing proxies. I also don’t stretch out the image as long since I’m not actually panning. I just create an illusion of panning. If you can link me your 2 primary images, I’ll show you how I edit them.
But using Blur box might actually look better than the Gaussian Blur that I’m using.
I analysed your demo, frame by frame by exporting each of the transition frames, then making them 1 second each (hope that was OK by you!) - interesting! Love to know how you did it! https://streamable.com/ovmdti
@bentacular, that is great! Ingenious, too. Nice method of stretching out the centre of the image, then using Rot/Scale and Trails filter on SC. Thank you so much.
I’m just experimenting with a very wide image in GIMP to see if I can achieve a huge pan effect.
Oh my goodness - it appears that Shotcut can easily handle super-wide images - here’s a demo of three Method 2 whip-pan transitions, using double-frame images with width 10,000, 16,000, and 20,000 pixels!
If I can grab a bit of time later today I’ll see if SC and GIMP can cope with 30,000, 40,000 and 50,000 pixel-wide images …
Sometimes I resize the video mode to shrink or use for IG and the change messes up the position because it’s pixel-based not percentage-based positioning.
Guys, that’s great. You’ve been busy.
I’m tempted to incorporate this into my project.
But, since you’ll probably find some more tricks along the way, I think I’ll continue with my roadmap to get that video finished (someday).
 .
.
 here’s the process in a nutshell:

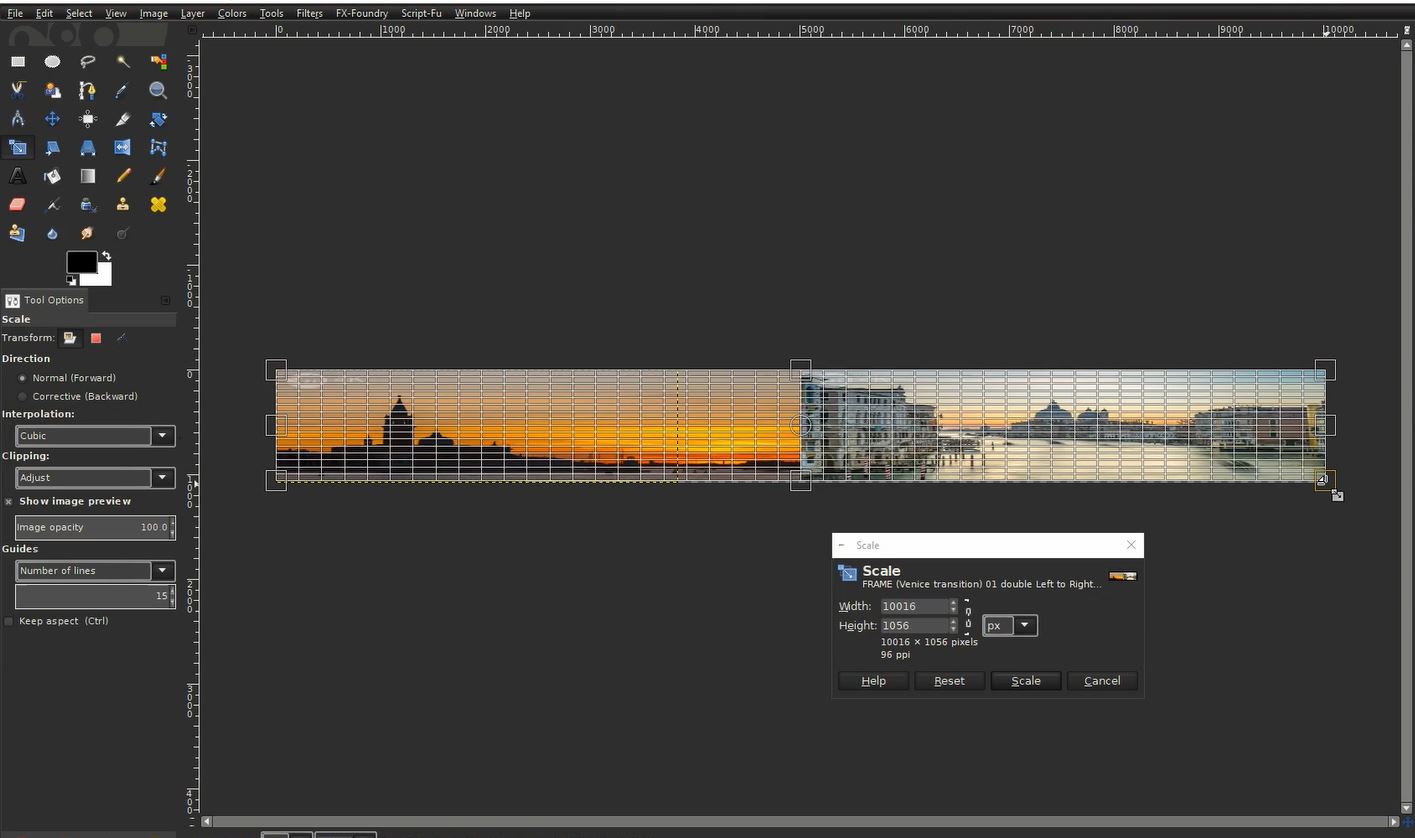
 Nice method of stretching out the centre of the image, then using Rot/Scale and Trails filter on SC. Thank you so much.
 test in Shotcut - achieving a wide pan distance.")


