Ah yes, the classical, yet becoming cliche VHS effect. As analog horror has started to become mainstream I think it would be appropriate to make a tutorial containing most techniques in order to get the exact look for your VHS-mock footage. Though when I say Master I mean in the sense that this is an all-in-1 tutorial I have made from my knowledge of Shotcut.
Request edits ad needed and I will add them. There are still a bunch of effects that could be used to make this effect better, but i am not familiar enough with them to add an entry. One filter I am intrigued by is the Levels filter, but i only discovered it a few hours before writing this.
- Step 1: footage
This step is quite self explanatory, though some advice should be mentioned here.
First off; MAKE SURE YOU HAVE PERMISSION IF YOU ARE DOWNLOADING A YOUTUBE VIDEO. IT COULD POSE ISSUES FOR YOUR FINAL VIDEO IF THE FOOTAGE YOU USE GETS TAKEN DOWN.
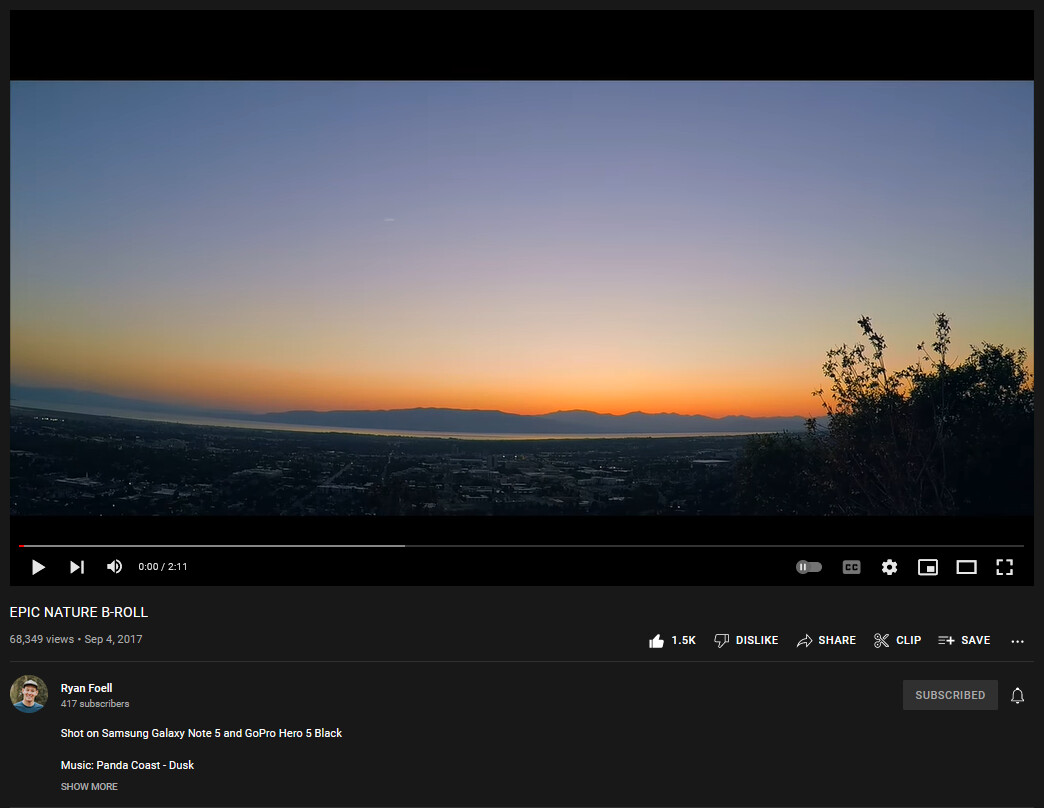
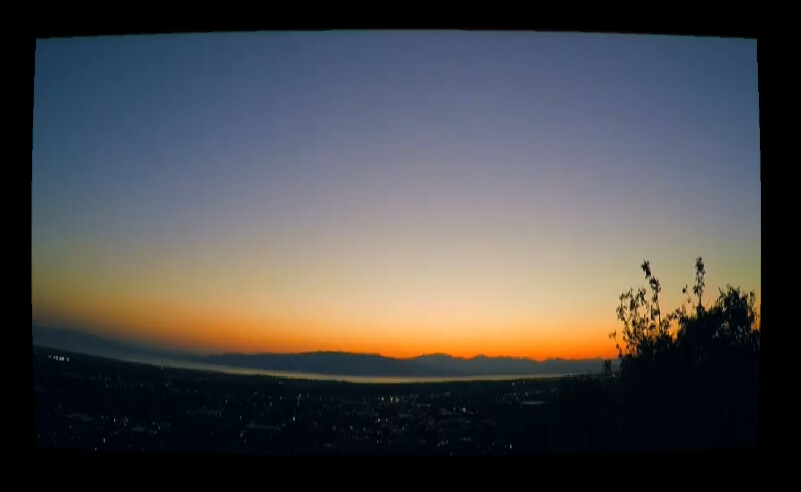
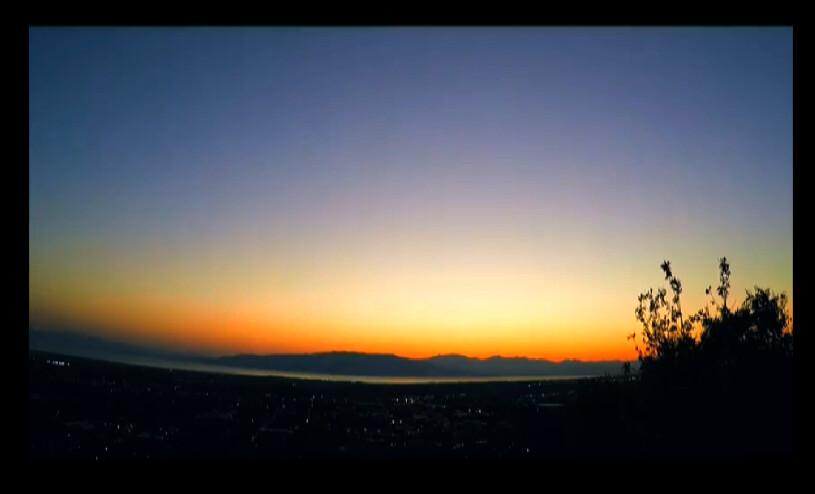
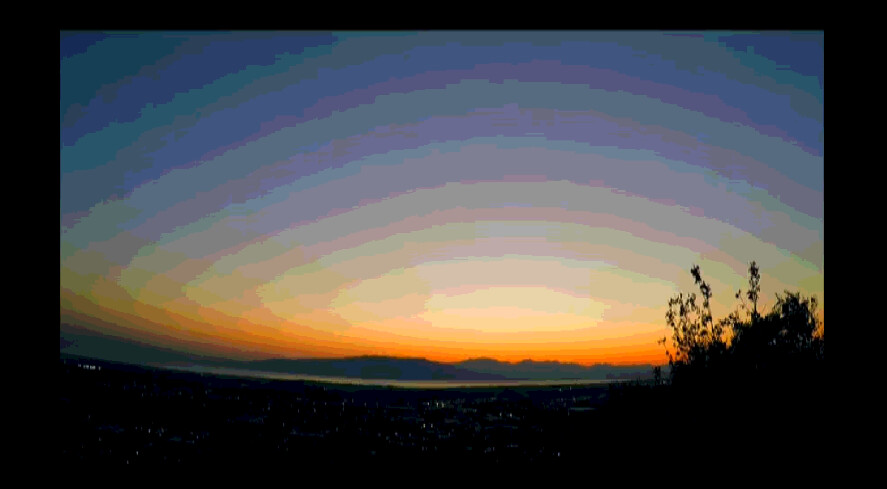
Now, for this tutorial, i have just chosen a random B-Roll video as example(EPIC NATURE B-ROLL - YouTube)
For the VHS effect, i would recommend downloading your video in a lower quality, for example 480p, though you could always downscale it after downloading it, or keep it the normal quality.
![]()
- Shotcut Video settings
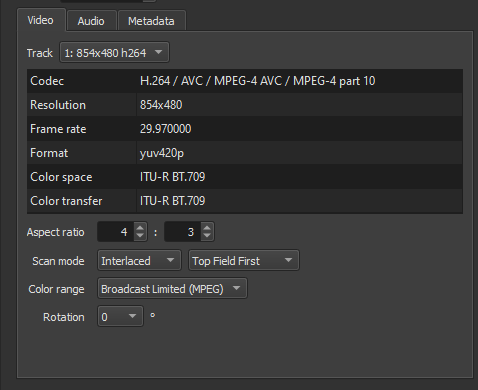
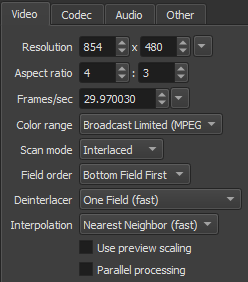
To start, drop your video into the playlist tab in Shotcut. Click on the video and then go to properties. From there, you should look for your aspect ratio and scan mode.
For your aspect ratio, if it’s not already, you can keep your aspect ratio to 16:9, or change it to 4:3, 4:3 is a bit more retro as most monitors back then were 4:3. You could also set the aspect ratio to something different, but I usually stick to 16:9 or 4:3 as those work for most screens.
In the scan mode, it defaults to progressive, which is fine, but if you want to get even more retro, you could change it to interlaced. Interlacing is how TVs used to render images faster, by skipping every other row and then going back for them, or vice versa. It really doesn’t matter if you set it to bottom field or top field first as it’ll capture the same effect. If there isn’t anything fast moving in your video then this setting probably isn’t going to do much to your video.
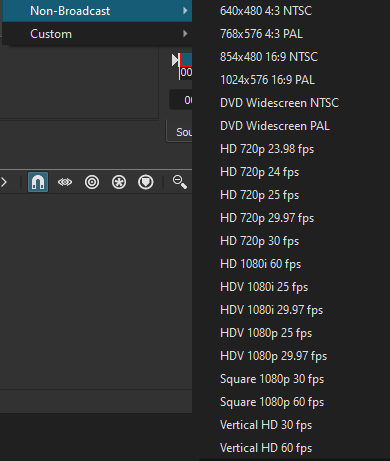
Next, head to the top bar and go Settings > Video Mode and set it to whatever resolution and frame rate you desire, this will be what Shotcut exports your video as whenever it starts rendering the finished product.
If you have chosen interlaced in the properties, make sure that whatever video setting you choose, it has I at the end, and not P. This will limit your video settings to 30 frames per second maximum though.
![]()
![]()
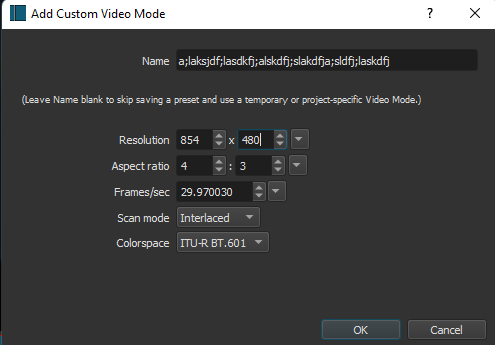
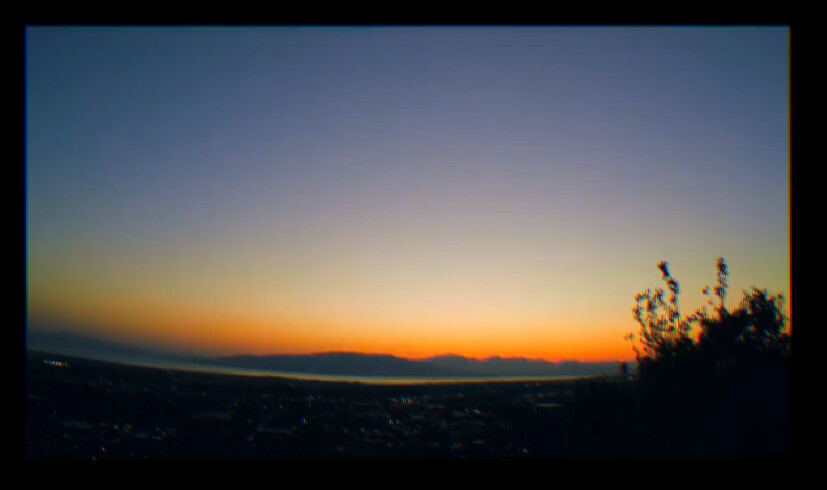
You could also choose a Non-Broadcast option or a custom option to really customize your footage.
Alright, now we are ready to move onto the meat of this tutorial, the filters!
- Filters
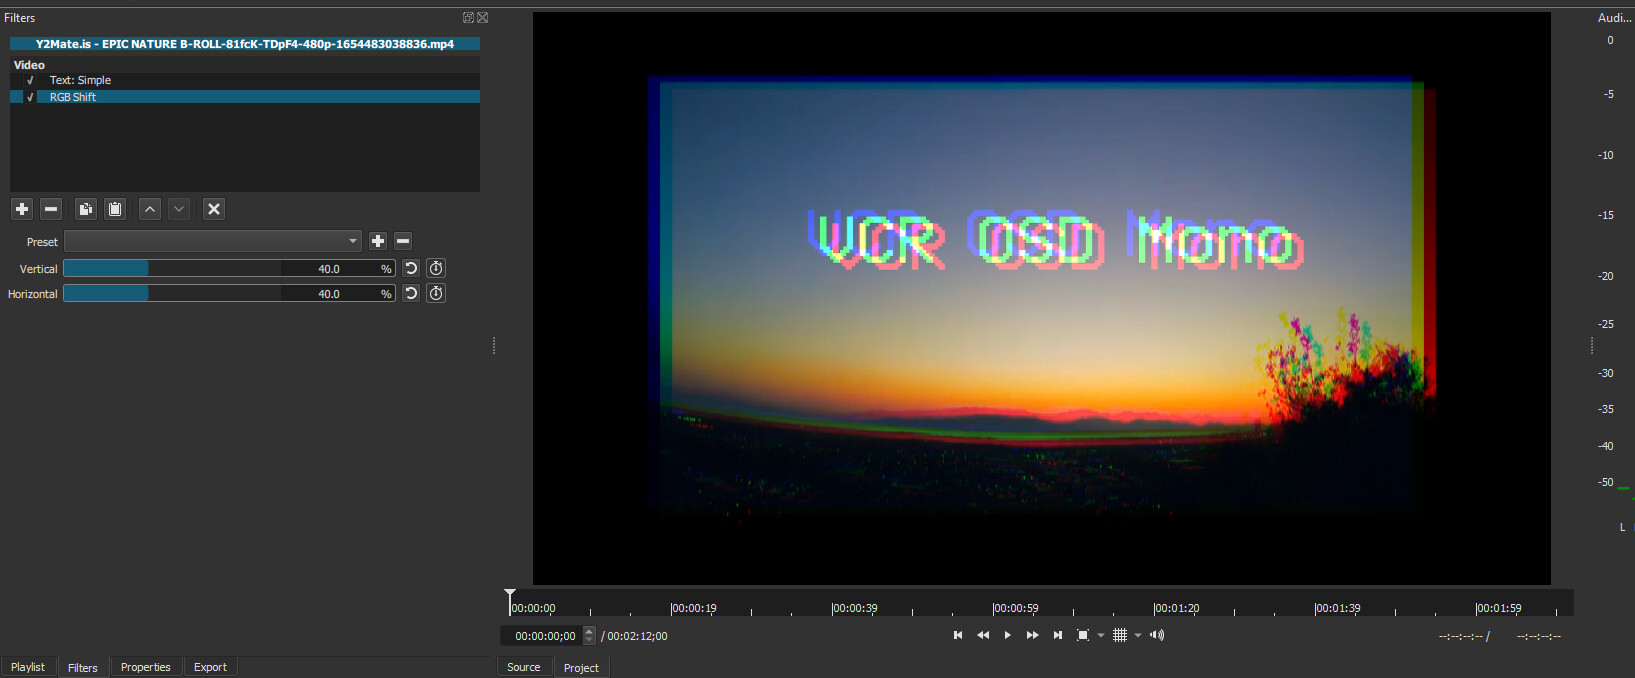
After dragging your video into the timeline, we can begin. Make sure you have the filters tab open. This is where the ultimate video customization comes in. I will label each subsection now for each filter that I deem suitable for the VHS effect.
Lens Correction
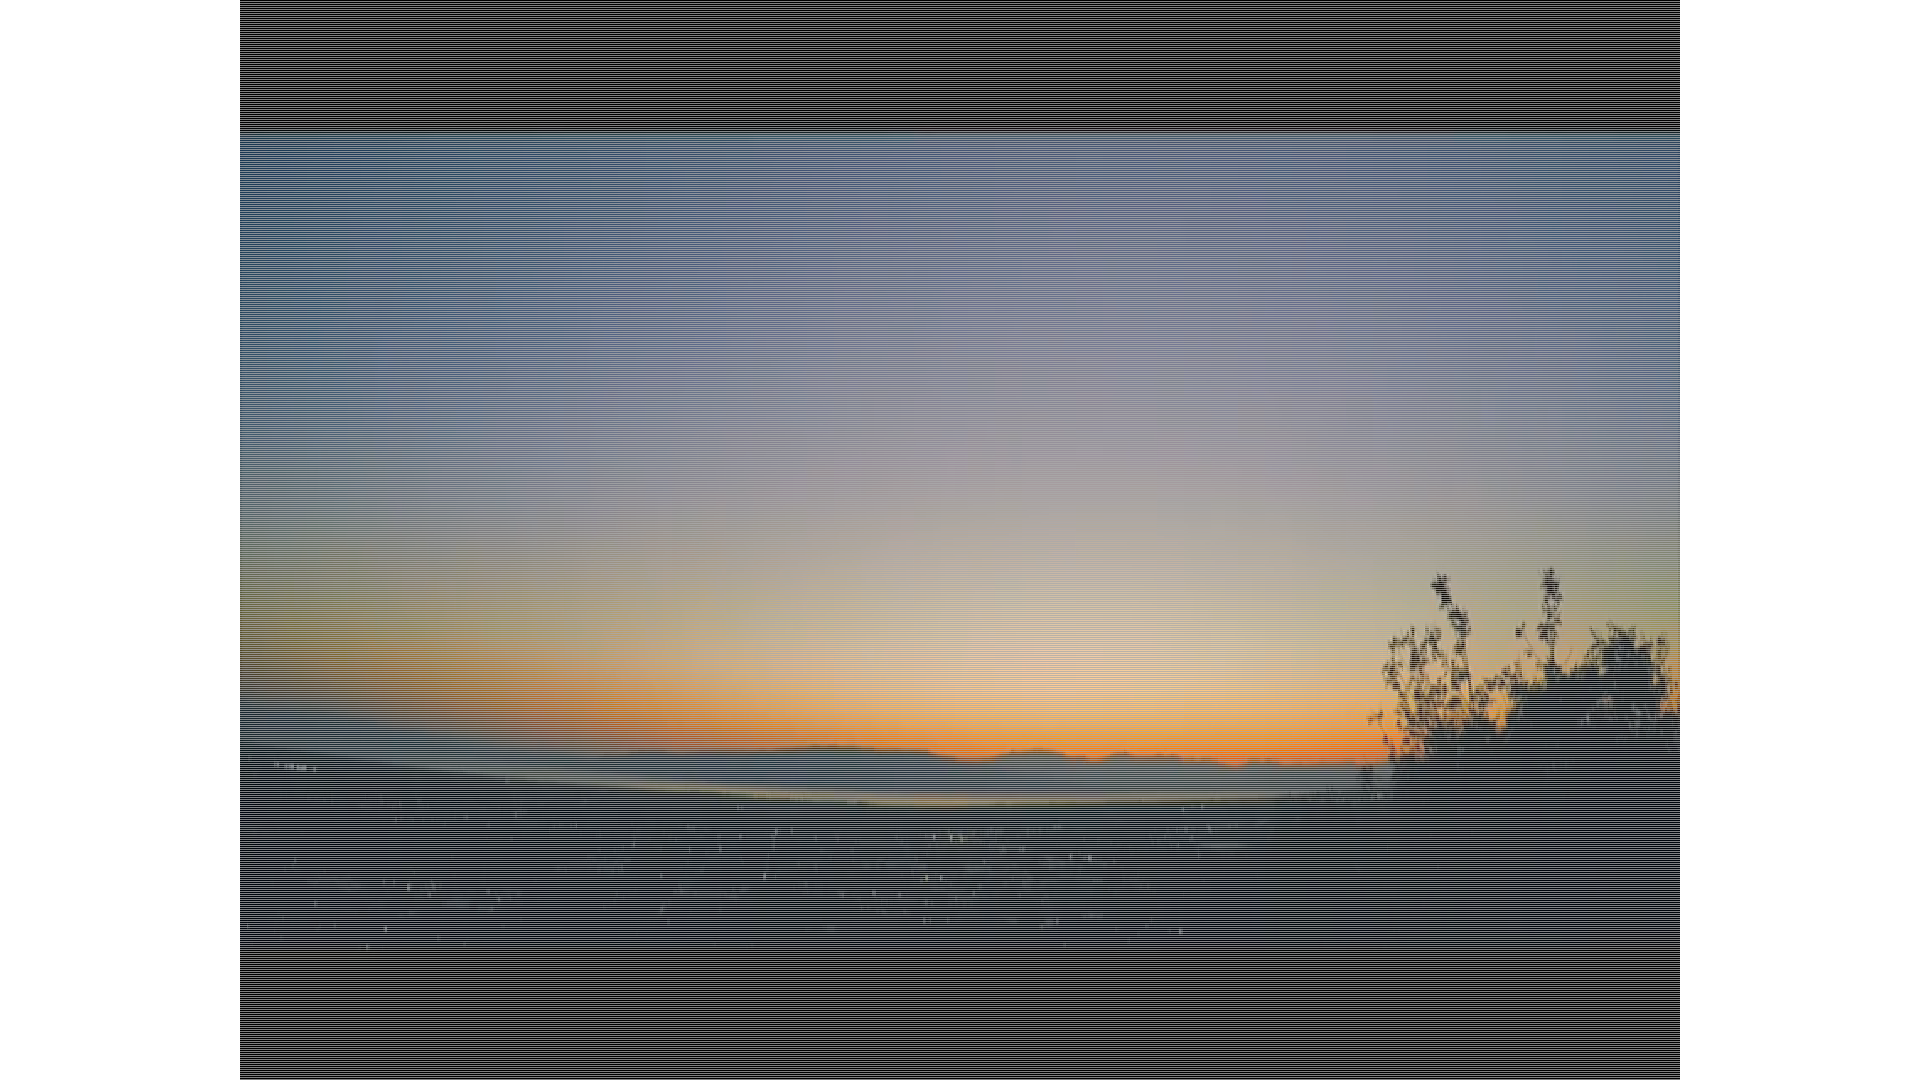
Lens correction is a good filter if you REALLY want to immerse your viewer in the VHS look by making it feel like you are actually viewing it from a CRT screen that juts out, this filter works well with Scan Lines. X Center and Y Center are used to set the origin point of the distortion. Correction At Center and Correction at Edges are just what they sound like, it is only necessary to use 1 of these, though you can use both if you really need the effect to be more extreme. Setting one of these to >50% will make the center of the screen jut out, setting them to <50% will make the edges go out.
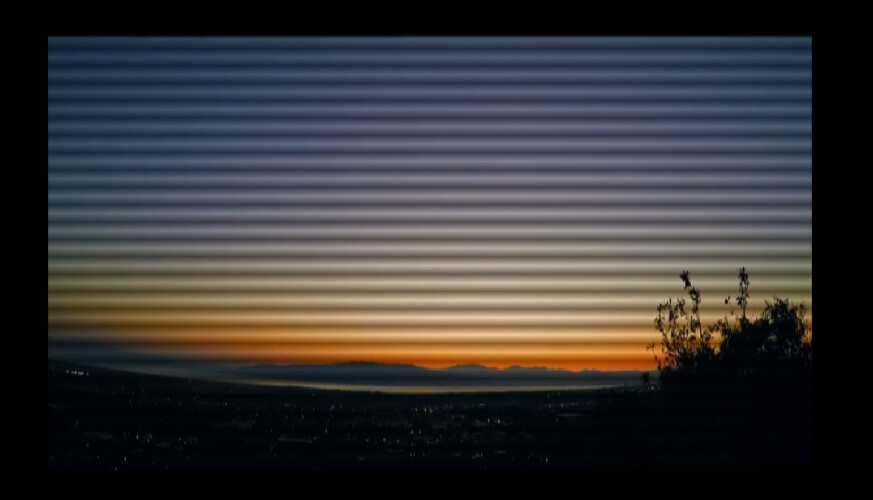
Scan Lines
There is no customization for the scan lines, but I do hope someday the scan lines get a customization in how many there are and the size of the lines. The scan lines will look weird in the preview as there are a lot of them and they are thin, they will look normal in the exported version. Works well with Lens distortion.
RGB Shift(essential)
RGB Shift is definitely one of the more important filters to have, it’s also very customizable. It defaults to both Vertical and Horizontal being at 40%, but a more realistic setting would be from 47% to 53%.
Contrast
Contrast is a filter that isn’t as important, and I think it’s only pulled off well in small amounts. I would say keep the range to 40-60.
Hue/Lightness/Saturation
I wouldn’t suggest changing the hue as the discoloration looks artificial, but i like to up the brightness a little bit and lower the saturation a little bit.
Deband
This filter is hard to explain, I’m not really sure how it works, but it is brilliant for distorting the image. The pixel range will determine what variety of colors the deband will cover. The Contrast,Blue,Red, and Alpha thresholds will determine the intensity. This filter allows for a lot of customization, tweak it to get the desired results.
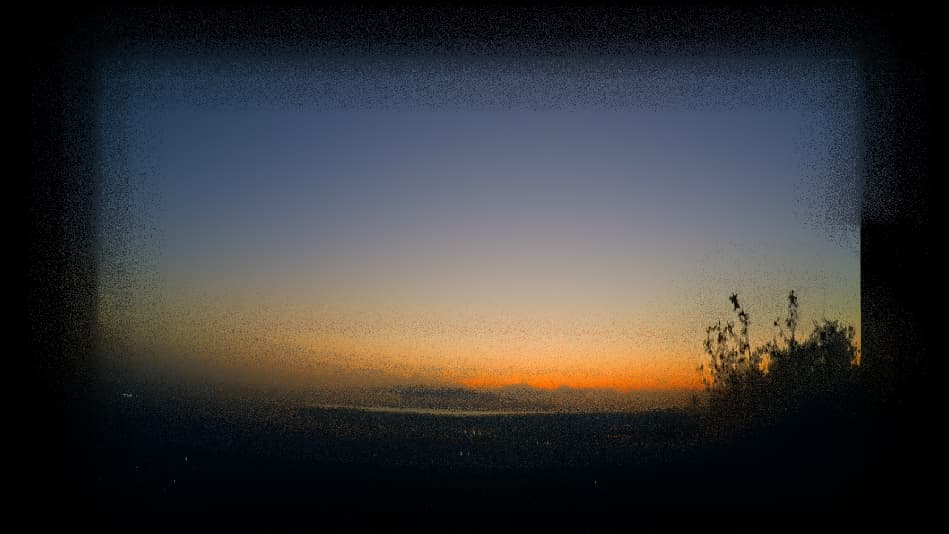
Noise: Keyframes
Personally, I think that the keyframes version of noise is a lot better, the static is its own thing and is not blended with the video colors. I usually keep it to a low value like 1-15%.
Old Film: Projector
Hell. This will not be fun to write.(No image attached as this effect can only truly be captured correctly in a video format.)
Vertical amount is the amount that the video will go up and down every interval. Vertical frequency determines the interval for the Vertical amount. Brightness up and down determine how much brighter and darker the video gets, with Brightness frequency determining the interval.
Posterize
Posterize determines how many colors there are. I recommend doing a high percentage of 90% or above.
- Exporting
Finale
Head over to the export tab. At the bottom where it has the Export File and Reset, click Advanced and then go to the Video tab.
For the Resolution, Aspect Ratio, Frame Rate, Color Range, and Scan Mode, make sure they match the Video Mode.
I choose to set my Deinterlacer and Interpolation to the fastest, but I don’t think it makes much difference.
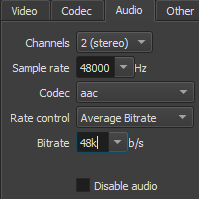
(optional) Next, head over to the Audio tab. If you would like your audio to sound more ‘Retro’ then Set the Bitrate to somewhere between 96k bps and 48k. Any lower and it’ll be barley audible and any higher it will sound the same as a normal video.
- Extras
VCR OSD Mono font is a must-have if you are going for a found footage type video, or if you want to simulate a VCR menu. You can find it at VCR OSD Mono Font | dafont.com
I would recommend nesting and text or images or things of such nature under all the vhs effects like so.
- Finished Video
Here it is, all the effects compiled into one!
VHS.mp4 - Google Drive
Amend: It appears that the scan lines do not work as well at lower resolutions, maybe stick to them only at 720p and above.
6/5/22 thread created
6/6/22 updated with Export section and video of all effects utilized.
6/14/22 apologies for pushing this back up to the front page for the 4th time now  , however i thought it would be useful to add the reasoning as to why I didn’t have any screenshot with the Old Film Projector, perhaps I’ll get around to making a gif for it later.
Alas, that is the end of this post as of now, I’ll update this with new entries as a learn more about Shotcut. I must say, this piece of software is incredible! For being free and open source, this is really good! Even the community around Shotcut is nice and friendly! Cheers!
 Did you happen to publish a video that shows the result?