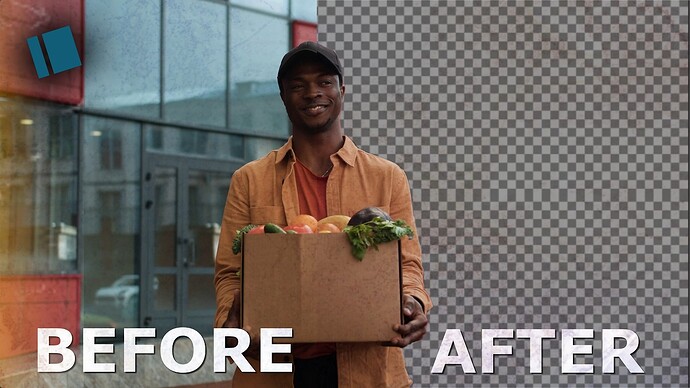
A huge thanks to @Amit for inspiring me to recreate his tutorial. In today’s video, I’ll show you how to mask automatically using Shotcut. This is a 5-minute tutorial.
A huge thanks to @Amit for inspiring me to recreate his tutorial. In today’s video, I’ll show you how to mask automatically using Shotcut. This is a 5-minute tutorial.
Amazing video but just wanted to mention few things:
You are completely free to use it anyway. I have just mentioned these things so that you know how software expects it to be used and there are no weird surprises.
Thank you so much. To take that imto consideration.
I downloaded cutie_onnx yesterday and gave it a try. Cool app!
I remember trying the background removal tool Kdenlive introduced a few months ago. Pretty painful operation if I remember correctly. You have to download and install some models or something and that didn’t go too smoothly for me.
Using cutie with Shotcut seems a lot easier.
Thanks for the tutorial.
Thanks so much @MusicalBox , Cutie actually replaces Glaxnimate for masking, but we still need Glaxnimate for other things.
How long was the video, and how long did it take to process?
Big Shout out to @Amit Thanks for bringing his to our eyes.
Great tip. Definitely worth a try
Not sure. You mentioned it may take a while, so I went to do something else, and when I came back about an hour later Cutie was done.
The clip I used was only 15 seconds long so Cutie generated 450 PNGs.
Note: On my first try I used a clip extracted from the main source video and opened that sub-clip in the Source panel.
After doing “Open with…” in Properties it’s the entire 20-minute source video (which was also in the project) that was imported in Cutie. Before I realized this, Cutie had generated about 20,000 PNGs in the images folder.
So on my next try I did this instead
Great, and thanks. I tried it on a 4 to 6 seconds video but next time I’ll definitely trim long videos as you say to avoid long processing.
You are right on that, it does Master.
Has anyone been testing use cases for this? I’m running into some issue when in fast moving objects, it doesn’t seem to create enough frames, causing a “trails” effect.
One use case I was testing was to fake shallow depth of field by blurring the background while keeping me in focus. I am seeing at times that the mask isn’t matching exactly.
I exaggerated the blur to help you spot it.
I think I’m missing instructions here. I don’t know if the generated images used for the image sequence is the final output. If you notice, the png files all have 1080p dimensions even if the source video is 4K
To be honest, I’m not sure why you’re experiencing that. I’m no master at Cutie myself. I only discovered it a few weeks ago. However, I suspect Cutie downscales PNGs to FHD (1080p) to speed up its processing.
Here is what I would advise you to try next time:
Downscale your video (or just the specific part you want to mask) using Shotcut before importing it to Cutie.
Import the downscaled clip into Cutie for masking. Once you’ve finished the masks, bring them back into Shotcut. Fix everything to align, then export the file as a .MOV to preserve the transparency (Export it to 4K instead to FHD).
I know you might be worried about blurriness. You can use Freepik to upscale those 10-second segments. Since the process is quite slow, I don’t recommend masking a full 3-minute video all at once; it’s better to cut it into smaller pieces. Once your 10-second FHD clip is well-masked, use Freepik to upscale it to a clear 4K resolution.
You can follow a similar process for images by upscaling them using GIMP, Affinity, or PhotoDemon.
I haven’t tested this fully, but I believe this workaround should work. I’ll try downloading a 4K clip myself to see if I encounter the same issue and find a definitive fix.
The software automatically downscales the resolution to save bandwidth. Unfortunately, it creates an odd look when you put a 1080p video on top of a 4K one.
The solution is to find this file and open it in notepad: cutie/config/gui_config.yaml
You will see these 2 lines:
max_internal_size: 480
max_overall_size: 1080
Switch both of them to “-1”
The result should say
max_internal_size: -1
max_overall_size: -1
Close then open again. The images rendered should now match the size of the original file.
Thanks, Just did that and worked well on a 6K video too.