I am struggling to figure out how to edit the default text and write my own instead. Which panel or filter do I need to use to change the text content? Thanks for your help!
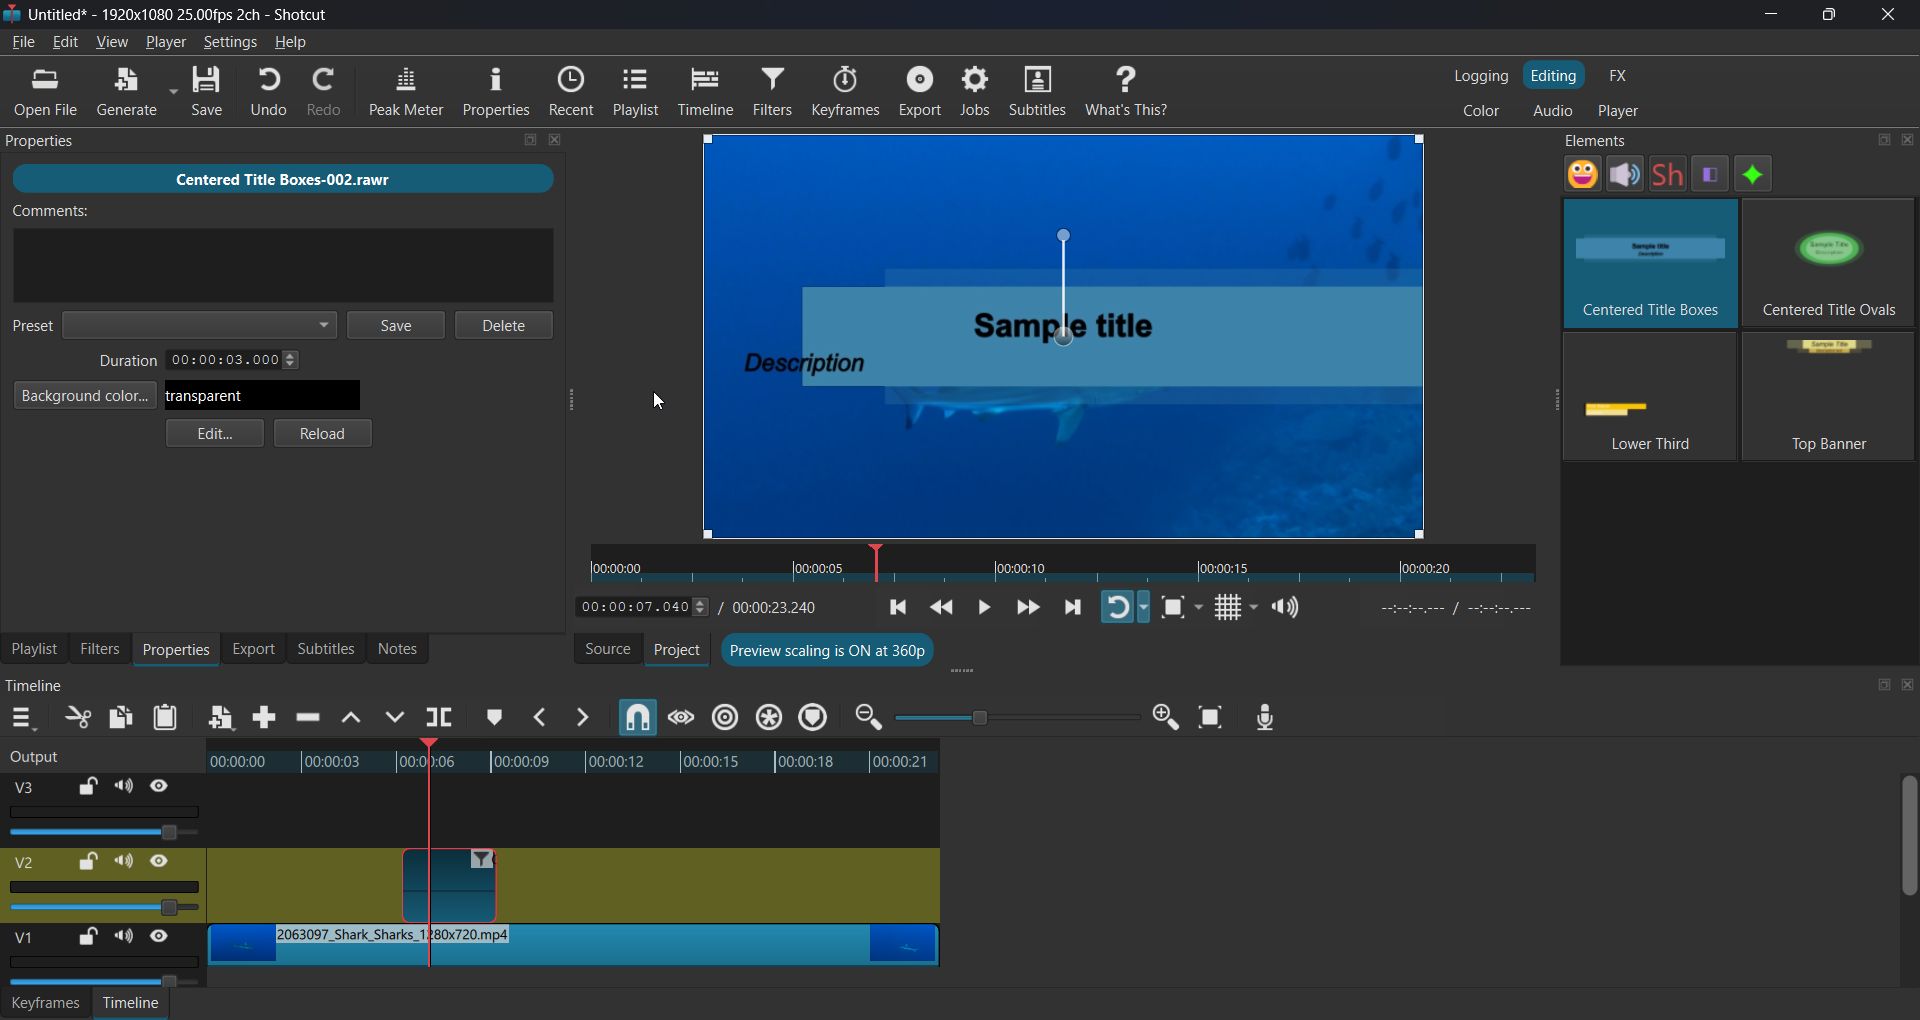
I think it’s with Glaxnimate, but you need to find where is the folders of those “Elements”.
Also on Linux there a strange behavior: Like you I tried this “Elements” but when I wanted to Edit in shotcut. it asked me where is Glaxnimate, I pointed it to my Appimage, and it never opened it, nor asking questions anymore… so I cannot Edit them in shotcut (I’m not speaking about the raw template, just that Element in shotcut)
Is there a documentation which show us how to do it? @Patrice
Not sure, I’ll check, but I found some path if you’re interested, to edit those glaxnimate.
You should copy them to your own user’s “Elements”, because those can be rewritten with an update, thus losing all your edits 
First all Linux things, then Mac, then Windows
(scroll at the bottom if you’re on Windows)
Linux The Permanent Solution for Custom Files
No matter how you installed Shotcut (AppImage, Flatpak, Snap, Aur, Deb, Whatnot, Whatever), the absolute safest place to put your own custom templates so Shotcut reads them without breaking during updates is your local home folder:
~/.local/share/Meltytech/Shotcut/elements/
(If the final elements directory isn’t there, just create it manually and copy your custom .rawr or Lottie animations right into it).
Now if you insist about getting the original templates
Linux AppImage (tested)
/tmp/.mount_shotcuvWK7Kh/usr/bin/share/shotcut/elements/
careful to the spelling >>>
/tmp/.mount_shotcuXXXXXX/usr/bin/share/shotcut/elements/
there is NO “t” at .mount_shotcu…
Wich also means each time you open shotcut it’s a different path…
Because AppImages are strictly read-only, you cannot modify or add templates to the paths above. If you want to grab the stock .rawr or Lottie files to use them as a starting point, you have to extract the AppImage:
Open a terminal in the folder where your Shotcut AppImage is saved.
Run the extraction command:
./shotcut-linux-x86_64-XXXXXX.AppImage --appimage-extract
This creates a new folder named squashfs-root. You will find the permanent stock elements inside:
squashfs-root/usr/bin/share/shotcut/elements/
Linux Portable Tar Archive (.txz ) Tested
If you downloaded the official portable folder from Shotcut’s site, the elements are contained entirely within that self-contained folder:
/Path/To/Your/Extracted/Shotcut/Shotcut.app/share/shotcut/elements/
Linux Flatpak
Note:
From here and below, all paths can be wrong, I don’t use windows, mac, nor install via flatpak, snaps etc… Thus I cannot check if there is an error in the path.
System-wide install (Default):
/var/lib/flatpak/app/org.shotcut.Shotcut/current/active/files/bin/share/shotcut/elements/
User-only install:
~/.local/share/flatpak/app/org.shotcut.Shotcut/current/active/files/bin/share/shotcut/elements/
Linux snap
/snap/shotcut/current/bin/share/shotcut/elements/
(Note: Snap paths are strictly read-only, so you will only be able to view or copy files out of here).
Linux .deb/native
/usr/bin/share/shotcut/elements/
Alternatively, depending on how your specific distribution maintains the package structure, it may map to
/usr/share/shotcut/elements/.
MachOS
/Applications/Shotcut.app/Contents/Resources/shotcut/share/shotcut/elements/
Just like on Linux: For Custom Templates
If you want to inject your own custom templates without touching the locked installation directories, use the local user profile app-data folder:
macOS: ~/Library/Application Support/Meltytech/Shotcut/elements/
Windows
C:\Program Files\Shotcut\share\shotcut\elements\
If you are using the Portable ZIP version, it will be inside your extracted directory at …
\Shotcut\share\shotcut\elements\
Just like on Linux: For Custom Templates
If you want to inject your own custom templates without touching the locked installation directories, use the local user profile app-data folder:
Windows: %LOCALAPPDATA%\Meltytech\Shotcut\elements\
Equivalent to:
C:\Users\<YourUsername>\AppData\Local\Meltytech\Shotcut\elements\
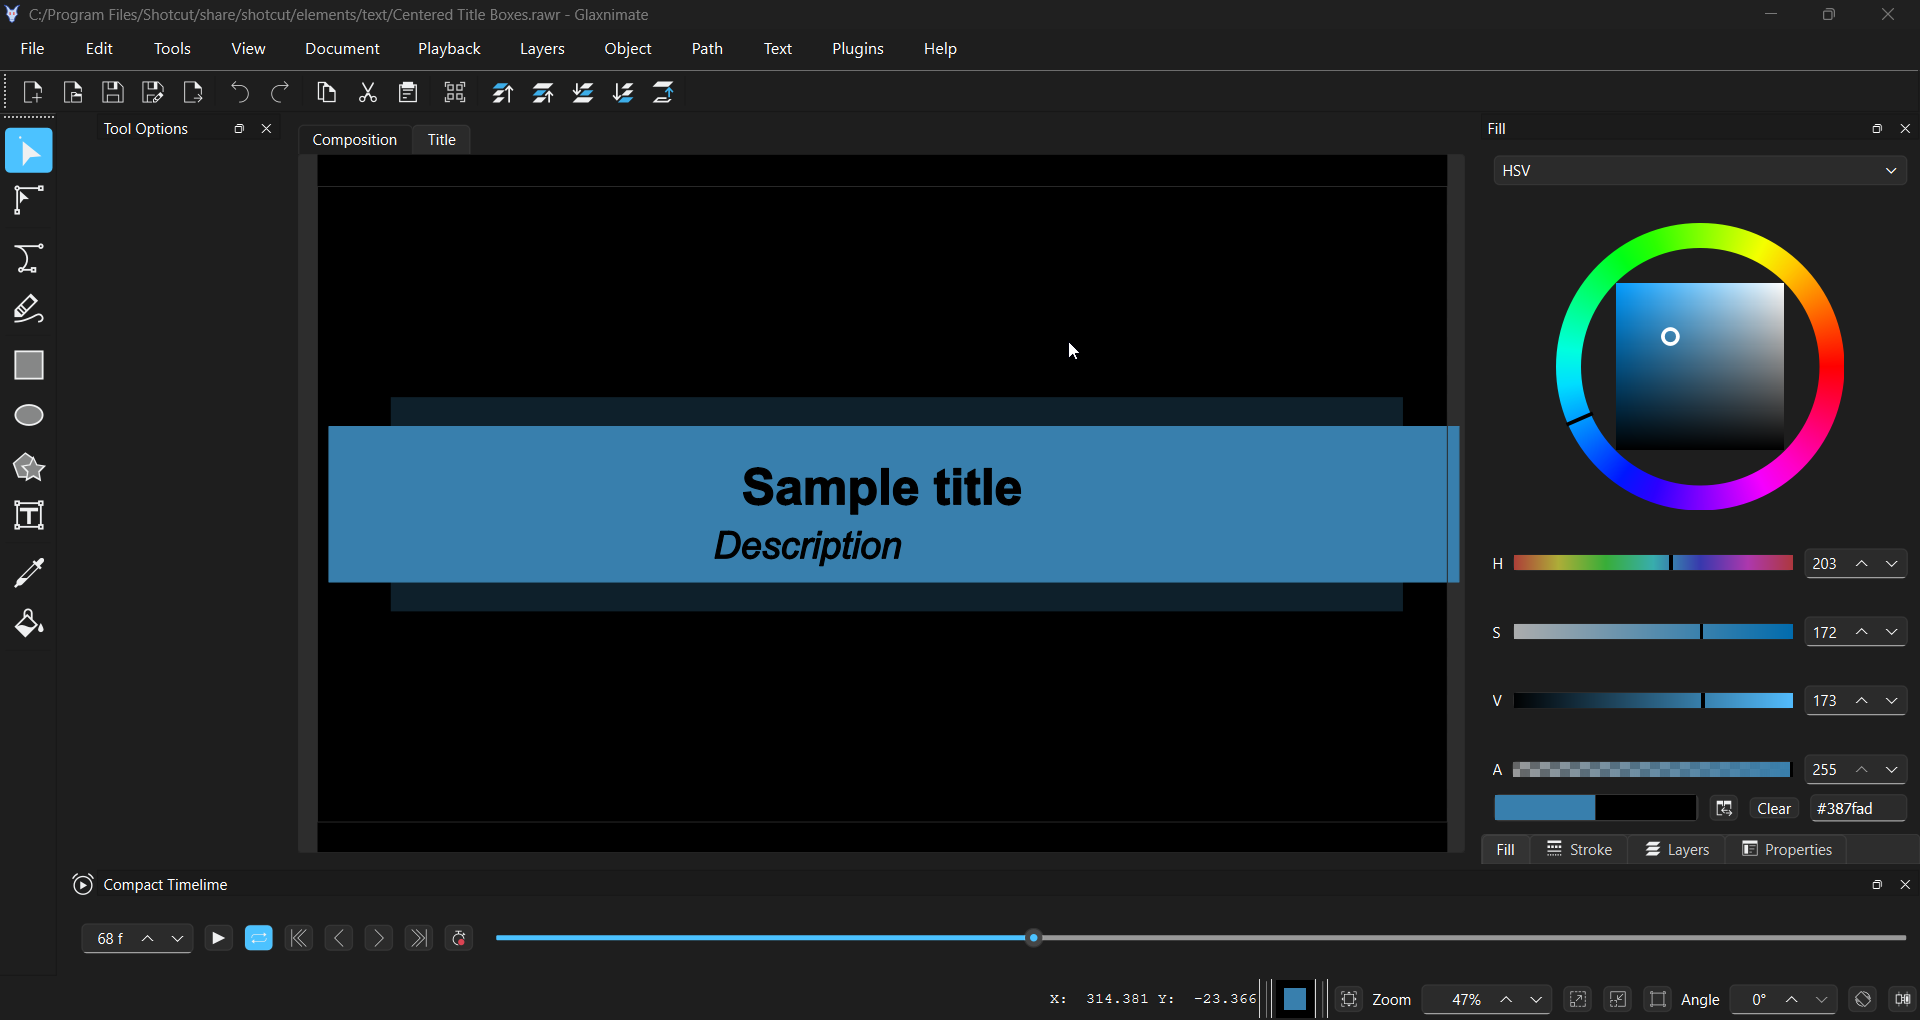
@TLR_Pictures If you only want to edit the text (and text color):
Note that if the replacement texts aren’t the same length as the original, they won’t align the same as in the original animation. You might want to edit the position values on some of the keyframes.
Also, if you want to edit the length of the animation (extend the duration of the pause for example), that will require a lot more work: Keyframes positions will need to be edited on all the layers in the timeline.
If I had more time, I would have include that part in the video above. If you want, I’ll make another video. But I can’t say when. May take a couple of days.
Thank you so much, @Patrice and @MusicalBox!
This helped me a lot. Also, MusicalBox, I found another workaround when you want to make it longer, which is kind of tedious but fun. Thanks! This video helped me a lot. I think you should add it to the documentation in the Elements section. Thank you so much!
In Glaxnimate you can hold the Ctrl key to select multiple keyframes and move them all together.
That makes it relatively fast and easy to edit steps of the animation (like the middle pause or the speed at which objects move in and out of the screen.
In that example, I only had one object, but you can select multiple keyframes on multiple tracks.
Glad it was helpful.
We can’t add videos in the Documentation though since they would be useless in the PDF version.
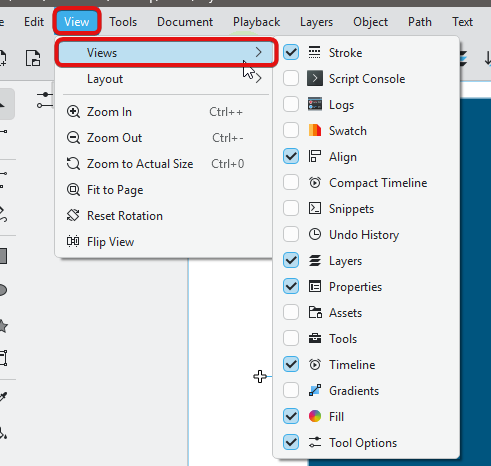
How did you make the timeline appear again? @MusicalBox
On your screen capture you only have the Compact timeline enabled.
Right-click > check Timeline
Right-click again > uncheck Compact timeline
That works but not obvious. Like Shotcut, VIew in the main menu shows all of the available panels (Views).