In version 26.6 now you can install a custom filter UI into the App Data Directory extensions/filters/<your-filter>. You need to follow the example and structure of one of the installed filters, but here is a zip archive that shows how to use this feature as a way to run a general script. The zip contains extensions/filters/hello-world so extract it to the top of Shotcut’s app data directory.
extensions_filters_hello-world.zip (1.1 KB)
What does it do?
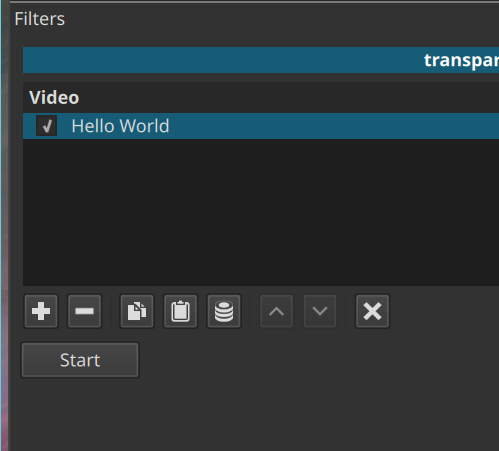

Just what you expect ![]()
import QtQuick
import QtQuick.Controls
import QtQuick.Dialogs
import QtQuick.Layouts
import Shotcut.Controls as Shotcut

Item {
    function main(argument) {
        status.text = "Hello World ";
    }

    width: 350
    height: 50

    ColumnLayout {
        anchors.fill: parent
        anchors.margins: 8

        Shotcut.Button {
            id: button

            Layout.columnSpan: 2
            text: 'Start'
            onClicked: main()
        }

        Label {
            id: status
        }

        Item {
            Layout.fillHeight: true
        }
    }
}
P.S. not all of those imports are used, but they give you some common things you can look up how to use.
What could it do? Well, not only what all of the existing filter UIs do, but also Timeline and Keyframes panels are written with the Shotcut QML Scripting API. Now, to fully understand and expand this you need to understand QML script, which is based on JavaScript. Gemini wrote, “The simplest way to describe QML is that it looks like JSON but acts like HTML and JavaScript had a baby.” ![]() I concur. Keep this in mind: the non-JavaScript parts (i.e.
I concur. Keep this in mind: the non-JavaScript parts (i.e. Object { … }) map primarily to compiled C++ objects inside the application and its libraries. Not everything, but only what is made available. Then, property values can be JavaScript expressions. In the above, onClicked’s value is a JavaScript expression that calls a JavaScript function defined at the top. It is also possible to write a file with only JavaScript, import it, and invoke functions defined within it. And lastly, the QML object syntax does not only map strictly to C++ objects: You can define your own object with a QML file and include it another QML.