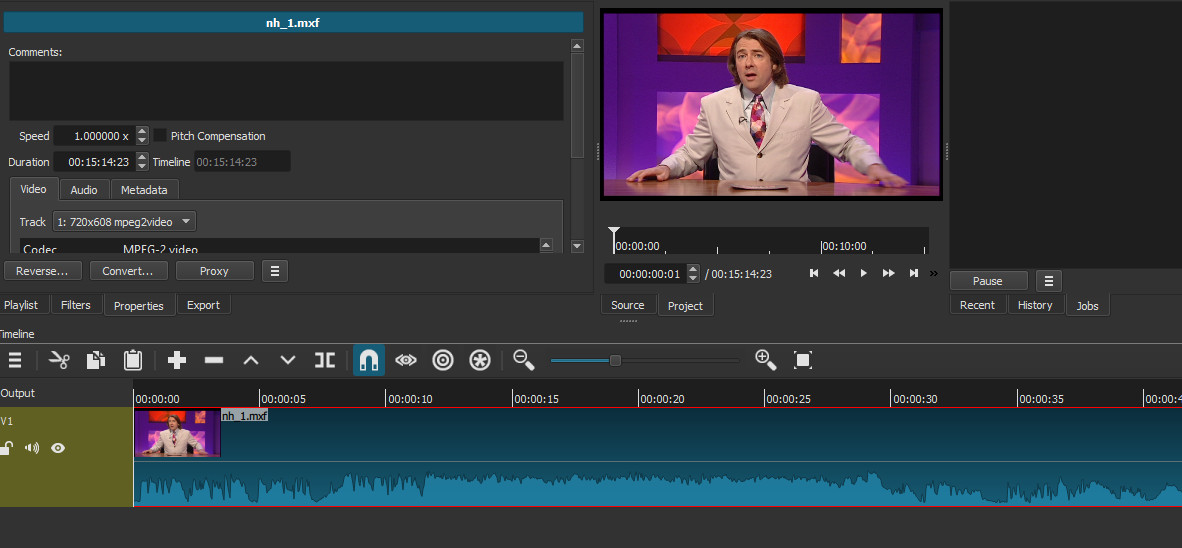
I have a bunch of 720x608 (720x576 active picture area) MXF files, originally produced in a broadcast setting where “an extra 32 VBI lines” were required.
How could I go about losing this extra space (which presents as a black bar at the top of the video) so that I am left with 720x576 video that fills the screen.
I have tried the crop source filter and removing x32 from the top but it just shifts the video up and I then end up with x16 top and bottom. I don’t really want to distort the video or lose any of it by zooming in.
I am converting these to h264 .mp4 files to save space on my hard drive if that helps.
Votre solution devrait fonctionner, mais il faut que votre projet au départ soit réglé sur 720 x 576 Au départ, si aucune valeur n’est définie pour le projet, il prend la taille de la première vidéo qu’on lui transmet. Avez-vous réglé la taille sur 720 x 576 avant d’importer votre vidéo ?
Your solution should work, but your project must initially be set to 720 x 576
Initially, if no value is set for the project, it takes the size of the first video sent to it.
Did you set the size to 720 x 576 before importing your video?
I have created my own video mode with the dimensions 720x576 and made sure that this is set before opening the video. This then says 720x576 in the export settings by default, but I still have the black bar and when I apply the crop source filter x32 top I am still getting the video simply moving up and the x32 black bar being split into x16 top and bottom. I’m sure there’s an easy solution that I am missing to this.
Any time I seem to apply the filter it just seems to move the video up a bit and create a new black bar at the bottom as well, so I end up with two black bars of x16 rather than eliminating the x32 top bar which was my original aim. The video size is 720x576 but the way these mxf files have been produced is with an extra x32 at the top. I’m sure I’m missing something but I don’t know what.
I see that @Namna developed the issue while I was doing my explanation. Anyway, I publish my advice as well.
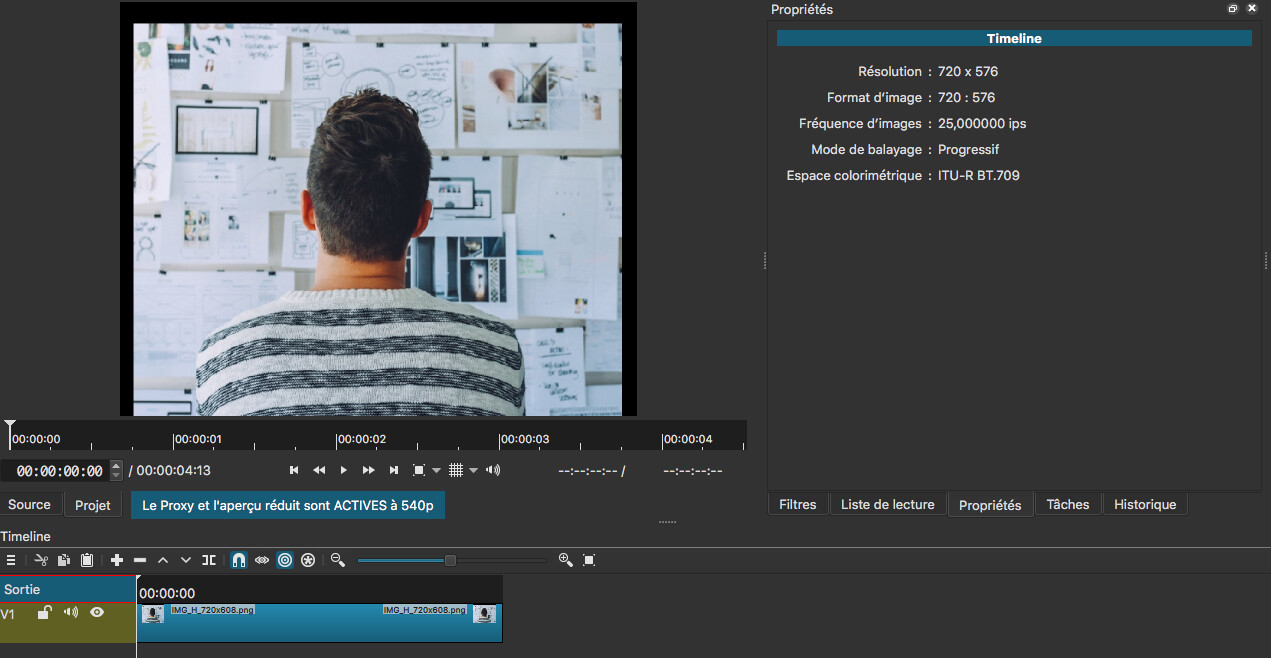
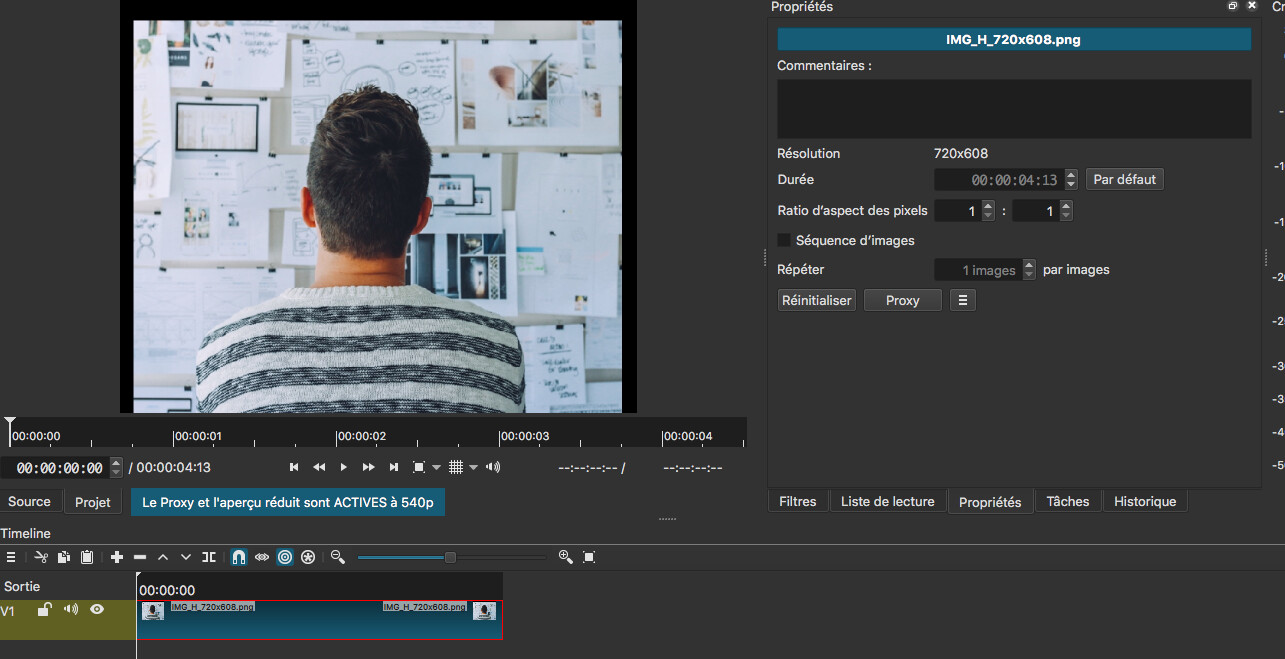
I prepared a 720x608 image where the active zone is 720x576 (note the black bands at the top and bottom)
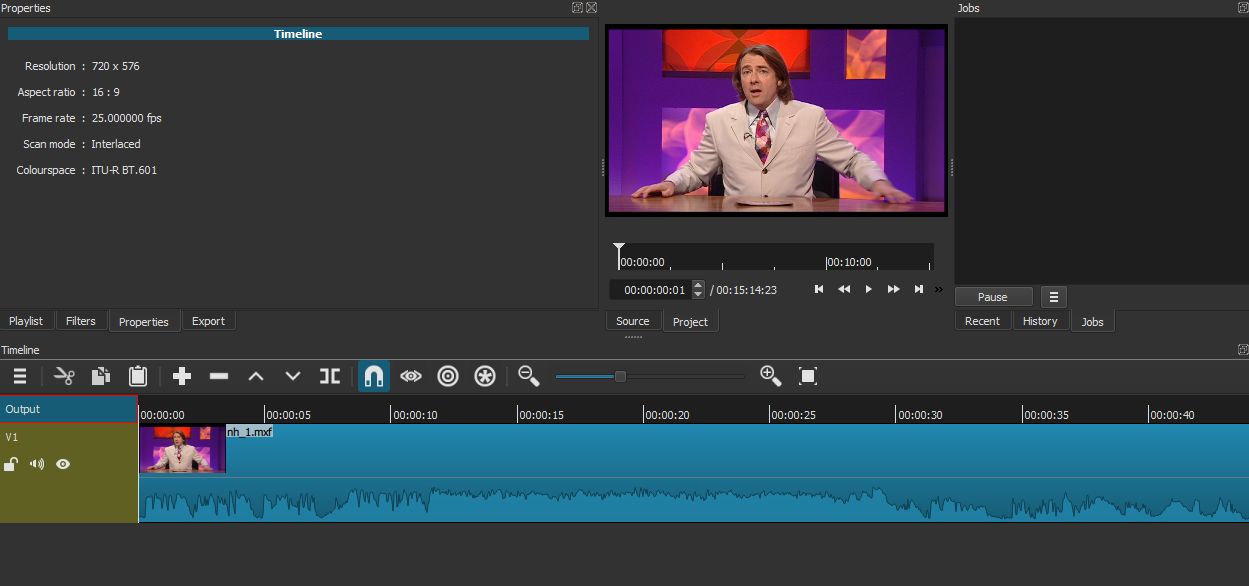
I create a project in Shotcut SD PAL (720x576 25 FPS).
I import the image and the Shotcut viewer automatically adjusts to the height resolution (resulting in black areas on the sides of the image)
I add a V1 track (with red background) to better show the process.
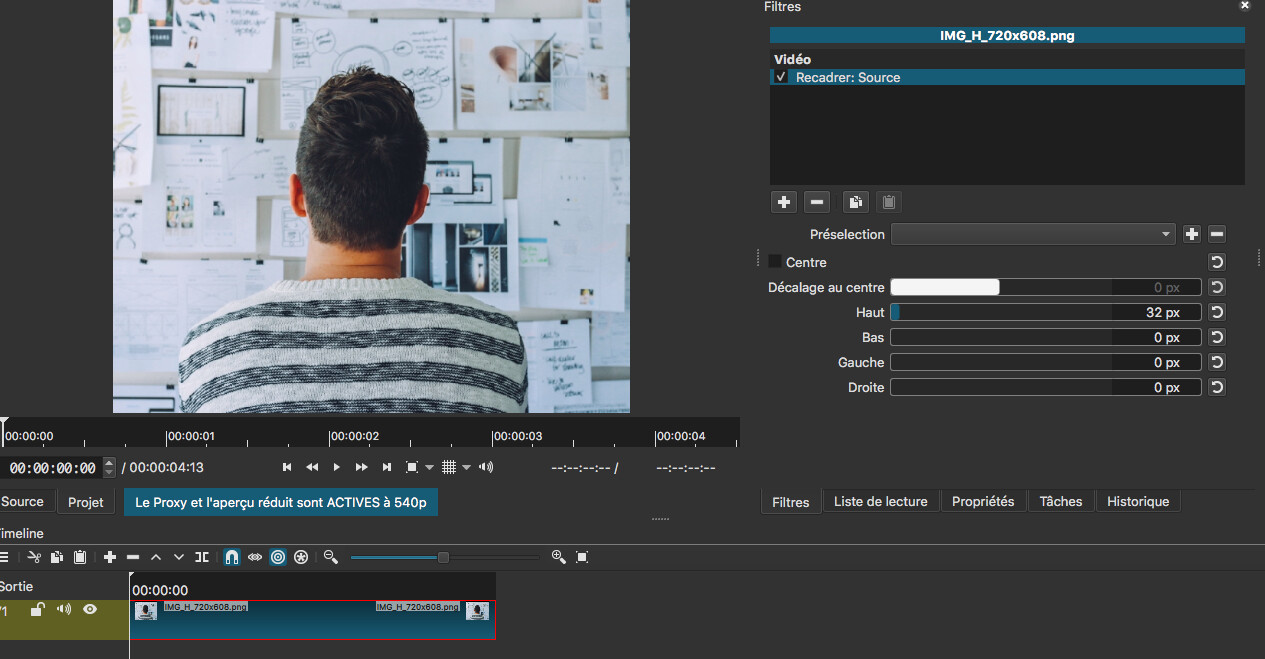
I apply in the track that we are interested in cutting (V2) the Crop Source filter.
In the filter properties I select Center (assuming that both black bands have the same value in pixels).
Wow, I made the explanation for bands up and down. For only band up, choose in the Crop Source filter the adjustment 32 in the value above. To check if any additional bar appears you can use the trick to include an additional track below with a bright color and you can check in the Shotcut preview window.
Pour avoir ce ratio de 16:9, votre image d’origine possède des pixels rectangulaires. Vous devez donc choisir un autre format de projet que 720x576. Essayez par exemple 1024x576
To have this ratio of 16:9, your original image has rectangular pixels.
You must therefore choose a project format other than 720x576.
Try for example 1024x576
En théorie chaque encodage fait perdre en qualité. En pratique cela dépend de votre œil et du matériel sur lequel vous aller regarder votre film. A vous de choisir un format de sortie qui vous convienne. Shotcut en dispose de beaucoup. Faites des essais, personnellement j’aime bien le DNxHD @Austin saura mieux vous conseiller que moi sur ce sujet.
In theory, each encoding causes a loss in quality. In practice it depends on your view and the material on which you are going to watch your movie. It’s up to you to choose an output format that suits you. Shotcut has many of them.
Give it a try, I personally like DNxHD. @Austin will know how to advise you on this subject better than I do.
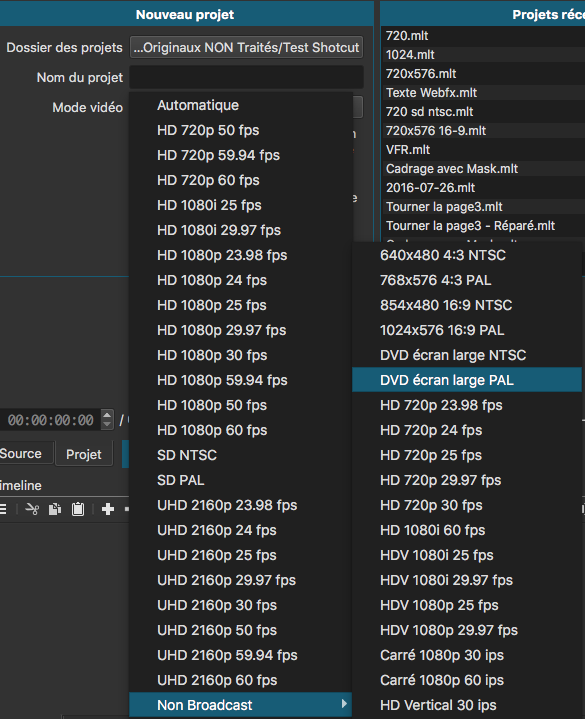
Nearly all SD video 4:3 or 16:9 has non-rectangular pixels. Shotcut has the video mode “DVD Widescreen PAL” that matches his timeline properties.
It looks like there is something going on to cause an aspect ratio issue when 32 pixels are remove from the top. It is not as simple as 16 are taken from the top and 16 from the bottom even though it may look that way. Because it appears that black columns are added to the left and right. This is probably a defect in the crop filter and how its output feeds into the automatic scaling and padding. You might be able to work around this by cropping on some other edges.
However, from the Media Info, I can see 2 other reasons you might want to convert this as Namna suggests. Shotcut does not have a field-aware scaler, so if you change the vertical resolution as you are doing, it invokes a deinterlacer. Secondly, this MPEG-2 Video is encoded with an open GOP, which is not reliable for editing if you plan to do that.
Am I allowed to provide a download link for someone more knowledgeable to see what can be done with the video type (they’re all pretty much the same)? And is there a size limit on the file someone would be willing to download to run tests?
Fingers crossed that you - or someone else, I appreciate everyone’s time - can come up with a solution for me.
Also, if you do find a solution, would you need a 4:3 file as well (that one is 16:9) to see if that differs in behaviour (they’re pretty much the same except the active video is square with 4:3 files), the 4:3 files have the bigger black top bar too.
I could actually live with what cropping 32x off the top is doing (moving everything central and creating a bottom black bar) for general playback, it’s more when I add the mp4s to google drive as back up storage and then play them back on my smart device, Google Drive has a small video playback window (when it won’t fully process videos, which happens often) so if a video has black bars as well, it makes the video look tiny.
Thank you so much for providing a sample file. We never would have solved this without it.
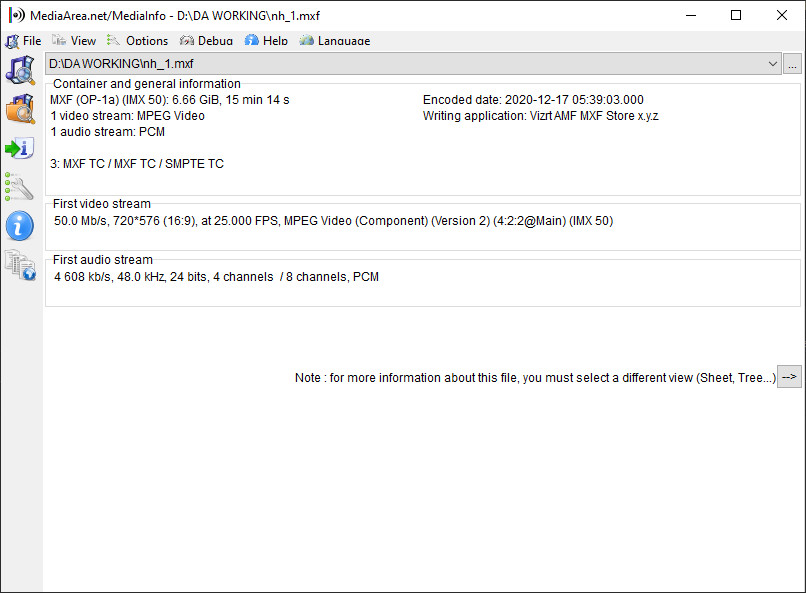
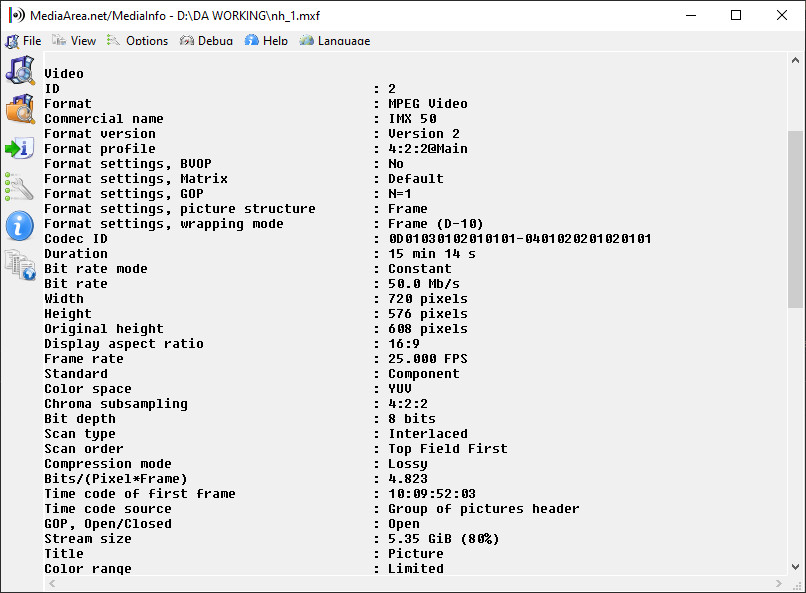
TL;DR: Shotcut is working as expected. The problem is that these MXF files are not the direct output of a broadcast program. Somebody has first transcoded them with Vizrt and used some unconventional settings. (Vizrt is in the metadata.) Here are the problems:
The video has PAL dimensions, but is using BT.709 colorspace which didn’t come into practice until HD resolutions. This is the first glaring clue we aren’t dealing with the original broadcast file. It should be in BT.601.
The interlacing field order in the MXF is top field first. Again, this is an HD thing. SD PAL should be bottom field first.
The top 32 lines of the MXF file are pure black, meaning RGB 0,0,0 (or Y 16). This level of color purity is unlikely in an analog signal. This was clearly black padding added by Vizrt. This begs the obvious question… if Vizrt is smart enough to recognize when carrier timing is in the vertical blanking interval (VBI) and pad that time with a pure black bar, why wasn’t Vizrt configured to eliminate the VBI completely? There is zero image data in the VBI to begin with, so why was this archaic timing preserved when nothing else archaic like BT.601 and interlacing field order was preserved?
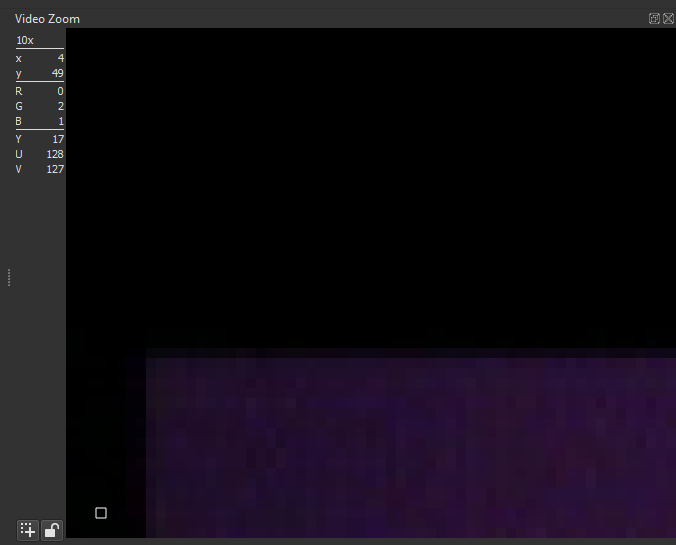
The black bars on the left and right sides of the video are actually part of the video itself. Using the Video Zoom scope in Shotcut, we can see the color values of pixels in the left and right black bars, and we see actual low-intensity noise in those bars from an analog signal, meaning it is not digital padding added by Shotcut. Digital padding is pure RGB 0,0,0 (or Y 16 if you prefer).
Here’s the biggest problem… the pixel aspect ratio embedded in the MXF file is 608:405. Shotcut correctly interprets this information, but doesn’t show this ratio to the user. It takes ffprobe or something similar to dig it out of the file. Unfortunately, PAL widescreen format is supposed to have a pixel aspect ratio of 64:45. This mismatch is why we get a squished image when trying to crop or resize. Whoever transcoded the file built the pixel aspect ratio on the incorrect 608 height instead of proper PAL specifications.
So here’s how we go about fixing it:
Create a new project using the DVD Widescreen PAL video mode preset (Settings menu > Video Mode > Non-Broadcast > DVD Widescreen PAL).
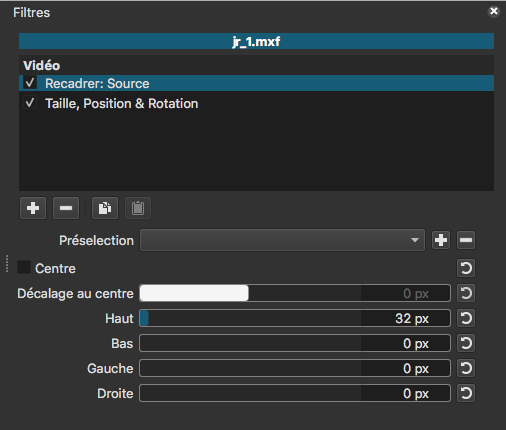
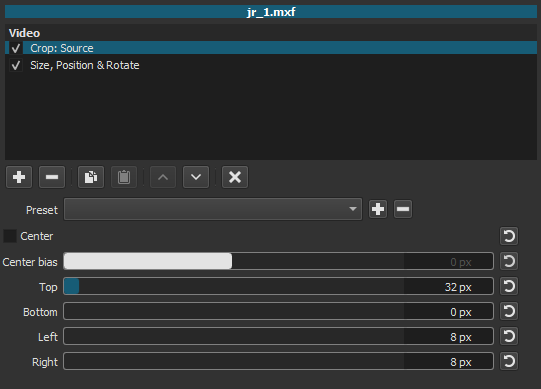
Bring in the video clip. Add the Crop: Source filter to remove 32 pixels from the top as before, but then also remove 8 pixels from the left and right sides to get rid of the black bars embedded in the video file. I used the Video Zoom scope to determine the side bars were 8 pixels wide.
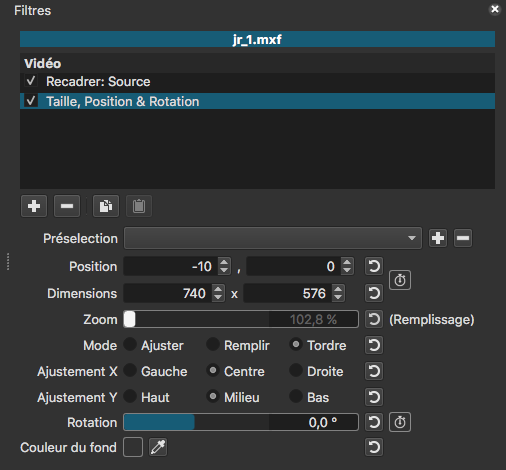
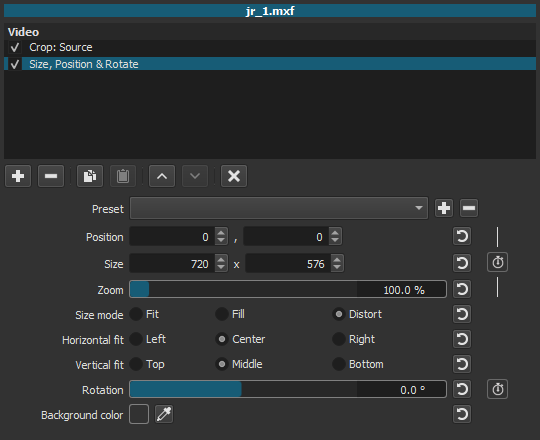
At this point, we have isolated the active image area of the video, which is good. But it is squished and not filing the entire screen because the embedded pixel aspect ratio is not correct. We have to compensate for this with the Size, Position, and Rotate filter. Basically, we stretch the active image out to the full 720x576 canvas using distort mode, which allows a non-uniform stretch to overcome the wrong PAR embedded in the file.
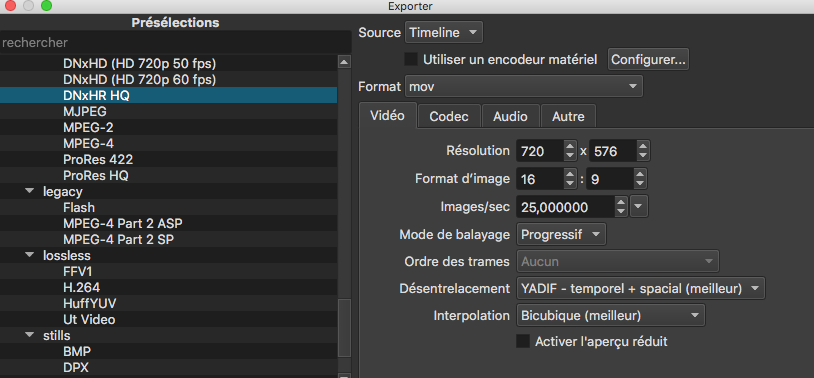
Export with H.264 as you did before. Voila, done.
@Namna’s method works equally well. I went a different route because if the black bars that are baked into the MXF file happen to change size from video to video, then using Crop: Source with the Video Zoom scope is much easier to recalibrate the crop values. Plus, the crop values are all in one filter, rather than sharing half the crop work (for the left/right bars) with the SPR filter. Here, the SPR filter is always the same regardless of the size of the black bars in the source.
Screenshots of the filters I used are below, along with a Video Zoom scope showing noise (actual signal, not padding) in the black bar on the left edge. The scope can be found on the View menu > Scopes > Video Zoom.
Note below how RGB is not zero, and Y is not 16, meaning actual signal is in the left-side bar, meaning this is not padding added by Shotcut: