Buenas tardes,
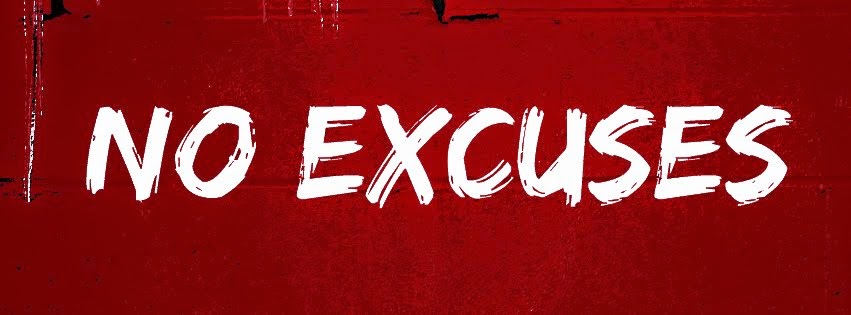
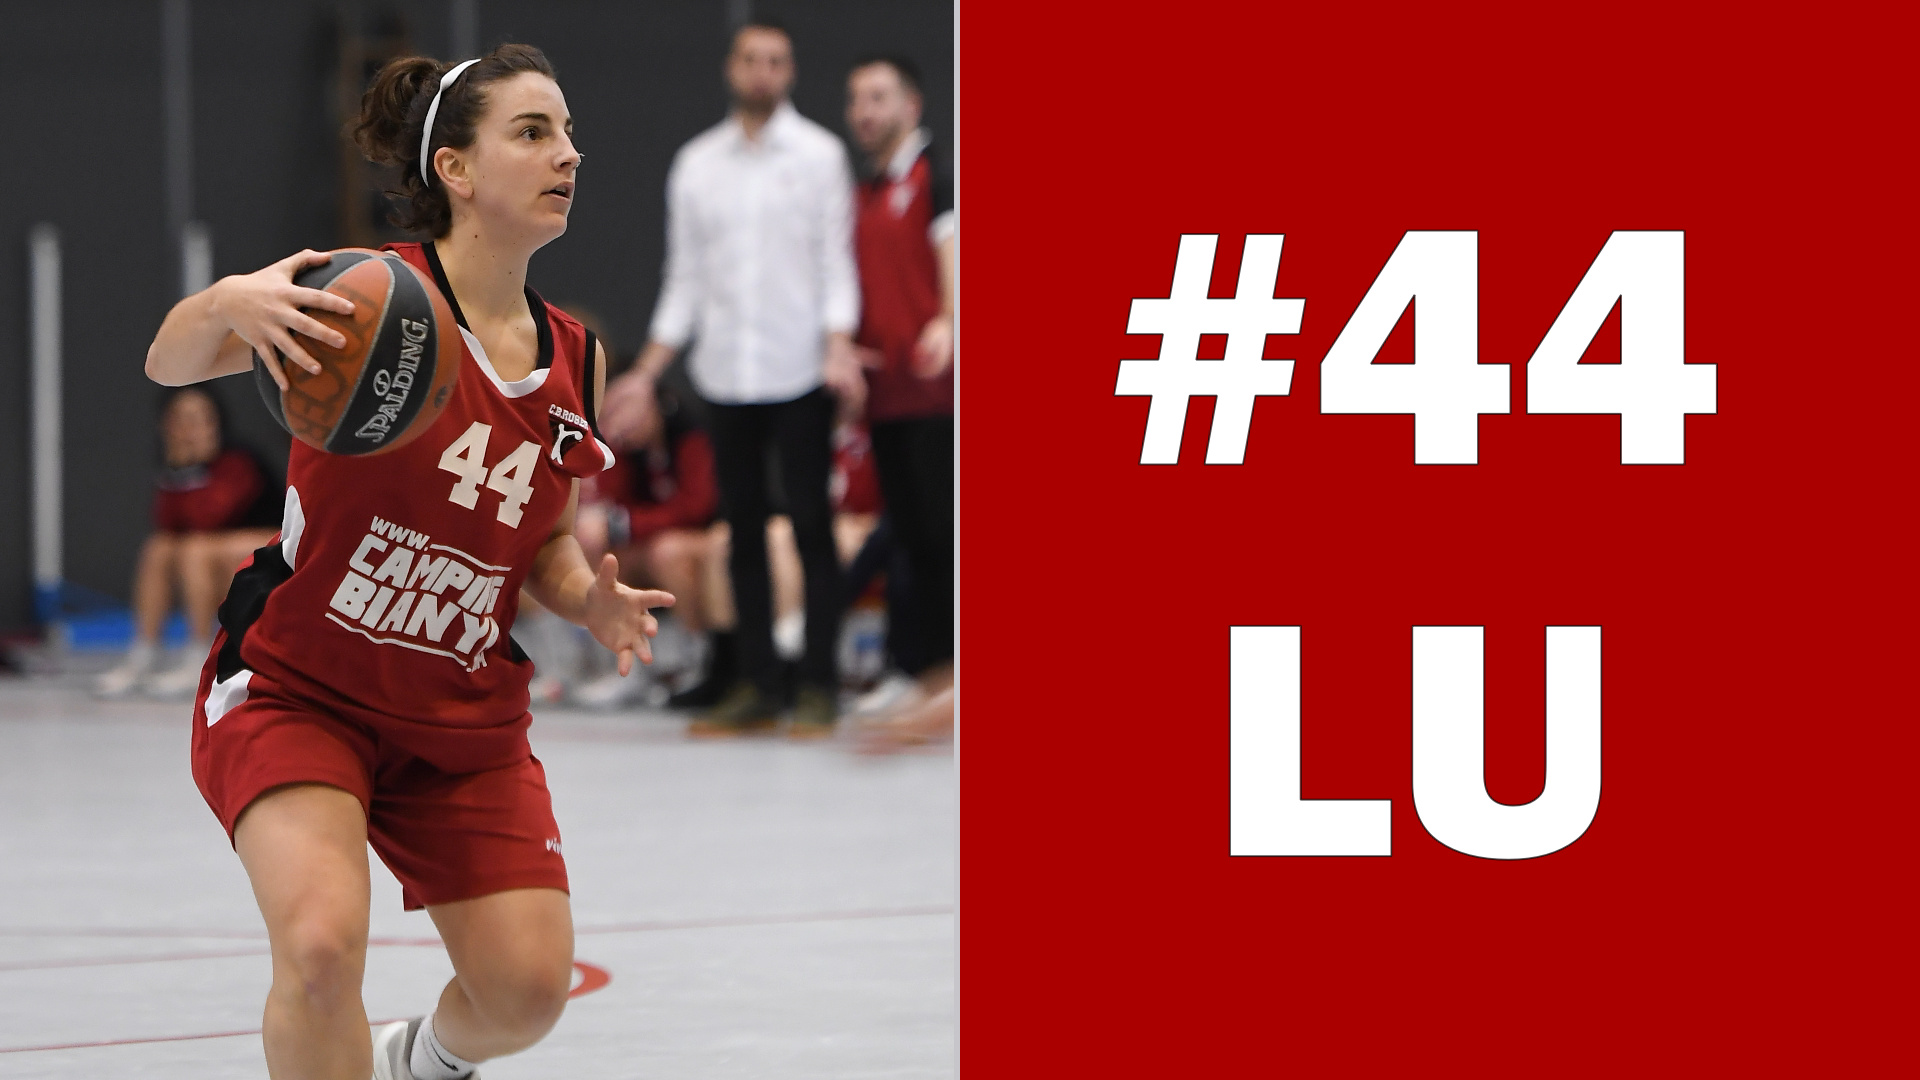
Estoy intentando crear un fondo con una apariencia (ejemplo foto1) para la imagen (foto 2), pero no se como hacerlo.
¿Alguien tiene alguna idea?
Muchas gracias
Anie
Buenas tardes,
Estoy intentando crear un fondo con una apariencia (ejemplo foto1) para la imagen (foto 2), pero no se como hacerlo.
¿Alguien tiene alguna idea?
Muchas gracias
Anie
Hola:
No entiendo la pregunta.
¿quieres incrustar de alguna forma la foto 2 en un fondo como el de la imagen 1 pero sin las letras o quieres que la parte derecha de la foto 2 (rojo) tenga la textura como la de la foto 1?
Para crear un fondo para un proyecto 1920 x 1080 (16:9) necesitarías modificar algo la relación de aspecto de la foto 1
Una forma rápida sin utilizar un editor de fotos es la siguiente:
Ajustar el tamaño de la imagen a la pantalla de tu projecto con el filtro tamaño y posición.
Hacer una copia del clip de imagen (puedes ajustar también la imagen de la pista 2 para que ocupe la pantalla completa de tu proyecto.
Luego desplazar la imagen de la pista 2 para que el fondo rojo quede debajo de las letras blancas ( si deseas eliminar las letras). Para ello haremos uso del filtro opacidad temporalmente, que nos permitirá colocar la imagen de la pista 2 en un lugar donde debajo de las letras blancas de la pista 1, solo haya rojo.
Deshabilitamos el filtro opacidad.
Añadimos el filtro de clave de color (básico o avanzado) y con el cuentagotas tratamos de seleccionar el color blanco que se hará transparente y entonces a la vista tendremos el color rojo de la pista 2
Hello:
I don’t understand the question.
Do you want to embed photo 2 somehow in a background like that of photo 1 but without the letters or do you want the right side of photo 2 (red) to have the texture like that of photo 1?
To create a background for a 1920 x 1080 (16:9) project you would need to modify the aspect ratio of photo 1 somewhat
A quick way without using a photo editor is as follows:
Adjust the image size to your project’s screen with the size and position filter.
Make a copy of the image clip (you can also adjust the image of track 2 to take up the entire screen of your project.
Then move the image of track 2 so that the red background is below the white letters (if you want to remove the letters). To do this we will use the opacity filter temporarily, which will allow us to place the image of track 2 in a place where under the white letters of track 1, there is only red.
We disable the opacity filter.
We add the color key filter (basic or advanced) and with the eyedropper we try to select the white color that will become transparent and then we will have the red color of track 2
Es una solución muy rudimentaria, pero de fácil entendimiento. No sé si esto es lo que necesitas.
También puedes hacer uso del filtro cuadrícula que te crea un mosaico con repeticiones de la misma fotografía.
No sé, hay soluciones creativas dependiendo de como quieras hacer el montaje.
También se me ocurre que si quieres hacer un fondo nuevo con una textura similar, puedes buscar un salvapantallas (wallpaper) de la resolución adecuada (quizás 1920x1080 o más grande)
Hay muchas imagenes simulando texturas. Entonces ya tendrías el fondo. Solo deberías ajustarlo al tamaño de tu ventana de proyecto.
Para algo más personalizado no se me ocurre otra cosa que recurrir a un editor de imágenes (fotos) como GIMP, Paint.net o Paint3D incluido en W10.
Espero haber ayudado de alguna forma.
It’s a very rudimentary solution, but easily understood. I don’t know if this is what you need.
You can also make use of the grid filter that creates a mosaic with repetitions of the same photograph.
I don’t know, there are creative solutions depending on how you want to do the composition.
It also occurs to me that if you want to make a new background with a similar texture, you can look for a wallpaper with the right resolution (maybe 1920x1080 or bigger)
There are many images simulating textures. Then you’d have the background by now. You should just adjust it to the size of your project window.
For something more personalized I can’t think of anything else than using an image (photo) editor like GIMP, Paint.net or Paint3D included in W10.
I hope I helped in some way.
También puedes utilizar un fondo animado de color rojo y sobre este fondo colocas lo que quieras.
You can also use an animated red background and place whatever you want on it.
Perdona, no me he expresado bien, pero es una de las opciones que me explicas. La cuestión es que como bien dices, me gustaría que la parte roja de la foto 2, tenga la textura de la foto 1.
Buscaba una manera de crear un fondo en rojo diferente, que no fuera tan básico, un estilo como en la foto 1.
Intentaré hacer lo que me explicas.
Muchísimas gracias.
Anie
Mas opciones:
Descarga un fondo que te guste (puedes buscar Red Wallpaper Texture en el buscador que utilices del navegador). Yo elegí dos que me gustaron.
Si el video ya incorpora la jugadora de basket, el fondo rojo y el número de dorsal, colocas el fondo que has elegido en la pista inferior (V1).
Colocas el clip de video de la jugadora en la pista V2 y aplicas el filtro chroma key sobre el color rojo liso. Ajusta el valor distancia en el filtro para que que recuperar el color y textura del uniforme de la jugadora (y también de cualquier color rojo de la parte izquierda, como el hombre de la camiseta roja).
De esta forma puedes mantener la fuente de letra original del dorsal.
More options:
Download a background you like (you can search Red Wallpaper Texture in the browser’s search engine). I chose two that I liked.
If the video already includes the basketball player, the red background and the bib number, you put the background you have chosen in the lower track (V1).
Place the video clip of the player on track V2 and apply the chroma key filter on the smooth red color. Adjust the distance value in the filter so that it recovers the color and texture of the player’s uniform.
This way you can keep the original font of the bib.
En el caso que quieras cambiar la fuente de letra del dorsal puedes utilizar esto:
Pista V1, un fondo de tu elección. Pones en pista V2 el video (o fotos) de la jugadora de basket.
Aplicas en pista V2 el filtro máscara:forma simple (rectángulo).
Elegimos el valor : operación sustraer.
Ajustamos altura, anchura y posición, así como la suavidad de los bordes (para que tenga un borde nítido).
De esta forma haces transparente esa zona, con lo que se verá el fondo de tu elección.
In case you want to change the font of the bib you can use this:
Track V1, a background of your choice. You put in track V2 the video (or photos) of the basketball player.
You apply in track V2 the mask filter: simple shape (rectangle).
Choose the value : subtract operation.
We adjust the height, width and position, as well as the softness of the edges (so that it has a sharp edge).
This way you make that area transparent, so that the background of your choice is visible.
Luego solo tendrías que añadir el texto con la fuente de letra, tamaño y color que quieras.
Then you would only have to add the text with the font, size, and color you want.
Otras opciones adicionales:
También puedes optar por no utilizar imagenes de fondo de internet y crear tus propios fondos.
Por ejemplo, un fondo de color rojo al que después podemos aplicar filtros (rasguños, polvo, etc)
Other additional options:
You can also choose not to use internet background images and create your own backgrounds.
For example, a red background to which we can later apply filters (scratches, dust, etc)
También puedes aplicar un efecto de degradado
You can also apply a gradient.
Muchísimas gracias, de verdad, por dedicar tu tiempo a mi consulta.
Probaré todas las opciones que me explicas, seguro que alguna me sirve.
Anie
Un placer.
Aunque de forma poco “ortodoxa” con Shotcut se pueden crear cosas interesantes con imaginación y el conocimiento de algunos filtros.
Seguro que tú encontrarás otras opciones cuando “trastees” un poco. 
Bueno lo intentaré, pero es que yo aun desconozco muchas de las funciones de los filtros… y os veo a vosotros hacer estas cosas y flipo! 
Sé que es cuestión de trastear, como bien dices tu!
Gracias de nuevo!
Anie
Buenos dias,
 Carai… Genial, muchísimas gracias !!
A ver si así, no os doy tanto la paliza…
Anie 

This topic was automatically closed after 90 days. New replies are no longer allowed.