Location: Filters > Video > Chroma Key: Simple
If you have an item in your playlist or timeline that has a uniform background, you can use the “Chroma Key: Simple” filter to remove it. This is commonly used to remove a green screen to superimpose a picture or video onto a background that was captured or acquired separately. That means the asset has to be placed on any track but V1, and a background has to be placed on a lower track. So for example some green screen footage is placed on V2, and a background is placed on V1.
There are two options:
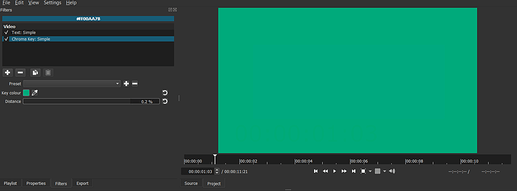
The Key colour sets the background colour. The eye dropper icon can be used to activate the colour picker. By clicking now on the background, the colour will be selected as the key colour.
The Distance adjusts which shades or colours are treated like the key colour. This is especially important for similar colours that are present in the background as well as in the foreground. If the colours are very similar, only few percentages decide whether both are keyed out or not. This is also useful for retaining fine details like hairs, which might be keyed out as well.
Preset is for saving a set of key colour and distance.

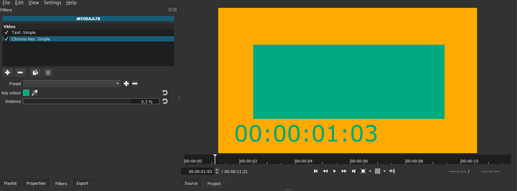
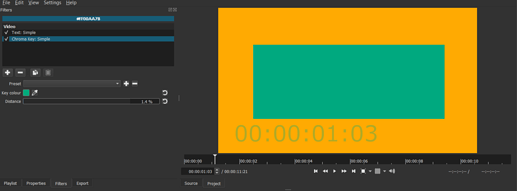
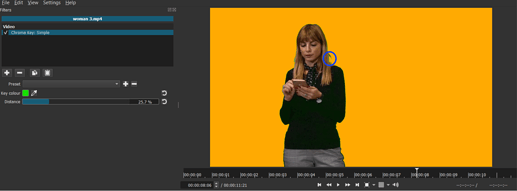
In this example the colour of the text is very similar to the background. With a small percentage the background is keyed out, but the text remains. Increasing the value gradually reduces the opacity of the text.
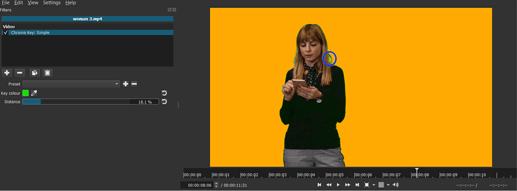
In this example one strand of hair is partially removed beyond a certain percentage.
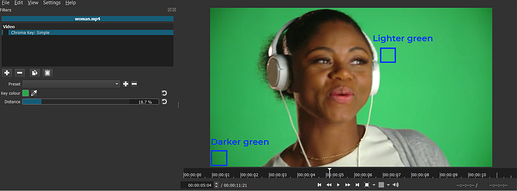
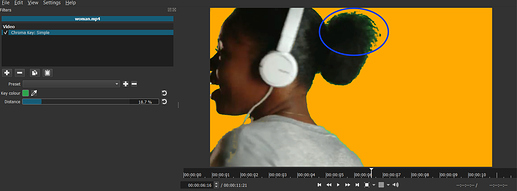
In this example the lighting is subpar, and the background consists of various shades of green. With finding a key colour in the middle of these shades and adjusting the distance, the background can be removed to large parts. The lighting is partly responsible for the green screen remains behind the hair. Using only this filter will not remove it completely without affecting other parts.
If “Chroma Key: Simple” does not lead to satisfying results, “Chroma Key: Advanced” and/or the key spill filters (“Key Spill: Simple” and “Key Spill: Advanced”) might help.

