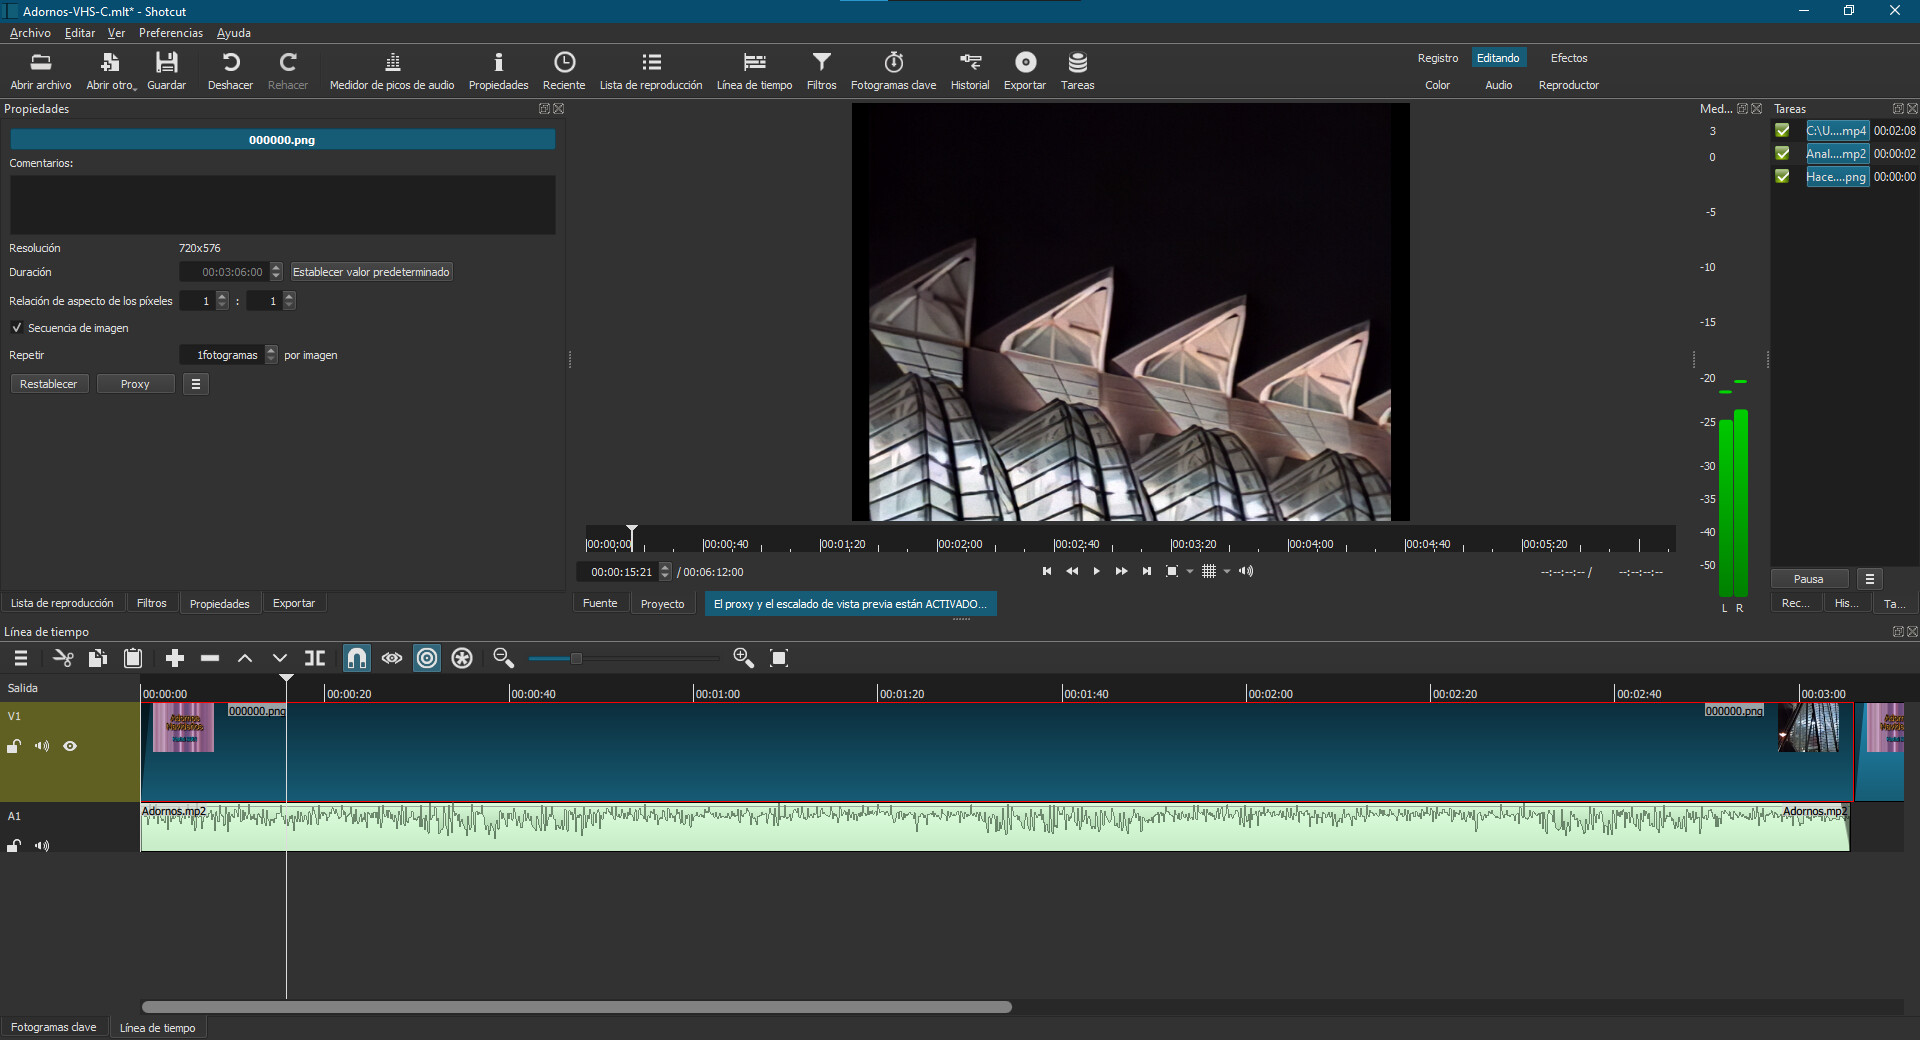
I am importing a sequence of PNG images from a restored video.
The PNG images have a resolution of 720 x 576 px 8 bits 300 dpi.
If I choose the SD PAL video mode (720 x 576 px aspect ratio 4:3) two black bars appear on the sides.
Looking at the history of standards such as JPEG many years ago, I discovered that pixels are not necessarily square.
The same for early video standards.
I am not up-to-date on this, yet it seems the standards must honor and accommodate those early rectangular pixel modes.
Whether any modern modes are rectangular, I don’t know.
PNG will likely have a pixel aspect ratio of 1:1, meaning square pixels.
The problem is that the SD PAL frame is 4:3 DAR, but the PNG with square pixels is not 4:3. 720/576 = 1.25 display aspect ratio, which is more narrow than the 4:3 (1.33) SD frame, so the black bars are added.
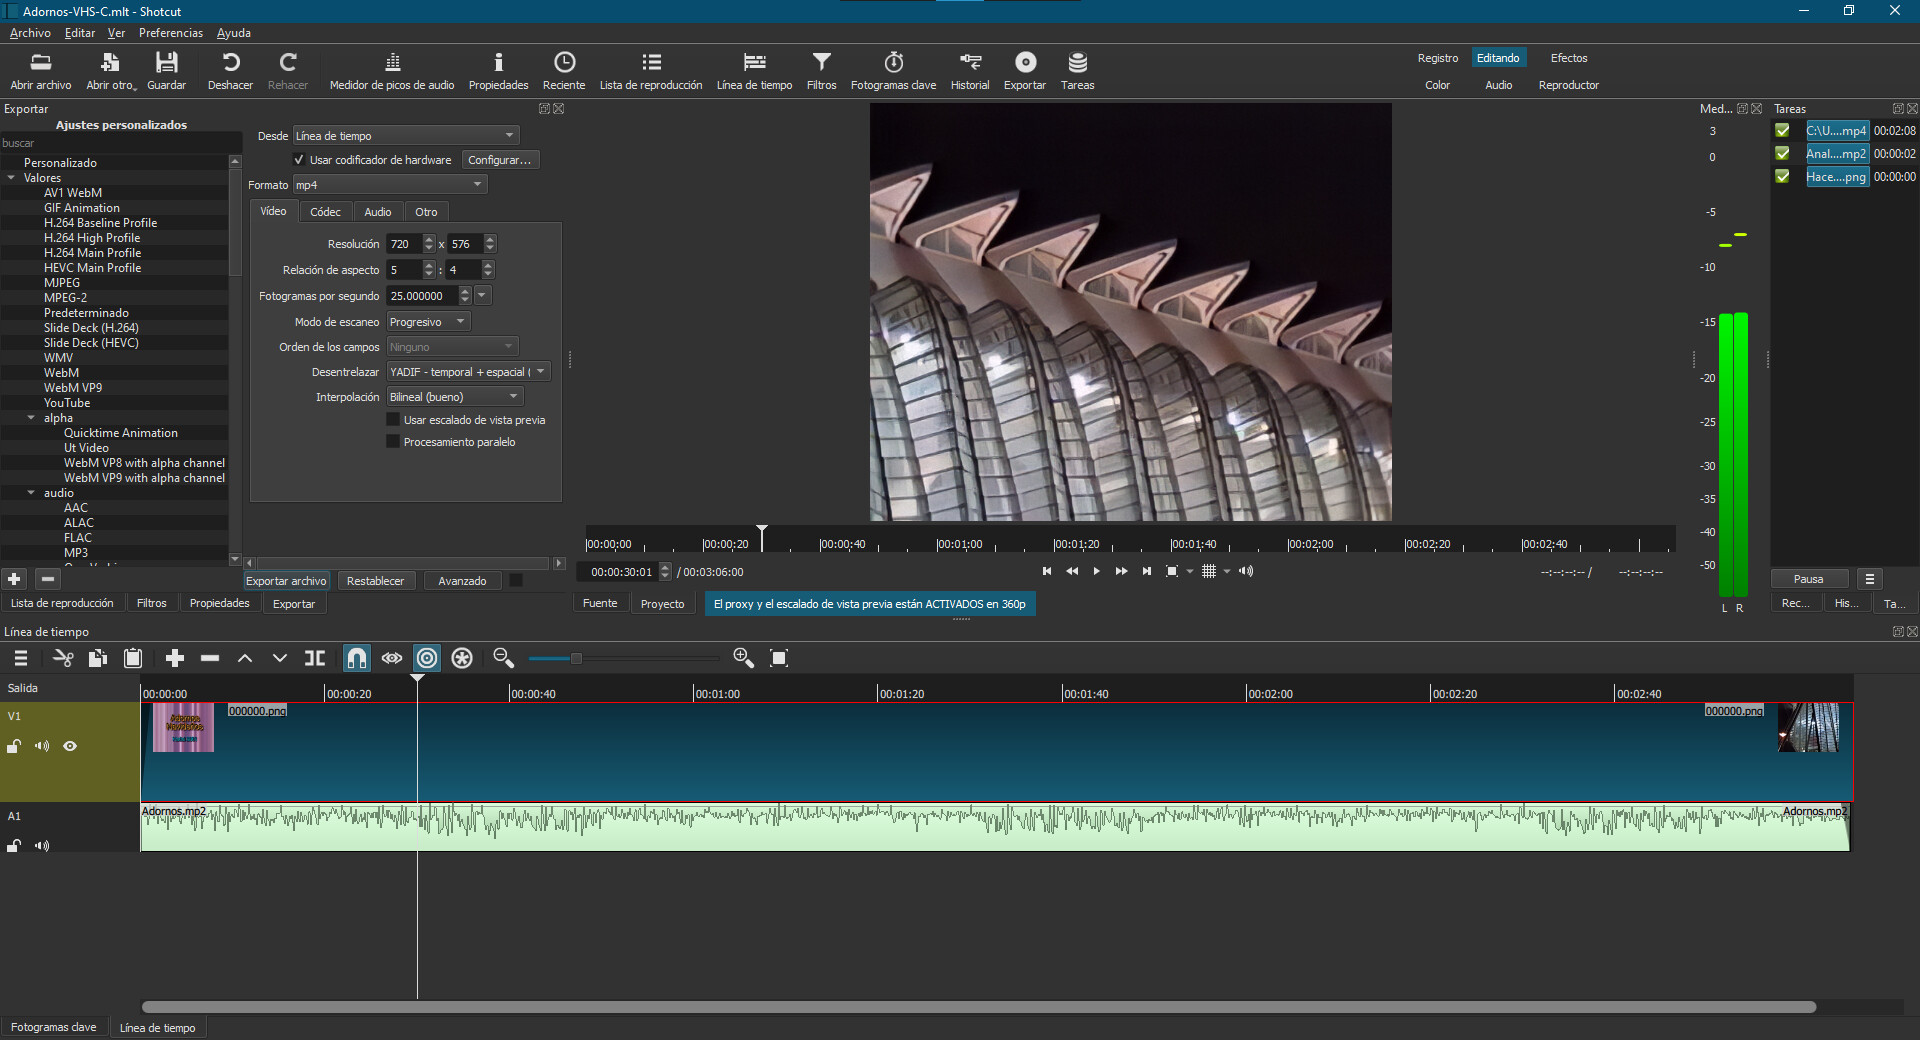
The fast fix is to add a Size, Position, & Rotate filter and put it in Distort mode. Keep the default coordinates of 0,0,720,576. Distort mode allows the pixels to stretch non-square to match the SD PAR.
One explanation is that whatever tool created the PNG files did a direct pixel-for-pixel capture, but did not capture the pixel aspect ratio. So the PAR has to be faked in post-production.
For PNG, assume 1:1 square. You could use ffprobe to be absolutely sure.
Yes. Pixels in the SD video are 16:15 pixel aspect ratio, which is non-square.
Exactly. This is why the video and the PNGs don’t line up when placed on top of each other. Their pixels are different widths even though the number of pixels is the same.
When the dimensions and aspect ratio match, that means pixels are square. Placing non-square video (the original SD video) on this timeline will squish or crop pixels, neither being a desirable result.
Keep the SD PAL video mode and use SPR Distort mode on the PNGs.
I understood your argument. It needs no apology but my thanks
I had read something about this but I wasn’t sure what it meant either.
I tried that solution yesterday, but irrationally thought it was silly, hahaha. And strangely enough, that is the right solution.
Thank you for the additional information.
I think for the moment I’ll settle for knowing that there are square and rectangular pixels and that this conditions everything else.
Indeed, the application performs the restoration frame by frame. I intentionally chose a PNG output to correct later some defects of the original VHS-C video, such as horizontal stripes, shakes due to the state of the magnetic tape, etc. With GIMP I can “supplant” parts of the image with areas from earlier or later frames.