I posted quite some time ago on this topic: https://forum.shotcut.org/t/technical-discussion-interlace/2449
I recently finished encoding 17 Hi8 analog home video tapes into my computer using an ADS Pyro A/V Link A/D converter and now I want to do some serious editing. The files are 720x480 Standard Definition DV/DVCPRO 4:3 aspect.
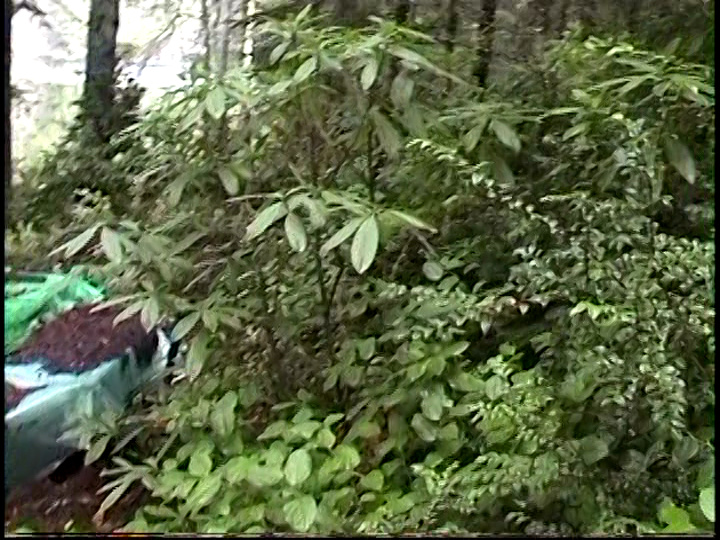
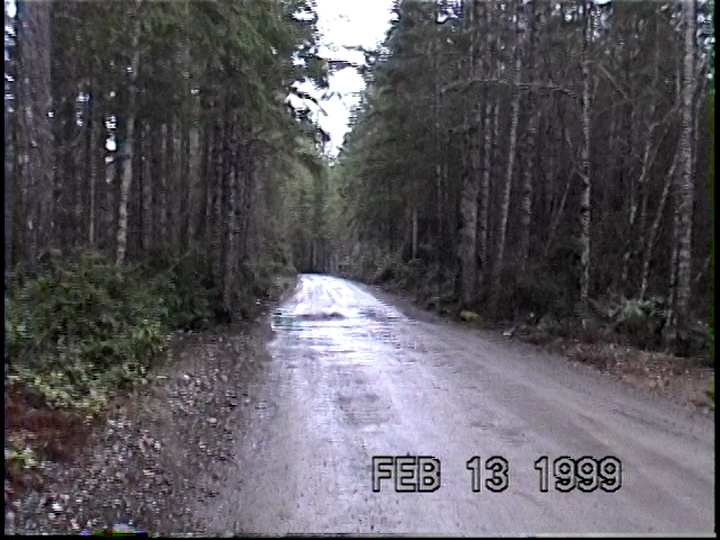
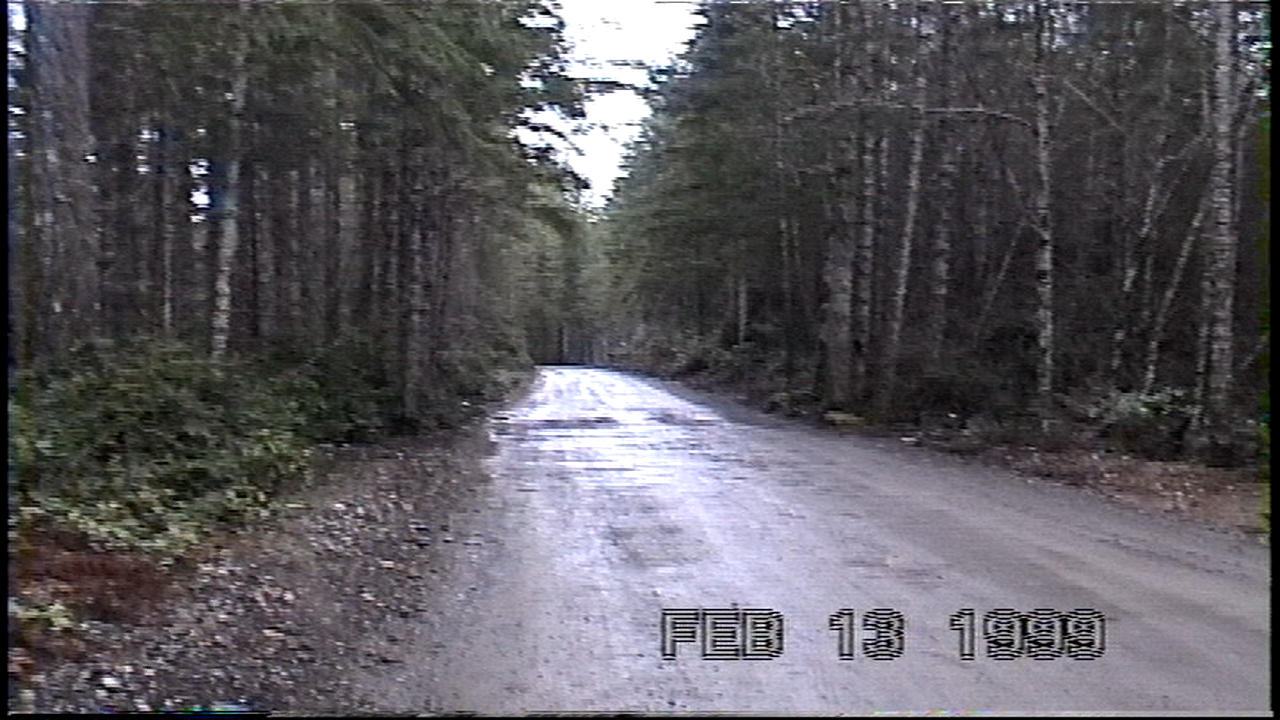
I have dabbled with processing these files before but now I need to make them look as good as they can be made to be. The trouble is, indoor scenes look pretty good but outdoor scenes look like they have been shot through a screen door! I have tried several different methods of processing these files (vob, mpeg 2/4, interlaced/progressive, but the interlacing continues to be a significant problem. I would like to find the best work-flow/process to export these files. Here are a couple screenshots as examples of the problem:
Notice the grill and bumper of the car, since they aren’t level, the lack of proper interlacing is quite evident. Make these two photos full screen and the ‘screen door’ effect is quite obvious. Viewing the video you might as well be looking through a screen door.
The camcorder that originated and played back my video is a Sony CCD-TRV-72 with built-in TBC/DNR and Faroudja color processing. It’s an amatuer unit with some high end features.
Shotcut 18.11.18 running of KDE Neon Linux 5.14, Ryzen 3 1200 - 16 GB, GT-710
BTW, I have been using the new hardware encoding and it significantly cuts down processing time! This is a great improvement.
Shotcut is not field aware - it only operates on whole frames
Some effects in Shotcut require it to deinterlace the video
Deinterlacing in Shotcut (either explicitly specified by the user or implicitly by using a filter that requires it) will lose half of the temporal resolution.
Shotcut handles interlaced sources “fine” as long as you output the same format (resolution and scan type) or if you don’t mind losing half the temporal information (e.g. output 30fps progressive).
As a result, I choose to never edit interlaced source files in Shotcut. The last time I had a need to edit 480i source files, my target output format was 720p60. So I used ffmpeg to perform a high-quality deinterlace/scale to lossless 720p60 intermediate files. I then did my editing on the intermediate files.
Way to come through, Brian! Thanks for filling me in - vital information. I suspected that I was losing half my resolution. I guess I just don’t comprehend why I can’t use a graphical interface editor to do all this correctly.
Target output is DVD.
I’m an aging techy and looked at your python script but couldn’t figure out how to run it! I tried writing my own FFmpeg script using a do-loop to preprocess my files and made a mess of things. I’m getting too old for this stuff. I’ve dabbled with VirtualDub and AviSynth years ago but… I think could spend years getting things right. It is good to know that Shotcut won’t do what I want - at least without preprocessing. So I’ll quit beating my head against that wall. -=Ken=-
I experimented with FFmpeg today and can report a great improvement in some short clips using the yadif deinterlacer. I am encouraged! I plan to develop a workflow and post it here.
One anomaly - I still have portions of clips that retain interlace artifacts - almost like the original recording was encoded wrong. Will report what I discover.
When using FFmpeg to deinterlace, I recommend using the bwdif filter with the default options. bwdif will perform frame doubling so that no termporal information is lost.
I’ve been thinking about adding a deinterlace option to the “Convert to edit friendly” feature. If the option is selected, the job could apply the bwdif filter while performing the conversion.
Thank you Brian for the heads up about the ‘bwdif’ filter and the link. I thought yadif was the latest and greatest but this appears to be a superset.
I forgot what the ‘Convert to edit friendly’ feature is. I vaguely remember it deals with variable frame rates but we have no formal documentation on the Shotcut project. Would the ‘bwdif’ filter be appropriate for all interlaced sources?
On the other hand, FFmpeg has great documentation but finding the features you need is daunting.
OK, I have been doing some experimenting and here are my not wonderful results so far. I used FFmpeg configured to slew to the problematic place in my .dv NTSC-SD file and extract 10 seconds of video for rapid testing. Here is my test command line:
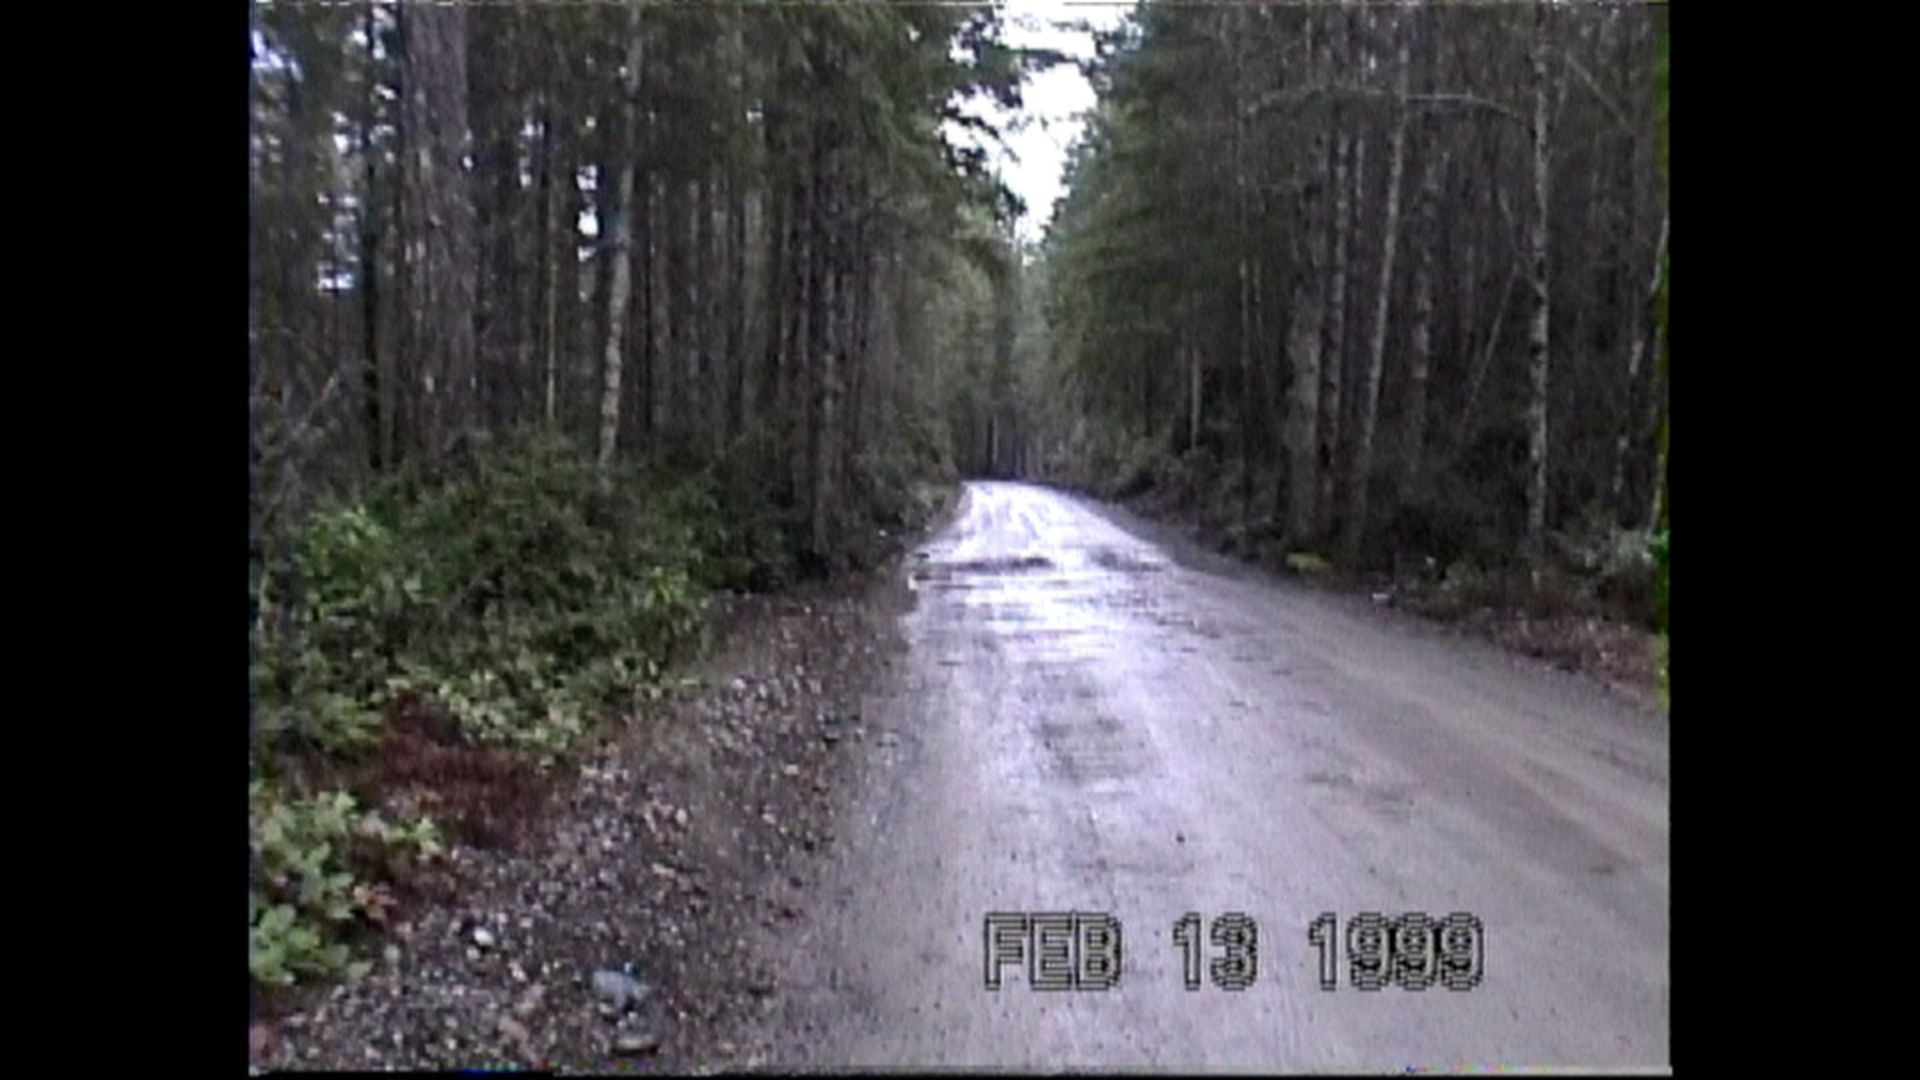
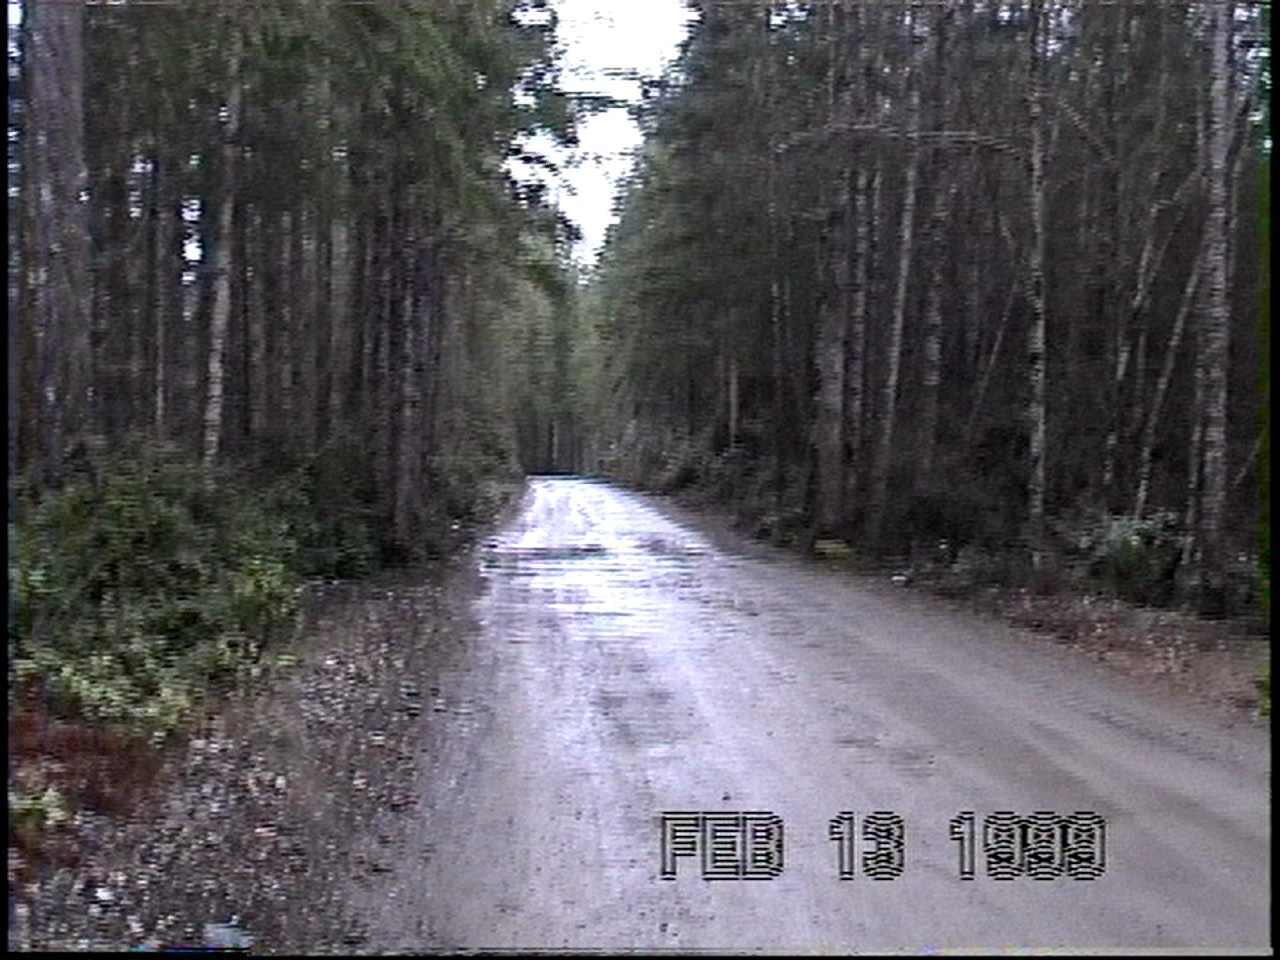
You can see the obvious interlace artifacts. It is interesting that the auto-datestamp looks very good. It does not survive any post processing however. You can click on the photos to make them fullscreen and really see the problem.
Here is a Shotcut snap of the original file in a 1920x1080 interlaced project:
As I explained, interlacing drops alternate scan lines from each field. All “deinterlacing” can do is make an educated guess at what the missing data was. This is an invitation to artifacts.
Keep experimenting and you might find the digital magic that makes this footage beautiful, or at least greatly improved.
I would recommend to put the bwdif filter first in your filter graph so that the deinterlacing is done first on the unmodified frames
Using “fps=30000/1001” could be confusing depending on the order of the filters in your graph. The bwdif mode=1 will double the frame rate. If you apply the fps filter after that, you would be throwing away half the frames. I would recommend to remove the fps filter. FFMpeg will determine and output the mathematically correct frame rate for you. If you want to keep it, I would suggest making it last in your filter graph.
The resulting artifacts look like classic field order inversion. I see that you tried to set the field order correctly for your source (BFF). But have you also tried parity=0 (tff) and parity=-1 (auto). The default vaules for bwdif have always worked for me.
My recommended command would be: ffmpeg -y -ss 00:06:09 -i Hi8_07-002.dv -t 10 -c:v dnxhd -vf "bwdif,scale=1280:720,format=yuv422p" -b:v 110M -an Hi8_07-002.mov -hide_banner -loglevel warning
I would be interested to see the results of that. Also try other combinations for the parity.
After reexamining much of my footage (over 30 hours!) I find that most of it is quite acceptable and some, where the lighting is just right, is rather remarkable. So, I reduced the project to just over 11 minutes of problematic video. I tried the new FFmpeg settings you gave me and it didn’t matter what combination of bwdiff settings the video just looked awful.
So, I’m thinking that since the video was taken on a cold, damp, rather miserable day in February perhaps the mechanical portions of the transport were not operating within a proper tolerance. Because it doesn’t matter what filters I have used over the years this section of video always looks bad.
I have been using Avidemux to solve this problem because you can see immediately what all the deinterlacers and their individual tweaks will do. So, I did an a/v copy of the problematic 11+ minutes using the mpeg4AVC codec into an mkv container because Avidemux doesn’t know what to do with .dv. (I wonder if I could adjust the GOP so it behaves more like an intermediate?)
Then I tried all the deinterlacers/tweaks and found that the Libavdec Deinterlacer with the Cubic interpolate and with Autolevel did a respectable job. I saved it out as an mov file and was able to load this into a test project in Shotcut and it looks better, if not wonderful.
Something odd happens though. When I save out the file as mov then Avidemux, which created the mov can’t play that new file. It’s just black video! Strange.
What an ordeal! I can’t be the only one with these interlace problems because people have been discussing the issue and creating new filters for years. I think I have finally come to end of my odyssey, thank goodness.
@st599 I gave the w3fdif filter a try and the video jumps up and down, probably at 30 frames/second. Frame-by-frame it pops up, then down a line, in a very obvious and disconcerting way! I am suspicious of my camcorder misbehaving on a cold, miserable day since all the other video from that machine is quite good.
I finally got rid of the unusual interlacing in some of my Hi8 video. Importing the newly deinterlaced clip synchronized on Shotcut’s track V2 and toggling the view/hide button shows a considerable difference.
After restoring my badly interlaced footage I was able to continue my project. Now, I’m able to see if I can do better using the dnxhd intermediate codec at 720p. I took some of the other, undamaged footage and used FFmpeg to save out a 90 second long clip using the yadif, bwdif and w3fdif deinterlace filters and placed them on a Shotcut 720p Timeline. I also imported the same segment from the original 480p for comparison. I have to say that the 720p clips actually look better than the original. Astonishing! Comparing the deinterlace filters I found the yadif and bwdif filters looked about the same to me. Since the bwdif is the most recently developed, building upon both of the earlier filters I will use it going forward. The w3fdif filter had a slight “bounce” to the picture which was not that bad in normal play but stepping frame-by-frame, the auto-datestamp bounced up and down - kinda weird. There was some definite field gymnastics going on in that filter that the newer bwdif did not show.
One thing I like about upscaling to 720p is that it converts from non-square to square pixels. Progressive formats with square pixels is the way of the future. I predict that over time device/player support for interlaced and non-square pixels will regress. That is why I choose to deinterlace and upscale all my SD material.
Well, I am convinced the deinterlacing and upscaling to an intermediate codec is superior. So, I added up all my Hi8 video and it is 367 MB. The dnxhd codec writes files that are ~7 times larger which means if I want to archive them in that format I would need 2.6 TB of disk space. Holy smokes!
It doesn’t sound practical.
FFmpeg utilizes all four of my Ryzen 3 cores but a 25 GB tape takes over an hour to convert. I have waited all these years to edit these tapes so the time it takes to convert them is not so difficult. If I can brush up on my Bash scripting I could just let the PC run in a Do loop. It’s just that I presently don’t have THAT much disk space available.
Well, I had to look up your claims and I easily found them on a Wikipedia page. I am using 720p/59.94 since the deinterlacing filter writes out a frame for every field. According to the chart my configuration is writing 1.402 Megabytes per minute. It’s 8 bit since this is dealing with amatuer home video. So, your suggestion won’t help. Thanks for trying though.
After thinking about the logistics I have concluded that I will only write out to a 720p intermediate file those sections of my tapes that I will add sequentially to my Timeline. First rough cut in SD and then replace with the HQ version. Once a project is completed the intermediates will have to go away. Such is life!