Hi, sorry for the delay in answering.
Marker description can be found here:
It sounds like you managed to work most things out. Each time you mark an in and out point (from the source window) you can either drag that to the timeline, or back to the playlist. Then from the same source you can create different in and out points and drag that new section to the playlist. And so on an so forth. So you can create multiple small snippets from the same video that all live in the playlist! You can also edit the properties of each of these so they have a distinct name for easy identification (otherwise it is difficult to tell in the playlist itself since it will only list the original video name).
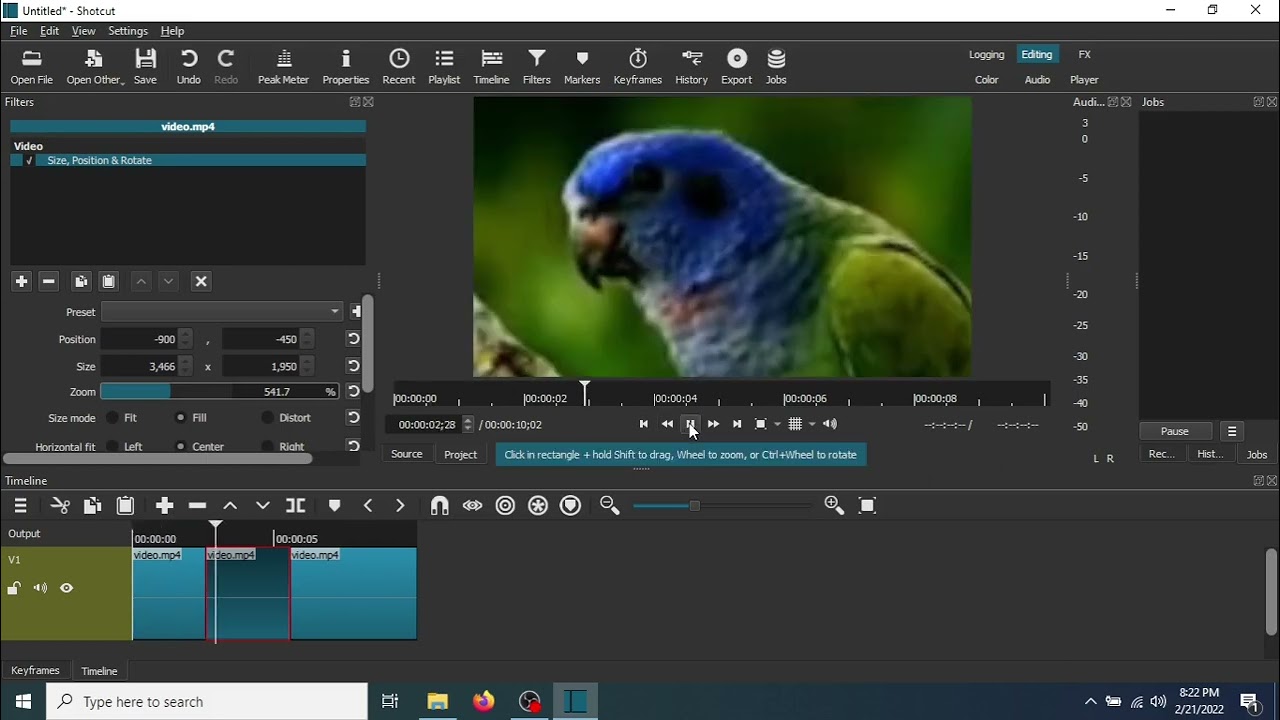
Or, you can do as you have and drag the main video to the timeline and then edit out the junk. However, after splitting, before deleting the junk sections, you can activate the ripple button (also mess around with the “ripple all tracks” so you can see how that behaves). That way, as you delete, the spaces that are normally left are automatically removed and you don’t need to rearrange your items.
You will need to use the Size, position, & rotate (SPR) filter to implement the zoom with keyframes, depending on when and where you want that effect.
A cursory search on Youtube gives a lot of results for zooming:
Most of the things you are looking to do are covered in some shape or form in the tutorials and although some are old, the concepts are the same and I strongly recommend you take some time to watch them. Lots of future headaches can be avoided by doing so.
Despite their age, I would advise viewing the introductory and getting started tutorials:
I don’t fully understand what you are trying to do with the fades, so more information is required if the above tutorials don’t help (but they should). Good luck!
