I have made improvements to this for the next release. Would anyone be willing to test this case with the 21.06 release candidate?
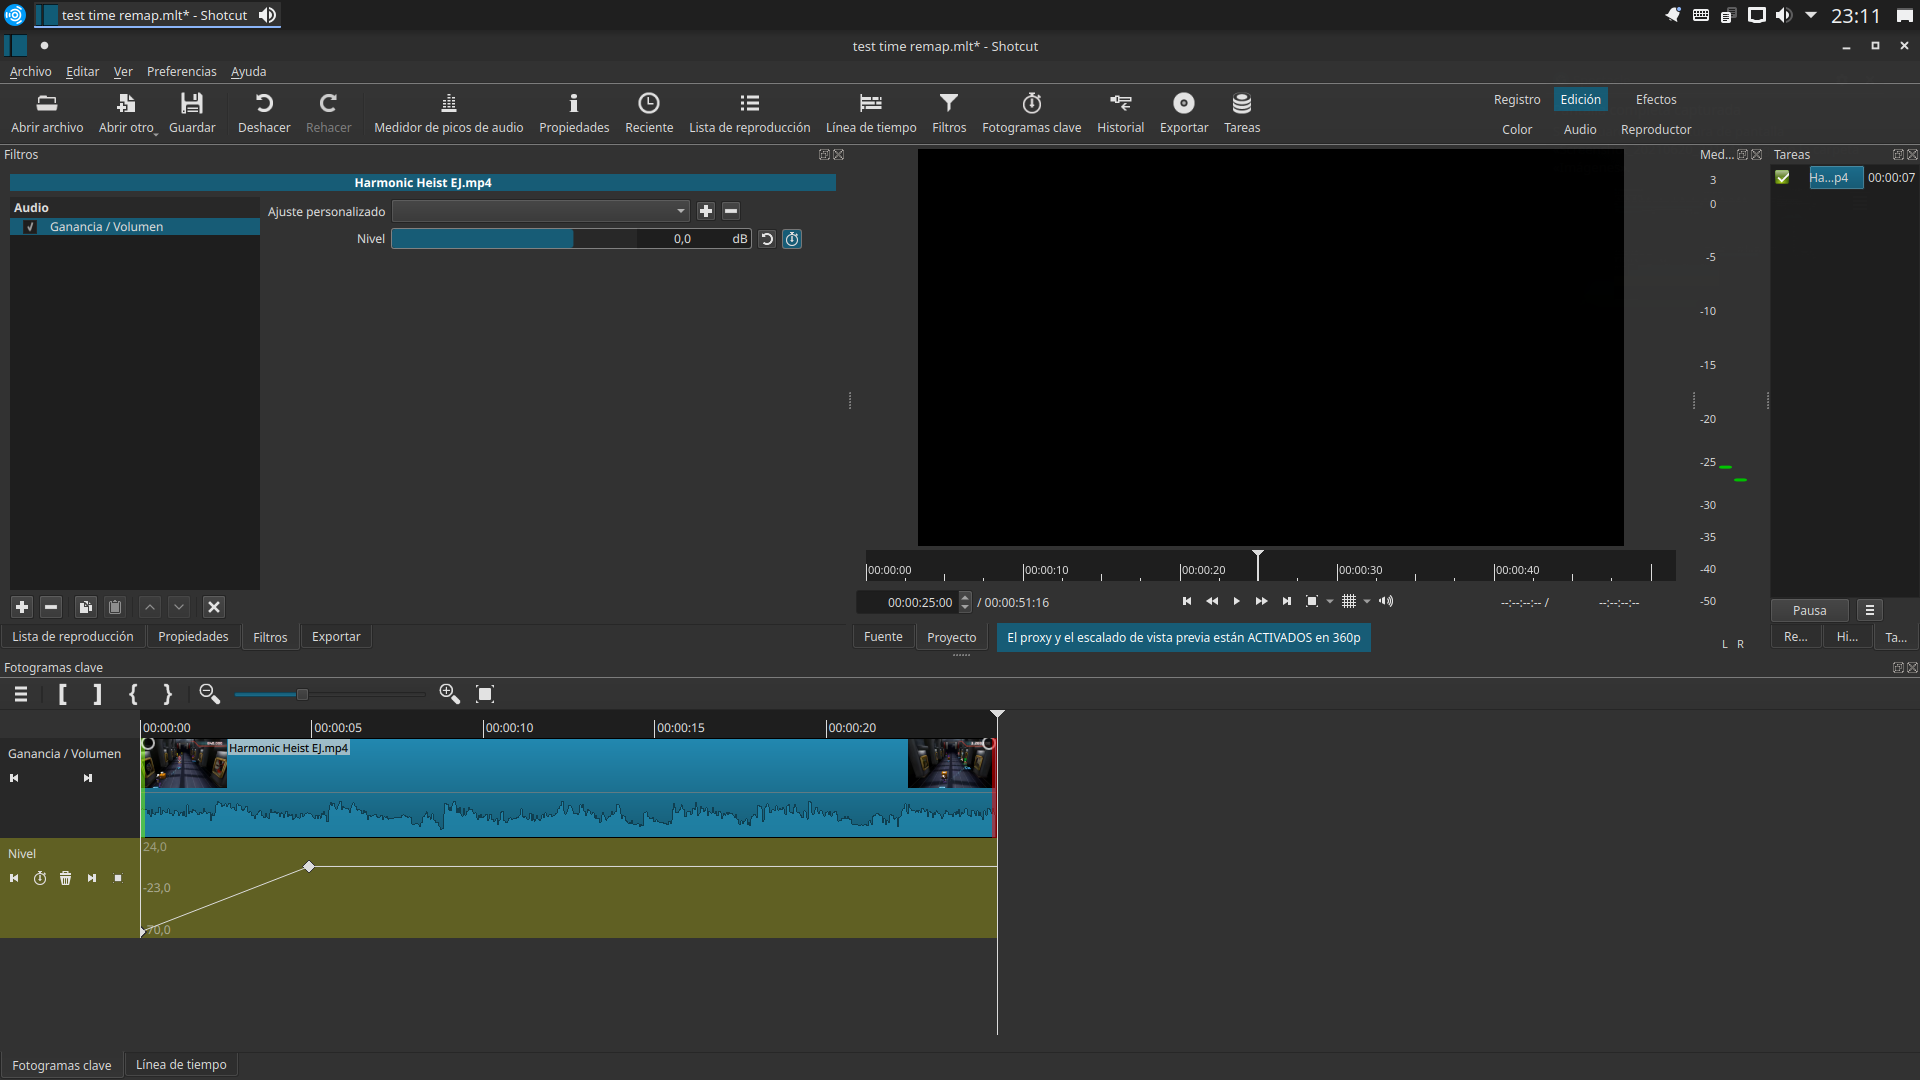
I used keyframes in Volume-Gain as a reference.
In my tests with the 21.06 release candidate under Linux Ubuntu Studio, the cuts and keyframes remained in sync.
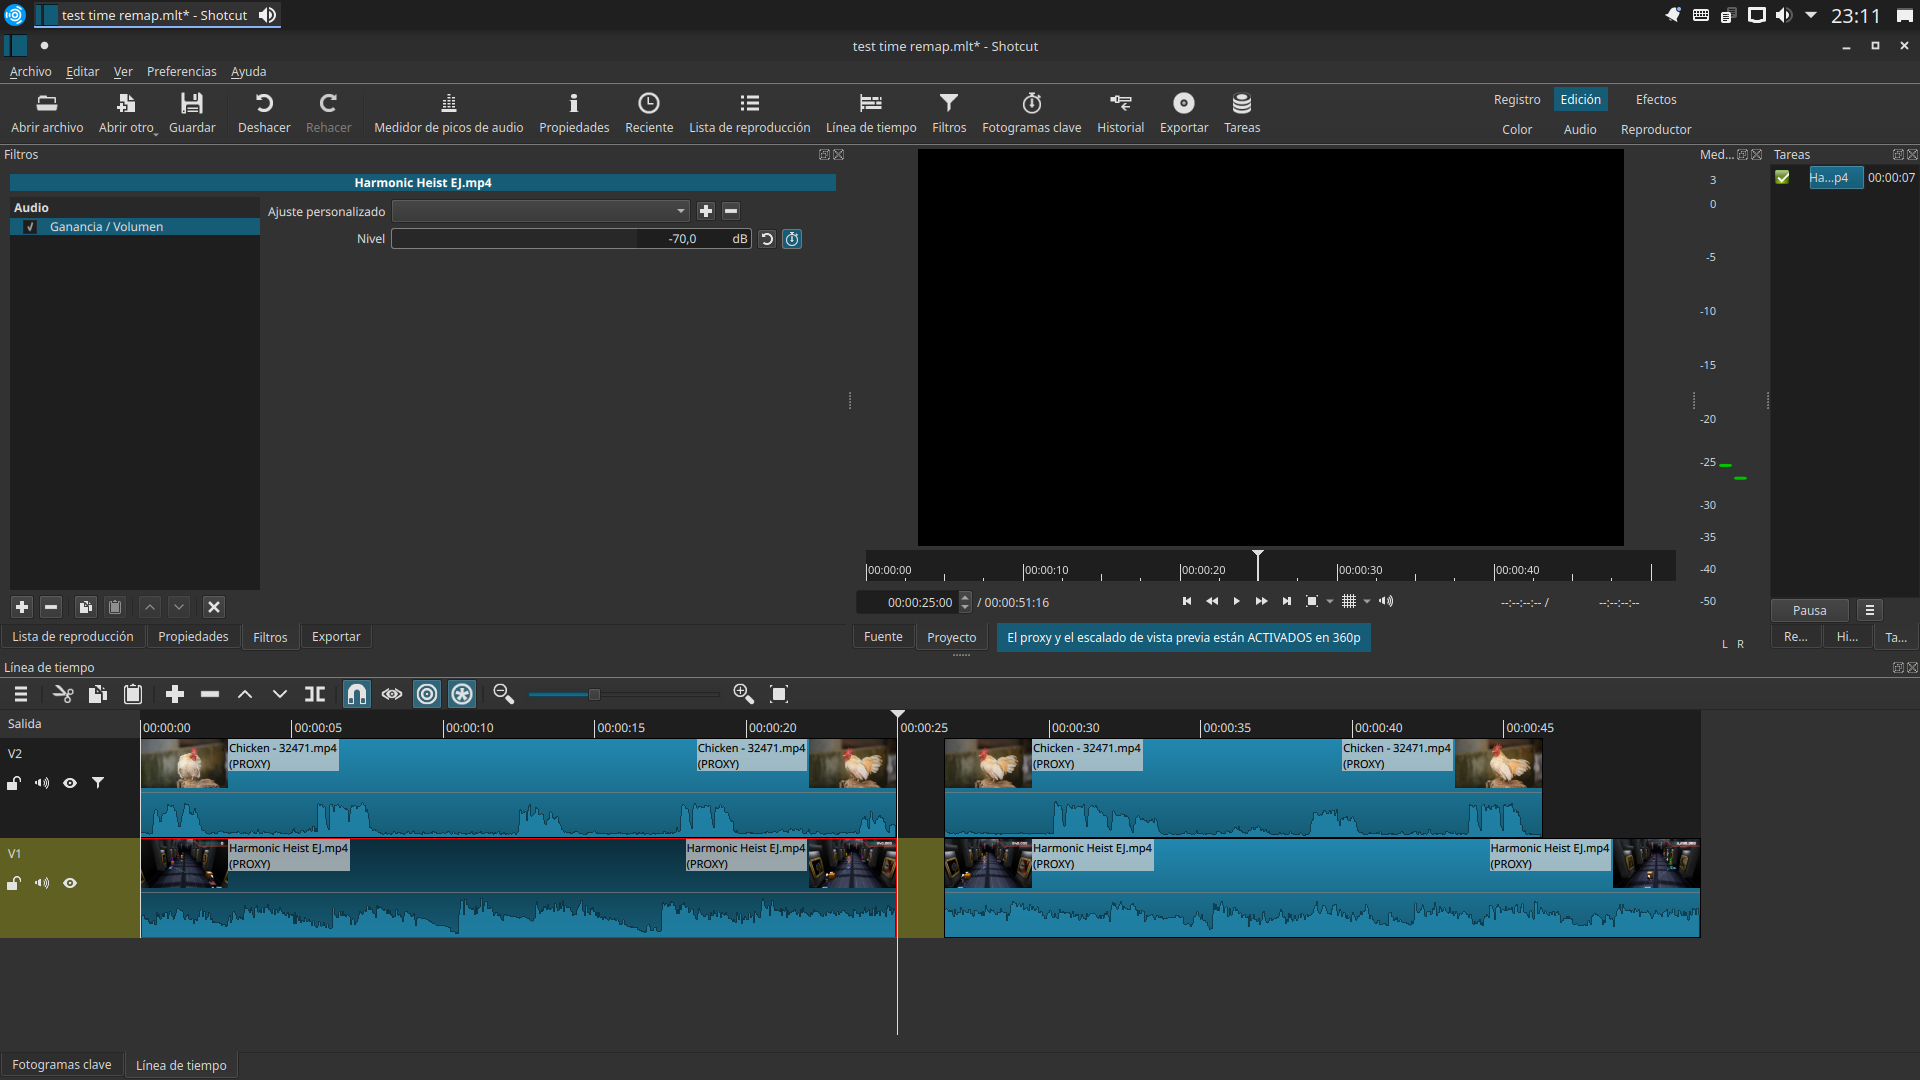
I split the clip in half
First half

Second half
I included a second video track and curled all the tracks.
I cut at the same place and the results were identical (even separating the clips the keyframes were where they should be).
Curiously, another behavior appeared that I did not expect (and I don’t know if it is correct).
To join the cut clips again I use the function “merge with the next clip”.
This generates a duplication of the filters. While the second part of the clip keeps the full keyframe configuration, the first part was modified.
This is a good test. Thanks for doing this. The “crux” of the problem was when there are multiple filters applied, the keyframes would only stay in sync for the selected filter, but any other filters that are not selected would end up out of sync. So it would also be good if you could test with multiple filters.
Good testing. That is an edge case that I did not consider. I would have to think about the most “expected” behavior for this case. I’m not sure if I care to write complicated logic to try to “merge” filters when the clips are merged.
I carried out two tests, both of which were successful. ![]()
I placed two video tracks (V1 and V2) with SPR filter on each track.
On each video clip (before splitting) I placed several filters:
Clip on track V1 :
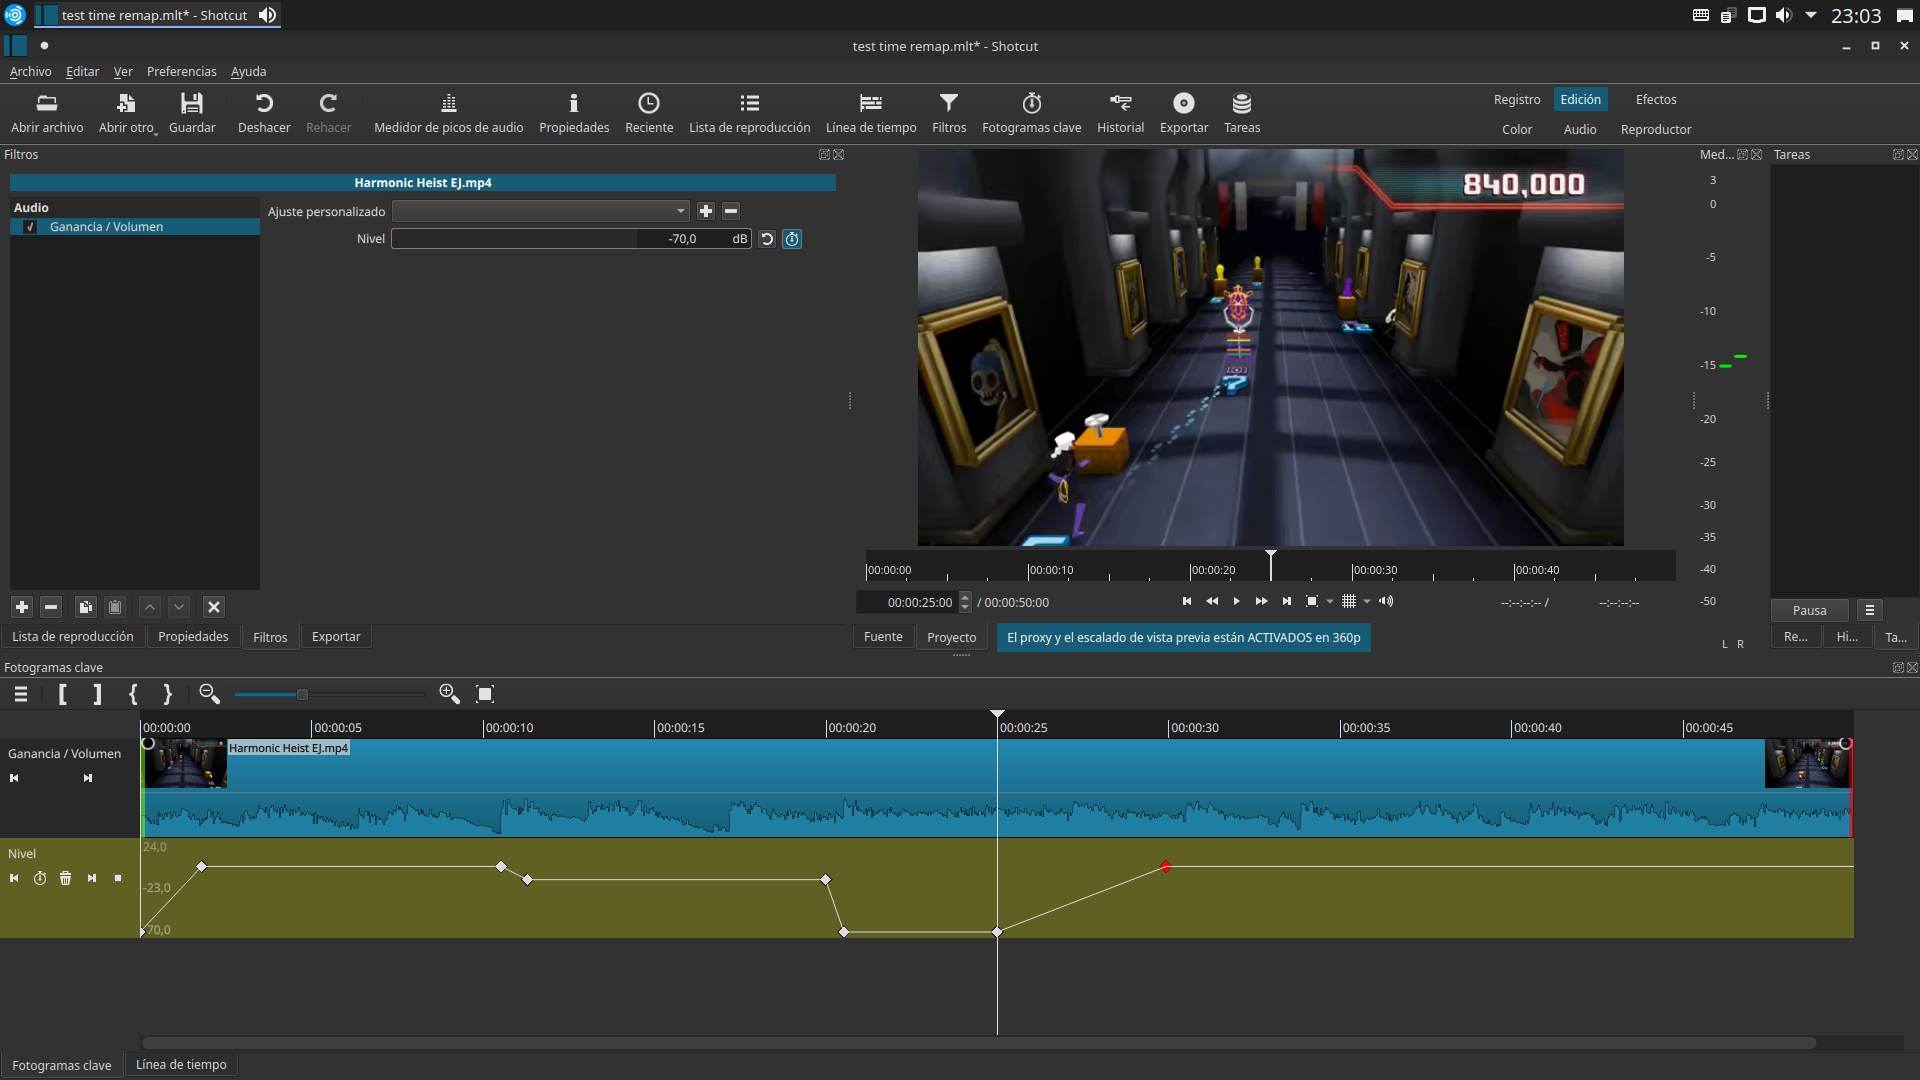
-Levels (with keyframe adjustments of the three values)
-Vignette (with keyframe settings of the three values)
-Volume (with keyframe settings)
Clip on track V2
-“Tramado” (with keyframe settings)
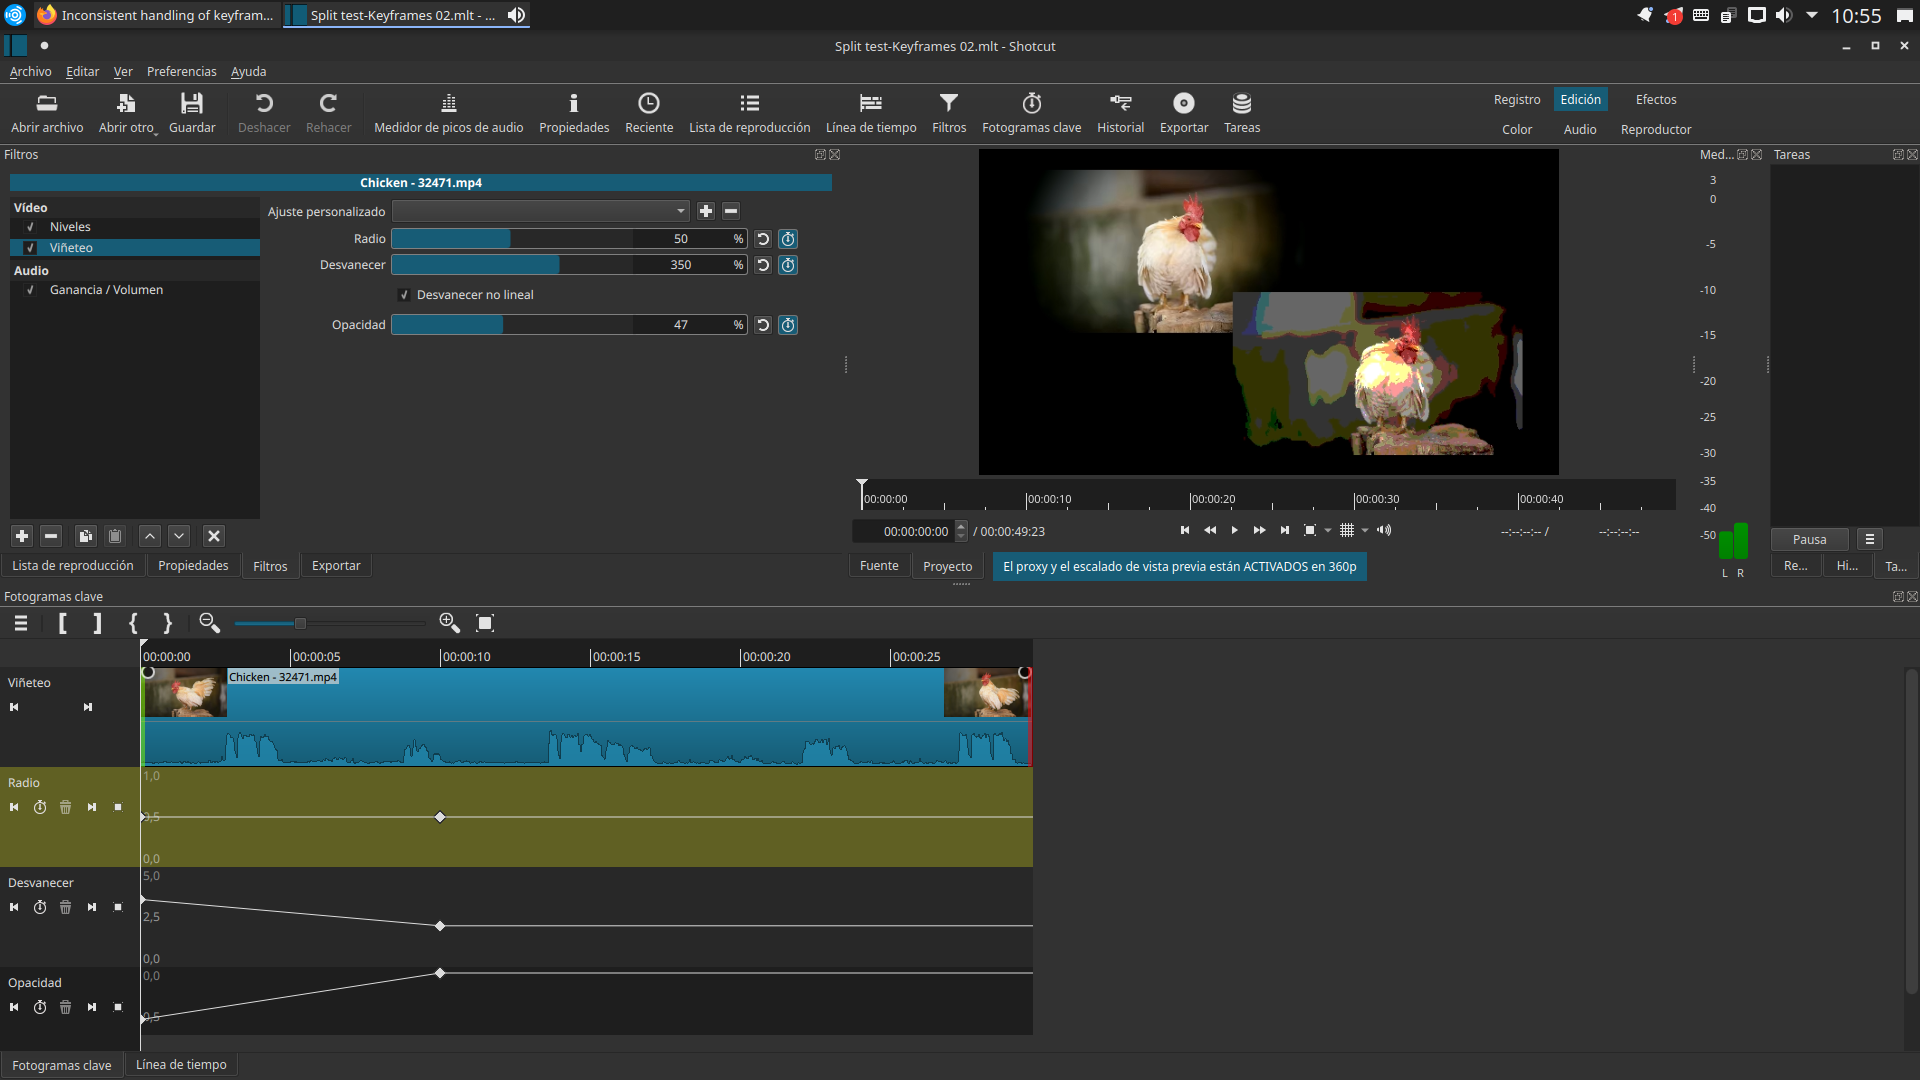
I wrote down the setting values in 4 different sections: 10 - 15 - 25 - 40 seconds. I separated the clip in V1 in value 15 seconds with a ripple button for all tracks. I moved the resulting second section a few seconds forward on the timeline.
I compared the results at the reference points and all keyframe settings remained synchronized.
1 Like
In this case it is easy for the user (although perhaps cumbersome) to detect which filters are not correct because they have cut off duration (in the keyframe window).
However, if there is a clip with many filters, it can be easy to leave a duplicate filter.
The merge mode with the next clip I think, (at least in my case) is useful when after separating a clip, you save the project. Then you think of something else and when you open Shotcut, there is no more history to redo that, so merge with the next clip.
This topic was automatically closed after 90 days. New replies are no longer allowed.