Hi guys!
I am mounting a video, with three boys walking down a corridor hotel, long perspective, approcing the camera, so getting closer each steps…
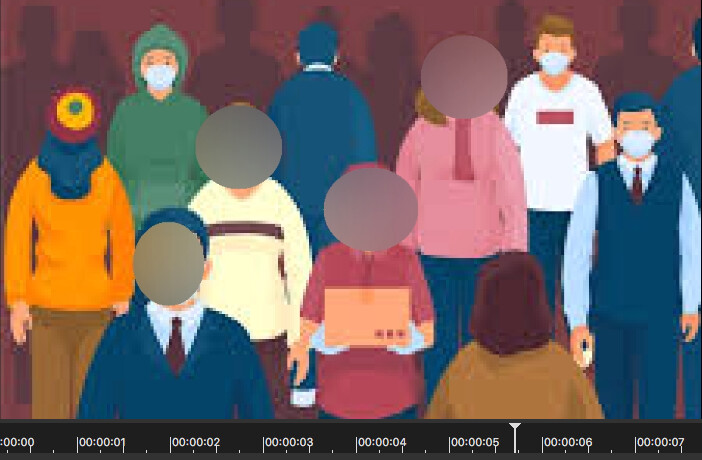
They told me that they don’t want to be recognised, so I have to “erase” their face, their features…
I really don’t know how!
I wil probably use the spost remover and animate it with transient, but if there is another nicer way, more original, maybe colorful, to do it - maybe adding masks? please tell me!
Thanks for posting, @JBP, you triggered a learning experience for me.
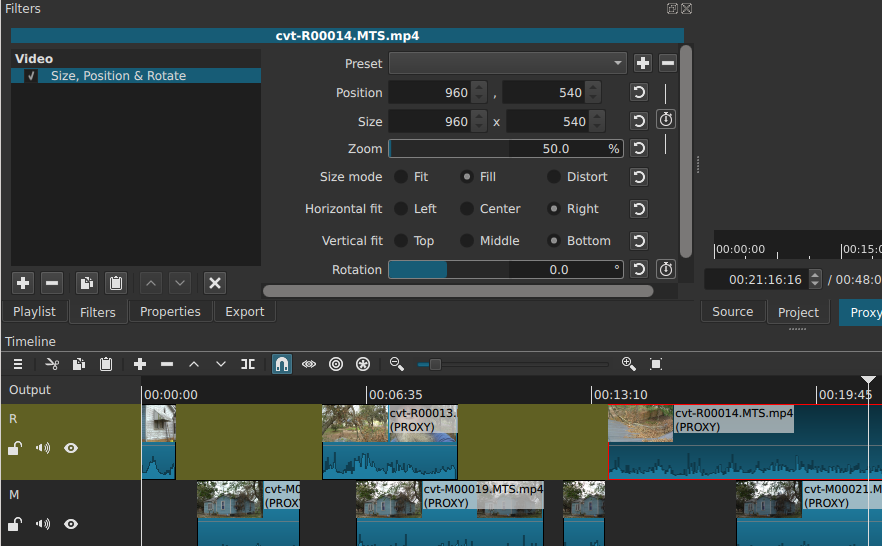
It looks like you are stuck with Spot Remover for now, called three times, one for each boy, and animated with Keyframes.
I was hoping I could do it with either Mask: Simple Shape or Mask: From File, animated with Keyframes, but the first has no “Invert” and the second has no Size/Position animation.
If Mask: Simple Shape had an Invert checkbox, I would have used an animated alpha ellipse to reveal either a Gaussian blurred identical clip, or something more colorful like a fireworks video in the place of each face.
And if wishes were horses…
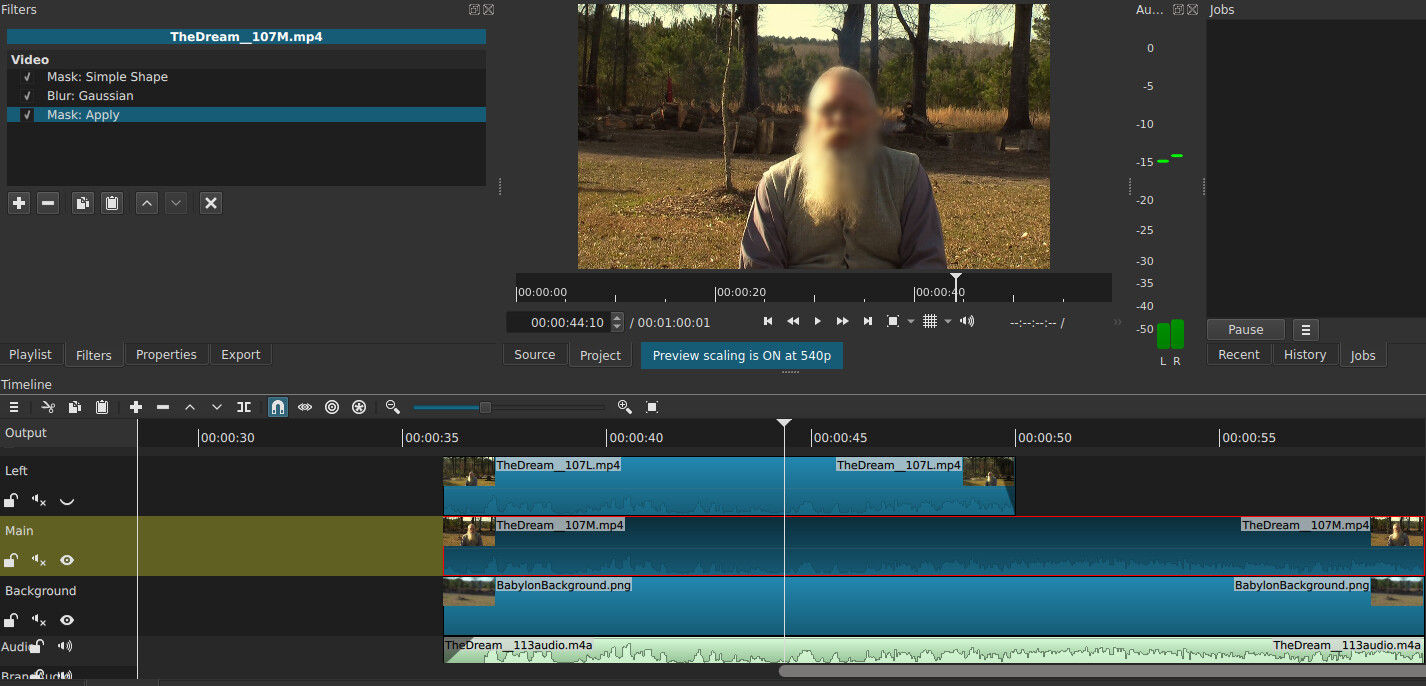
Ah, so THAT is how Mask: Apply works.
Thank you, @Namna!
I still, however, think an Invert on Mask: Simple Shape would be simpler for may tasks. And I suspect that the code needed already exists in Mask: From File.
Yes, I have quickly become quite adept at blurring a face this way; and if the face were moving around, I can animate the mask.
However, it does not seem to work with all filters.
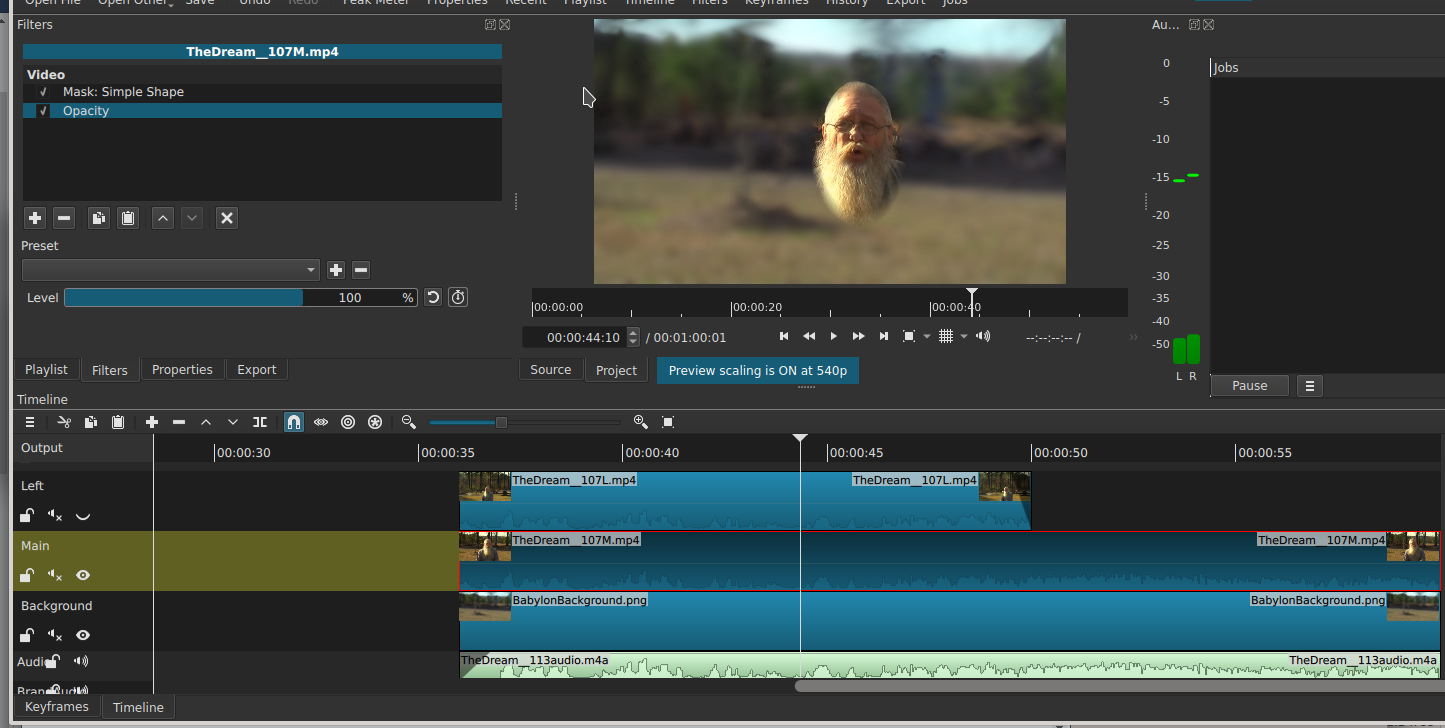
I tried using Opacity between Mask: Simple Shape and Mask: Apply in my Filter stack, hoping I could open a window to show the file beneath in the Timeline stack, but it did nothing.
Justement, pour afficher l’image de la piste inférieure il ne faut pas mettre Mask: Apply
In order to display the image of the lower track, do not set Mask: Apply.
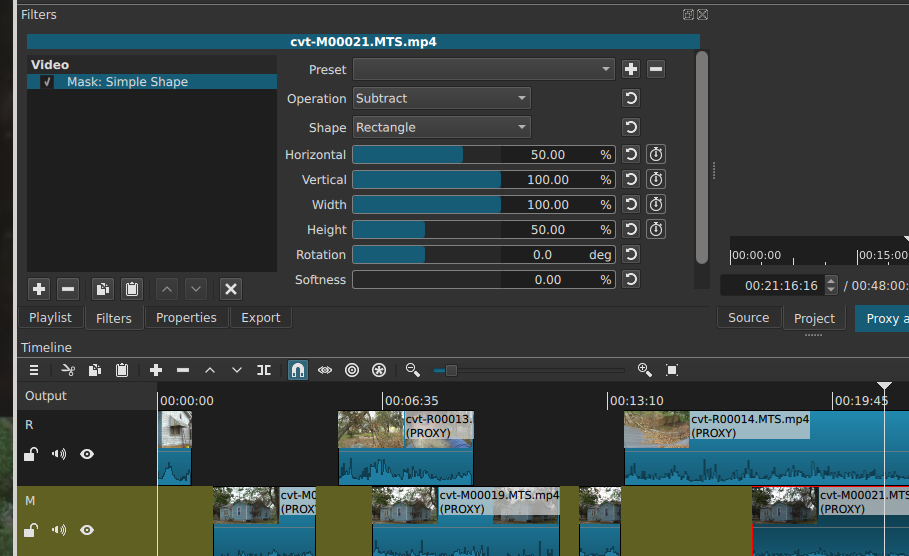
On V2 put Mask: Simple shape with substract
Through the mask you will see the image located on V1
Je ne vois pas les réglages du filtre Mask vous avez sélectionné Opacité Certainement vous n’avez pas réglé sur soustraire Le filtre Opacité n’est pas nécessaire
I don’t see the Mask filter settings because you have selected Opacity
Certainly you did not set to subtract
Opacity filter is not necessary
Now I see. Yes, that does give me what I want, in this case, when it is over another visible track, and a simple see-through is all I want.
I would still like to have an invert; perhaps I may want to Multiple all except…
(I had seen only black on Subtract, previously, I now know, because I was not over anything visible.)
One or two more questions, @Namna, can it be stacked three times, for @JBP’s three faces? If so, would you like to write the step-by-step instructions for @JBP, or should I?
Pour flouter 3 visages il faut mettre dans l’ordre 1 Masque simple sur le 1° visage réglé sur écraser 1 Masque simple sur le 2° visage réglé sur ajouter 1 Masque simple sur le 3° visage réglé sur ajouter 1 filtre flou ou mosaique ou autre 1 filtre Masque appliquer
To blur 3 faces it is necessary to put in order
1 Simple mask on the 1st face set to Overwrite
1 Simple mask on the 2nd face set to Add
1 Simple mask on the 3rd face set to Add
1 Blur or mosaic filter or another
1 Mask Apply filter
And because they are walking, @JBP, you will need to click the stopwatch icon an each to enable Keyframes, and for each set Keyframe points to keep the ellipse centered on the face and covering the whole face and only the face.