Export presets allow you to save a complete set of export settings and reuse them consistently across projects.
They are especially useful when you repeatedly export to the same platform, resolution, or delivery standard.
A preset stores format, codecs, resolution, frame rate, quality, and advanced options exactly as configured.
What export presets are
Export presets are:
- A snapshot of export parameters
- Applied instantly with one click
- Non-destructive and reusable
- Stored under the Custom category
Export presets are not:
- Project templates
- Guaranteed-safe configurations
- Automatically compatible with all codecs or hardware encoders
Using presets assumes you understand the implications of the selected settings.
How to create a custom export preset
1. Open the Export panel
Click Export in the top toolbar.
2. Switch to Advanced mode
Click Advanced at the bottom of the Export panel.
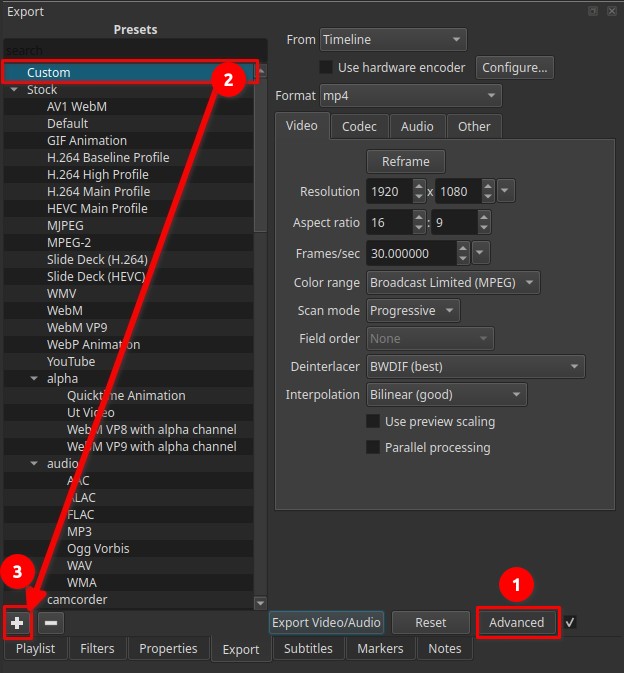
This exposes all export parameters, including codec selection and low-level options.
3. Configure export settings
Adjust settings across the available tabs. Common examples:
Format / Codec
- Container:
mp4,mov,mkv, etc. - Video codec: H.264, HEVC, AV1, etc.
- Audio codec: AAC, Opus, PCM, etc.
Video
- Resolution (e.g. 1920×1080, 3840×2160)
- Aspect ratio (e.g. 16:9)
- Frame rate (e.g. 24, 25, 30, 60 fps)
- Scan mode (progressive/interlaced)
Quality / Rate control
- Quality percentage
- Constant quality vs bitrate-based modes
Not all codecs support the same quality or rate-control options.
4. Save the preset
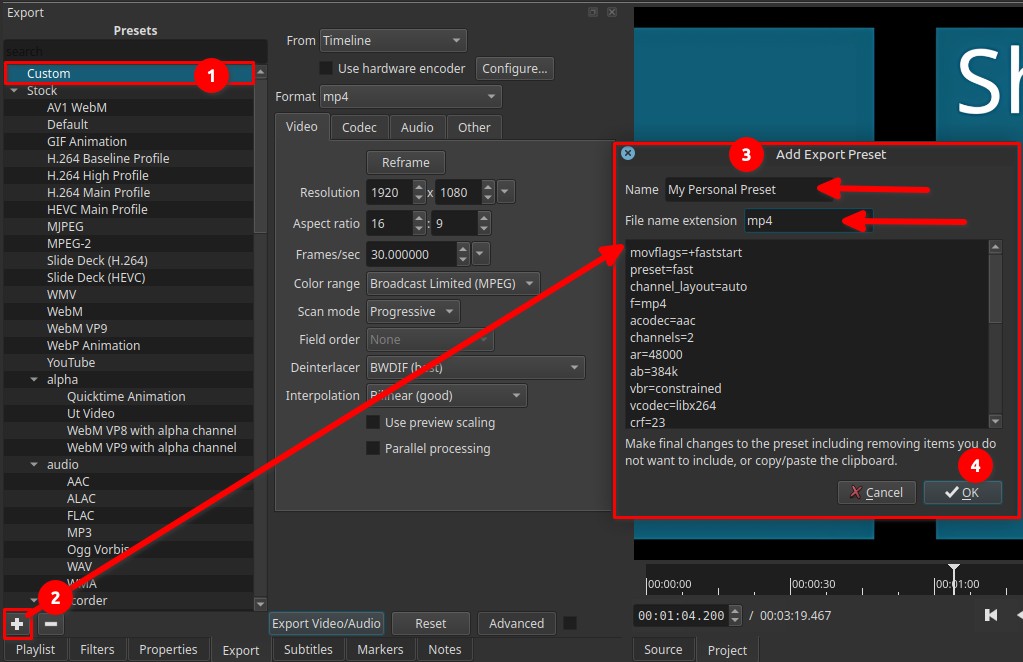
Click the + (plus) button at the bottom of the preset list.
A text editing dialog opens where you can make additional changes. Often, at this point, you want to remove lines that you do not want to be included. And often, those are things you want to change along with the project settings such as resolution, aspect ratio, frame rate, colorspace, and number of audio channels. The preset is really a list of thing to change from the defaults. The defaults are all the things you see in Advanced when you start Shotcut and do not change anything except for the things managed by Settings: Video Mode, Processing Mode, and Audio Channels. You can also get back to defaults by clicking Reset or choosing the Default preset.
5. Name the preset
Provide a descriptive name that reflects its purpose, for example:
YouTube Higher Quality H.264Archive ProRes 422Preview Low QualityMobile 720p Fast Export
Click OK to save.
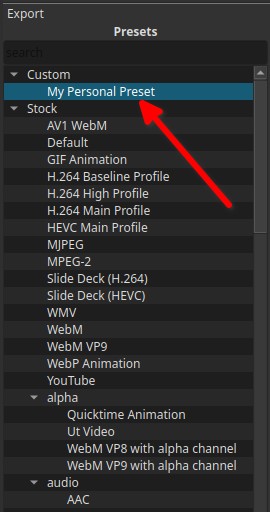
The preset appears under Custom.
Using custom presets
- Select the preset from the Custom category to apply all saved settings.
- The preset remains selected for future exports until changed.
- You can modify settings after selecting a preset, but changes are not saved unless you overwrite or re-save it.
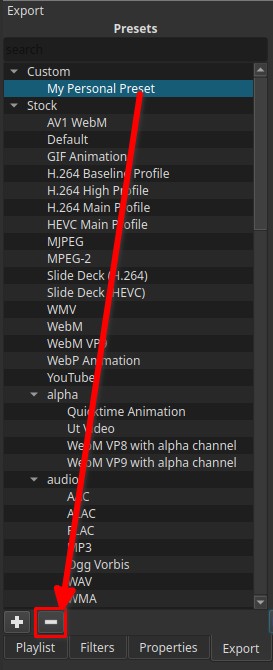
Deleting presets
- Select a custom preset
- Click the – (minus) button
- The preset is removed permanently
This does not affect exported files.
Example preset scenarios
Fast preview export
- Container: MP4
- Codec: H.264 (hardware encoding enabled)
- Resolution: 1280×720
- Quality: 45–55%
Used for:
- Quick reviews
- Draft uploads
- Testing edits
Online platform delivery
- Container: MP4
- Codec: H.264
- Resolution: 1920×1080
- Frame rate: Match source
- Quality: 60–70%
Used for:
- YouTube, Vimeo, general web delivery
Archival / master export
- Container: MOV or MKV
- Codec: ProRes or high-quality H.264
- Resolution: Match source
- Quality: High or lossless
Used for:
- Long-term storage
- Re-editing later
- Maximum quality retention
Important warnings
Codec compatibility
Not all combinations are valid.
Examples of common pitfalls:
- Choosing a codec not supported by the selected container
- Enabling hardware encoding with unsupported formats
- Mixing incompatible pixel formats or profiles
These issues can:
- Cause export failure
- Produce unplayable files
- Result in silent audio or missing video
Hardware encoding interaction
Presets may include hardware encoders. However, the Use hardware encoder checkbox will still affect which codec is used unless you choose a hardware codec that Shotcut does not manage, for example ProRes.
If the preset is used on a system where the hardware encoder is unavailable:
- The export may fail
- Shotcut may fall back to software encoding
- Results may differ from expectation
Knowledge level required
Creating custom presets ranges from basic to advanced usage.
-
Simple presets (resolution + quality) are generally safe
-
Advanced presets require understanding:
- Codecs and containers
- Bitrate vs quality modes
- Hardware encoding limitations
Use caution when copying presets between systems.
Best practices
- Name presets clearly and specifically
- Test presets on short clips before long exports
- Avoid overloading a single preset with too many assumptions
- Keep separate presets for preview, delivery, and archive
- Presets are saved as files in the
presets>encodefolder in the app data directory (Settings > App Data Directory > Show). You can share these with others. You must restart Shotcut after manually adding preset files in order for Shotcut to see them.