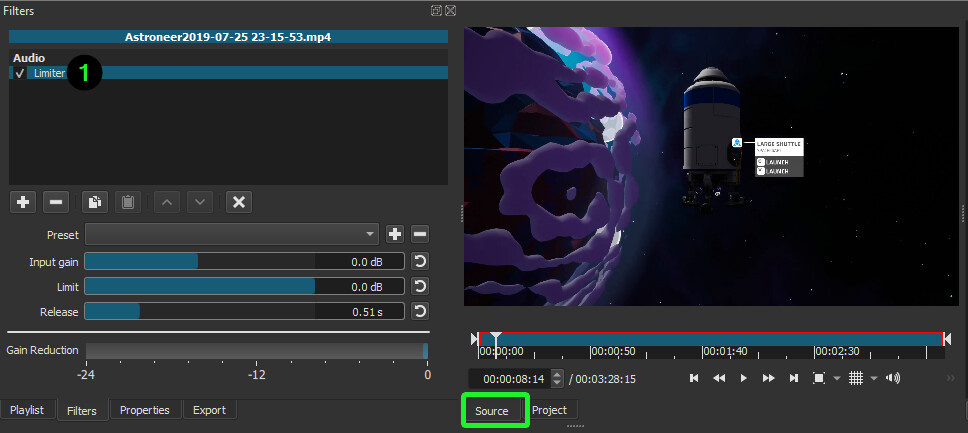
I’m trying to export a sub-clip with a limiter audio filter applied. No matter what I do the filter is not applied to the export using the sub-clip when played in VLC, the limiter is MIA. When I export the entire video, the limiter is applied and it is very obvious in VLC that it is applied. Is this a bug or is there a specific thing that needs to be done for applying audio filters to extract sub-clip?
My use case is exporting songs from several 1+ hour streaming shows recorded on OBS. My workflow order is applying audio filters to the entire video, apply ‘split at playhead’ to the actual songs, and exporting the songs one by one to mp4 clips. Is this the best workflow/method to export song by song clips?
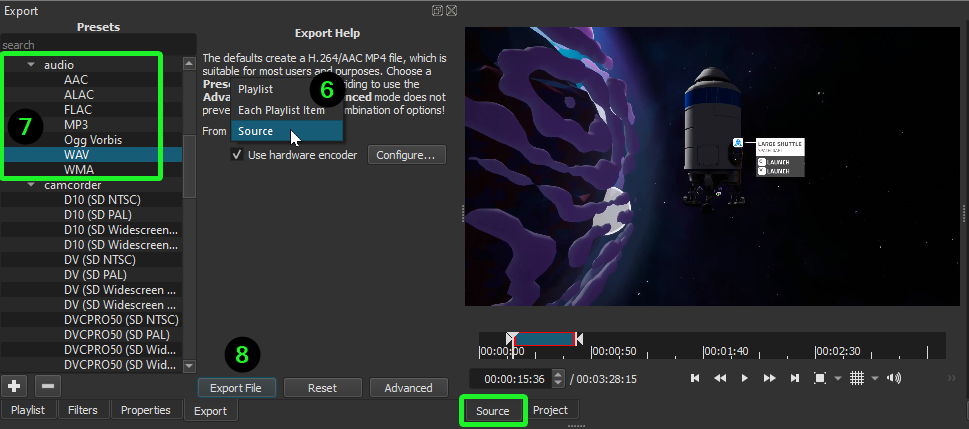
I did export with Youtube preset for the project without the filter limiter and another export with the filter limiter active.
I imported the audios on Audacity, from both exports and it can clearly be seen as the filter limiter if it was applied in the export (lower waveform).
Hello @streamer42
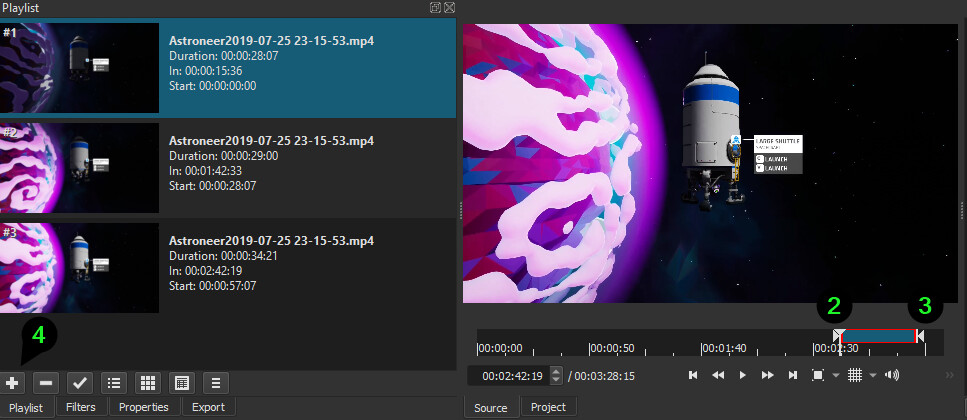
This is where you don’t use the timeline. Just use the playlist.
Open the file (loads into source, for now leave it there), and click/open the Playlist.
Source, find the starting point of your first song, and hit I
Find the end point O.
Hit the + in the playlist.
a. Repeat steps 2 - 4 for each song
b. You can scroll up/down in the time code window for fine control where you want to place in/out points. There are many Playerkeyboard shortcuts to aid you in moving the playhead to find the correct time code for each point.