

Shotcut supports external video monitoring to an additional system display. This feature enables real-time preview of your project on a secondary monitor, allowing for accurate color grading and timing. The Preview Window (HDR) supports High Dynamic Range (HDR) previewing when configured correctly, but it is not limited to HDR.
This feature is located in the Player menu under External Monitor. If you have multiple monitors they are listed here alongside the preview window option.
External Monitor
System Monitor
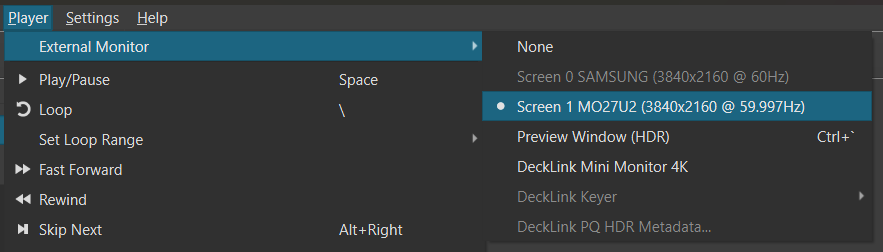
In addition to the preview window, Shotcut supports dedicated full-screen output to a secondary display via the Player > External Monitor menu. Unlike the preview window, this mode does not support High Dynamic Range (HDR) output and always displays full-screen on the selected display automatically. When this mode is active, the primary application window disables its internal video preview. Any active filter on-screen controls (such as those for Size, Position & Rotate) are shown on the external monitor, allowing for precise adjustments while viewing the full-screen composition.
Blackmagic Design Devices
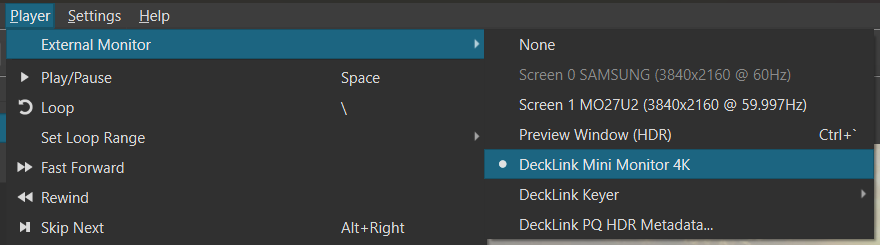
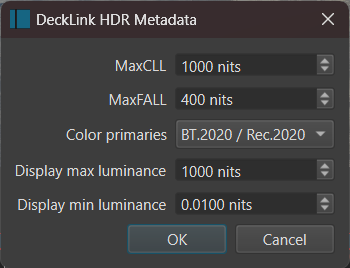
For professional workflows requiring reference-grade output, Shotcut supports dedicated hardware monitoring via Blackmagic Design DeckLink, UltraStudio, and Intensity devices. When a supported device is detected, it appears as an option under Player > External Monitor > DeckLink. Unlike system-display outputs, this mode bypasses the operating system’s desktop compositor to send a clean, low-latency video signal directly to an external broadcast monitor or television via SDI or HDMI. This integration supports HDR output, which can be configured via the HDR10 Metadata dialog accessible when the device is active.
Preview Window (HDR)
To enable the external preview monitor:
- Navigate to the menu bar and select Player > External Monitor.
- Select Preview Window (HDR) to open the secondary display window.
- Drag the window to a monitor that has HDR turned on through both the monitor controls and the operating system settings.
- Keyboard Shortcut: Press `Ctrl + `` (backtick) to open or raise the preview window if it is already active.
Note: The keyboard shortcut does not toggle between open and closed states; it either opens or brings the window to the foreground if it is obscured.
Controls
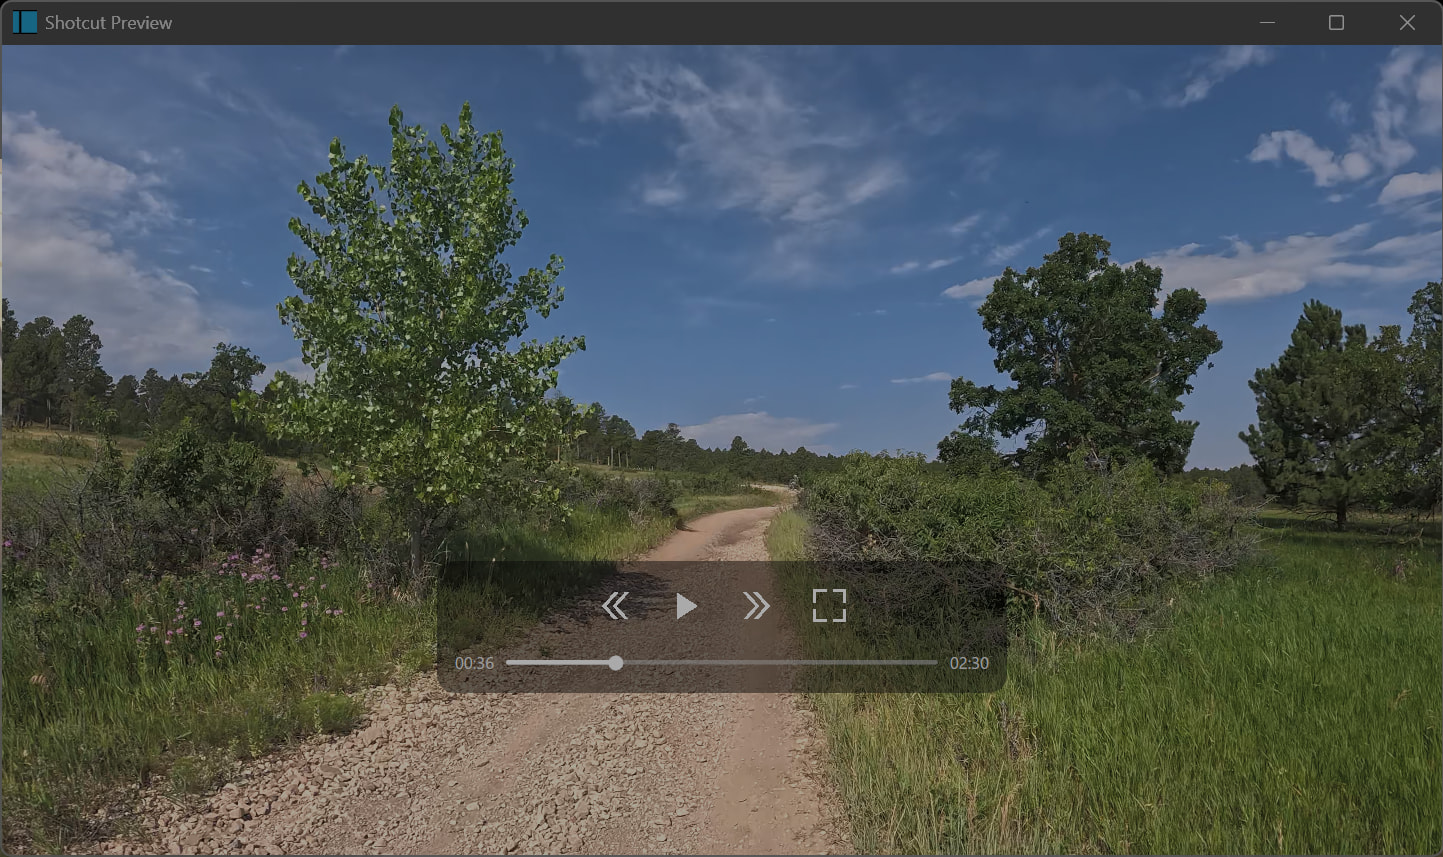
The translucent bar in the middle provides playback controls:
- Rewind
- Play/Pause
- Fast Forward
- Full Screen
- Scrub bar with current time on the left and total time on the right (minutes:seconds)
- Most keyboard shortcuts that operate in the main window operate here as well except for
F. Not only playback but also editing and general UI action shortcuts.
HDR Workflow Requirements
To preview HDR content accurately, the software, hardware, and project settings must be aligned. If these criteria are not met, the preview will default to Standard Dynamic Range (SDR) or may fail to display correctly.
1. Project Configuration
- Video Mode: You must set your Video Mode (or Timeline Properties) to an HDR format (HLG HDR or PQ HDR).
- Processing Mode: Enable 10-bit processing. Go to Settings > Video Mode > Advanced and select Native 10-bit CPU or Linear 10-bit GPU/CPU.
2. Hardware and OS
- Display: Your secondary monitor must be HDR-capable and enabled in your operating system’s display settings.
- Color Space: The monitor must be configured to accept the HDR signal corresponding to your project (HDR10/PQ or HLG).
3. Filter Usage
When working in an HDR project, standard SDR filters may cause clipping or inaccurate color mapping. Use only filters labeled with #gpu or #10bit in the filters menu to ensure compatibility with the HDR pipeline.
Window Interaction and Controls
The Preview Window is a floating interface designed for minimal distraction.
- Moving the Window: Click and drag anywhere inside the video area to move the window. But you cannot drag from within the control bar.
- Fullscreen: Press
Fwhile the window is active to toggle fullscreen mode. - Exiting Fullscreen: Press
EscorFagain to return to windowed mode.
Known Limitations and Troubleshooting
- Platform Support: HDR preview via the Preview Window is currently unavailable on Linux.
- Mode Switching: Changing between PQ (HDR10) and HLG HDR requires an application restart to apply the new color space correctly.
- Legacy Incompatibility: This feature cannot be used simultaneously with Settings > Player > Use Old Video Output. If you have enabled the “Old Video Output” setting, the External Monitor menu options will be disabled.
- HDR/SDR Mixing: Shotcut does not support converting between HDR formats or combining multiple HDR formats within a single project timeline.
- Hardware Decoding: If the video does not appear, ensure Settings > Preview Scaling is configured correctly; some hardware decoders may interfere with the 10-bit pipeline.